How To Install Click Laminate Flooring On Concrete (Day 1)

How to Install Laminate Flooring on Concrete Slab in Tiny Room (Day 1)
Installing Laminate Flooring Over Concrete – The Ultimate Guide (Day 1)

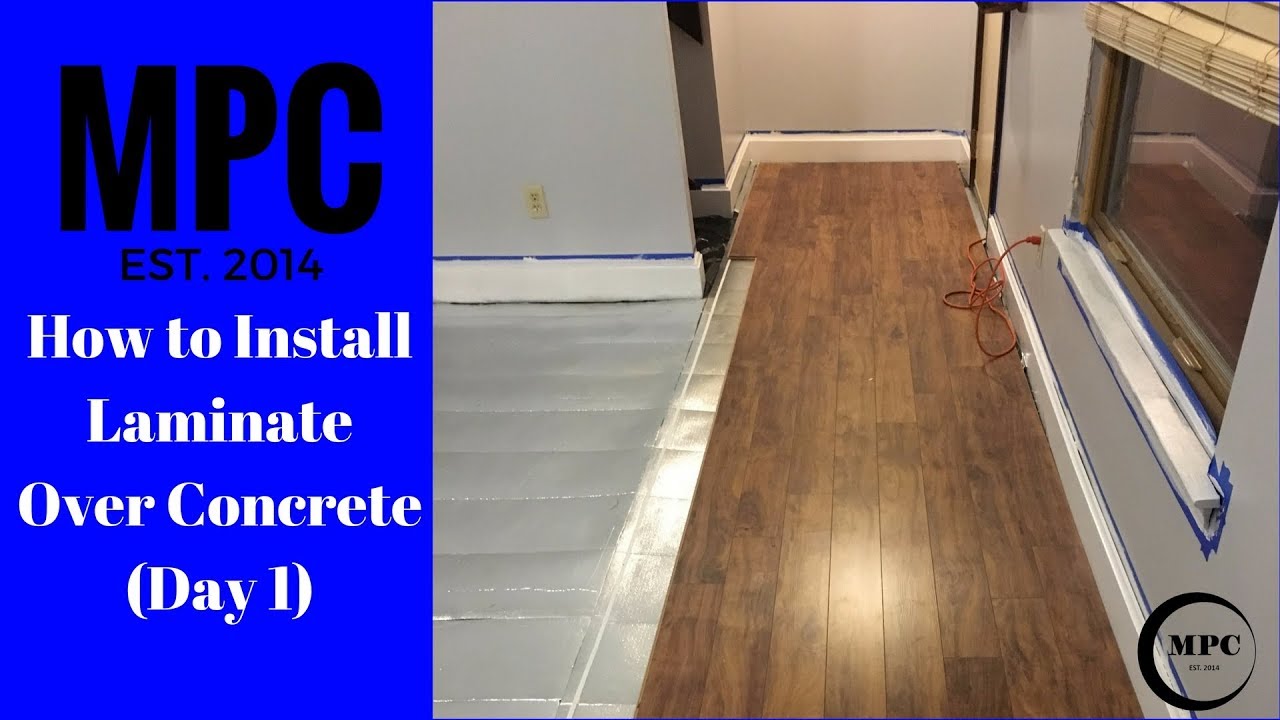
How to Install Laminate Over Concrete (Day 1)
How To Install Laminate Flooring on Concrete – Making Manzanita (Day 1)
How To Install Laminate Flooring Over Concrete (Day 1)
How to Install Laminate Flooring on Concrete – Floor Techie (Day 1)

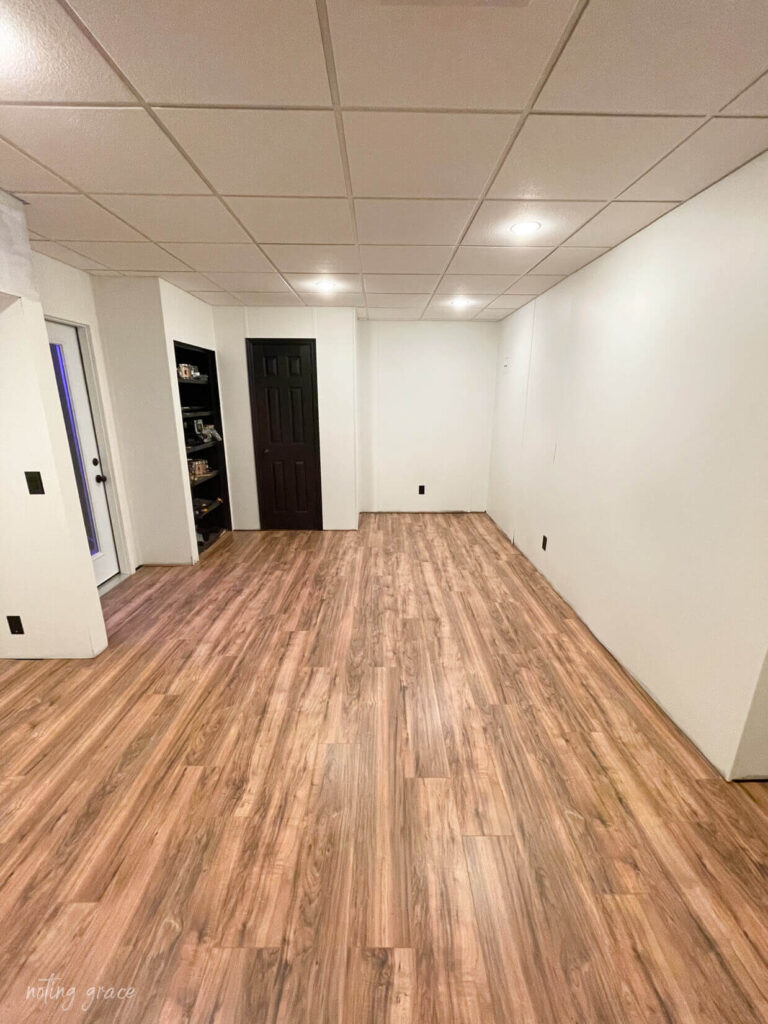
How To Install Laminate Flooring Over Concrete – Noting Grace (Day 1)
How to install Pergo laminate flooring on concrete subfloor (Day 1)
How to Install Vinyl Plank over Concrete (ORC Week 4/5) The (Day 1)
Installing Wood Flooring Over Concrete (DIY) (Day 1)

Related Posts:
- Oak Grey Laminate Flooring
- Laminate Flooring Living Room Ideas
- How To Remove Laminate Flooring
- Gray Laminate Flooring Ideas
- How To Remove Laminate Floor Glue
- Laminate Floor Edge Filler
- Farmhouse Laminate Flooring
- Dark Laminate Flooring Ideas
- Laminate Floor Uneven Transition
- Laminate Floor Colors Ideas
Homeowners who are looking to upgrade their floors to a sleek, modern look have plenty of choices available to them. Laminate flooring can be a great way to add a new look and feel to any room without breaking the bank. One popular type of laminate flooring is click laminate, which makes installation much easier and faster than traditional laminate flooring. Installing click laminate flooring on concrete is simpler than ever, and can be accomplished with just a few tools and supplies.
### Preparing for Installation
Before you begin installing click laminate flooring on concrete, it’s important to make sure that the concrete is ready for the job. To begin with, you’ll need to make sure that the concrete surface is clean, dry and level. If there are any irregularities in the surface, you may need to use a self-leveling compound or concrete patch to even it out. Additionally, you’ll want to make sure that the temperature of the concrete does not exceed 80 degrees Fahrenheit before beginning installation.
### Gather Materials
Once the concrete surface is ready, it’s time to gather all of the necessary materials for installation. In addition to the click laminate planks, you’ll need an underlayment (which will provide insulation and soundproofing), adhesive tape, and a rubber mallet. You may also want to invest in a jigsaw for cutting planks in tight corners or tricky angles.
### Installing the Underlayment
The first step in installing click laminate flooring on concrete is laying down the underlayment. This should be placed directly onto the concrete surface, making sure that all seams are tightly sealed with adhesive tape. To ensure proper insulation and soundproofing, make sure to overlap each sheet by at least 4 inches.
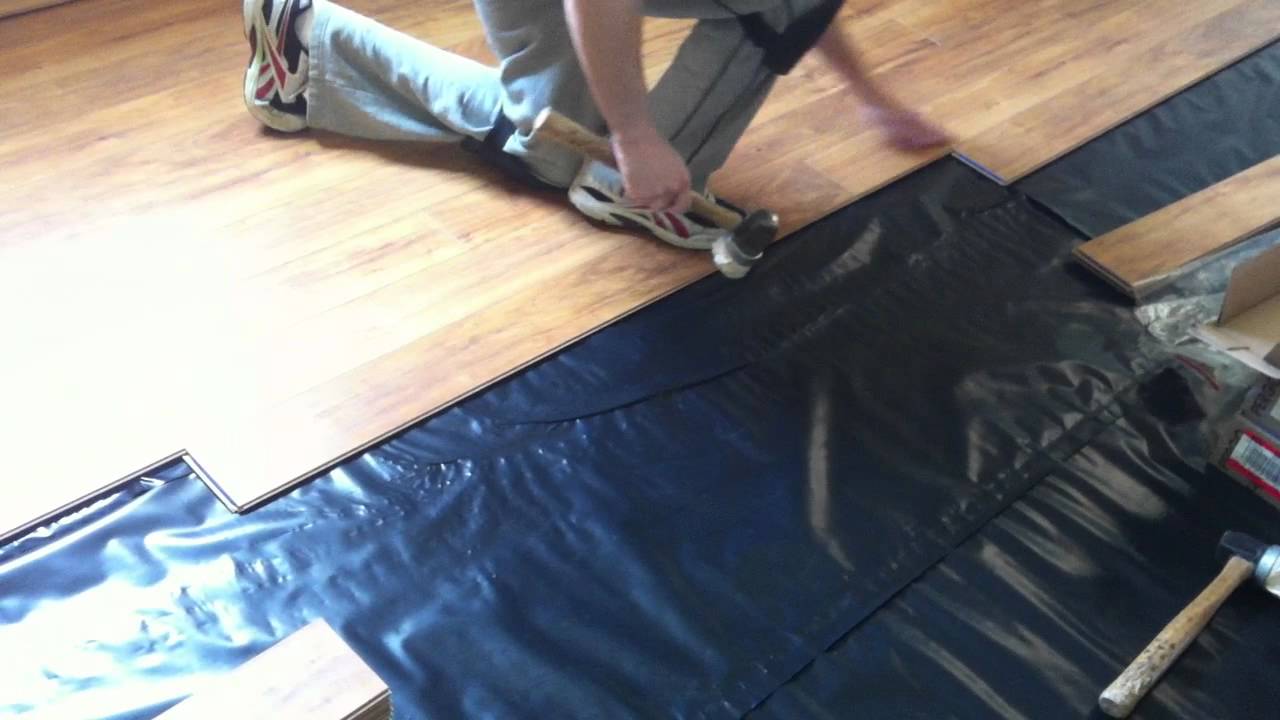
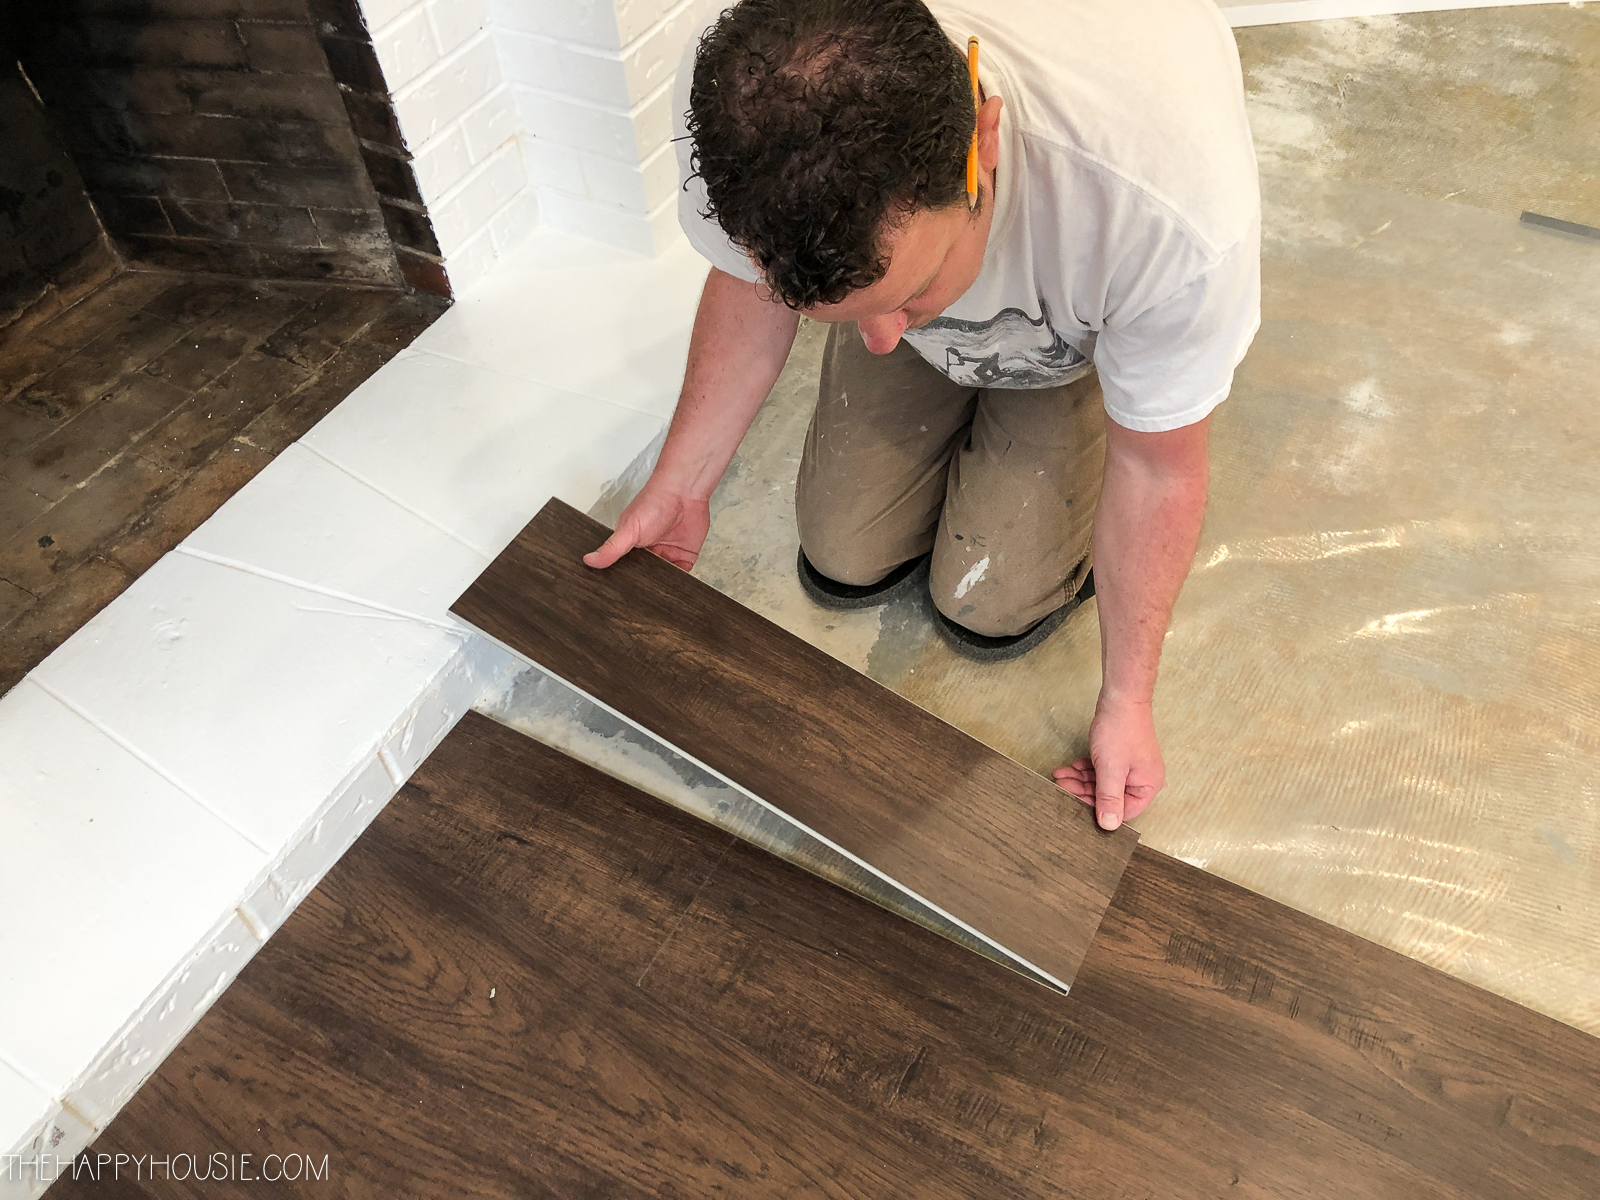
### Laying Down the Planks
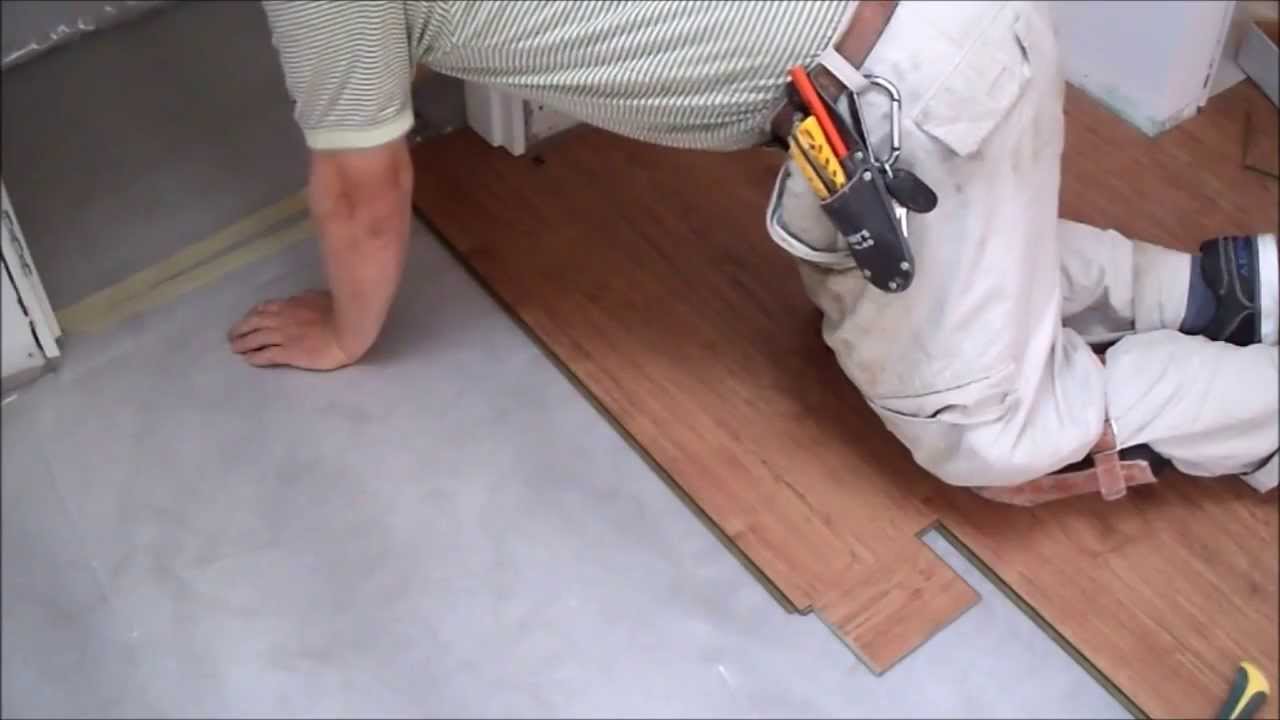
Once the underlayment has been installed, you’re ready to lay down the planks of click laminate flooring. Begin by laying down your first row of planks along one wall, making sure to leave at least 1/4 inch gap from the wall for expansion. To connect each plank, simply press them together until they click into place. For tight corners or tricky angles, you may need to cut individual planks with a jigsaw. Continue laying down rows of planks until you’ve reached your desired coverage area.
### Finishing Up
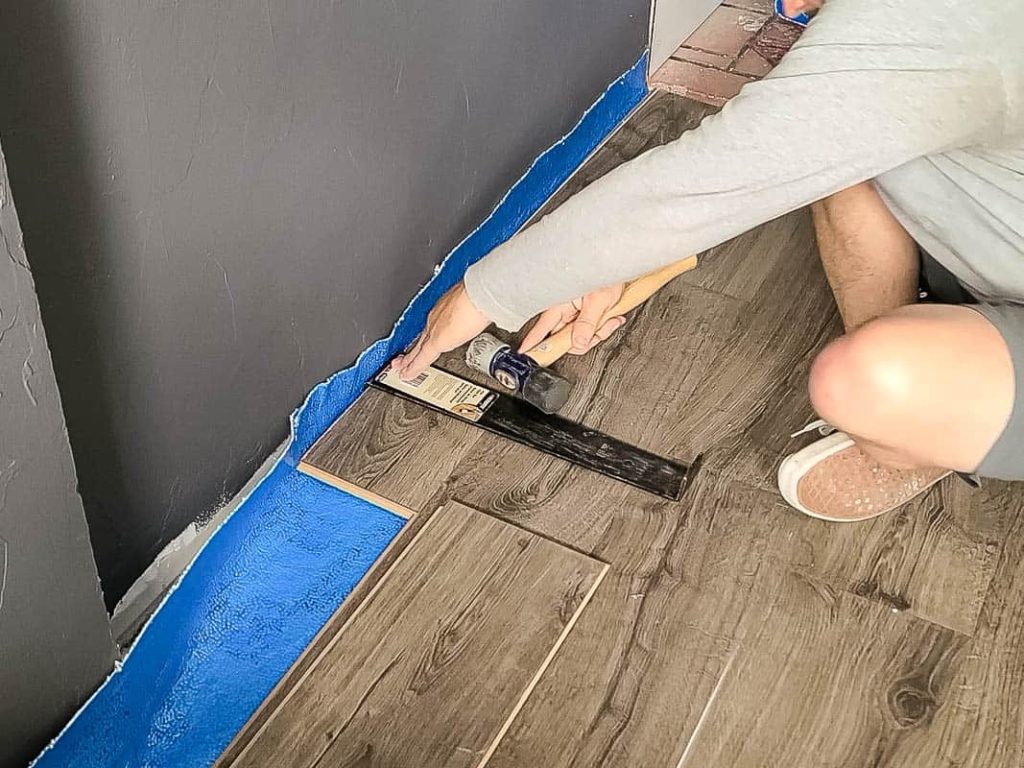
When all of your planks have been successfully laid, it’s time for some finishing touches. Use adhesive tape along all seams and edges of your click laminate flooring, then use a rubber mallet to firmly press down all seams and edges so they are secure. Finally, use a vacuum or broom to remove any dust or debris from your newly installed floor.
Installing click laminate flooring on concrete is an easy DIY project that can be accomplished with minimal effort in just a few hours. With proper preparation and preparation materials, anyone can have beautiful new floors in no time!