How To Install Cork Flooring In Kitchen

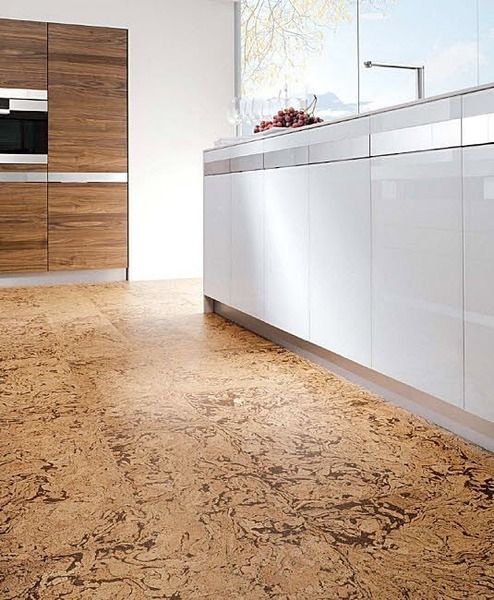
Cork flooring installed in kitchen with custom plywood cabinets. Work completed by Interior

Cork Underlayment ~ Why Cork is the Ultimate Flooring Underlayment

cork floor Cork flooring kitchen, Rubber flooring kitchen, Kitchen flooring options

Why OSB is a hidden winner for your home homify Cork flooring kitchen, Kitchen flooring

Cork Flooring Kitchen Pictures – Flooring Guide by Cinvex
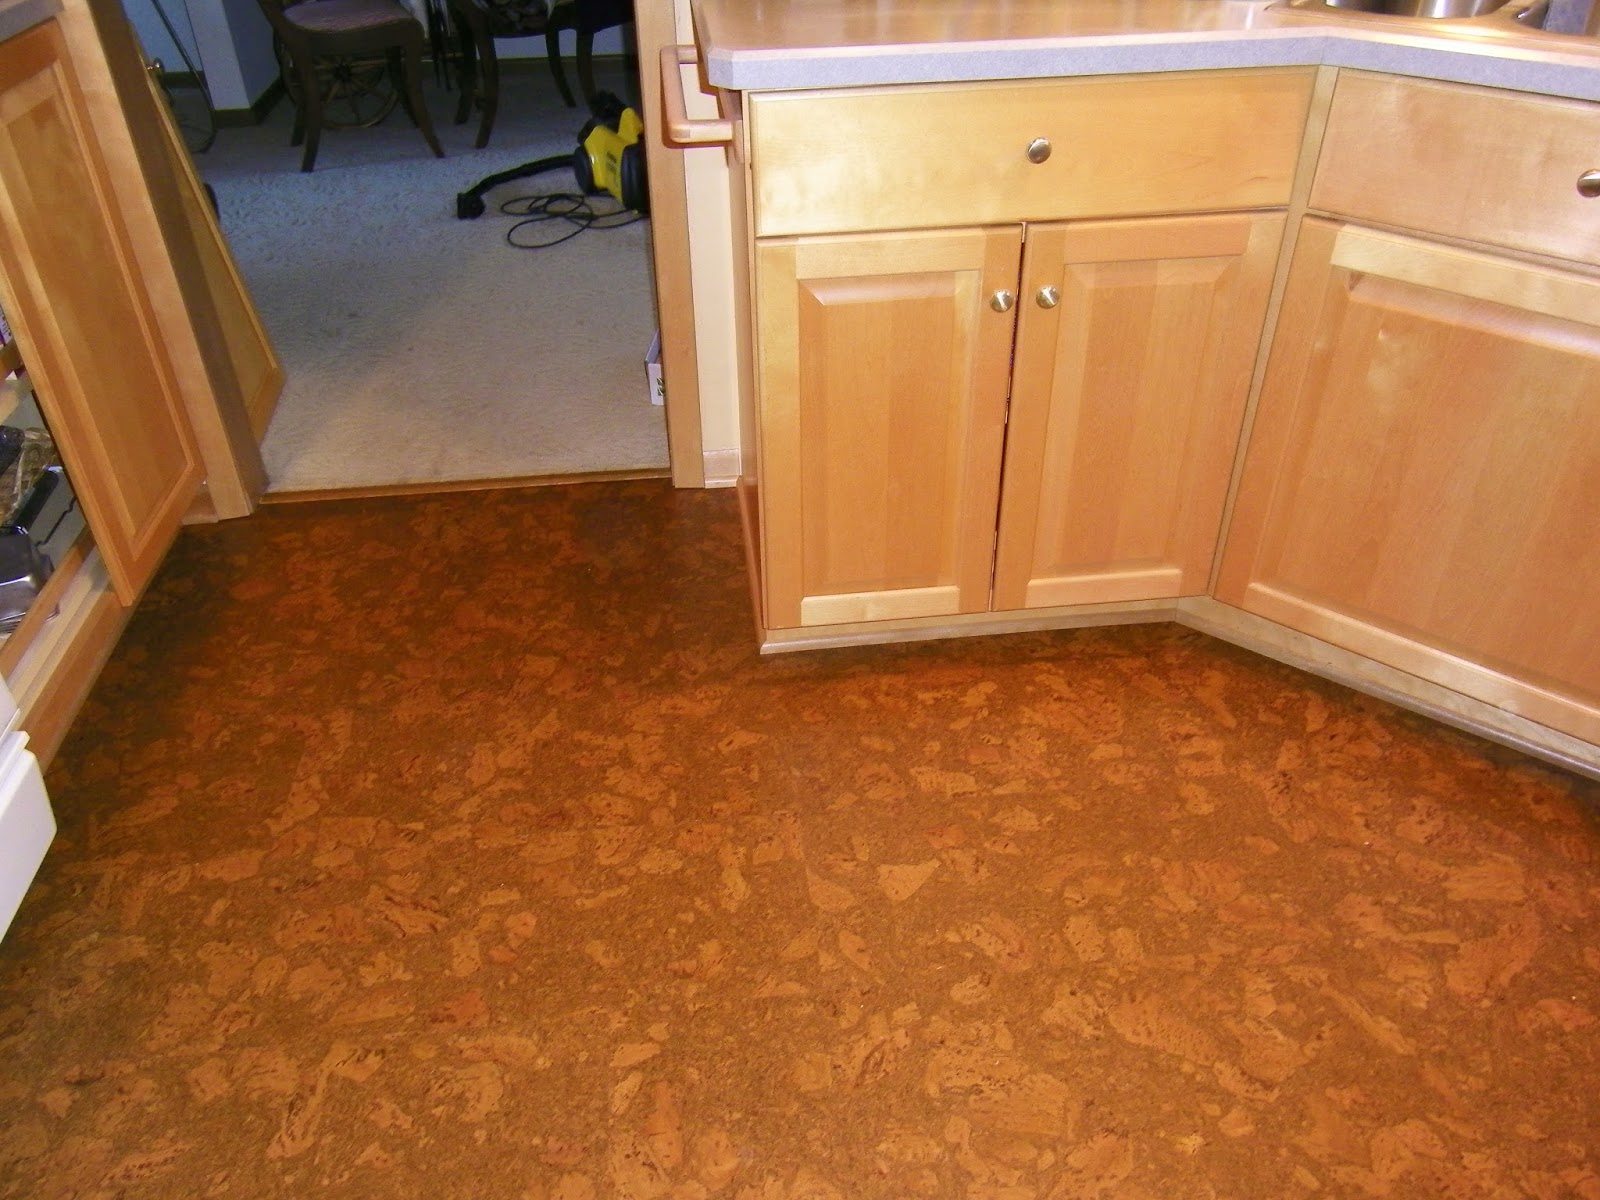
Natural cork floors installed in kitchen. Interior Floor Designs Seattle. Cork flooring, Floor

Maximizing Cork Flooring for Kitchen, Cork Flooring Kitchen Pros and Cons
Maximizing Cork Flooring for Kitchen, Cork Flooring Kitchen Pros and Cons

Cork Flooring – Best Cork Floor Tiles for Kitchen – The Architecture Designs
Cork Flooring Kitchen renovation, Kitchen, Cork flooring

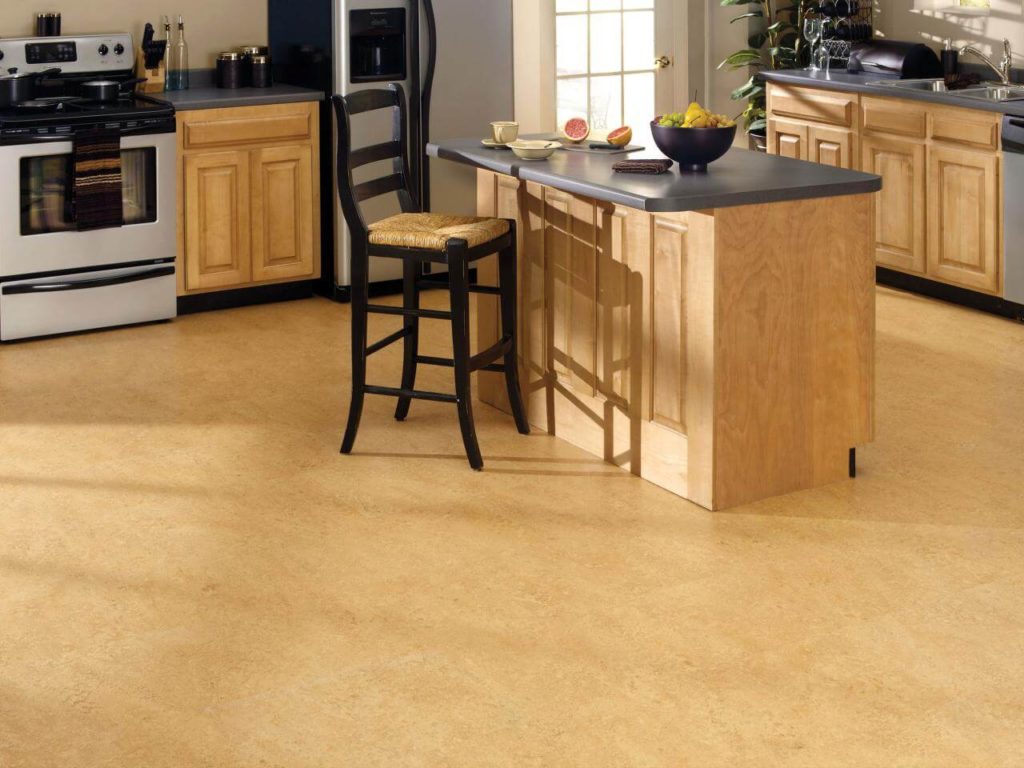
Kitchen with cork flooring Kitchen flooring, Cork flooring, Slate appliances

Related Posts:
- Small Kitchen Floor Plan Ideas
- Laminate Flooring In Kitchen
- Black Slate Tile Kitchen Floor
- How To Lay Tile In Kitchen Floor
- Red Kitchen Floor
- Cheap Kitchen Laminate Flooring
- Decorative Kitchen Floor Mats
- Contemporary Kitchen Flooring Ideas
- Kitchen Ceramic Tile Floor
- Quarry Tile Kitchen Floor
Cork flooring is becoming an increasingly popular choice for homeowners looking to create a unique and stylish atmosphere in their kitchen. Not only is it beautiful and modern, but cork flooring is also incredibly durable and low maintenance. Installing cork flooring in your kitchen can be a relatively simple process if you’re aware of the steps to take and have the right tools. Here’s a guide on how to install cork flooring in your kitchen.
## Gather Your Materials and Tools
Before you begin the installation process, it’s important to gather all of the materials and tools that you’ll need. You’ll need cork tiles, which are available in a range of colors, sizes, and textures. You’ll also need adhesive specifically designed for cork flooring, as well as a trowel, utility knife, tape measure, hammer, and level. Make sure that the adhesive you use is suitable for the type of cork tiles you’re using.
## Prepare the Subfloor
Before you can begin laying the cork tiles, you need to ensure that the subfloor is properly prepared. The subfloor should be clean, dry, and level. If there are any uneven areas or dips in the floor, you may need to use a self-leveling compound to make it even. You should also check for any nails or screws that may be sticking out of the subfloor, as these could cause damage to your cork tiles once they’re installed.
## Lay the Cork Tiles
Once your subfloor is ready, you can begin laying the cork tiles. Start by laying out the tiles so that you know how many you will need and where they will go. You can then use a trowel to spread adhesive on the subfloor where each tile will go. Make sure to spread it evenly so that it covers the entire area where the tile will be placed. Gently press each tile into place, using a level and hammer to ensure that they are even with each other.
## Cut Tiles To Fit
Depending on the size of your kitchen, you may need to cut some of your tiles in order to fit them into place. To do this, use a utility knife or jigsaw to cut along the desired line. Be sure to wear safety goggles and gloves when cutting your cork tiles in order to protect yourself from any debris or sharp edges. Once all of your tiles are in place and you’ve allowed them to cure for 24 hours, your new cork flooring is ready for use!
Installing cork flooring in your kitchen can be an easy and rewarding process if done correctly. By following these steps and gathering the necessary materials and tools beforehand, you can have beautiful cork flooring in your kitchen in no time!