How To Lay Tile On Concrete Basement Floor

Laying Ceramic Tiles On A Concrete Floor / Laying Floor Ceramic Tile Renovating The Floor
:max_bytes(150000):strip_icc()/can-you-install-tile-directly-on-concrete-1822600-04-458f7bb6c78348c1835cf8054ef36553.jpg)
How To Lay Tile Over Concrete Basement Floor – Flooring Site

How To Lay Tile On Concrete Basement Floor – Laying Ceramic Tile Over Concrete Basement Floor

How To Lay Tile Over Concrete Basement Floor – Flooring Site

Installing Tile On Uneven Concrete Floor – Flooring Guide by Cinvex

Laying Tile On Concrete Basement Floor – enganchadaalreciclaje.com

How to tile a concrete floor Flooring, Diy kitchen flooring, Tile floor diy

How To Lay Tile Over Concrete Basement Floor – Flooring Site

How To Lay Tile On Concrete Basement Floor – Laying Ceramic Tile Over Concrete Basement Floor

How To Lay A Ceramic Tile Floor On Concrete Viewfloor.co
Carpet Tiles For Concrete Basement Floor – Flooring Blog
Related Posts:
- Basement Flooring Ideas
- Basement Floor Heaving Repair
- Basement Flooring Options DIY
- Fixing Basement Floor
- Repainting Basement Floor
- Walkout Basement Flooring
- Brick Basement Flooring
- Budget Basement Flooring
- Waterproofing Your Basement Floor
- Laminate Basement Flooring
Concrete basements are often dreary and cold. But with just a few steps, you can make your basement space much more inviting and appealing by installing tile on the floor. Laying tile on a concrete basement floor is a great way to enhance the look and feel of your home’s lower level. Here’s how to do it.
## Step 1: Prepare the Floor
The first step in laying tile on a concrete basement floor is to prepare the surface. Start by inspecting the floor for any cracks or other damage that may need to be fixed before the tile is installed. If you find any, use a concrete repair compound to fill them in.
Once any necessary repairs are made, clean the floor thoroughly with a vacuum cleaner or broom and dustpan. Then use an abrasive cleaner such as TSP (trisodium phosphate) to remove any dirt and grease from the surface of the concrete. Let the area dry completely before moving onto the next step.
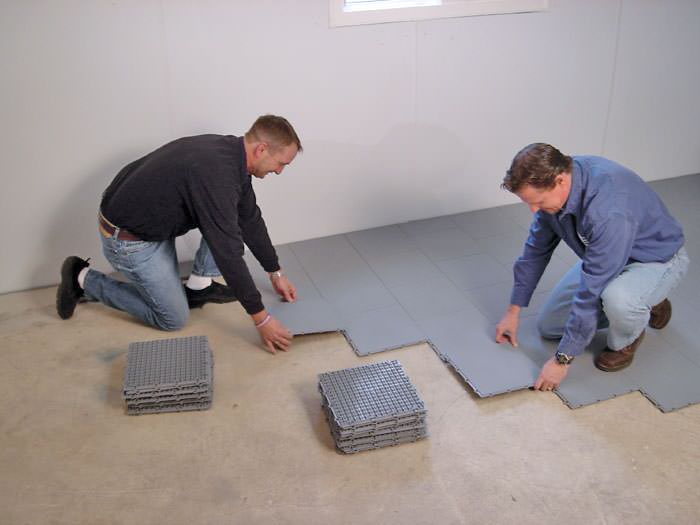
## Step 2: Lay Out Your Tiles
Once your concrete is ready, you can begin laying out your tiles. Start in one corner of the room and measure out an equal amount of space for each tile you plan to use. This will ensure that your tiles look even and symmetrical once they’re installed.
You may also want to consider using a chalk line to draw a straight line across the length of the room for reference when laying down your tiles. This will help you keep everything in line as you work your way across the room.
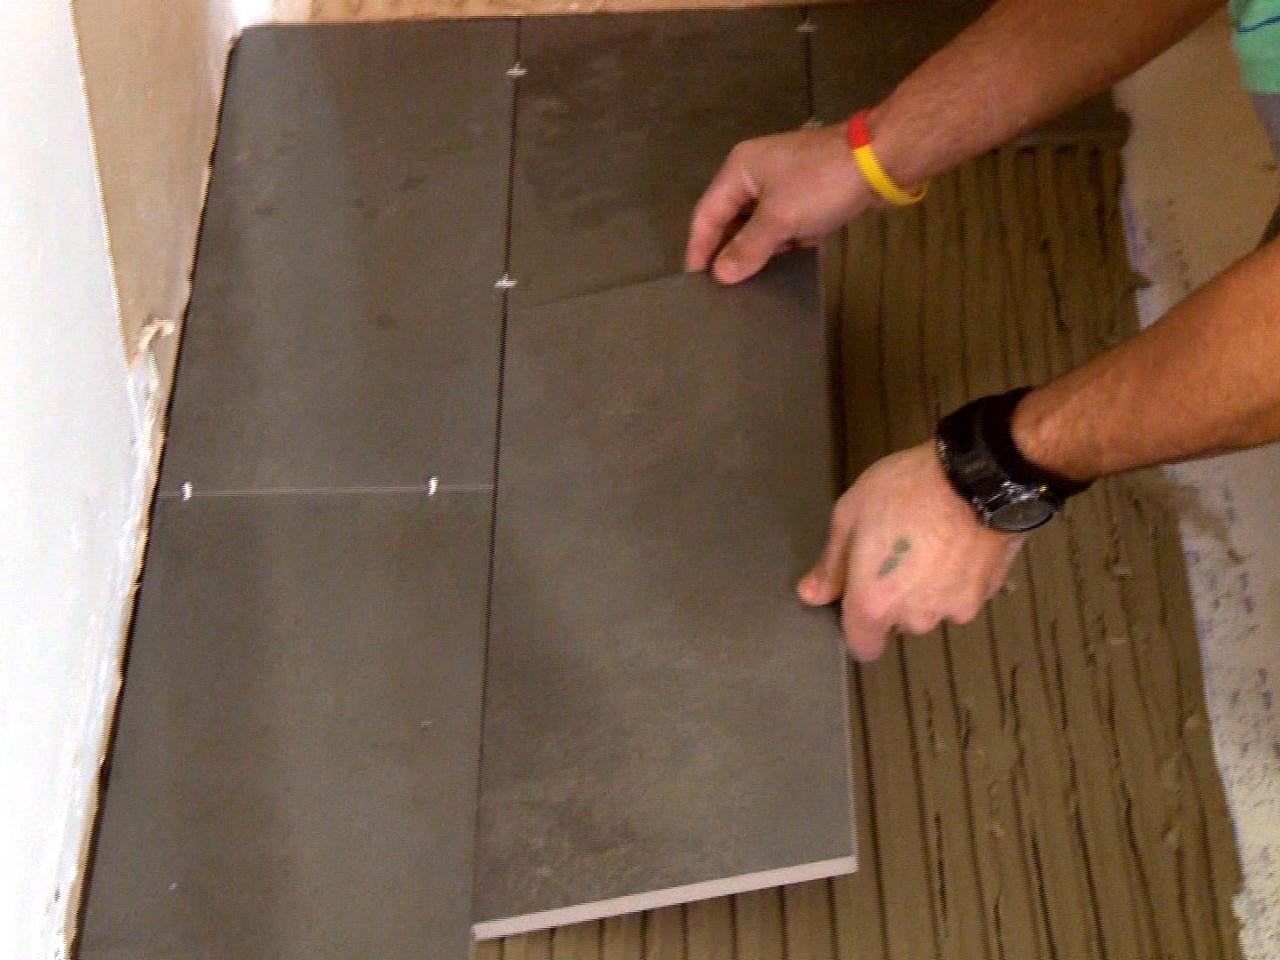
## Step 3: Install Your Tiles
Once you have laid out your tiles, it’s time to start installing them. Begin in one corner of the room, starting with the first tile you measured out. Spread adhesive over the back of each tile, then firmly press it into place on the floor. If necessary, use spacers to make sure that each tile is evenly spaced from its neighbors.
Continue laying your tiles one at a time until you reach the end of the room. Once all of your tiles are in place, allow them to set for 24 hours before moving onto the next step.
## Step 4: Caulk Any Gaps
Once all of your tiles are installed, take a look around to check for any gaps between them or along their edges. If you find any, use a waterproof silicon caulk to fill them in and keep moisture from seeping beneath your tiles and damaging your flooring.
## Step 5: Seal Your Tiles
The final step in laying tile on a concrete basement floor is to seal it with a water-resistant sealer. This will protect your floor from spills and other moisture damage and keep it looking great for years to come. Apply an even coat of sealer over all of your tiles according to package instructions, then let it dry completely before walking on it or allowing furniture back into the area.
Laying tile on a concrete basement floor is an easy way to instantly upgrade the look and feel of your home’s lower level. By following these steps, you can quickly transform what was once an unattractive space into one that looks great and will last for years to come.