Removing cork flooring requires careful preparation and the right tools. Start by clearing the room and removing any furniture or obstacles. Next, use a utility knife or floor scraper to cut and lift the cork tiles or planks. Take care to avoid damaging the subfloor. For glued-down cork, apply heat with a heat gun to soften the adhesive and make removal easier. Use a floor scraper or putty knife to pry up the cork gradually. Finally, clean the subfloor of any remaining adhesive or debris before installing new flooring.
How to Remove Cork Flooring
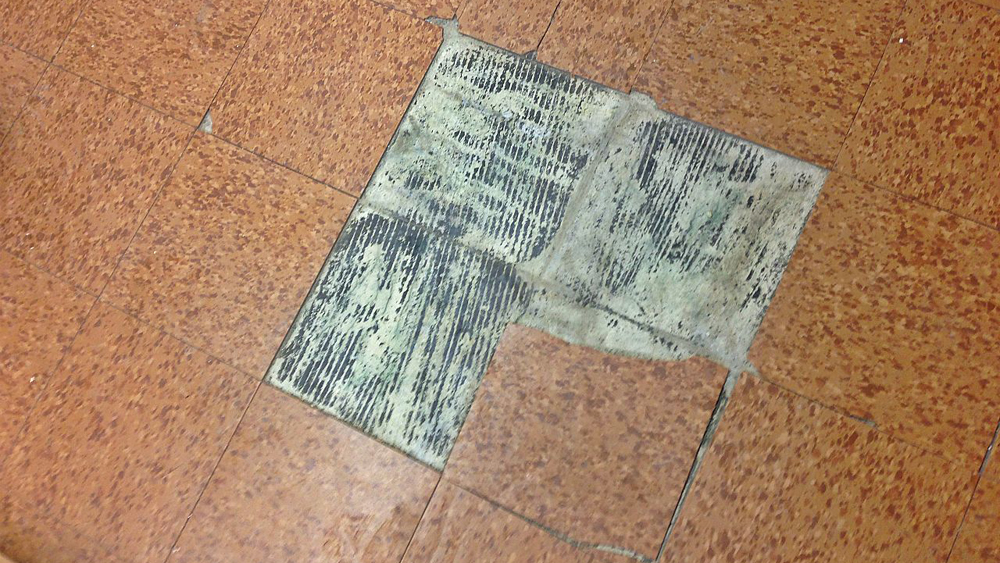
How to Remove Cork Tiles Removing Cork Floor Tiles and Cork Tiles from Walls DIY Doctor
How to Remove Cork Tiles Removing Cork Floor Tiles and Cork Tiles from Walls Cork tiles

How to Remove Cork Floor Tiles DoItYourself.com
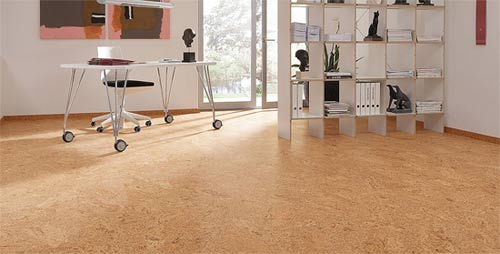
How to Care for & Clean Cork Flooring Cork flooring, How do you clean, Flooring inspiration

How to Install Cork Flooring- Cork Flooring Installation Made Easy

How to Remove Cork Tiles Removing Cork Floor Tiles and Cork Tiles from Walls Cork flooring

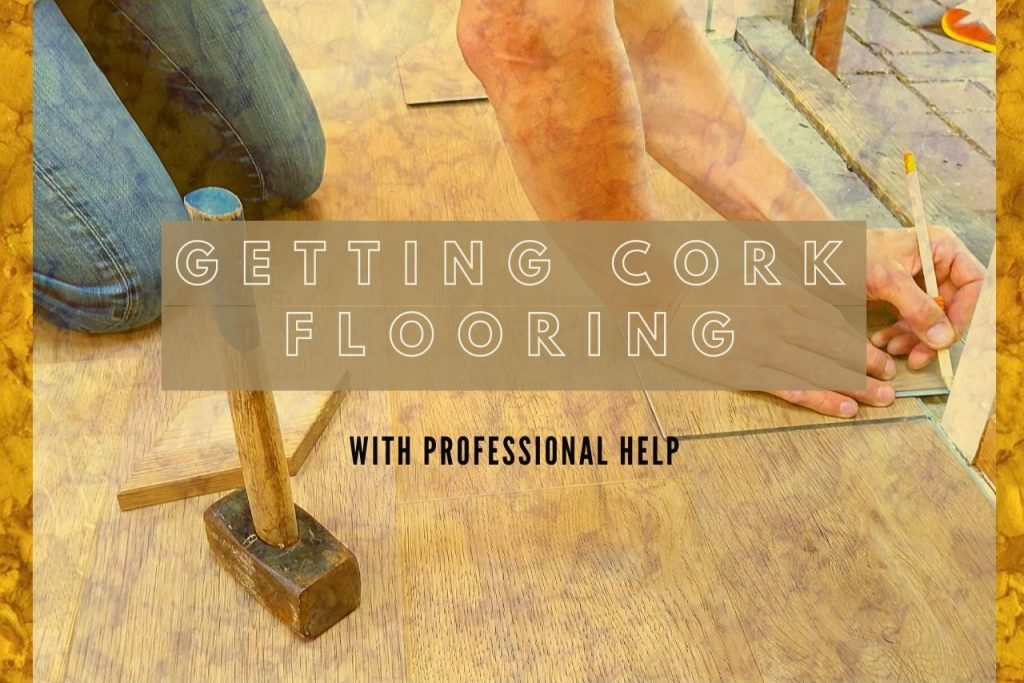
Why You Should Let A Professional Handle Your Cork Flooring Installation – Shannon Halligan
How to Install Natural Cork Flooring how-tos DIY
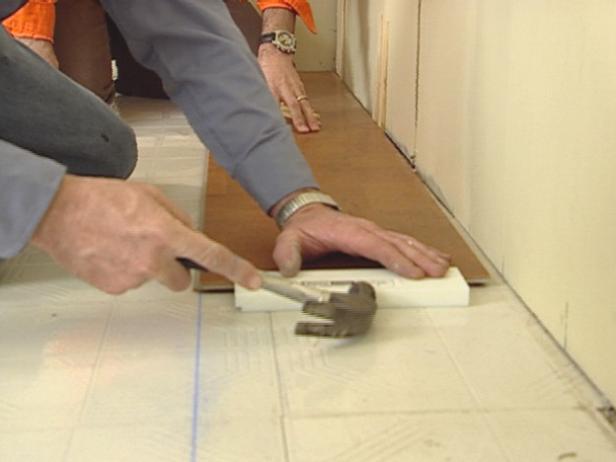
How to Remove Cork Tiles Removing Cork Floor Tiles and Cork Tiles from Walls Cork flooring

Related Posts:
- Glue Down Cork Flooring
- Cork Flooring for Exercise Room
- What Are The Benefits Of Cork Flooring
- Cork Flooring in Laundry Room
- Scandia Plank Cork Flooring
- Cork Floors That Look Like Hardwood
- How To Paint Cork Flooring
- Cork Flooring Renovation
- Cork Flooring Interior Design
- Natural Cork Flooring Ideas
How to Remove Cork Flooring: A Comprehensive Guide
Cork flooring is a popular choice among homeowners and businesses due to its durability, comfort, and stylish appearance. But when it comes time to removing cork flooring, it can be a daunting task. This comprehensive guide will walk you through the process of removing cork flooring, from preparing the area to safely disposing of the removed material.
##### Preparing for Removal
Before you start the process of removing cork flooring, it’s important to prepare the area for the job ahead. Start by cleaning the area with a vacuum or broom to remove dirt and debris. Then, remove any furniture or other objects from the room so that you can access the entire flooring surface.
Next, use masking tape or painter’s tape to mark off any areas where you do not want to remove the cork flooring. It is important to be careful when marking off these areas so that you do not inadvertently damage or remove pieces of the cork flooring. Finally, inspect the area for any potential hazards, such as water damage or mold, and take steps to address those issues if necessary.
##### Removing Cork Flooring
Once you have prepared the area for removal, it is time to begin taking up the cork flooring. Start by using a pry bar or crowbar to gently lift one section of the cork at a time. Work slowly and carefully around each section so that you do not damage any part of the underlying subfloor or wall. Once each section has been removed, carefully roll it up into a large bundle for easy disposal.
If your cork flooring was installed with nails or staples, you may need an additional tool such as a hammer or pliers to remove them from the subfloor before lifting the cork. Be sure to wear protective gloves when handling nails or staples in order to avoid injury.
##### Disposing of Old Cork Flooring
Once all of your old cork flooring has been removed from the room, it’s important to properly dispose of it in order to avoid clutter and potential health hazards. Start by separating out any pieces that are still in good condition and donate them to local charities if possible. If there is no one who can accept them, place them in a secure bin and label it as “old cork flooring” before disposing of it with your regular trash collection service.
For pieces that are too damaged or worn out to be reused, bag them securely and label them with “old cork flooring” again before disposing of them with your regular trash collection service. Be sure to break down large pieces so that they fit into your trash bin and follow all local regulations regarding disposal of large items like these.
##### Cleanup and Finishing Touches
Once all of your old cork flooring has been removed and disposed of, it’s time for cleanup and finishing touches on your new floor space. Start by vacuuming up any remaining debris from removal before washing down the entire space with a mild detergent and warm water solution. Allow all surfaces to dry completely before moving on to installation of your new floor covering.
Finally, if you have chosen to install new cork flooring over existing subfloor, make sure that all surfaces are level and even before installing new material over them. This will ensure that your new cork floor lasts for years to come and provides maximum comfort for those who use it.
Removing cork flooring can be a daunting task, but with proper preparation and care it can be done safely and efficiently. Follow these steps when removing your old cork flooring in order to ensure that your new space looks beautiful for years to come!