How To Repair Large Cracks In Concrete Garage Floor
DIY Concrete Crack Repair Family Handyman

Fixing Cracks In Garage Concrete Floor – Flooring Blog
The best and effective methods to cope with floor concrete cracks in 2020 Garage Ideas Design

How to Repair Garage Floor Cracks and Pitting All Garage Floors
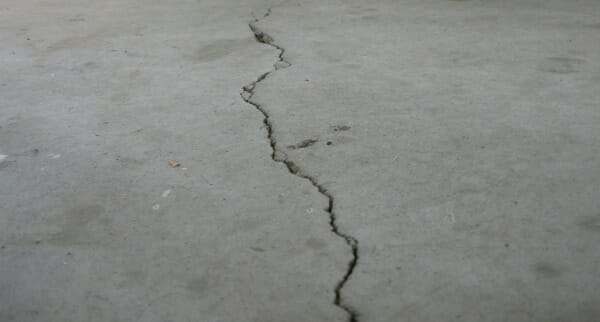
garage-floor-cracks – Acculift Mudjacking Experts in Green Bay WI

How To Repair Large Cracks In Concrete Garage Floor – wholesalegameimperia

Concrete Leveling – Garage Concrete Repair in Oklahoma City, Ok – Cracked Garage Floor in
DIY Easy Big Crack Repair In Concrete Floor – YouTube

Concrete Floor Cracks In Garage – Flooring Site

Foundation Repair – Bolton, MA Garage Cracks Need Repairs! – Another Crack in This Garage Wall

How to Repair Garage Floor Cracks and Pitting All Garage Floors
Related Posts:
- Marble Garage Floor
- Cheap Garage Floor Covering
- Garage Floor Coating
- Heavy Duty Garage Flooring
- Checkerboard Garage Floor Tiles
- Garage Floor Sealer Paint
- Epoxyshield Garage Floor Paint
- Benefits Of Epoxy Flooring In Garage
- Garage Floor Preparation For Epoxy
- Garage Workshop Flooring
Having a concrete garage floor is a great way to make sure your garage stays in great condition for years to come. But while concrete is known for its durability, it can still crack over time. Large cracks in your concrete garage floor are unsightly and can make your garage look unkempt. Fortunately, there are simple steps you can take to repair these cracks and restore the beauty of your garage floor.
## Identify The Source Of The Cracks
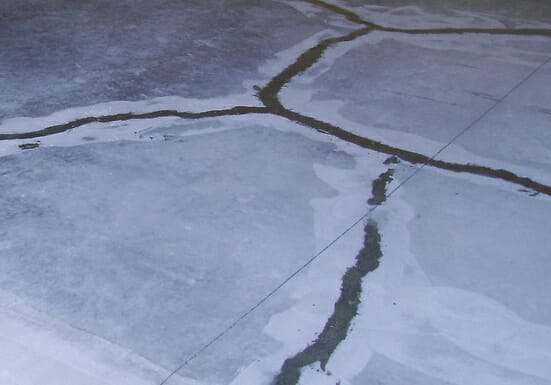
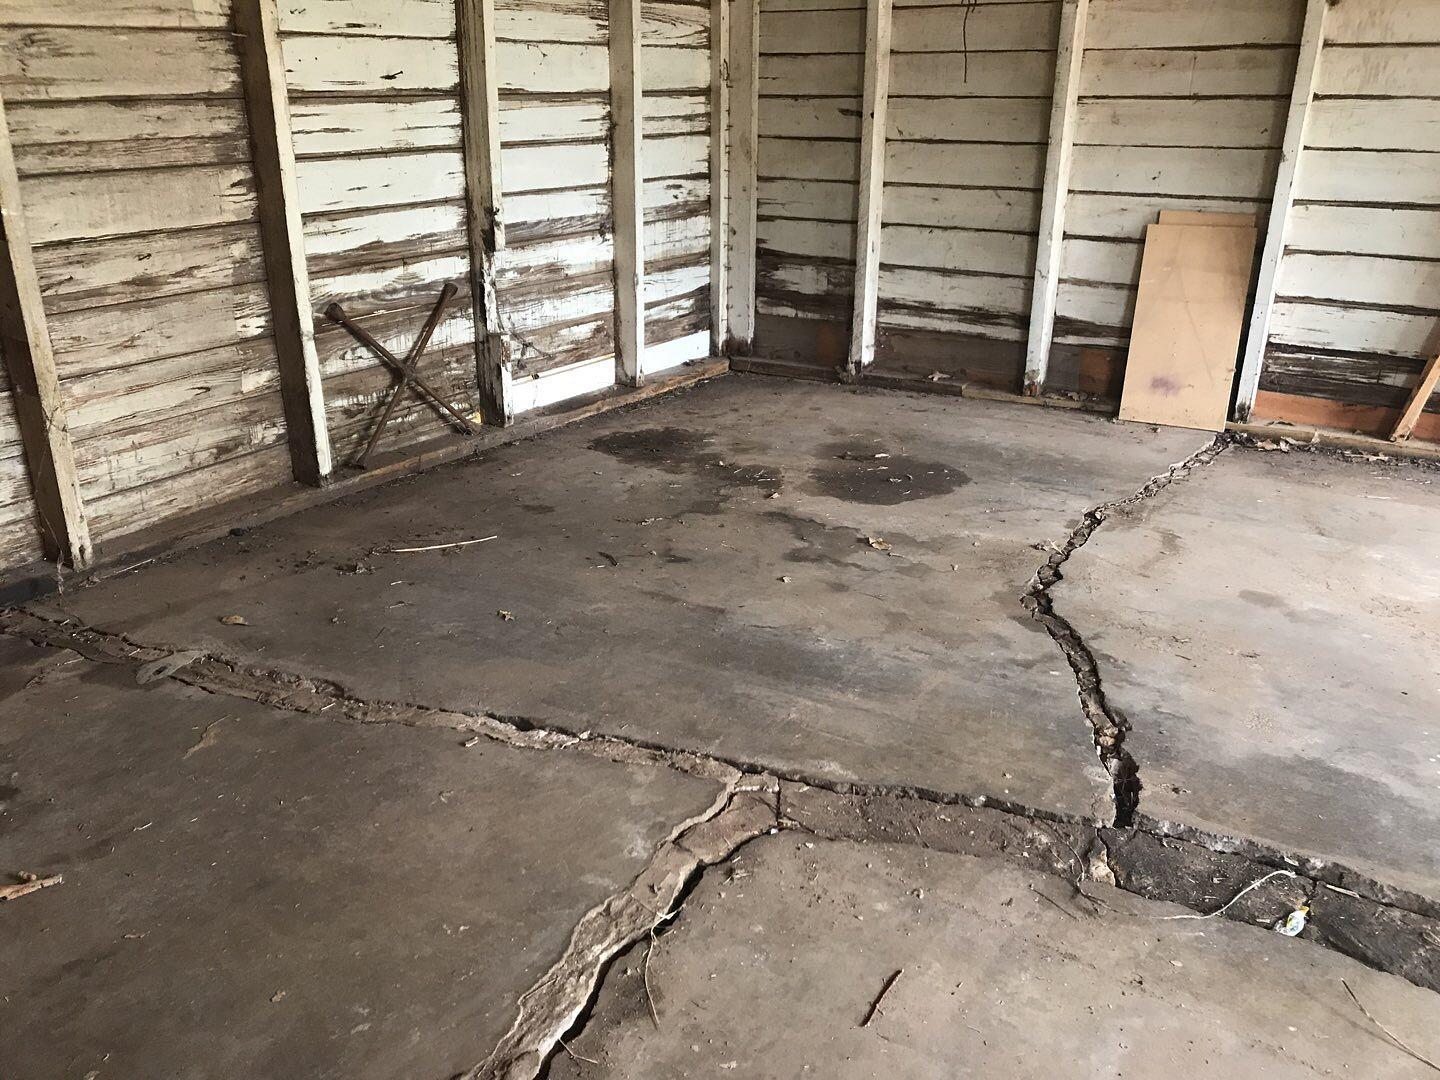
The first step in repairing large cracks in a concrete garage floor is to identify the source of the cracks. This will help you determine the best way to repair them. Some of the most common causes of cracks in concrete floors include:
– Poor drainage
– Excessive weight on the floor
– Poorly compacted soil
– Tree roots near the foundation
– Seismic activity
Identifying the source of the cracks can help you determine if the problem is structural or cosmetic. If the problem is structural, you may need to call a professional for help.
## Clean And Prepare The Crack For Repair
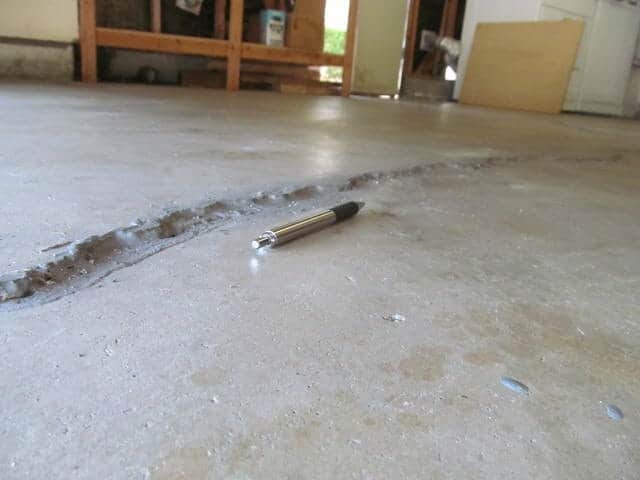
Once you’ve identified the source of the crack, the next step is to clean and prepare it for repair. Before you begin any repairs, it’s important to thoroughly clean the area around the crack. This will remove any debris that could interfere with the repair process. Once the area is clean, use a wire brush or an angle grinder to remove any loose material from inside and around the crack. This will ensure that the repair material adheres properly and that there is no risk of further damage.
## Choose An Appropriate Repair Material
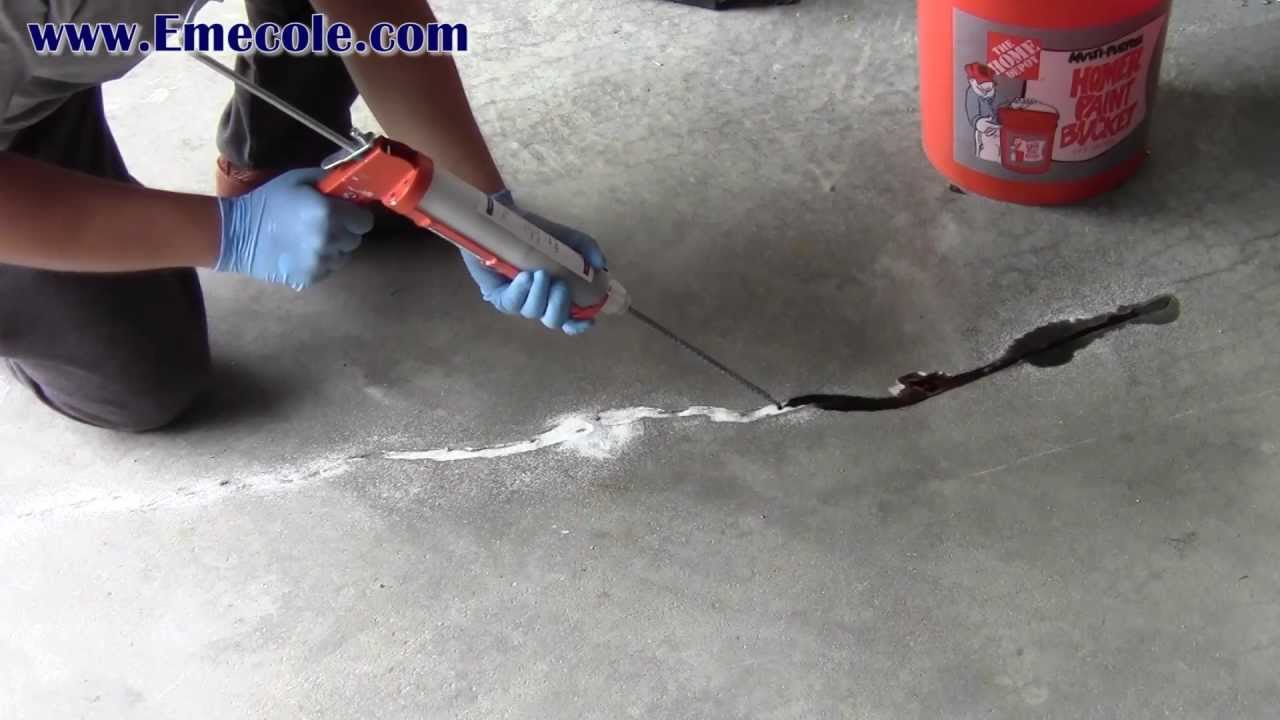
Now that you’ve cleaned and prepared the crack for repair, it’s time to choose an appropriate repair material. There are several options available, including concrete patching compound, epoxy resin, and polyurethane foam. Each material has its own advantages and disadvantages, so it’s important to choose one that best suits your needs. Generally speaking, epoxy resin is best for structural repairs while concrete patching compound and polyurethane foam are better suited for cosmetic repairs.
## Prepare The Repair Material
Once you’ve chosen an appropriate repair material, it’s time to prepare it for use. Depending on the type of material you’ve chosen, this may involve mixing it with water or other liquids according to the manufacturer’s instructions. Once you’ve mixed it properly, apply it to the crack using a trowel or putty knife. Make sure to spread it evenly and fill in any gaps or voids before allowing it to dry completely.
## Seal The Crack To Prevent Future Damage
Finally, once your repair material has dried, you should seal the crack with a waterproof sealant to prevent future damage. This will protect your concrete garage floor from moisture damage and ensure that your repairs last for years to come. There are several types of sealants available, so make sure to choose one that is compatible with your repair material and that provides adequate protection against moisture and other elements.
Repairing large cracks in a concrete garage floor may seem like a daunting task at first, but it’s actually quite simple when you break it down into smaller steps. With proper preparation and materials, you can restore your garage floor to its former glory and keep it looking great for years to come!