Installing Hardwood Flooring Video
Step-by-Step Process for Installing Hardwood Floors – Room For Tuesday

How to Install Wood Flooring Vermont Hardwoods

Installing Hardwood Floors – YouTube

How to Install Engineered Hardwood Floors – A Taste of Koko

How to Installing Hardwood Flooring – TheFlooringlady
Pros and Cons of Installing Hardwood Floors — RISMedia
How to Install an Engineered Hardwood Floor how-tos DIY
How to Prepare for Hardwood Floor Installation
/154907699-56a49f3c5f9b58b7d0d7e14e.jpg)
How To Install Hardwood Floors
10 Great How to Install A Hardwood Floor Over Plywood Unique Flooring Ideas

How to Install a Hardwood Floor Diy hardwood floors, Installing hardwood floors, Wood floors

Related Posts:
- Hardwood Floor Cleaning Tips
- Hardwood Floor Decorating Ideas
- Hardwood Floor In A Kitchen
- Engineered Hardwood Flooring
- Rustic Oak Hardwood Flooring
- Parquet Hardwood Flooring
- Hardwood Floor Duster
- Homemade Hardwood Flooring
- Hardwood Floor Stain Colors
- Hardwood Floor Repair DIY
Hardwood flooring is a great way to add beauty and style to a home. It’s also a relatively easy DIY project that anyone can do with the right tools and equipment. In this guide, we’ll provide step-by-step instructions on how to install hardwood flooring, as well as a helpful video tutorial at the end.
## What You’ll Need To Install Hardwood Flooring
Before you begin installing hardwood flooring, there are a few materials and tools you’ll need. First, you’ll need the hardwood flooring itself. You can purchase hardwood flooring in a variety of styles, sizes, and colors. Next, you’ll need an adhesive to attach the flooring to the subfloor. Lastly, you’ll need tools such as a jigsaw, hammer, chisel, circular saw, and measuring tape.
## Preparing The Subfloor For Hardwood Flooring
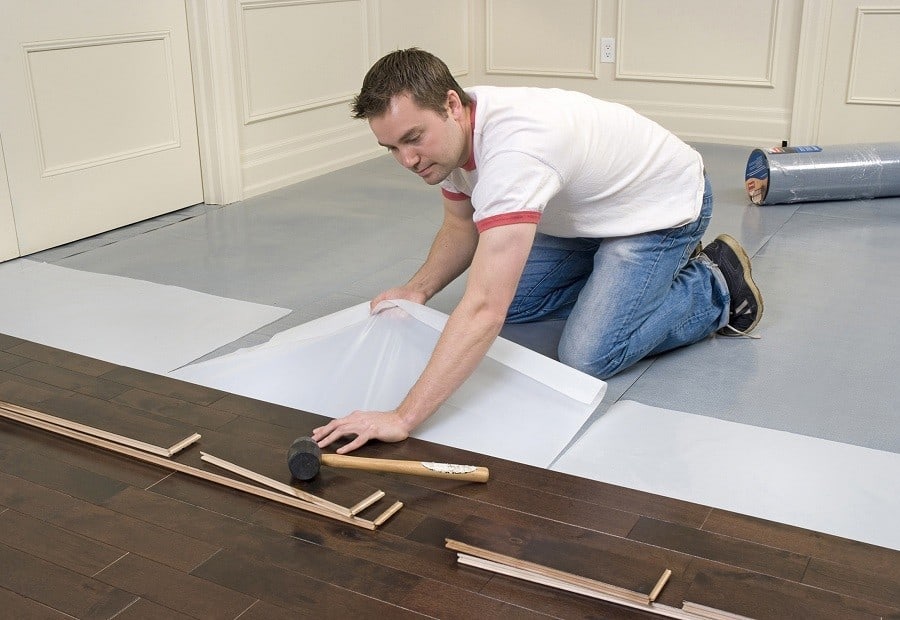
Once you have all the materials and tools you need, it’s time to start preparing the subfloor for installation. First, make sure that your subfloor is clean and free from debris. You can use a vacuum or broom to sweep the area. Then, inspect the subfloor for any cracks or damage. If there are any cracks or damage, repair them with a patching compound before continuing.
## Installing The Hardwood Flooring
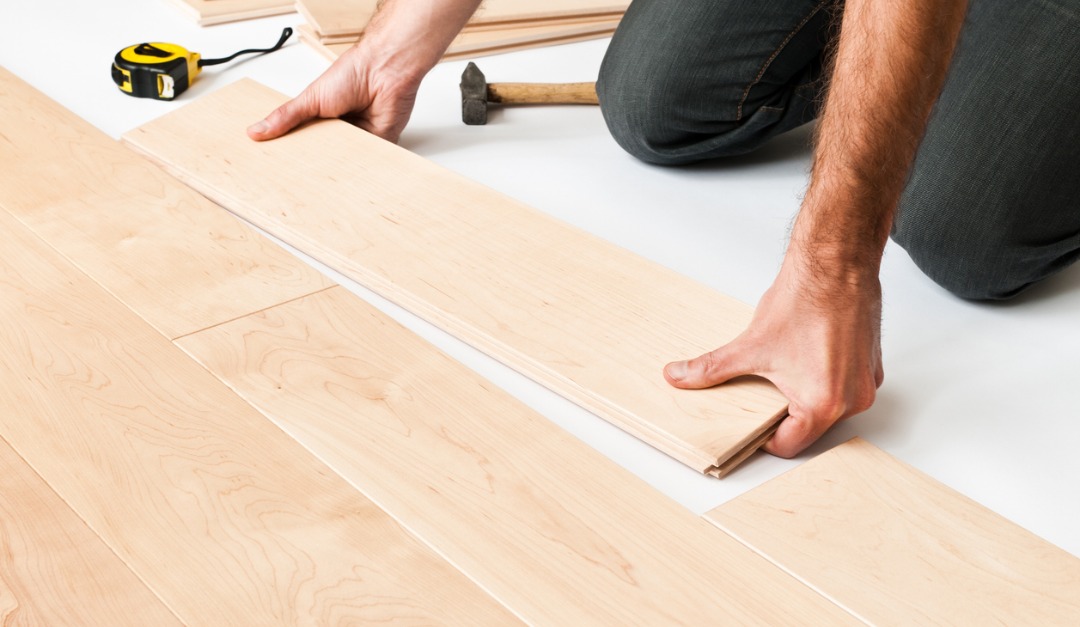
Now that your subfloor is ready for installation, it’s time to start laying down the hardwood flooring. Begin by measuring the area where you want to install the hardwood flooring. Cut the boards to size using a jigsaw or circular saw. Make sure that each board is cut accurately so that it fits properly in place.
Once you have all your boards cut to size, apply an adhesive to the back of each board before pressing it into place on the subfloor. Make sure that each board is firmly pressed into place and that the edges are flush with one another.
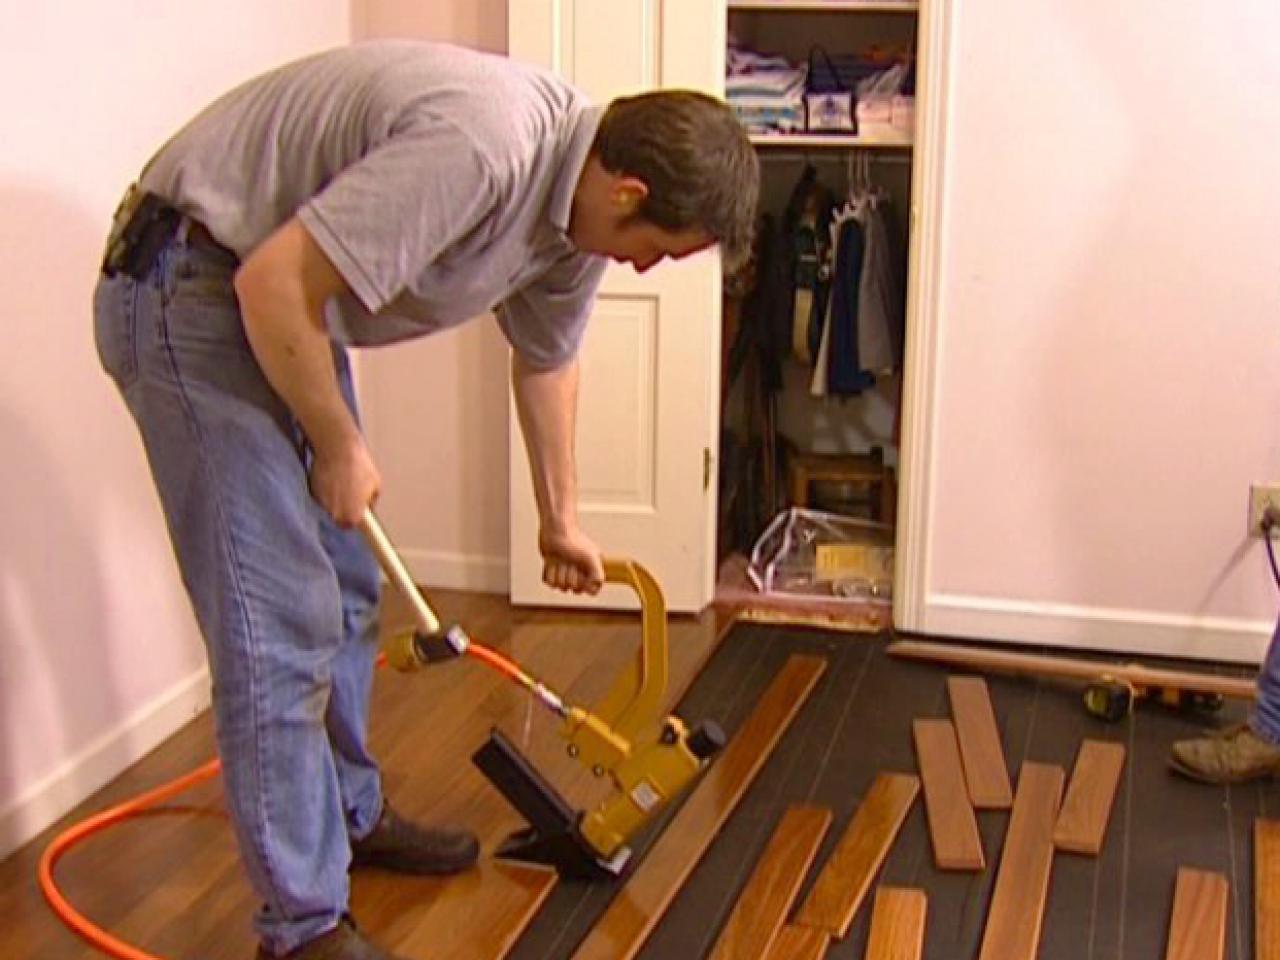
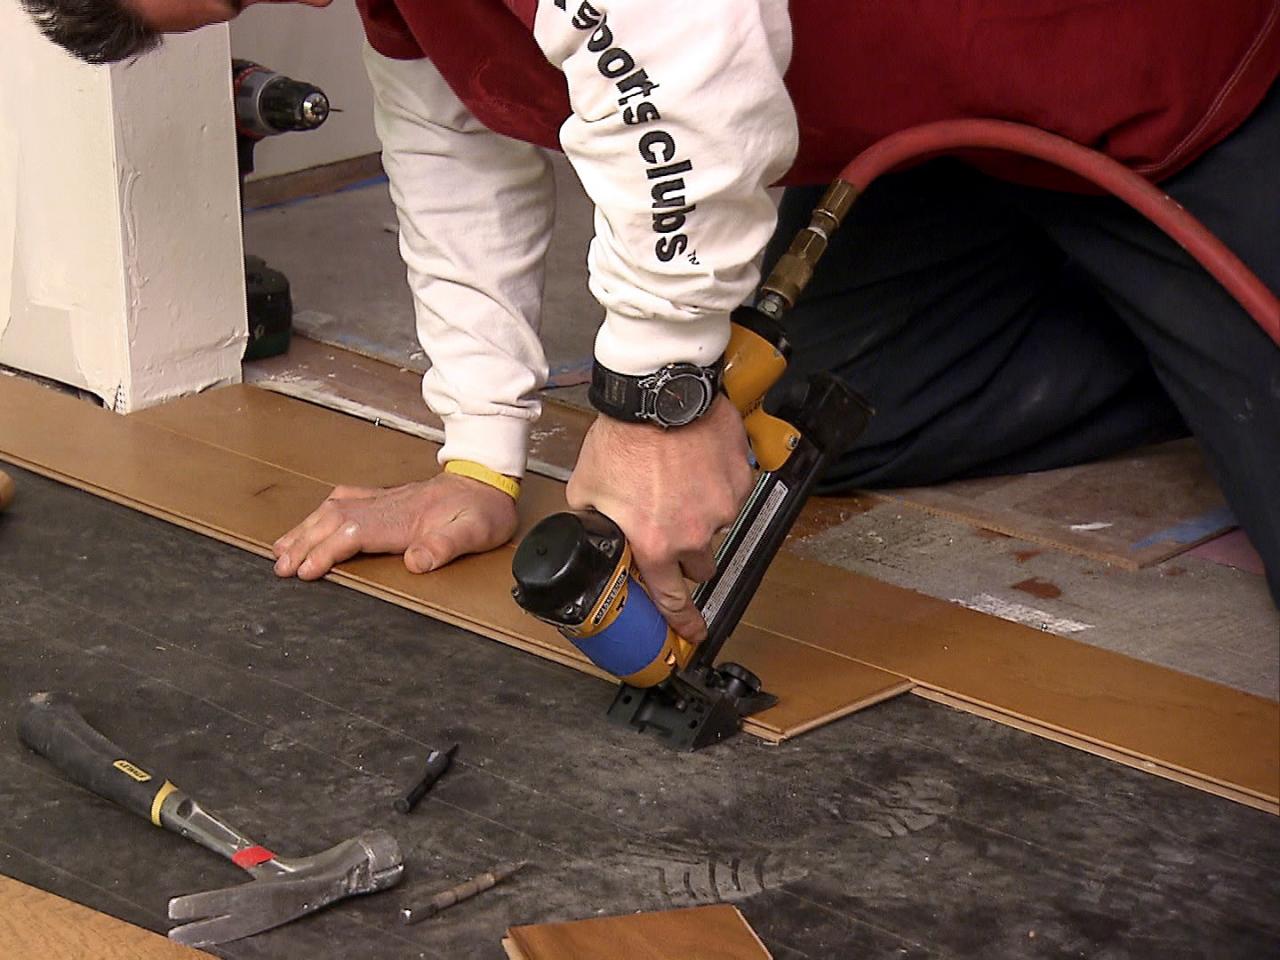
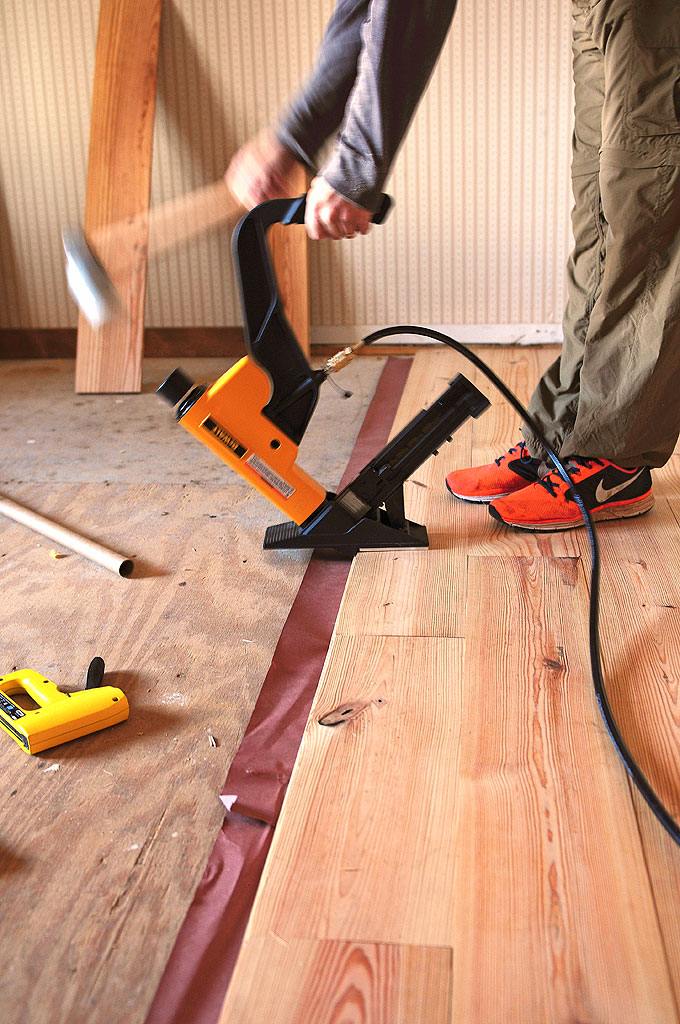
Once all your boards are in place and firmly pressed into place, use a hammer and chisel to secure them in place by tapping in finish nails along the edges of each board.
## Finishing The Installation Of Hardwood Flooring
Once all your boards have been secured in place with finish nails, it’s time to finish up the installation. This includes using wood putty or filler to fill any gaps between boards and applying a polyurethane finish to protect your new hardwood floors from moisture and wear-and-tear.
## Video: Installing Hardwood Flooring
If you’re looking for a visual guide on how to install hardwood flooring, check out this helpful video tutorial:
Installing hardwood flooring is a relatively easy DIY project that anyone can do with the right materials and tools. Plus, it’s an easy way to add beauty and style to your home. With this step-by-step guide, as well as our helpful video tutorial, you’ll be able to install your own hardwood floor like a pro!