Kitchen Floor Tile Repair
Loose Floor Tile Repair – Tile Repair Made Easy TRIM
Flooring Tile Repair & Replacement Handyman Blog

Tiling Our Kitchen Floor Tile floor diy, Diy home repair, Diy tile

This Travertine tiled kitchen floor had been laid around five years previously in a house in

Floor Tile Repair Service in Norman, Oklahoma: Tips and Ideas – Handyman Oklahoma City
Repairing Kitchen tiles Pt1 – YouTube

How To Fix Loose Kitchen Floor Tiles Review Home Co
How to repair tile with floor heat – YouTube

Flooring Tile floor, Tile repair, Flooring

Repairing Tile Flooring Home repair, Home diy, Diy home repair

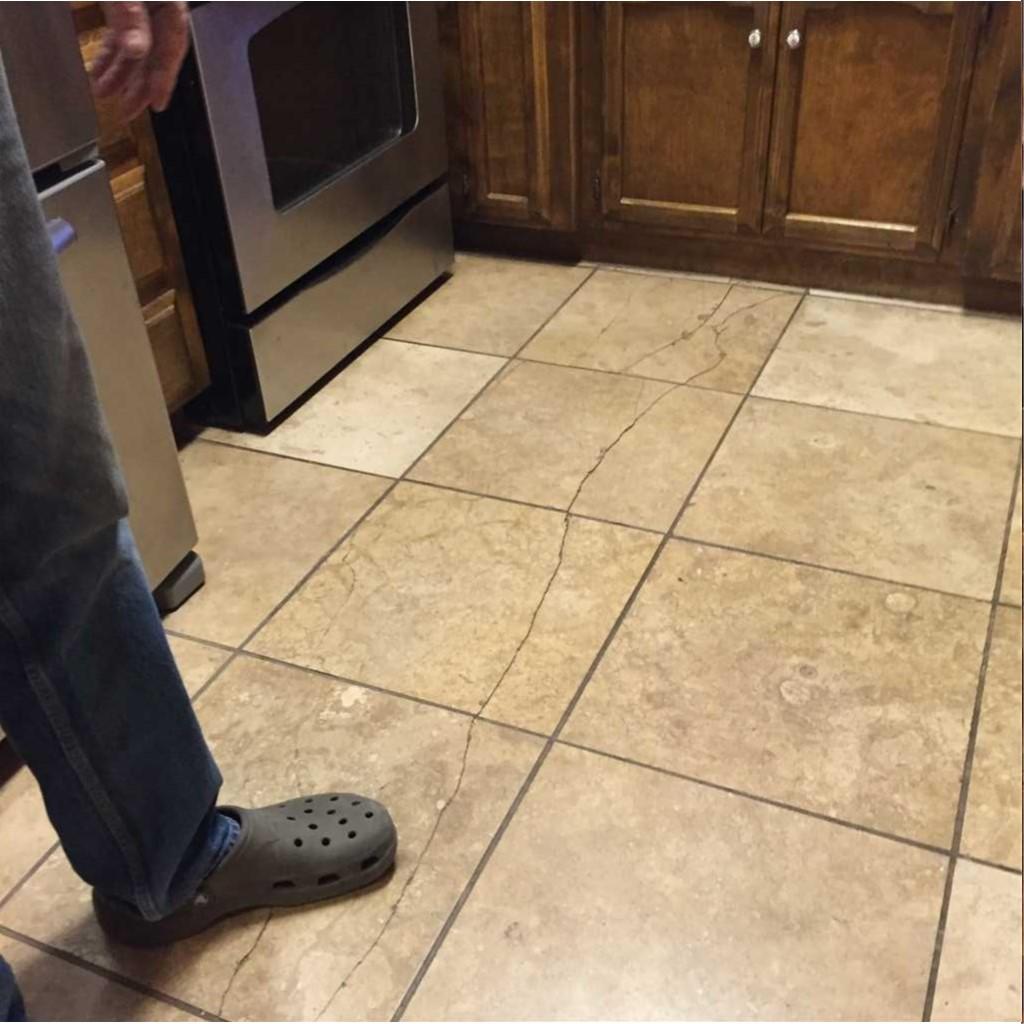
Foundation Repair – Home in Need of Pier Leveling in Atascadero, Ca – Cracked Tile Floor in Kitchen
Related Posts:
- Small Kitchen Floor Plan Ideas
- Laminate Flooring In Kitchen
- Black Slate Tile Kitchen Floor
- How To Lay Tile In Kitchen Floor
- Red Kitchen Floor
- Cheap Kitchen Laminate Flooring
- Decorative Kitchen Floor Mats
- Contemporary Kitchen Flooring Ideas
- Kitchen Ceramic Tile Floor
- Quarry Tile Kitchen Floor
Kitchen Floor Tile Repair: A Comprehensive Guide
Introduction:
A kitchen is the heart of any home, and it endures a significant amount of wear and tear. Over time, the floor tiles in your kitchen may start to show signs of damage, such as cracks, chips, or loose tiles. Not only can these issues be unsightly, but they can also create hazards. It’s important to address these problems promptly to maintain the aesthetics and functionality of your kitchen. In this article, we will provide you with a detailed guide on kitchen floor tile repair, covering various aspects from identifying the problem to undertaking the repair process.
I. Identifying the Problem:
Before diving into the repair process, it’s crucial to accurately identify the problem areas. Here are some common issues you may encounter with your kitchen floor tiles:
1. Cracks:
Cracks in floor tiles can occur due to heavy objects falling or excessive pressure applied to the tile surface. These cracks not only diminish the appearance of your kitchen but can also lead to further damage if left unrepaired.
2. Chips:
Chipped tiles are a common issue caused by accidental impacts or sharp objects hitting the tile surface. This problem can compromise the integrity of the affected tile and make it more susceptible to further damage.
3. Loose Tiles:
Over time, tiles can become loose due to inadequate adhesive, subfloor movement, or improper installation techniques. Loose tiles not only pose a tripping hazard but can also allow water penetration that leads to further damage.
II. Preparing for Repair:
Once you have identified the problem areas in your kitchen floor tiles, it’s important to prepare for the repair process adequately. Here are some steps to consider:
1. Gather Necessary Tools and Materials:
To successfully repair your kitchen floor tiles, gather essential tools such as a chisel, putty knife, grout saw, rubber mallet, adhesive, grout, and replacement tiles (if required). Ensure you have all the materials required to complete the repair process.
2. Clean the Area:
Before commencing any repairs, thoroughly clean the damaged tiles and the surrounding area. Use a mild detergent and warm water solution along with a scrub brush to remove dirt, grime, and grease. Ensure the area is completely dry before proceeding.
III. Repairing Cracked Tiles:
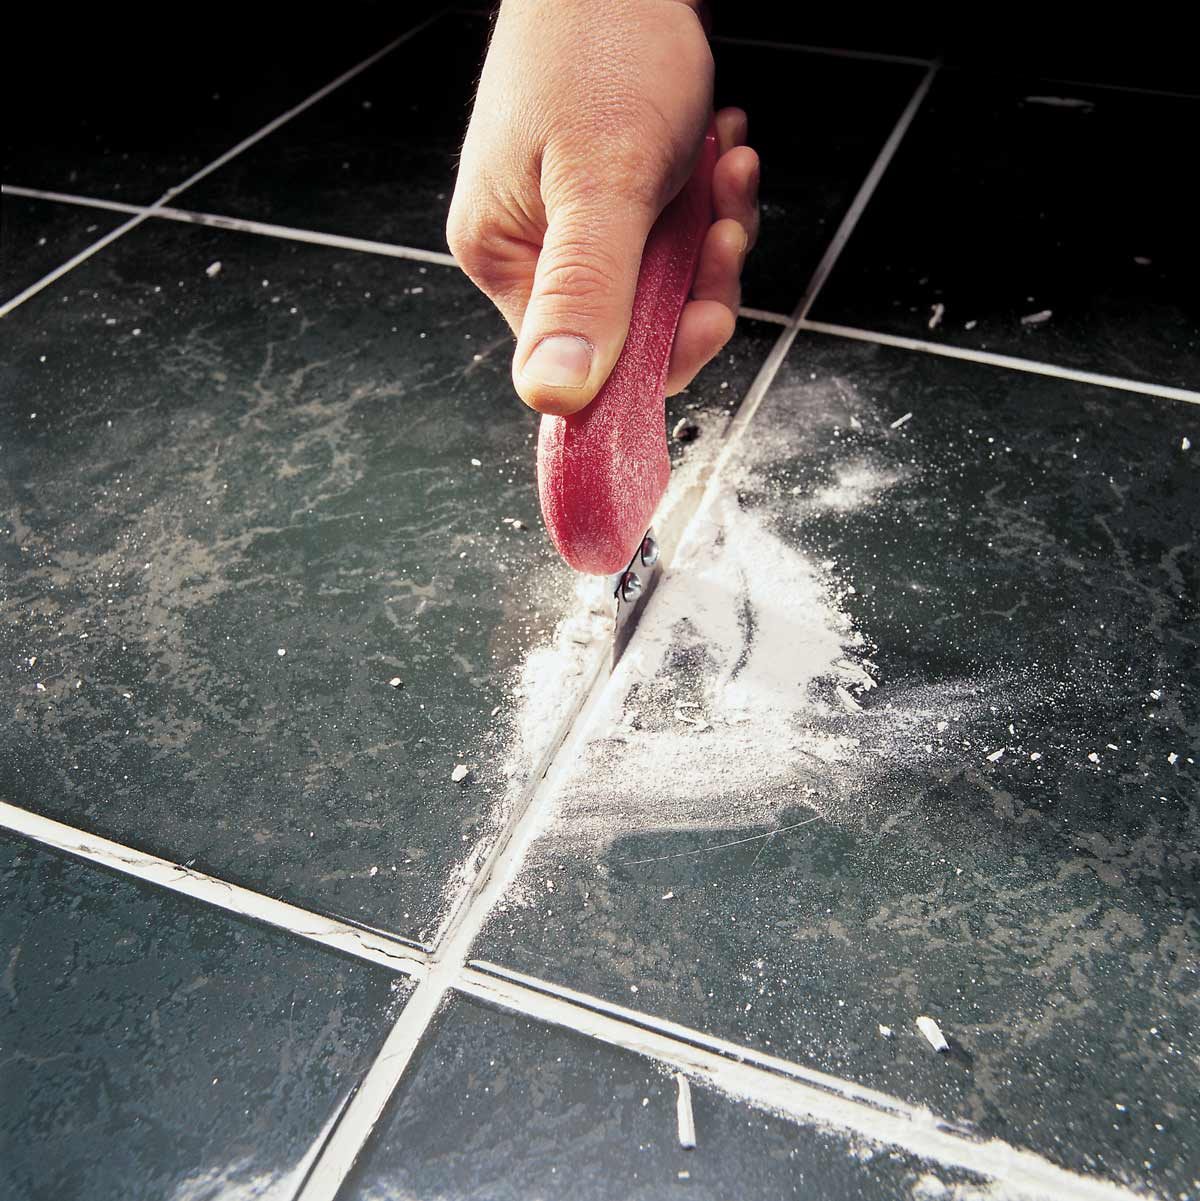
1. Remove the Grout:
Using a grout saw, carefully remove the grout surrounding the cracked tile. Be cautious not to damage adjacent tiles during this process.
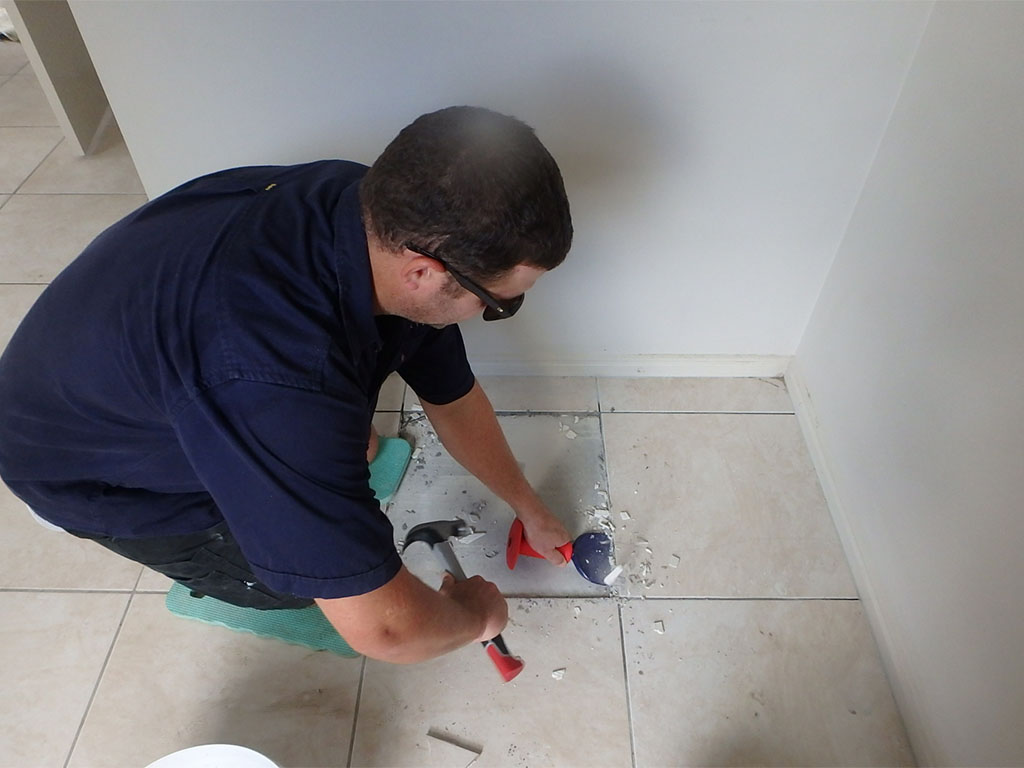
2. Loosen and Remove the Tile:
Using a chisel or putty knife, gently pry up the cracked tile. Work from the edges to avoid any further damage. If necessary, use a rubber mallet to lightly tap the chisel or putty knife to release the tile.
3. Clean and Prepare the Subfloor:
Thoroughly clean and prepare the subfloor beneath the removed tile. Remove any adhesive residues or debris using a putty knife and ensure it is flat and level.
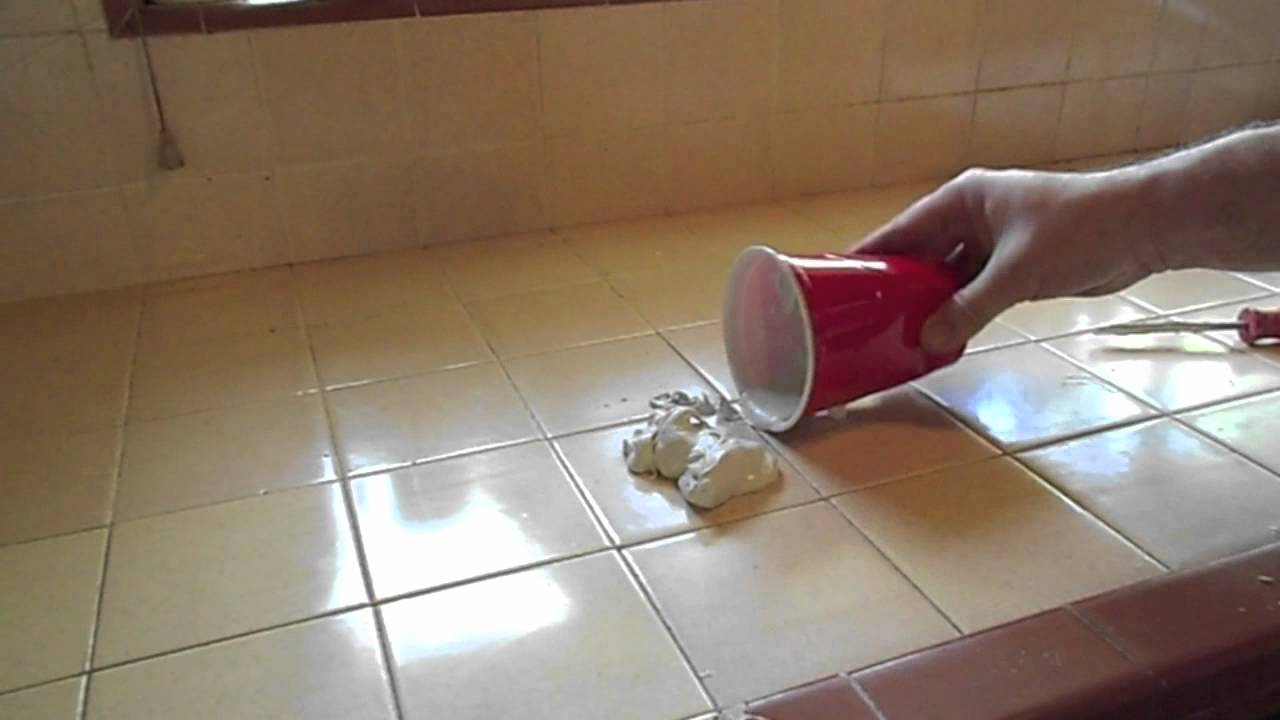
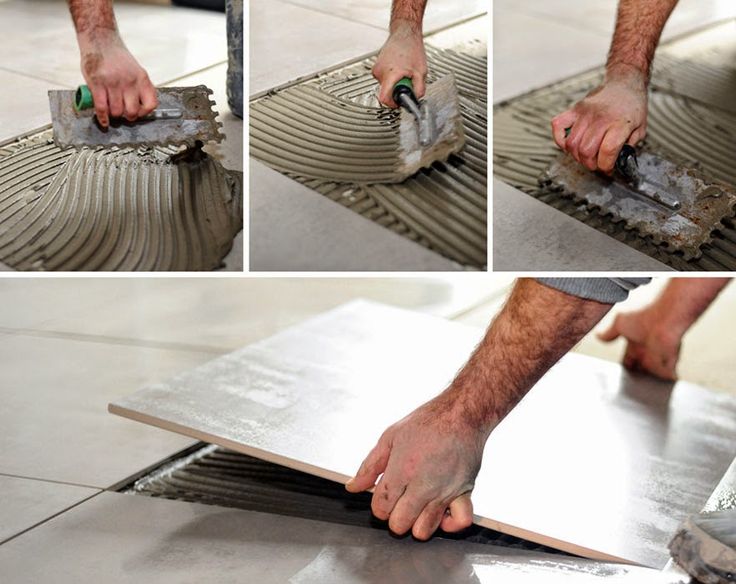
4. Apply Adhesive:
Using a trowel or notched spreader, apply a thin layer of adhesive onto the subfloor in the area where the tile was removed. Ensure proper coverage and an even application.
5. Install Replacement Tile:
Carefully place the replacement tile onto the adhesive, aligning it with the surrounding tiles. Apply gentle pressure to ensure proper adhesion. Clean off any excess adhesive immediately using a damp cloth.
6. Allow for Drying Time:
Follow the manufacturer’s instructions regarding drying time for the adhesive before grouting. This duration may vary depending on the type of adhesive used.
7. Grouting:
After allowing for adequate drying time, mix grout according to the manufacturer’s instructions. Apply grout using a rubber float, ensuring it fills all gaps between tiles. Wipe off excess grout using a damp sponge before it dries on the tile surface.
Frequently Asked Questions:
Q1. Can I repair a cracked tile without removing it?
A1. It is usually best to remove and replace cracked tiles rather than attempting a repair. This ensures a clean, long-lasting fix and prevents potential future issues.
Q2. How do I know if a replacement tile will match my existing floor?
A2. It may be challenging to find an exact match for an older tile. Consider visiting a specialized tile store or consulting with a professional to find the closest match possible.
IV. Repairing Chipped Tiles:
1. Clean the Area:
Before repairing chipped tiles 1. Clean the Area: Before repairing chipped tiles, clean the damaged area and remove any dirt or debris. Use a mild detergent and warm water solution along with a scrub brush to clean the surface. Make sure the area is completely dry before proceeding.
2. Assess the Damage: Evaluate the extent of the chip to determine the best repair method. If it is a small chip, you may be able to fill it with epoxy or a tile repair kit. For larger chips or missing pieces, you may need to replace the entire tile.
3. Fill the Chip: If the chip is small and shallow, you can use epoxy or a tile repair kit to fill it. Follow the manufacturer’s instructions on how to mix and apply the filler material. Use a putty knife to smooth out the filler and make it level with the surrounding tile.
4. Replace the Tile: If the chip is significant or if you cannot find a suitable filler material, you will need to replace the tile. Follow steps 1-5 under “Repairing Cracked Tiles” to remove the damaged tile and install a new one.
5. Grout and Finish: After completing the repair, apply grout between the tiles using a rubber float. Wipe off excess grout with a damp sponge before it dries on the tile surface. Allow the grout to cure according to the manufacturer’s instructions before using the area.
Q1. Can I repair a chipped tile without replacing it?
A1. It depends on the size and depth of the chip. Small, shallow chips can often be filled with epoxy or a tile repair kit. However, if the chip is large or deep, it is usually best to replace the entire tile for a more seamless repair.
Q2. How do I prevent future damage to my kitchen floor tiles?
A2. To prevent future damage, ensure that your tiles are properly installed using high-quality adhesive. Avoid excessive subfloor movement by addressing any underlying structural issues. Be careful when moving heavy objects or using sharp tools near the tiles. Regularly clean and maintain your tiles to prevent dirt and grime buildup, which can lead to damage over time. Q3. How often should I clean and maintain my kitchen floor tiles?
A3. It is recommended to clean and maintain your kitchen floor tiles regularly, ideally on a weekly basis. This will help prevent dirt and grime buildup and prolong the lifespan of your tiles.
Q4. Can I use any type of grout for my kitchen floor tiles?
A4. It is important to choose the correct type of grout for your kitchen floor tiles. There are different types of grout available, such as sanded and unsanded grout, which are suitable for different tile sizes and applications. It is best to consult the manufacturer’s instructions or seek advice from a professional to determine the appropriate type of grout for your specific tiles.
Q5. How long does it usually take for the adhesive to dry before grouting?
A5. The drying time for adhesive before grouting can vary depending on the type of adhesive used. It is important to follow the manufacturer’s instructions, as they will provide specific guidelines on drying time. On average, it can take anywhere from 24 to 48 hours for the adhesive to dry completely.
Q6. What should I do if I can’t find an exact match for a replacement tile?
A6. If you are unable to find an exact match for a replacement tile, consider visiting a specialized tile store or consulting with a professional. They may be able to help you find the closest match possible by offering alternative options or suggestions.
Q7. How can I ensure a long-lasting repair for cracked or chipped tiles?
A7. To ensure a long-lasting repair for cracked or chipped tiles, it is important to use high-quality materials and follow proper repair techniques. This includes thoroughly cleaning the area, using appropriate filler materials or replacing the tile when necessary, and properly sealing and finishing the repair with grout. Additionally, taking preventative measures such as avoiding excessive subfloor movement and regularly maintaining the tiles can help prevent future damage.