Preparing the Concrete Subfloor
Preparation is key to a successful laminate flooring installation. Properly preparing the concrete subfloor ensures a smooth, level surface for the laminate planks.
- Cleaning the Surface: Start by thoroughly cleaning the concrete subfloor. Remove all debris, dust, and dirt using a broom and vacuum. This step is crucial to ensure that the adhesive or underlayment adheres properly to the surface.
- Checking for Moisture: Concrete can retain moisture, which can damage laminate flooring over time. Use a moisture meter to check the subfloor’s moisture levels. Ideally, the moisture content should be below 4%. If the levels are higher, consider using a moisture barrier.
- Leveling the Subfloor: An uneven subfloor can cause problems with laminate flooring installation. Use a long level to check for any high or low spots. For minor unevenness, a self-leveling compound can be applied. For significant issues, you may need to grind down high spots or fill in low spots.
- Repairing Cracks: Inspect the concrete for cracks or holes. Small cracks can be filled with concrete filler or patching compound. Larger cracks may require more extensive repairs. Allow the repairs to cure completely before proceeding with the installation.
- Sealing the Concrete: If your concrete subfloor is prone to moisture, applying a concrete sealer can provide an additional layer of protection. This step is especially important in basements or areas below grade.
- Installing a Vapor Barrier: Even if moisture levels are acceptable, it’s a good idea to install a vapor barrier to protect your laminate flooring. Lay down a plastic sheet or specialized underlayment designed to prevent moisture from seeping through.
Choosing the Right Laminate Flooring
Selecting the right laminate flooring involves considering various factors to ensure it meets your needs and complements your home’s aesthetics.
- Durability: Look for laminate flooring with a high AC (Abrasion Class) rating. AC ratings range from AC1 to AC5, with higher numbers indicating more durability. For residential areas with moderate to high traffic, AC3 or AC4 is ideal.
- Thickness: Thicker laminate planks offer better stability and sound absorption. Standard thickness ranges from 6mm to 12mm. Thicker planks are also easier to install and provide a more solid feel underfoot.
- Style and Design: Laminate flooring comes in a variety of styles and designs, mimicking the appearance of wood, stone, and tile. Choose a design that complements your home’s décor. Consider the color, texture, and pattern to achieve the desired look.
- Water Resistance: In areas prone to moisture, such as kitchens and bathrooms, opt for water-resistant or waterproof laminate flooring. These products are designed to withstand spills and damp conditions better than standard laminate.
- Ease of Installation: Some laminate flooring products feature click-lock systems, which make installation easier and faster. If you’re a DIY enthusiast, look for laminate with this type of installation mechanism.
- Warranty: Check the manufacturer’s warranty before making a purchase. A longer warranty period indicates confidence in the product’s durability and quality. Ensure the warranty covers issues like wear, staining, and fading.
Acclimating the Laminate Flooring
Before installation, it’s important to acclimate the laminate flooring to the room’s environment to prevent issues like warping or gapping after installation.
Unpacking the Flooring: Remove the laminate planks from their boxes and spread them out in the room where they will be installed. This allows the planks to adjust to the room’s temperature and humidity levels.
Duration of Acclimation: Allow the laminate flooring to acclimate for at least 48 hours. During this time, maintain a consistent temperature and humidity level in the room to ensure the planks adjust properly.
Storing Properly: Store the planks flat on the floor rather than standing them upright. This prevents the planks from bending or warping during the acclimation period.
Monitoring Conditions: Use a hygrometer to monitor the room’s humidity level. Ideally, the humidity should be between 45% and 65%. If the humidity is too high or too low, use a dehumidifier or humidifier to adjust it accordingly.
Inspecting the Planks: During the acclimation period, inspect the planks for any visible damage or defects. This is also a good time to mix planks from different boxes to ensure a more natural and varied appearance when installed.
Planning the Layout: Use the acclimation period to plan the layout of the flooring. Determine the direction of the planks and identify any special cuts or adjustments needed around obstacles like doorways or vents.

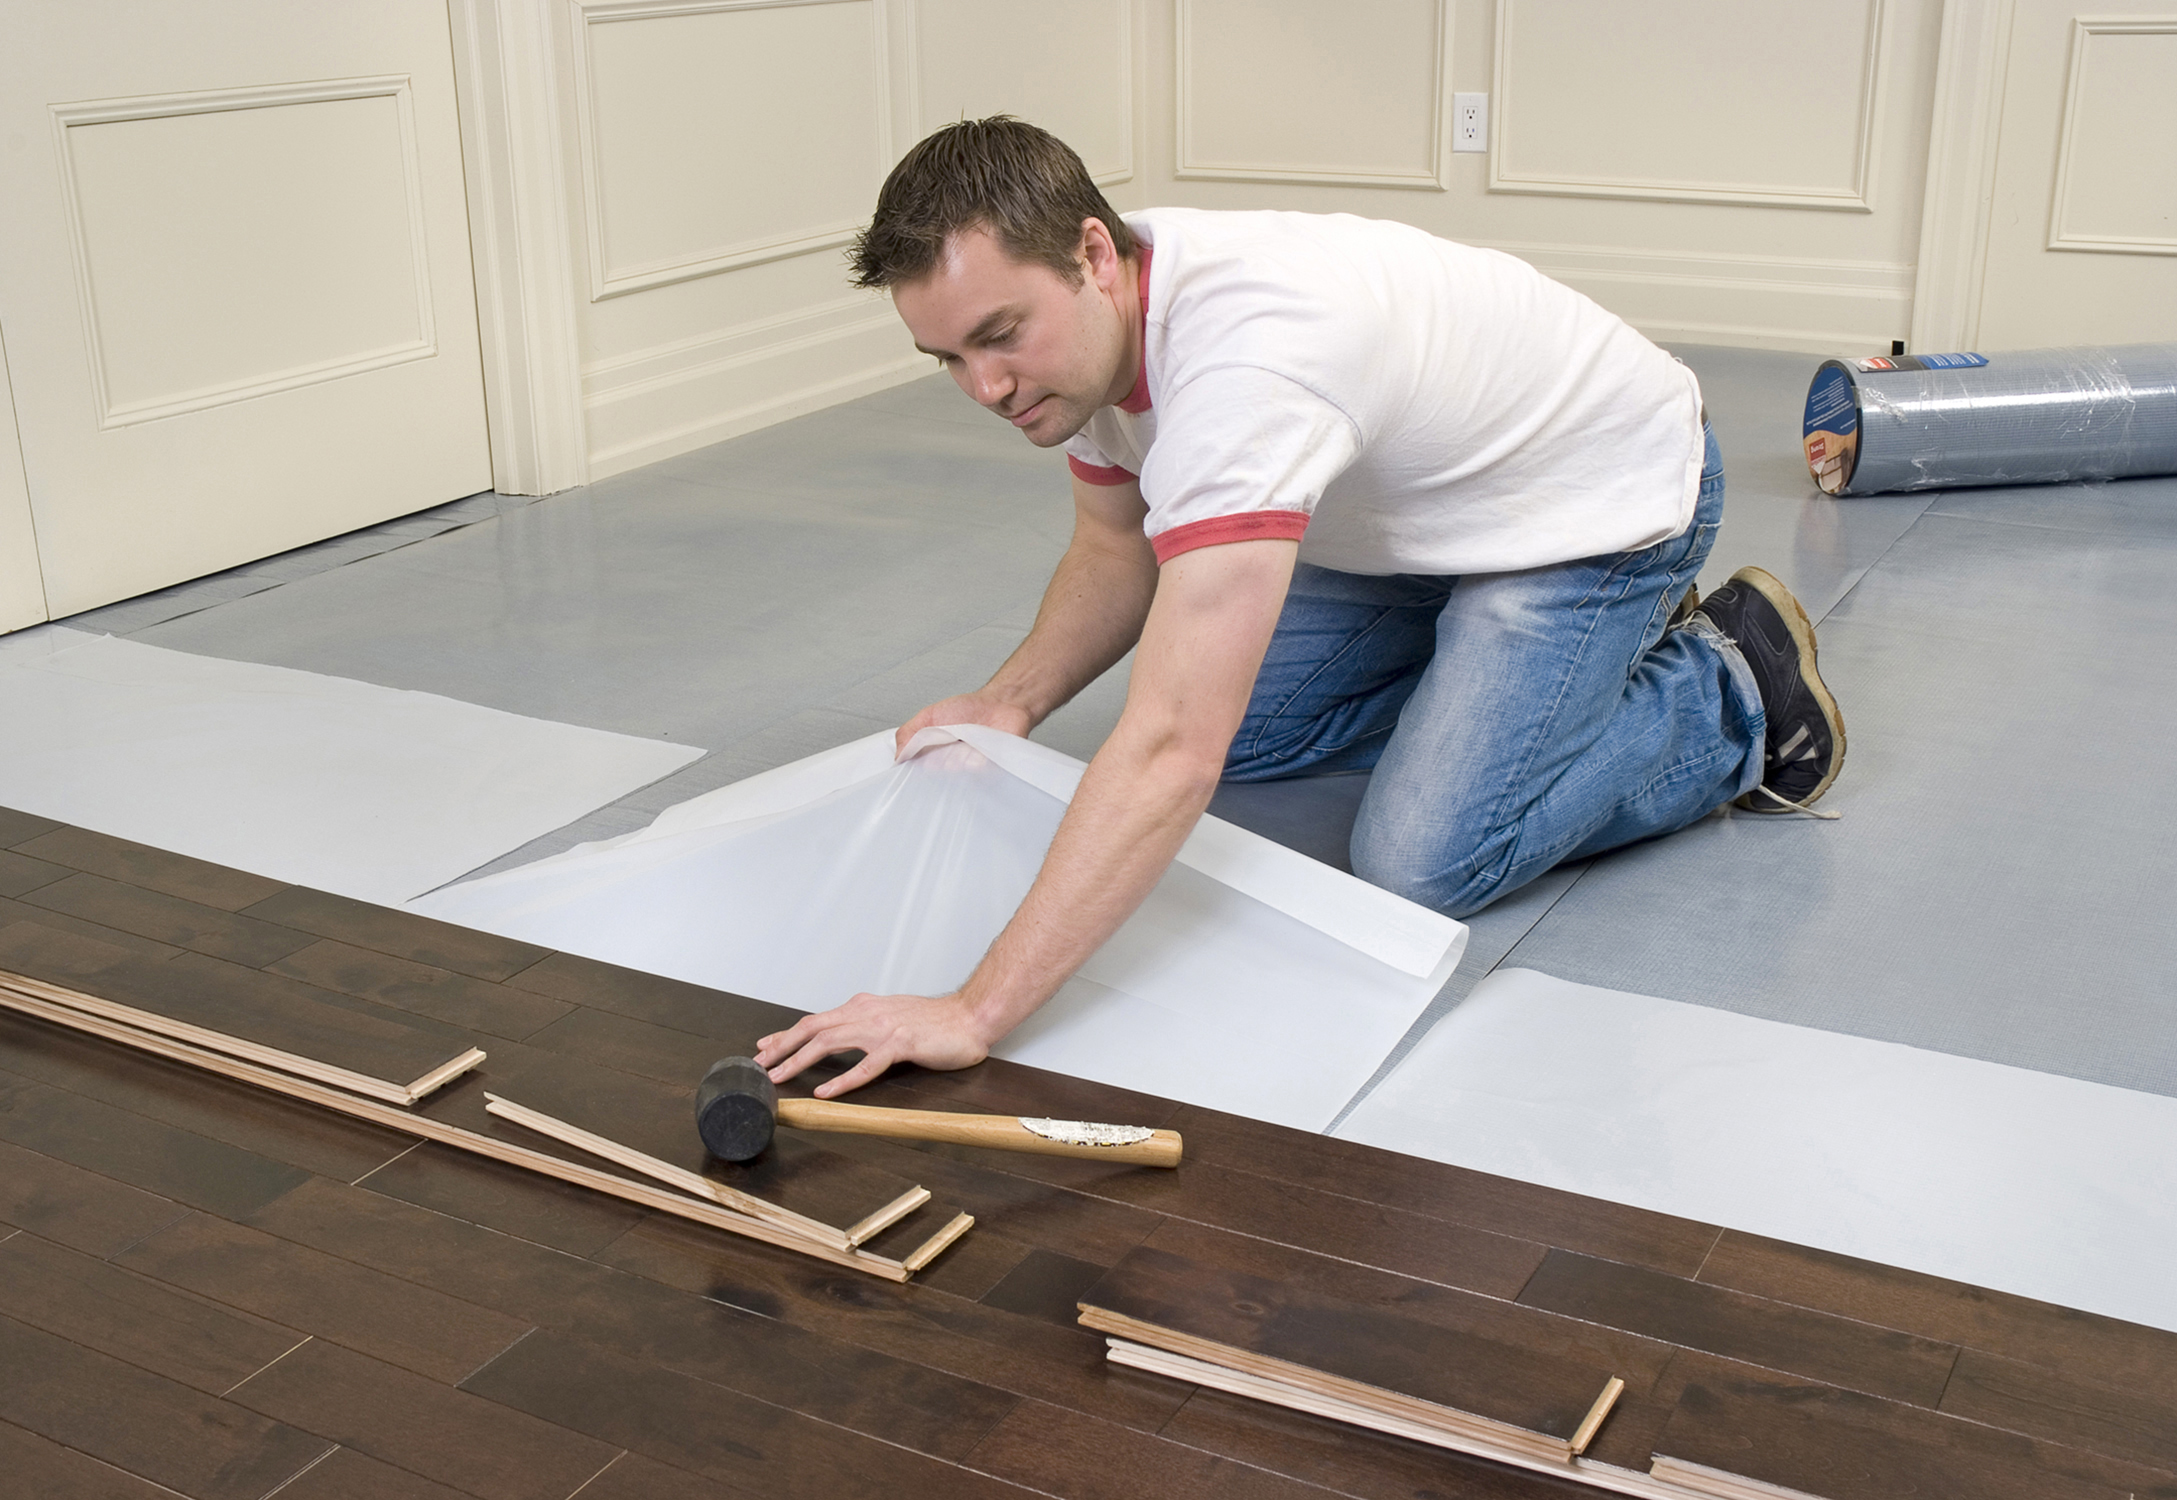
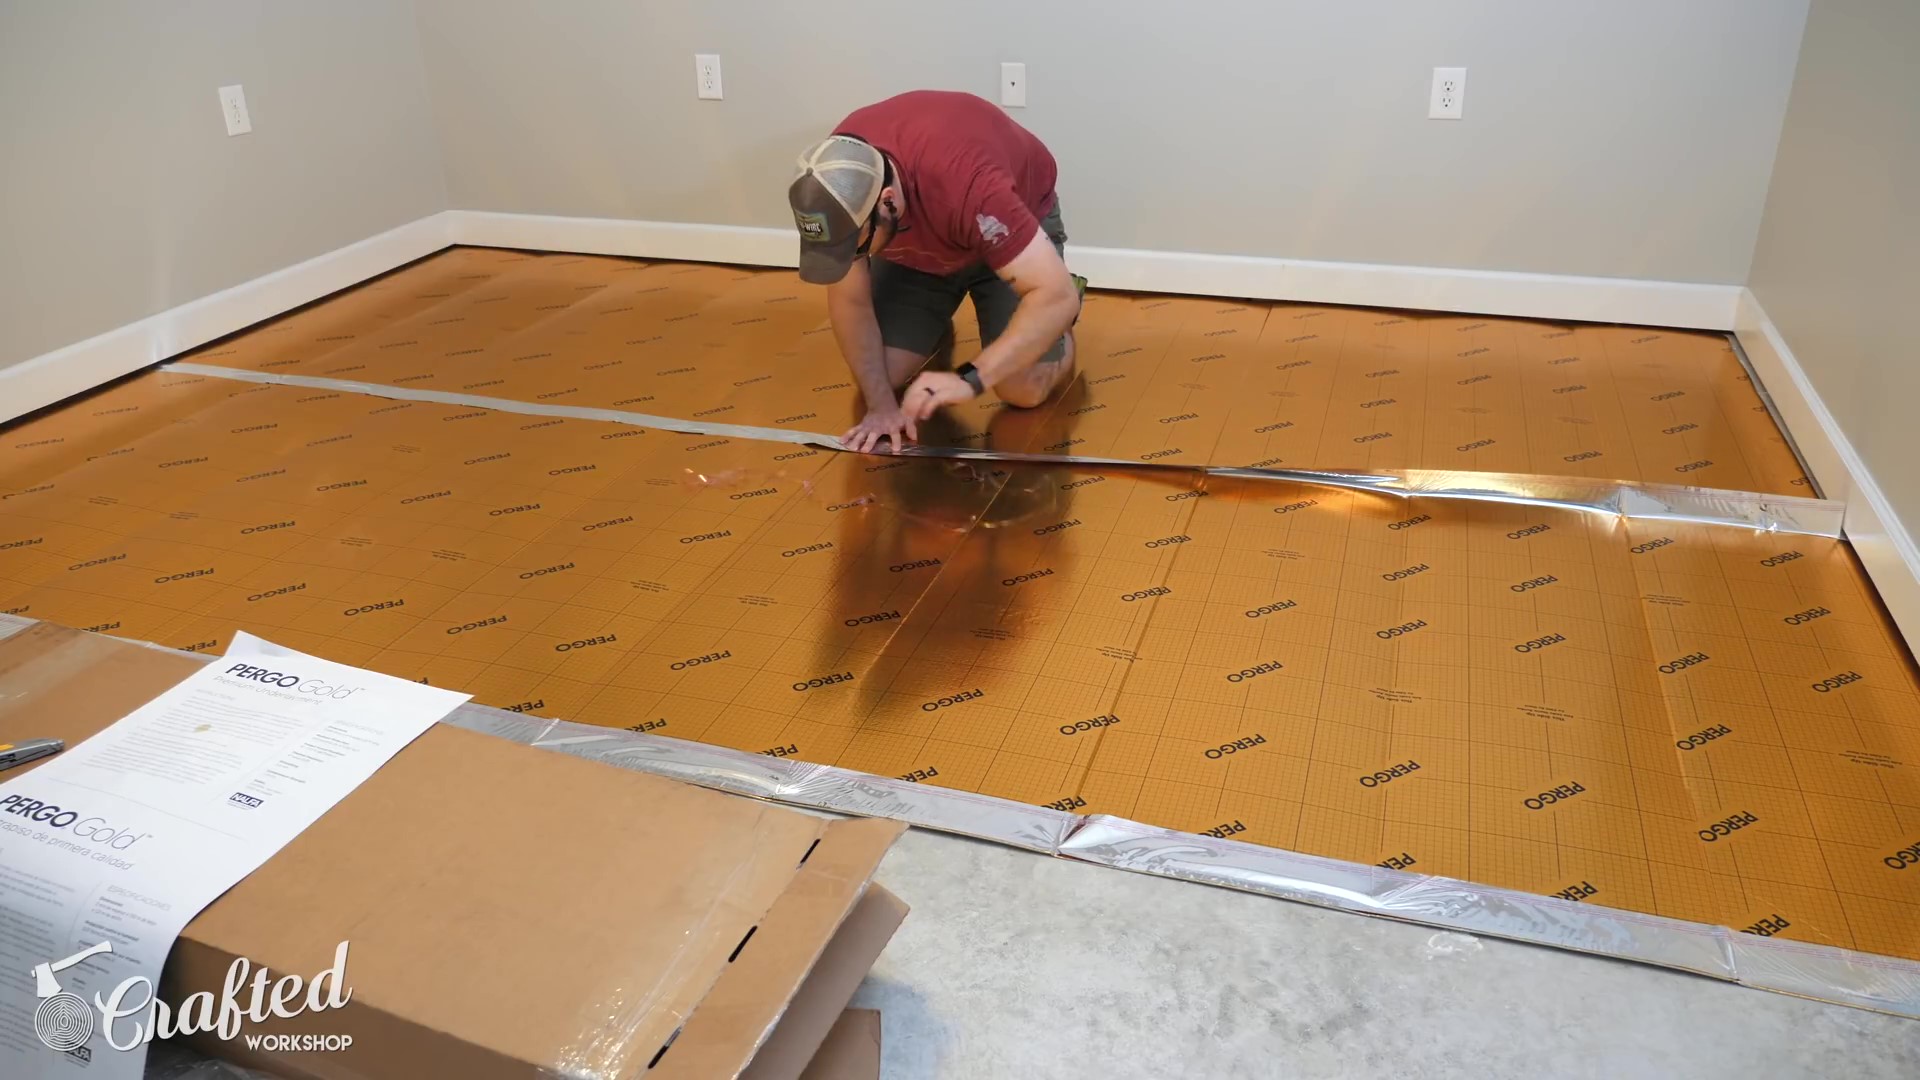
Installing the Underlayment
An underlayment is crucial for laminate flooring installation on concrete. It provides cushioning, reduces noise, and acts as a moisture barrier.
Choosing the Right Underlayment: Select an underlayment suitable for laminate flooring on concrete. Look for products that offer moisture protection, sound absorption, and a smooth surface for the laminate planks.
Laying the Underlayment: Roll out the underlayment across the concrete subfloor, starting from one wall and working your way across the room. Make sure the underlayment covers the entire floor area without gaps.
Securing the Edges: Use adhesive tape to secure the edges of the underlayment. This prevents it from shifting during the laminate flooring installation. Ensure the seams between sheets are taped to create a continuous moisture barrier.
Trimming Excess Material: Trim any excess underlayment around the perimeter of the room using a utility knife. Leave a small gap around the edges to allow for expansion of the laminate flooring.
Checking for Smoothness: Ensure the underlayment is smooth and free of wrinkles or bumps. Any imperfections in the underlayment can affect the appearance and stability of the laminate flooring.
Overlap Vapor Barriers: If the underlayment includes a built-in vapor barrier, make sure to overlap the seams according to the manufacturer’s instructions. This enhances moisture protection and prevents any gaps in coverage.
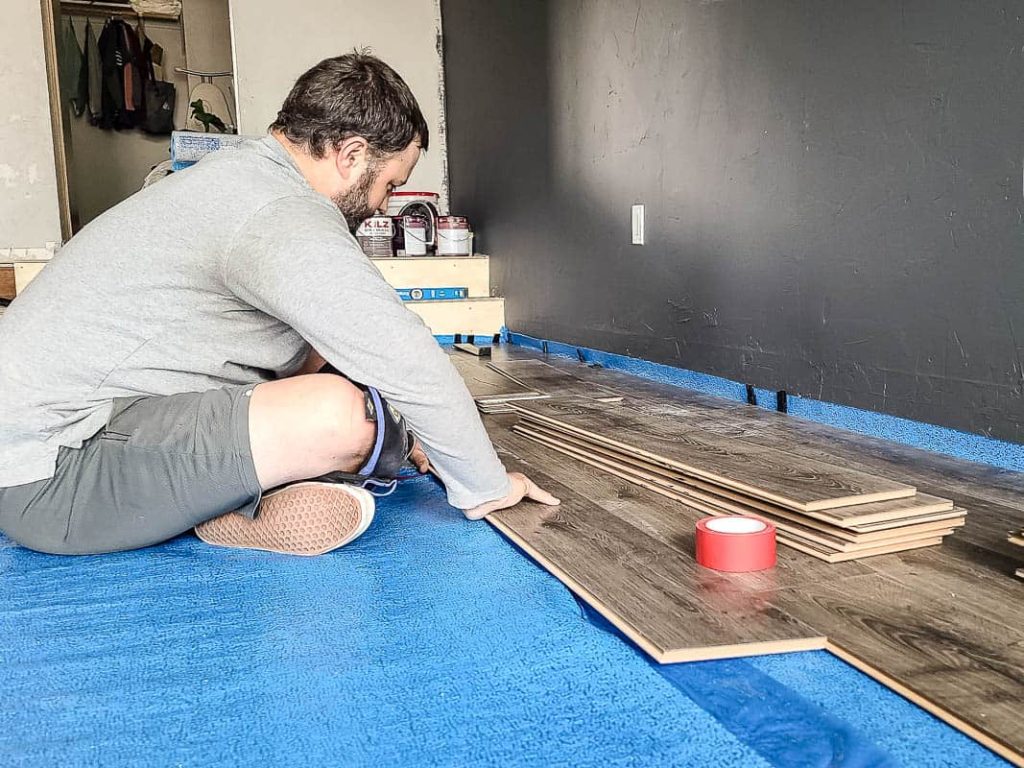
Installing the Laminate Flooring
With the subfloor and underlayment prepared, you’re ready to install the laminate flooring. This process requires careful attention to detail to achieve a professional finish.
Planning the Layout: Determine the direction in which to lay the planks. Generally, laying them parallel to the longest wall or the main light source creates a more aesthetically pleasing look. Plan your starting point and make any necessary measurements and cuts.
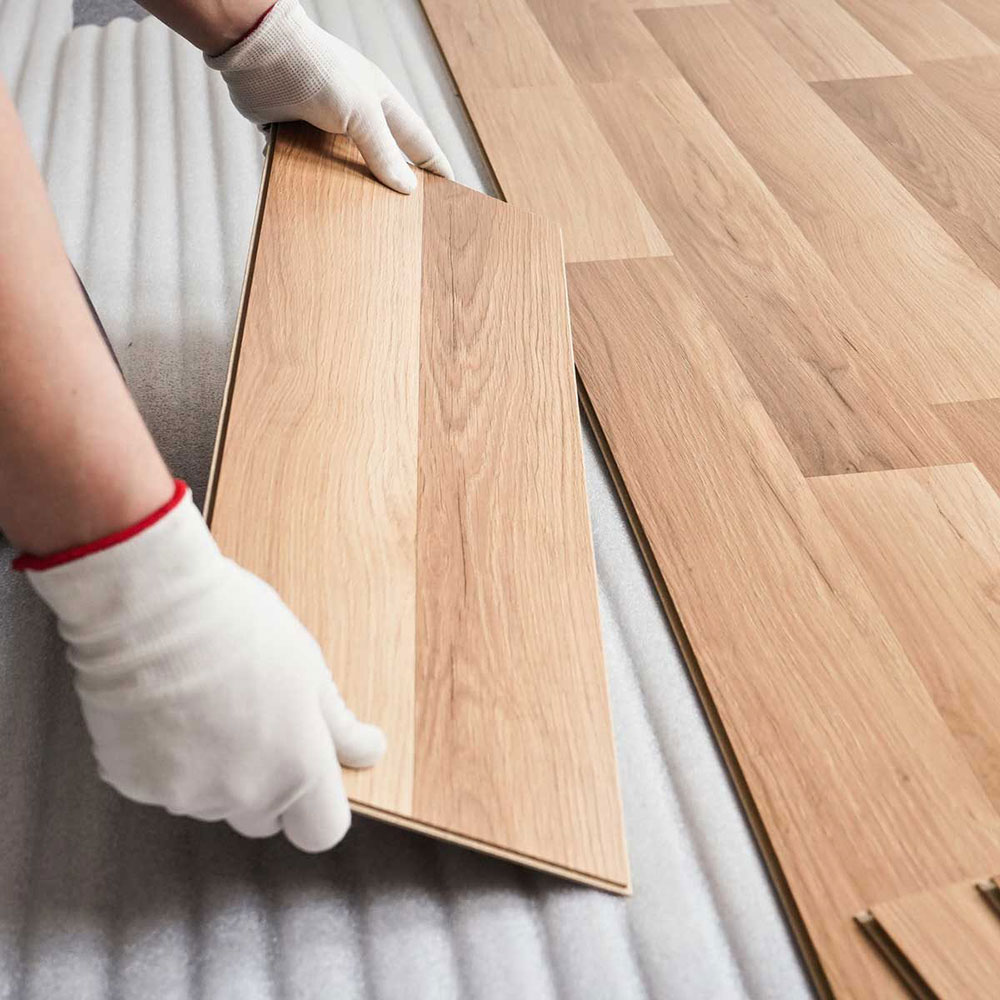
Starting the Installation: Begin laying the first row of planks along the longest wall, with the tongue side facing the wall. Use spacers to maintain a 1/4-inch expansion gap between the planks and the wall. This gap allows for natural expansion and contraction of the flooring.
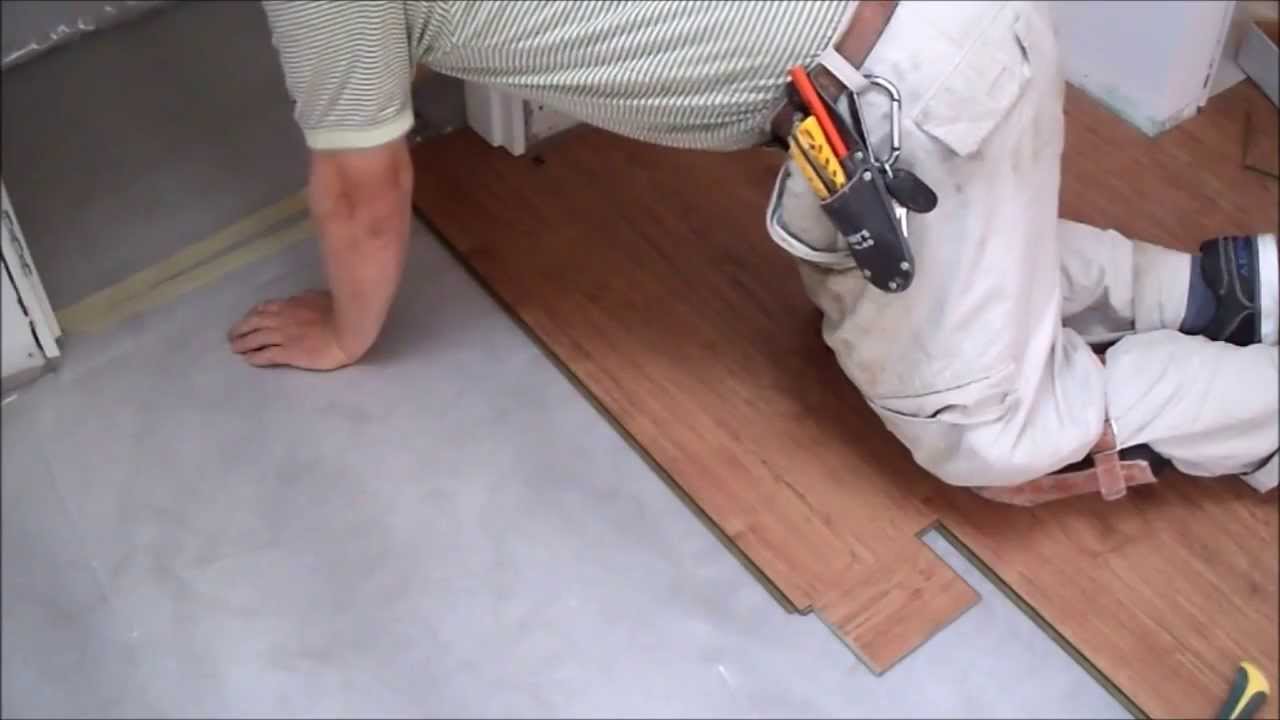
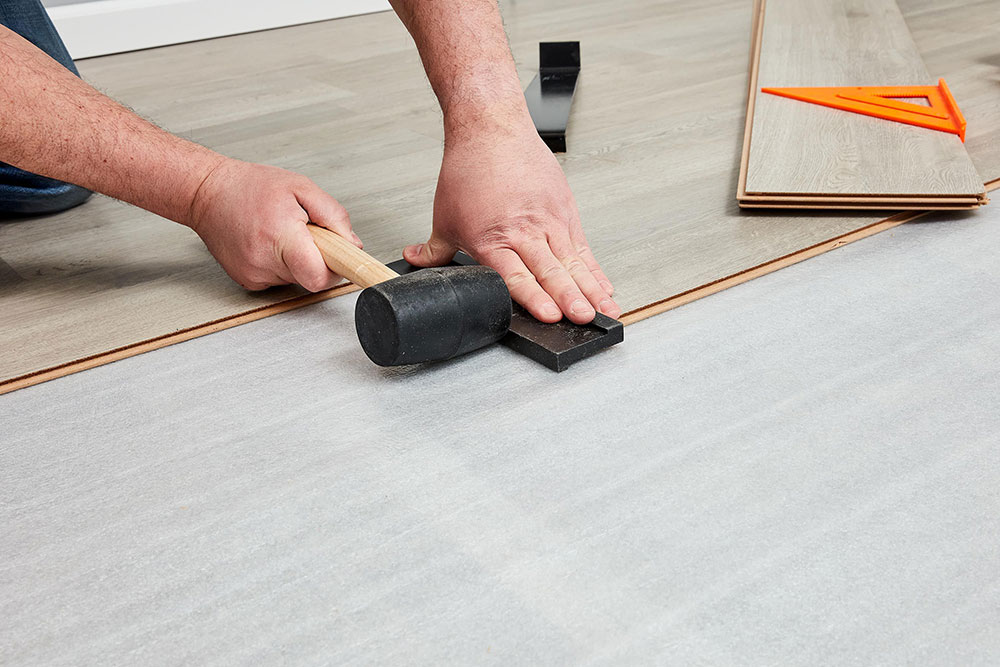
Click-Lock Mechanism: Most laminate flooring uses a click-lock system for installation. Insert the tongue of the second plank into the groove of the first plank at a slight angle, then press down to lock them together. Continue this process for the entire first row.
Cutting Planks: When you reach the end of a row, measure the space for the last plank and cut it to fit using a saw. Use the remaining piece to start the next row, ensuring the seams are staggered for a more natural look.
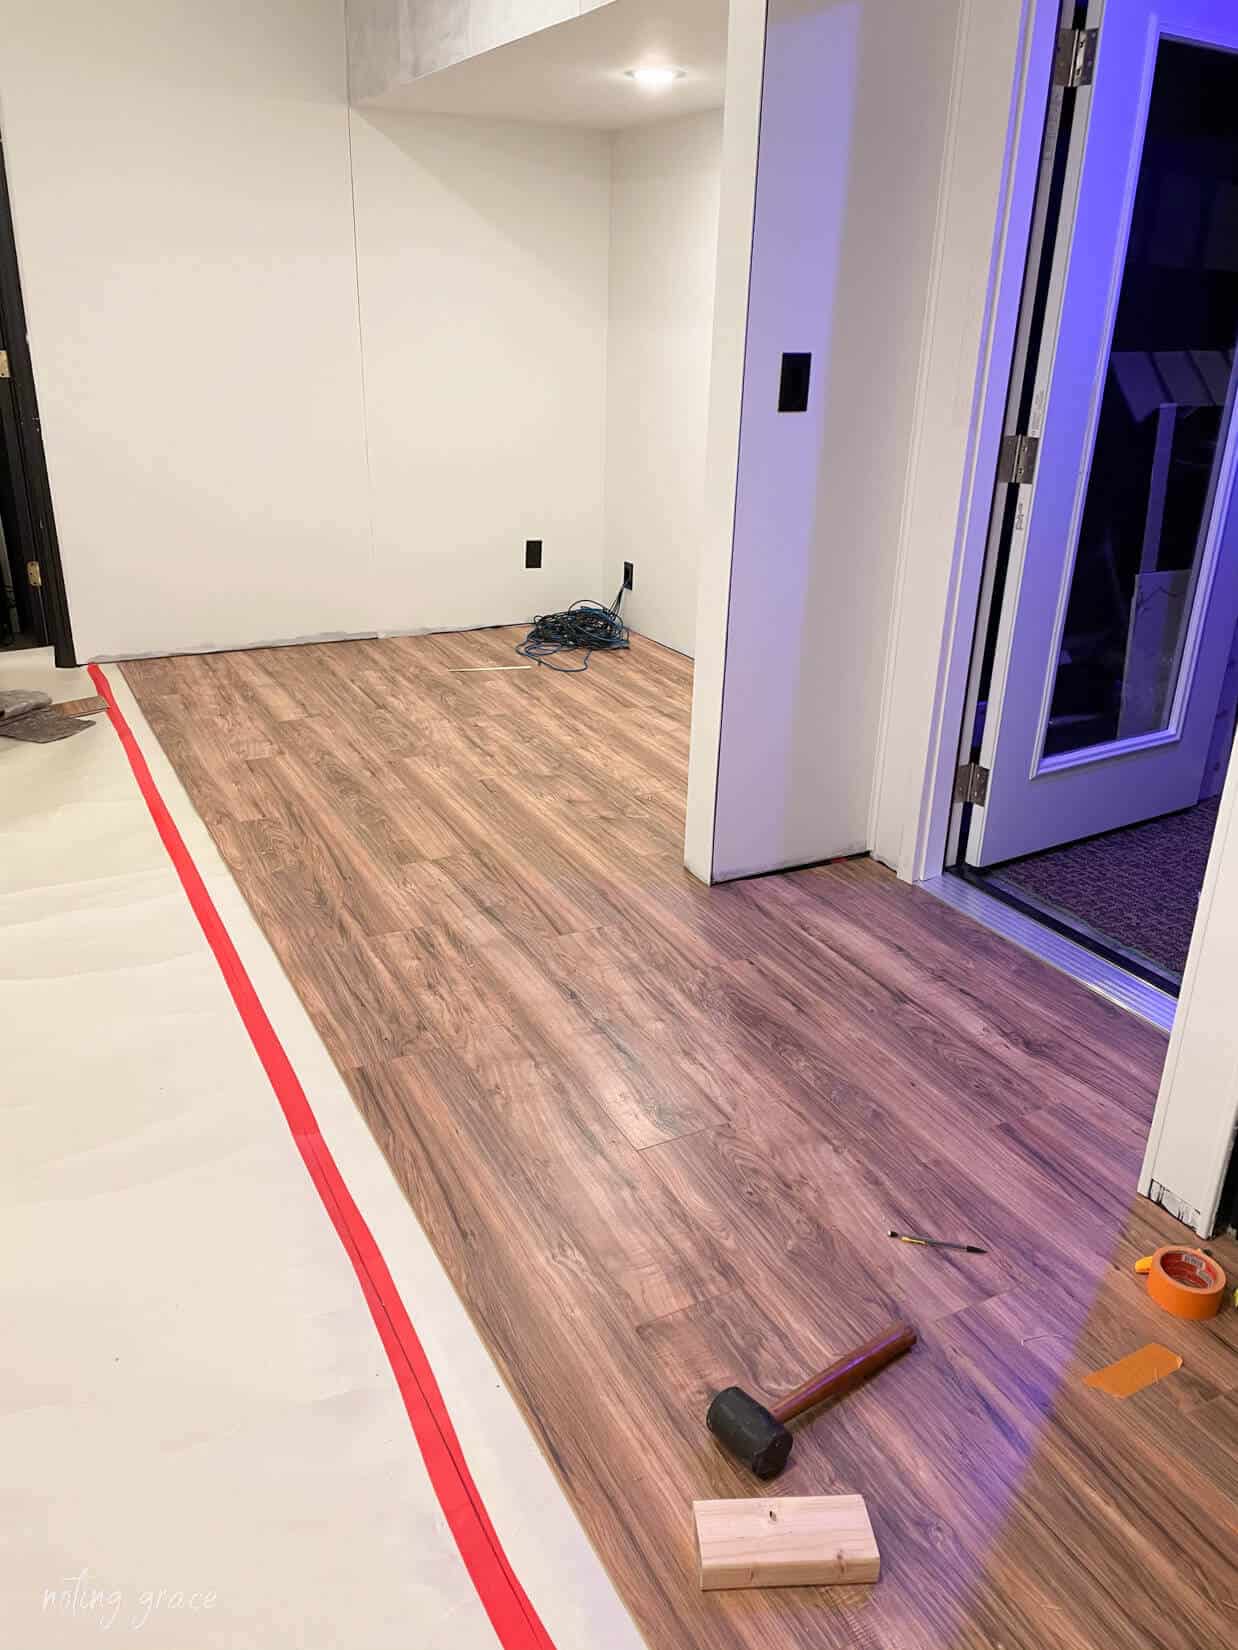
Continuing the Installation: Continue laying the planks row by row, ensuring each plank is securely locked into place. Use a tapping block and mallet to gently tap the planks together if needed, ensuring a tight fit without damaging the edges.
Finishing Touches: Once all the planks are installed, remove the spacers and install the baseboards or moldings to cover the expansion gap. Ensure the baseboards are not attached to the laminate flooring itself, allowing it to float freely.
Post-Installation Care and Maintenance
Proper care and maintenance will keep your laminate flooring looking great and extend its lifespan.
Regular Cleaning: Sweep or vacuum the floor regularly to remove dirt and debris. Use a damp mop with a laminate floor cleaner for deeper cleaning. Avoid using excessive water, as it can damage the laminate.
Protecting the Surface: Place mats at entryways to reduce the amount of dirt and moisture tracked onto the floor. Use felt pads under furniture legs to prevent scratches and avoid dragging heavy objects across the floor.
Managing Spills: Clean up spills immediately to prevent moisture from seeping into the seams and causing damage. Use a soft cloth or paper towel to blot the spill, then clean the area with a damp cloth and laminate floor cleaner.
Avoiding Harsh Cleaners: Do not use abrasive cleaners, wax, or polish on laminate flooring. These products can damage the surface and reduce its shine. Stick to products specifically designed for laminate floors.
Addressing Damage: If a plank gets damaged, it can usually be replaced without having to remove the entire floor. Carefully remove the damaged plank and replace it with a new one, following the manufacturer’s instructions.
Monitoring Humidity: Maintain a consistent indoor humidity level to prevent the laminate from expanding or contracting excessively. Use a humidifier or dehumidifier if necessary to keep the humidity within the recommended range.
Common Mistakes to Avoid
Skipping Subfloor Preparation: Failing to properly prepare the concrete subfloor can lead to uneven flooring and moisture issues. Always clean, level, and seal the subfloor before installation.
Ignoring Acclimation: Not allowing the laminate flooring to acclimate can result in warping or gaps after installation. Give the planks at least 48 hours to adjust to the room’s environment.
Incorrect Underlayment Installation: Improperly installing the underlayment can cause problems with the laminate flooring. Ensure it covers the entire floor area and that seams are securely taped.
Not Using Spacers: Forgetting to use spacers to maintain an expansion gap can cause the laminate to buckle as it expands. Always leave a 1/4-inch gap around the perimeter of the room.
Inadequate Cleaning: Dirt and debris on the subfloor can affect the laminate’s stability and appearance. Thoroughly clean the subfloor before laying the underlayment and laminate.
Improper Cutting: Inaccurate measurements and cuts can lead to gaps or uneven edges. Take your time with measurements and use the right tools to ensure precise cuts.

Can laminate flooring be installed directly on concrete?
Yes, laminate flooring can be installed directly on concrete. However, proper preparation, including cleaning, leveling, and sealing the subfloor, is crucial for a successful installation. Using an appropriate underlayment is also essential to provide cushioning and moisture protection.
Do I need a moisture barrier for laminate flooring on concrete?
Yes, a moisture barrier is recommended when installing laminate flooring on concrete. Concrete can retain moisture, which can damage the laminate. An underlayment with a built-in vapor barrier or a separate plastic sheet can prevent moisture from seeping through.
How do I ensure the laminate flooring is level on concrete?
To ensure the laminate flooring is level on concrete, check the subfloor for high and low spots using a long level. Use a self-leveling compound to fill in low areas and grind down high spots if necessary. A level subfloor is essential for a smooth and stable installation.
Can I install laminate flooring in the basement?
Yes, laminate flooring can be installed in a basement. However, due to the potential for higher moisture levels, it is important to use a moisture barrier and choose water-resistant laminate flooring. Proper preparation of the concrete subfloor is also essential to prevent moisture-related issues.
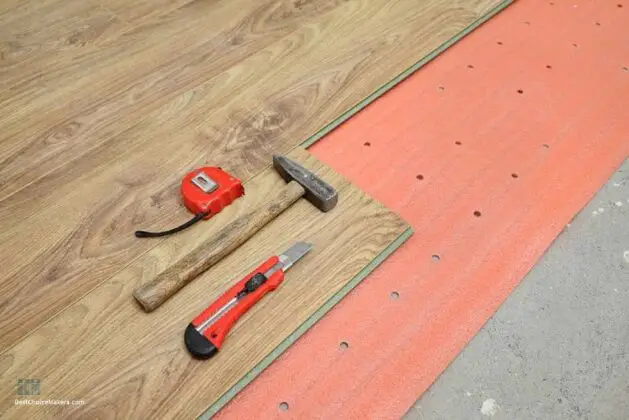
How do I cut laminate planks for installation?
Laminate planks can be cut using a variety of tools, including a circular saw, jigsaw, or laminate flooring cutter. Measure the space carefully, mark the cut line on the plank, and cut along the line. Using the appropriate tools ensures clean, precise cuts.
How do I fix gaps or buckling in laminate flooring?
Gaps or buckling in laminate flooring can result from improper installation or changes in humidity. To fix gaps, you may need to remove and reinstall the affected planks, ensuring they are properly locked together. For buckling, reduce the humidity in the room and use spacers to maintain the expansion gap around the perimeter of the floor.
How to install laminate flooring on a concrete basement floor
Installing Laminate Flooring For The First Time

How to install laminate flooring on a concrete basement floor
How To Install Laminate Flooring On Concrete Steps

Related Posts: