Guide to Removing Laminate Flooring
Laminate flooring is a popular choice for homeowners due to its affordability, durability, and ease of installation. However, there comes a time when it needs to be removed, either for replacement or renovation purposes. Removing laminate flooring can seem like a daunting task, but with the right tools and techniques, it can be done efficiently and effectively. This article will guide you through the step-by-step process of removing laminate flooring, ensuring a smooth and hassle-free experience.
Preparing for the Removal Process
- Gathering the Necessary Tools: Before you begin, gather all the necessary tools and materials for the job. You will need a pry bar, utility knife, hammer, pliers, putty knife, safety goggles, work gloves, and a trash container for disposing of the old flooring. Having all the tools on hand will make the process more efficient.
- Clearing the Room: Start by clearing the room of all furniture, rugs, and any other items that may obstruct the removal process. This will give you a clear and unobstructed workspace, making it easier to maneuver and remove the laminate flooring.
- Removing Baseboards and Trim: Carefully remove any baseboards and trim around the perimeter of the room using a pry bar or putty knife. Be gentle to avoid damaging the walls or the trim, as you may want to reuse them later. Label each piece of trim to make reinstallation easier.
- Inspecting the Flooring: Take a close look at the laminate flooring to identify any problem areas, such as damaged or loose planks. This will help you determine the best approach for removing the flooring and make the process more efficient.
- Safety Precautions: Ensure you are wearing safety goggles and work gloves to protect yourself from any sharp edges or splinters. It’s also a good idea to wear a dust mask if the flooring is old and may contain dust or allergens.
Starting the Removal Process
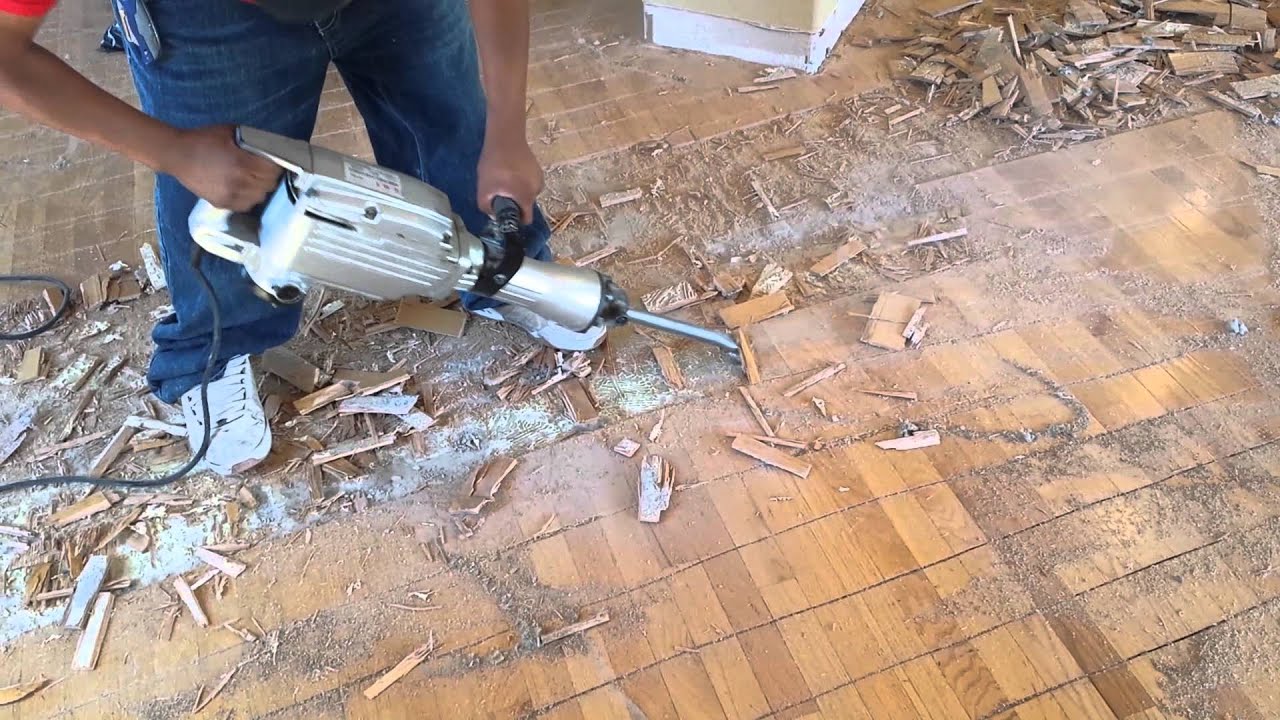
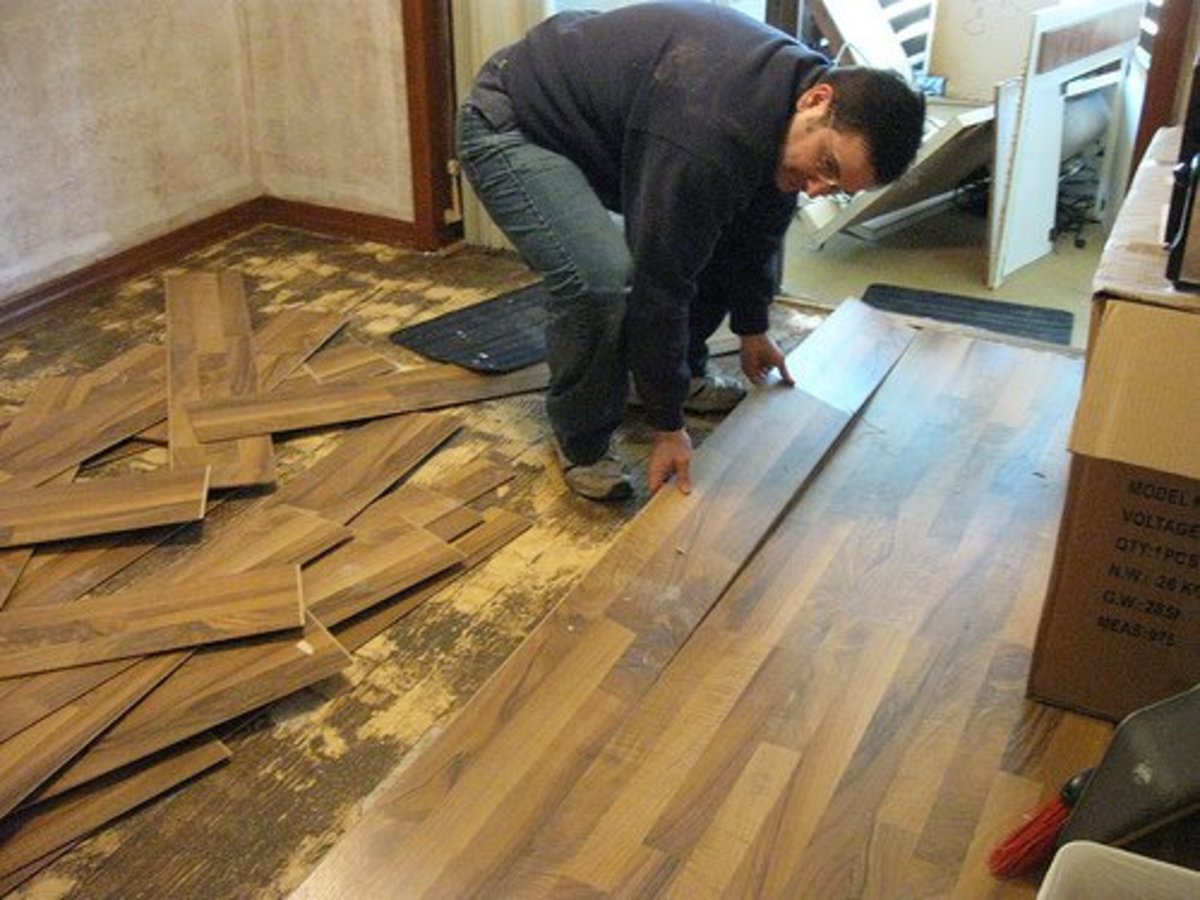
Choosing a Starting Point: Begin at a corner or edge of the room, where it is easiest to access the first row of laminate planks. Use a utility knife to cut through any adhesive or caulking that may be holding the planks in place.
Prying Up the First Plank: Insert the pry bar under the first plank and gently lift it to loosen it from the subfloor. Use the hammer to tap the pry bar if necessary. Be careful not to damage the subfloor, as this may need to be preserved for the new flooring.
Removing Subsequent Planks: Continue prying up the planks one by one, working your way across the room. Use the utility knife to cut any adhesive or connections between the planks. Place the removed planks in the trash container for disposal.
Handling Stubborn Planks: If you encounter any planks that are particularly stubborn or difficult to remove, use the pliers to grip and pull them up. Apply gentle pressure to avoid damaging the subfloor.
Dealing with Underlayment: Some laminate floors have an underlayment that needs to be removed as well. Use the utility knife to cut through the underlayment and peel it away from the subfloor. Dispose of the underlayment along with the laminate planks.
Removing Adhesive and Residue
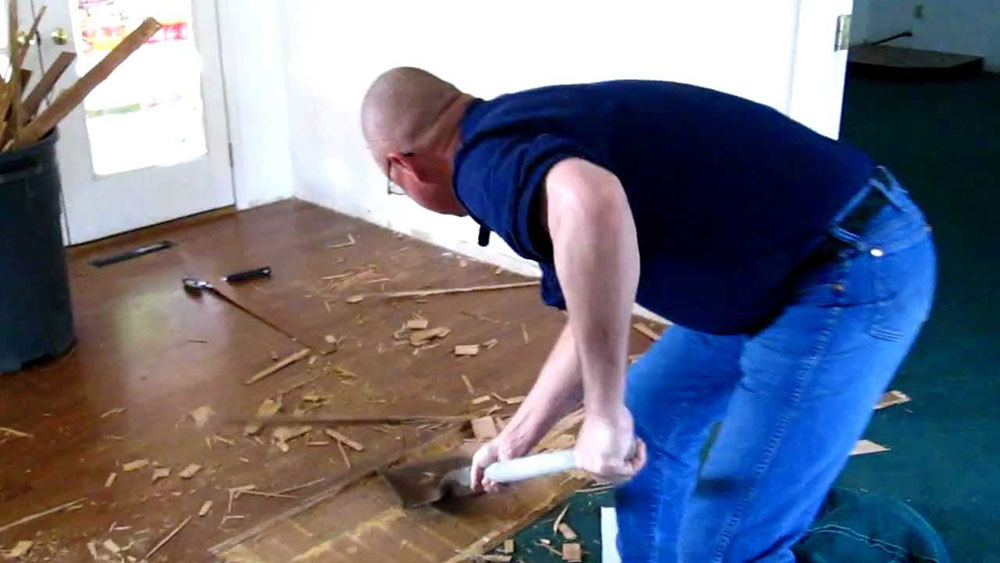
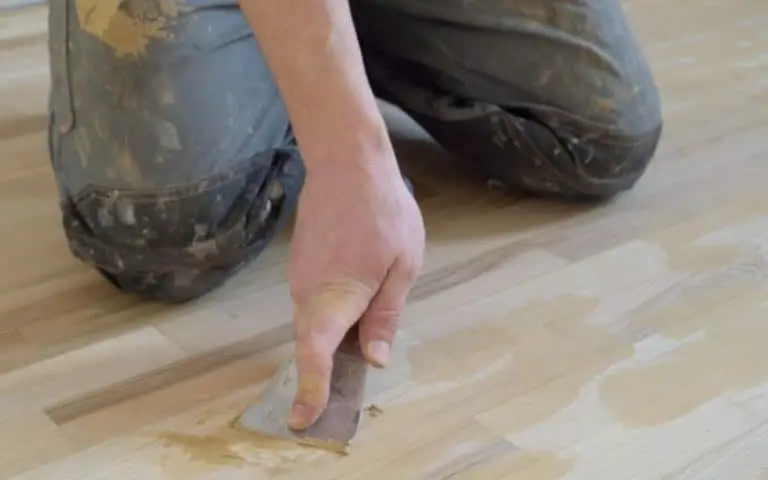
Scraping Off Adhesive: Once all the laminate planks have been removed, you may find adhesive or glue residue left on the subfloor. Use the putty knife or a scraper to carefully remove the adhesive. Work slowly and methodically to avoid damaging the subfloor.
Applying Solvent: For stubborn adhesive that is difficult to remove with scraping alone, apply a solvent designed to dissolve adhesive. Follow the manufacturer’s instructions for safe and effective use. Allow the solvent to sit for the recommended time before scraping off the softened adhesive.
Cleaning the Subfloor: After removing the adhesive, clean the subfloor thoroughly with a damp cloth or mop to remove any remaining residue. Ensure the subfloor is clean and smooth before proceeding with any new flooring installation.
Inspecting for Damage: Check the subfloor for any signs of damage or wear that may have occurred during the removal process. Address any issues promptly by repairing or replacing damaged sections of the subfloor.
Smoothing the Surface: If the subfloor is uneven or has any rough spots, use sandpaper or a floor sander to smooth the surface. A level and smooth subfloor are essential for the successful installation of new flooring.
Disposing of Old Laminate Flooring
Proper Disposal Methods: Dispose of the old laminate flooring and underlayment according to local regulations. Many recycling centers accept laminate flooring, so check with your local waste management facility for proper disposal methods.
Recycling Options: Consider recycling the old laminate flooring if possible. Some recycling centers accept laminate planks, and repurposing them helps reduce waste and environmental impact. Look for recycling programs in your area that accept building materials.
Donating Usable Planks: If the laminate planks are still in good condition, consider donating them to a local charity or reuse center. Many organizations accept building materials for reuse in community projects or affordable housing initiatives.
Repurposing for DIY Projects: Get creative and repurpose the old laminate planks for DIY projects around your home. They can be used for crafting, furniture building, or other home improvement projects, giving the planks a new lease on life.
Hiring a Disposal Service: If you’re unsure about how to dispose of the old laminate flooring or don’t have access to a suitable disposal facility, consider hiring a professional disposal service. They can handle the removal and disposal of the old flooring, saving you time and effort.
Perfect Removing Glued Laminate Wood Flooring

How To Remove Glued Down Wood Laminate Flooring Floor Roma

Remove Glue Down Wood Flooring Flooring, How to remove glue, Diy flooring

Best Way To Remove Tile Adhesive From Floor – Sesuatu

How To Remove Adhesive From Laminate Flooring – 6 Easy Methods
How to Remove Laminate Floor DIY – Dengarden
How To Remove Glued Down Laminate Flooring – Flooring Designs

Related Posts: