The Appeal of Laminate Flooring
Laminate flooring has become a popular choice for homeowners and DIY enthusiasts due to its durability, affordability, and aesthetic appeal. It’s an excellent option for those who want the look of hardwood, stone, or tile without the high cost and maintenance. Today, I’ll share tips and insights on laminate flooring installation, covering everything from preparation and tools to finishing touches. Whether you’re a seasoned DIYer or a first-time installer, these tips will help you achieve professional-looking results.
Choosing the Right Laminate Flooring
- Quality and Durability: Not all laminate flooring is created equal. It’s essential to choose a high-quality product that will withstand daily wear and tear. Look for laminate with a high AC (Abrasion Class) rating, which indicates its durability. For high-traffic areas like kitchens or hallways, an AC rating of 3 or higher is recommended.
- Style and Design: Laminate flooring comes in a wide range of designs, mimicking the look of hardwood, stone, or tile. When choosing a style, consider the overall aesthetic of your home. For a classic look, opt for wood grain patterns. For a more modern or industrial feel, stone or tile designs can be an excellent choice. Remember to take into account the color and texture, as these elements can significantly impact the room’s ambiance.
- Thickness and Plank Size: The thickness of laminate flooring can affect its durability and sound insulation properties. Thicker planks, typically 10-12mm, provide better sound absorption and feel more substantial underfoot. The size of the planks can also influence the room’s visual effect. Wider planks can make a space appear larger, while narrower planks can add a more traditional look.
- Underlayment Considerations: Underlayment is a crucial component in laminate flooring installation. It provides a moisture barrier, sound insulation, and cushioning. Some laminate flooring comes with an attached underlayment, while others require a separate underlayment. Ensure that the underlayment is suitable for the specific type of laminate you’re installing and the subfloor it’s being placed on.
- Moisture Resistance: If you’re installing laminate flooring in areas prone to moisture, such as kitchens or bathrooms, consider moisture-resistant laminate. This type of laminate is designed to withstand spills and humidity better than standard laminate. However, even moisture-resistant laminate isn’t entirely waterproof, so it’s important to clean up spills promptly.
- Cost and Budget: Laminate flooring is generally more affordable than hardwood or tile, but prices can vary significantly based on quality and design. Set a budget before shopping and consider all associated costs, including underlayment, trim, and tools. While it may be tempting to opt for the cheapest option, investing in higher-quality laminate can save you money in the long run by reducing the need for repairs or replacement.

Preparing for Installation
Proper preparation is key to a successful laminate flooring installation. Taking the time to prepare your space and gather the necessary tools will make the process smoother and more efficient.
Measuring the Space: Accurate measurements are crucial for ordering the right amount of laminate flooring. Measure the length and width of each room and calculate the total square footage. Add an additional 10% to account for waste, mistakes, and future repairs. This extra material will ensure you have enough to complete the job without running short.
Acclimating the Flooring: Laminate flooring needs to acclimate to the room’s temperature and humidity before installation. This prevents expansion or contraction after the flooring is installed. Place the unopened boxes of laminate in the room where they will be installed for at least 48 hours. Keep the room temperature between 65-85°F (18-29°C) and maintain a humidity level of 35-65%.
Preparing the Subfloor: The subfloor should be clean, dry, and level before installing laminate flooring. Remove any old flooring, such as carpet or vinyl, and check for any protruding nails or screws. Repair any damage and ensure the subfloor is level within 3/16 inch over a 10-foot span. Uneven subfloors can cause laminate flooring to flex or crack over time.
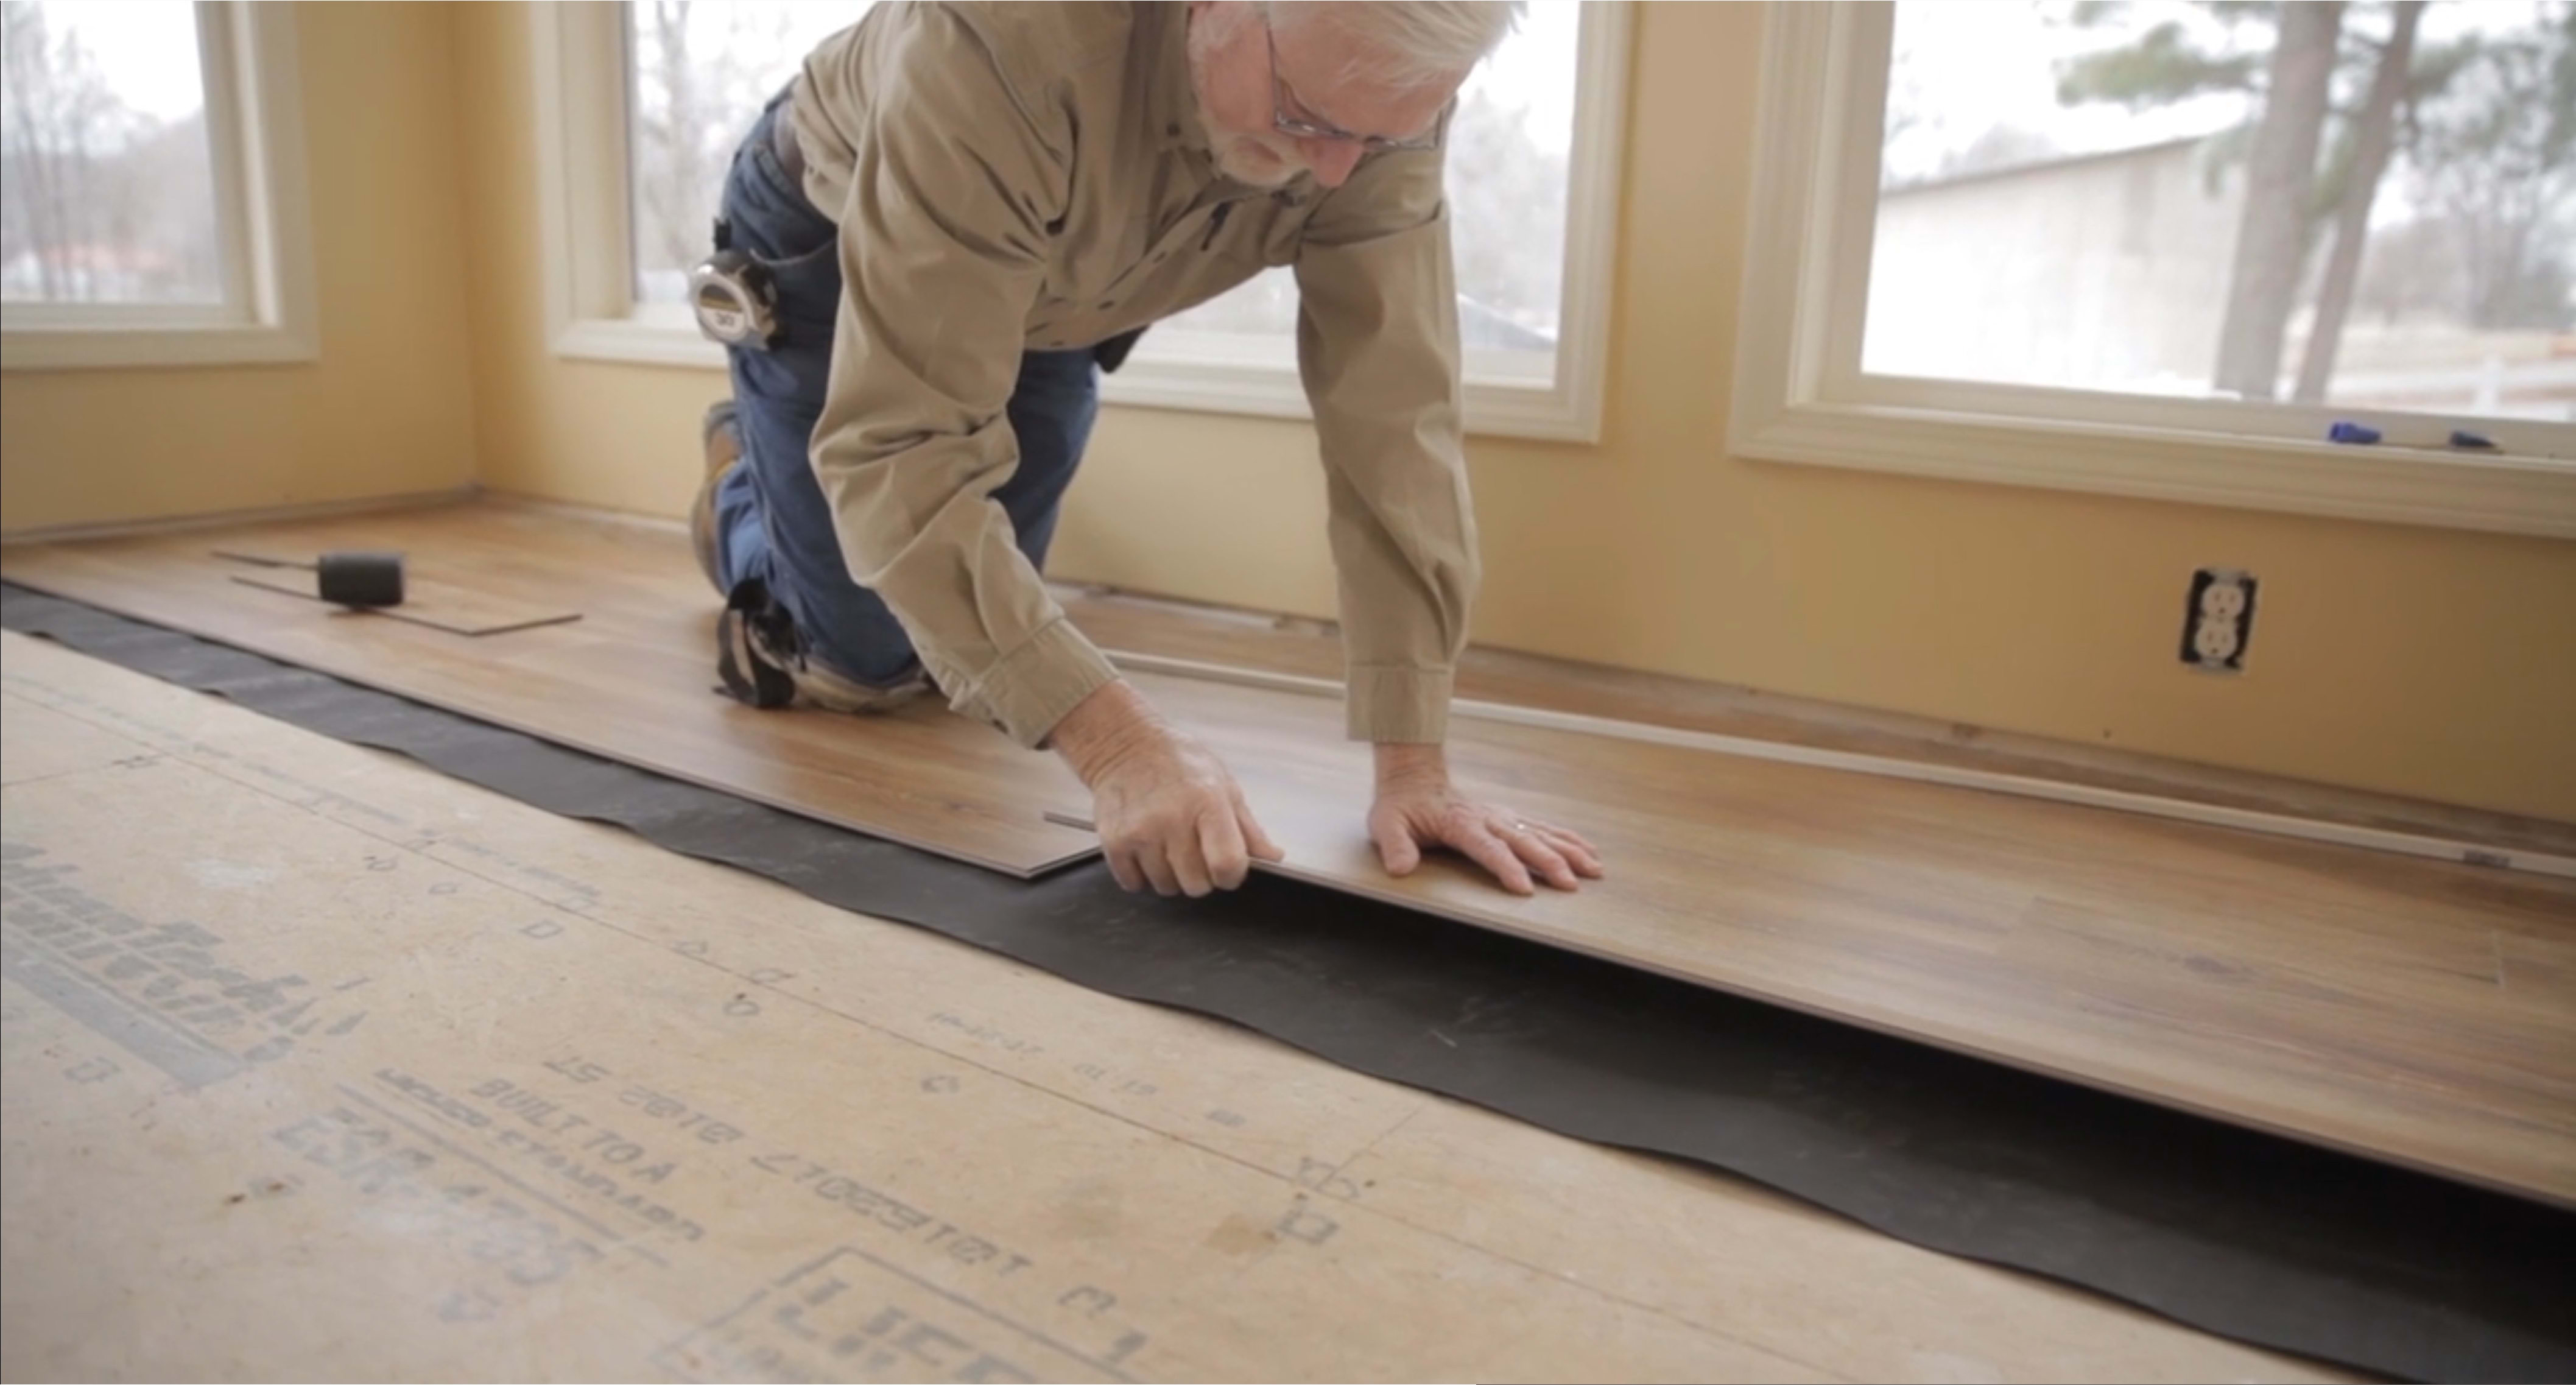
Installing the Underlayment: Underlayment is essential for providing a smooth surface for the laminate flooring and adding insulation and soundproofing. Lay the underlayment according to the manufacturer’s instructions, making sure to cover the entire floor area. Overlap the edges slightly and use adhesive tape to secure them in place. If the laminate flooring has an attached underlayment, this step may not be necessary.
Gathering Tools and Supplies: Having the right tools on hand will make the installation process much easier. Basic tools you’ll need include a tape measure, utility knife, jigsaw or circular saw, spacers, tapping block, pull bar, and hammer. You may also need a moisture meter if you’re concerned about moisture levels in the subfloor. Gather all your tools and supplies before starting to avoid interruptions.
Creating a Layout Plan: Before you start installing the laminate flooring, create a layout plan. Decide which direction you want the planks to run; typically, they are installed parallel to the longest wall or the main source of natural light. Plan the layout so that the final row of planks is at least two inches wide, which may require trimming the first row. This planning helps avoid narrow slivers of flooring and ensures a more professional finish.
Installation Techniques and Tips
Installing laminate flooring involves several steps, from laying the first row to fitting the final pieces. Following these techniques and tips can help ensure a smooth and successful installation.
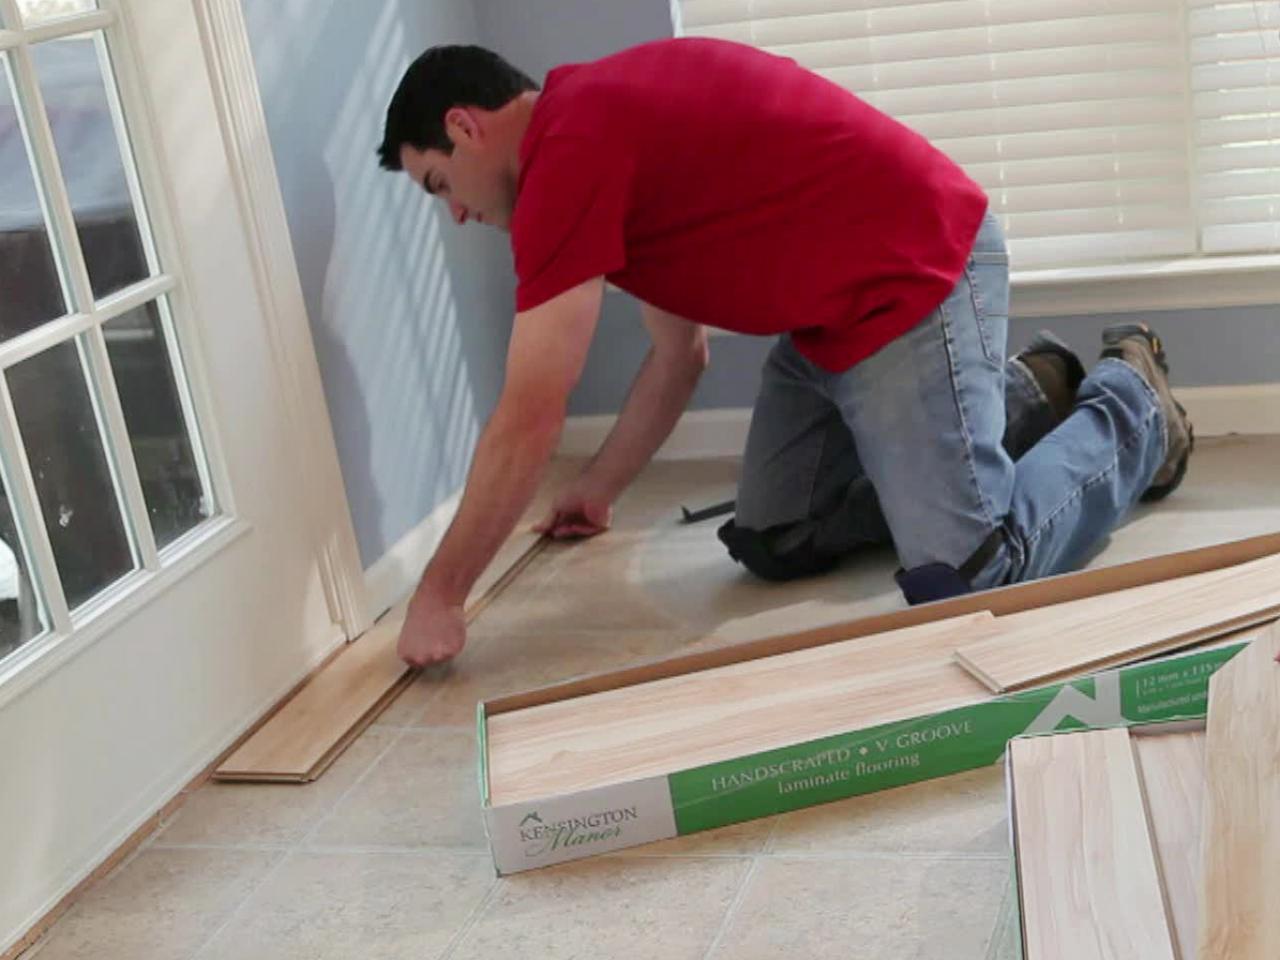
Starting the First Row: Begin by laying the first row of laminate planks along the longest wall, with the tongue side facing the wall. Use spacers to maintain a 1/4-inch gap between the planks and the wall, allowing for expansion. If the wall is not straight, trim the planks to fit the contour. It’s crucial to start with a straight row to ensure the entire installation is aligned properly.
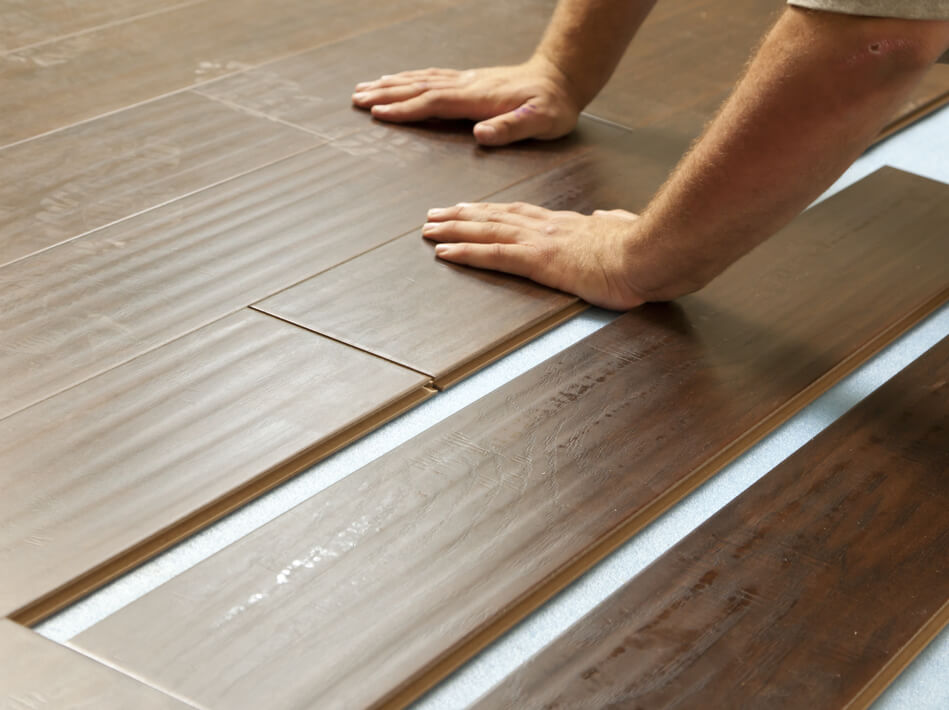
Staggering the Planks: To achieve a natural and aesthetically pleasing look, stagger the end joints of the planks. This involves cutting the first plank of the second row to create an offset. The stagger should be at least 12 inches between the end joints of adjacent rows. This pattern not only looks better but also adds stability to the flooring.
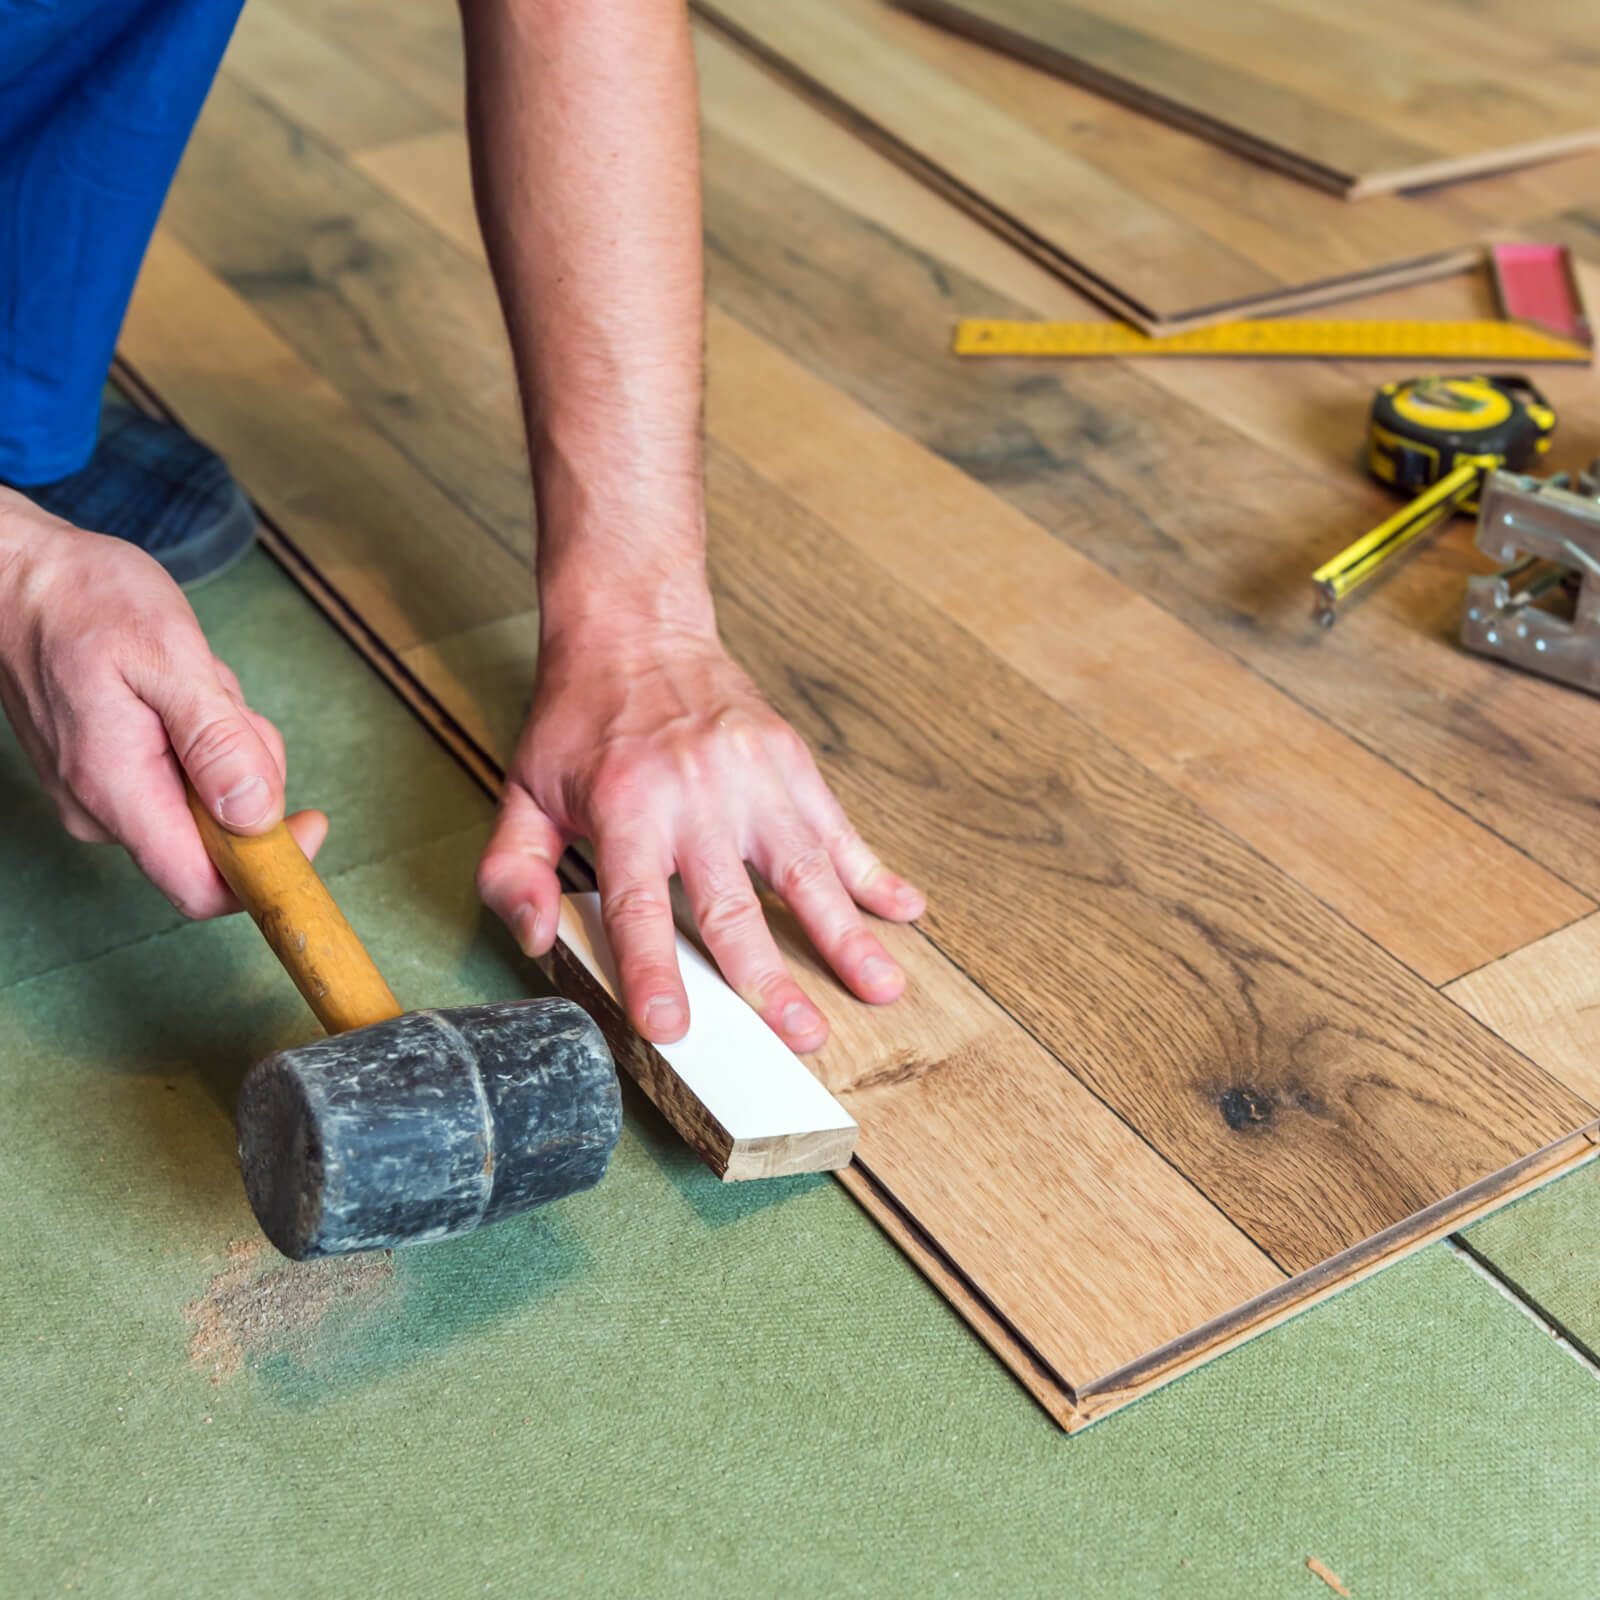
Click-Lock System: Most laminate flooring uses a click-lock system, which allows the planks to snap together without glue or nails. To install, angle the tongue of the new plank into the groove of the previously installed plank and press down until it clicks into place. Use a tapping block and hammer to ensure a snug fit, being careful not to damage the edges.
Cutting Around Obstacles: You may need to cut planks to fit around doorways, vents, or other obstacles. Measure and mark the plank where it needs to be cut, and use a jigsaw or circular saw to make precise cuts. For door casings, undercut them so the laminate can slide underneath for a seamless look. Always wear safety glasses and follow the tool’s safety instructions.
Finishing the Last Row: The last row may need to be trimmed lengthwise to fit. Measure the distance from the wall to the last installed plank, accounting for the 1/4-inch expansion gap, and cut the planks accordingly. Use a pull bar to snugly fit the last row into place. If the last row is too narrow, consider trimming the first row to make the last row wider.
Installing Transitions and Molding: Once the laminate flooring is installed, add transition strips and molding to complete the look. Transition strips cover the expansion gap and provide a smooth transition between different types of flooring, such as from laminate to tile or carpet. Baseboards and quarter-round molding cover the expansion gap along the walls and give a finished appearance.

Common Mistakes to Avoid
Even with careful planning, mistakes can happen during laminate flooring installation. Being aware of common pitfalls can help you avoid them and achieve a professional finish.
Skipping Acclimation: One of the most common mistakes is not allowing the laminate flooring to acclimate to the room’s environment. Failing to do so can lead to expansion or contraction after installation, causing gaps or buckling. Always let the flooring acclimate for at least 48 hours in the room where it will be installed.
Ignoring the Expansion Gap: The expansion gap is essential for allowing the laminate to expand and contract with changes in temperature and humidity. Failing to leave a sufficient gap can cause the flooring to buckle or warp. Use spacers to maintain a consistent 1/4-inch gap around the perimeter of the room and around fixed objects.
Improper Subfloor Preparation: Installing laminate flooring on an uneven or dirty subfloor can lead to issues such as creaking, gaps, or damage to the flooring. Ensure the subfloor is clean, dry, and level before installation. Use a leveling compound if necessary and remove any debris that could cause unevenness.
Incorrect Cutting and Measuring: Precise cutting and measuring are crucial for a neat and professional installation. Double-check all measurements before cutting planks, and use the right tools for accurate cuts. Be especially careful when cutting around obstacles or making angled cuts, as mistakes can be costly and time-consuming to fix.
Not Staggering the Planks: Staggering the planks creates a more natural and visually appealing look while also adding stability to the floor. Avoid placing end joints too close together, which can create weak points. Follow the manufacturer’s recommendations for the minimum stagger distance between joints.
Neglecting the Final Touches: The final touches, such as installing transition strips and molding, are important for a polished and complete look. Failing to install these finishing elements can leave the floor looking unfinished and may also expose the edges to damage. Take the time to properly install all transition pieces and trim.
Tools and Supplies You’ll Need
Having the right tools and supplies is essential for a successful laminate flooring installation. Here’s a list of the essentials you’ll need to get the job done right.
Tape Measure: A tape measure is crucial for taking accurate measurements of the room and planks. Use it to calculate the square footage, measure gaps, and ensure a precise fit around obstacles.
Utility Knife: A utility knife is handy for cutting underlayment, trimming laminate planks, and making minor adjustments. Ensure you have a sharp blade for clean cuts and always use caution when handling the knife.
Saw (Jigsaw or Circular Saw): A jigsaw or circular saw is essential for cutting laminate planks to size. A jigsaw is ideal for making intricate cuts around obstacles, while a circular saw is great for straight cuts. Use a fine-toothed blade to minimize chipping on the laminate surface.
Spacers: Spacers are used to maintain the expansion gap around the perimeter of the room. These small plastic or wooden pieces ensure that the flooring has enough space to expand and contract. Remove them after the installation is complete.
Tapping Block and Pull Bar: A tapping block and pull bar are used to ensure tight joints between planks without damaging the edges. The tapping block helps you tap the planks together, while the pull bar is used to snugly fit the last row of planks into place.
Moisture Barrier and Underlayment: Depending on the subfloor and the type of laminate you’re installing, you may need a moisture barrier and/or underlayment. The moisture barrier protects the flooring from moisture seeping up from the subfloor, while the underlayment provides cushioning and sound insulation.
Post-Installation Care and Maintenance
Once your laminate flooring is installed, proper care and maintenance are crucial to keeping it looking great and lasting for years. Here are some tips for post-installation care.
Cleaning and Maintenance: Regular cleaning is essential to keep your laminate flooring looking its best. Sweep or vacuum regularly to remove dirt and debris that can scratch the surface. Use a damp mop with a laminate-specific cleaner for a deeper clean, and avoid using excessive water, which can damage the flooring.
Preventing Damage: Protect your laminate flooring from damage by using furniture pads under heavy furniture, avoiding high heels or sharp objects that can scratch the surface, and using rugs or mats in high-traffic areas. Immediately clean up any spills to prevent moisture damage.
Addressing Minor Repairs: If your laminate flooring gets scratched or damaged, there are several ways to address minor repairs. For small scratches, use a laminate repair kit, which includes colored wax or putty to fill in the damaged area. For deeper damage, consider replacing the affected plank.
Controlling Humidity Levels: Laminate flooring can be sensitive to changes in humidity. Keep the humidity levels in your home between 35-65% to prevent the flooring from expanding or contracting excessively. Use a dehumidifier or humidifier as needed to maintain a stable environment.
Resealing and Refinishing: Unlike hardwood, laminate flooring cannot be sanded or refinished. However, some laminate floors can be resealed with a protective layer to enhance their durability and appearance. Check with the manufacturer for specific recommendations on resealing or refinishing your laminate flooring.
Long-Term Care: With proper care and maintenance, laminate flooring can last for many years. Avoid dragging heavy furniture across the floor, and be mindful of exposure to direct sunlight, which can cause fading over time. By following these tips and taking proactive measures, you can enjoy your beautiful laminate flooring for years to come.

A Rewarding DIY Project
Installing laminate flooring can be a rewarding DIY project that transforms the look of your home. With the right preparation, tools, and techniques, you can achieve professional-looking results. Remember to choose the right laminate for your space, prepare the subfloor properly, and follow the installation steps carefully. By avoiding common mistakes and taking good care of your new floor, you’ll enjoy a beautiful, durable surface that enhances your home’s value and comfort. Whether you’re updating a single room or your entire home, laminate flooring is a versatile and affordable option that offers style and functionality.
:max_bytes(150000):strip_icc()/how-to-lay-laminate-flooring-1822250-01-0b84ff37785a4f8b94ab8bd30c300bfb.jpg)
How To Install Wooden Laminate Flooring

Professional Laminate Flooring Installation
Installing Laminate Flooring for the First Time
Related Posts:
- Laminate Flooring Living Room Ideas
- How To Remove Laminate Flooring
- How To Remove Laminate Floor Glue
- Laminate Floor Edge Filler
- Farmhouse Laminate Flooring
- Dark Laminate Flooring Ideas
- Laminate Floor Uneven Transition
- Laminate Floor Colors Ideas
- Grey Oak Laminate Flooring
- Laminate Flooring Installation Tips