Laying Wood Flooring Over Floorboards

Underlay For Solid Wood Flooring On Floorboards – Flooring Guide by Cinvex

Laying Real Wood Flooring On Floorboards – Flooring Site
How to Install Wood Flooring Vermont Hardwoods
LAYING NEW WOOD FLOORING OVER ORIGINAL, UNEVEN FLOORBOARDS — luke arthur wells Wood floors

Fixing Floor Tiles To Floorboards Best wood flooring, Laying hardwood floors, Floating

29+ Should You Install Laminate Flooring In A Bathroom PNG – how not to install laminate flooring

How To Install Wood Tile Floor On Concrete – Best Home Design
30 Spectacular Vinyl Tile Hardwood Flooring Unique Flooring Ideas
Floating Wooden Floor On Concrete Engineered wood floors, Solid wood flooring, Wood floor

How To Install Click Lock Engineered Hardwood Flooring in 2020 Engineered hardwood flooring

Пин на доске In the lavatory

Related Posts:
- Grey Parquet Wood Flooring
- How To Install Pergo Wood Flooring
- Dark Black Wood Flooring
- Solid Wood Flooring White
- Pallet Wood Flooring Ideas
- Wood Floor Chevron Pattern
- Wood Flooring Home Ideas
- Wood Floor Filler Resin
- Glossy Wood Flooring Ideas
- Pergo Wood Flooring Installation
Laying Wood Flooring Over Floorboards
Wood flooring is a popular choice for homeowners looking to enhance the aesthetic appeal and value of their homes. It adds warmth, character, and a touch of elegance to any space. When it comes to installing wood flooring, one common question that arises is whether it can be laid directly over existing floorboards. In this article, we will explore the process of laying wood flooring over floorboards, including the preparation, installation, and potential challenges that may arise.
1. Assessing the Condition of the Floorboards:
Before embarking on the process of installing wood flooring over floorboards, it is crucial to assess the condition of the existing floor. Look for signs of damage or decay, such as warping, creaking, or loose boards. It is essential to repair any underlying issues before proceeding with the installation to ensure a stable base for your wood flooring.
FAQ: Can I install wood flooring over uneven or damaged floorboards?
Answer: It is not recommended to install wood flooring over uneven or damaged floorboards. Uneven surfaces may cause the new wood flooring to buckle or warp over time. Therefore, it is crucial to address any underlying issues before proceeding with the installation.
2. Preparing the Subfloor:
To ensure a successful installation, it is essential to prepare the subfloor properly. Start by removing any existing floor coverings, such as carpet or vinyl, and thoroughly clean the floorboards. Sanding may be necessary to create a smooth and even surface. It is important to ensure that the subfloor is free from any dust, debris, or protruding nails that could affect the installation process.
FAQ: Do I need to remove skirting boards before laying wood flooring?
Answer: While it is not necessary to remove skirting boards before laying wood flooring, it can provide a neater and more professional finish. However, if you choose not to remove them, leave a small expansion gap between the flooring and the skirting boards to allow for natural movement.
3. Acclimating the Wood Flooring:
Wood is a natural material that can expand or contract with changes in temperature and humidity. To prevent issues such as warping or gapping after installation, it is crucial to acclimate the wood flooring to the environment where it will be installed. This process involves leaving the wood planks in the room for at least 48 hours before installation, allowing them to adjust to the temperature and humidity levels.
FAQ: How do I acclimate wood flooring?
Answer: When acclimating wood flooring, ensure that the room temperature and humidity levels are close to normal living conditions. Open the packaging of the wood planks and stack them on a flat surface, leaving spaces between each plank to allow air circulation. Avoid exposing the wood directly to sunlight or excessive moisture during acclimation.
4. Choosing an Installation Method:
When laying wood flooring over floorboards, there are two primary installation methods to consider: floating and glue-down. The choice of method depends on various factors, such as the type of wood flooring, subfloor condition, and personal preference.
Floating Installation: In this method, individual planks are not attached directly to the subfloor but rather float above it. The planks are interlocked and secured using a tongue-and-groove system or click-lock mechanism.
Glue-Down Installation: As the name suggests, this method involves adhering the wood planks directly to the subfloor using an appropriate adhesive. This option provides a more stable and secure installation but may require additional time and effort.
FAQ: Which installation method is better for laying wood flooring over floorboards?
Answer: Both floating and glue-down methods can be suitable for laying wood flooring over floorboards. Floating installation offers more flexibility and ease of installation, making it ideal for DIY homeowners. On the other hand, glue-down installation provides a stronger bond and is recommended for areas prone to high humidity or moisture.
5. Installing the Wood Flooring:
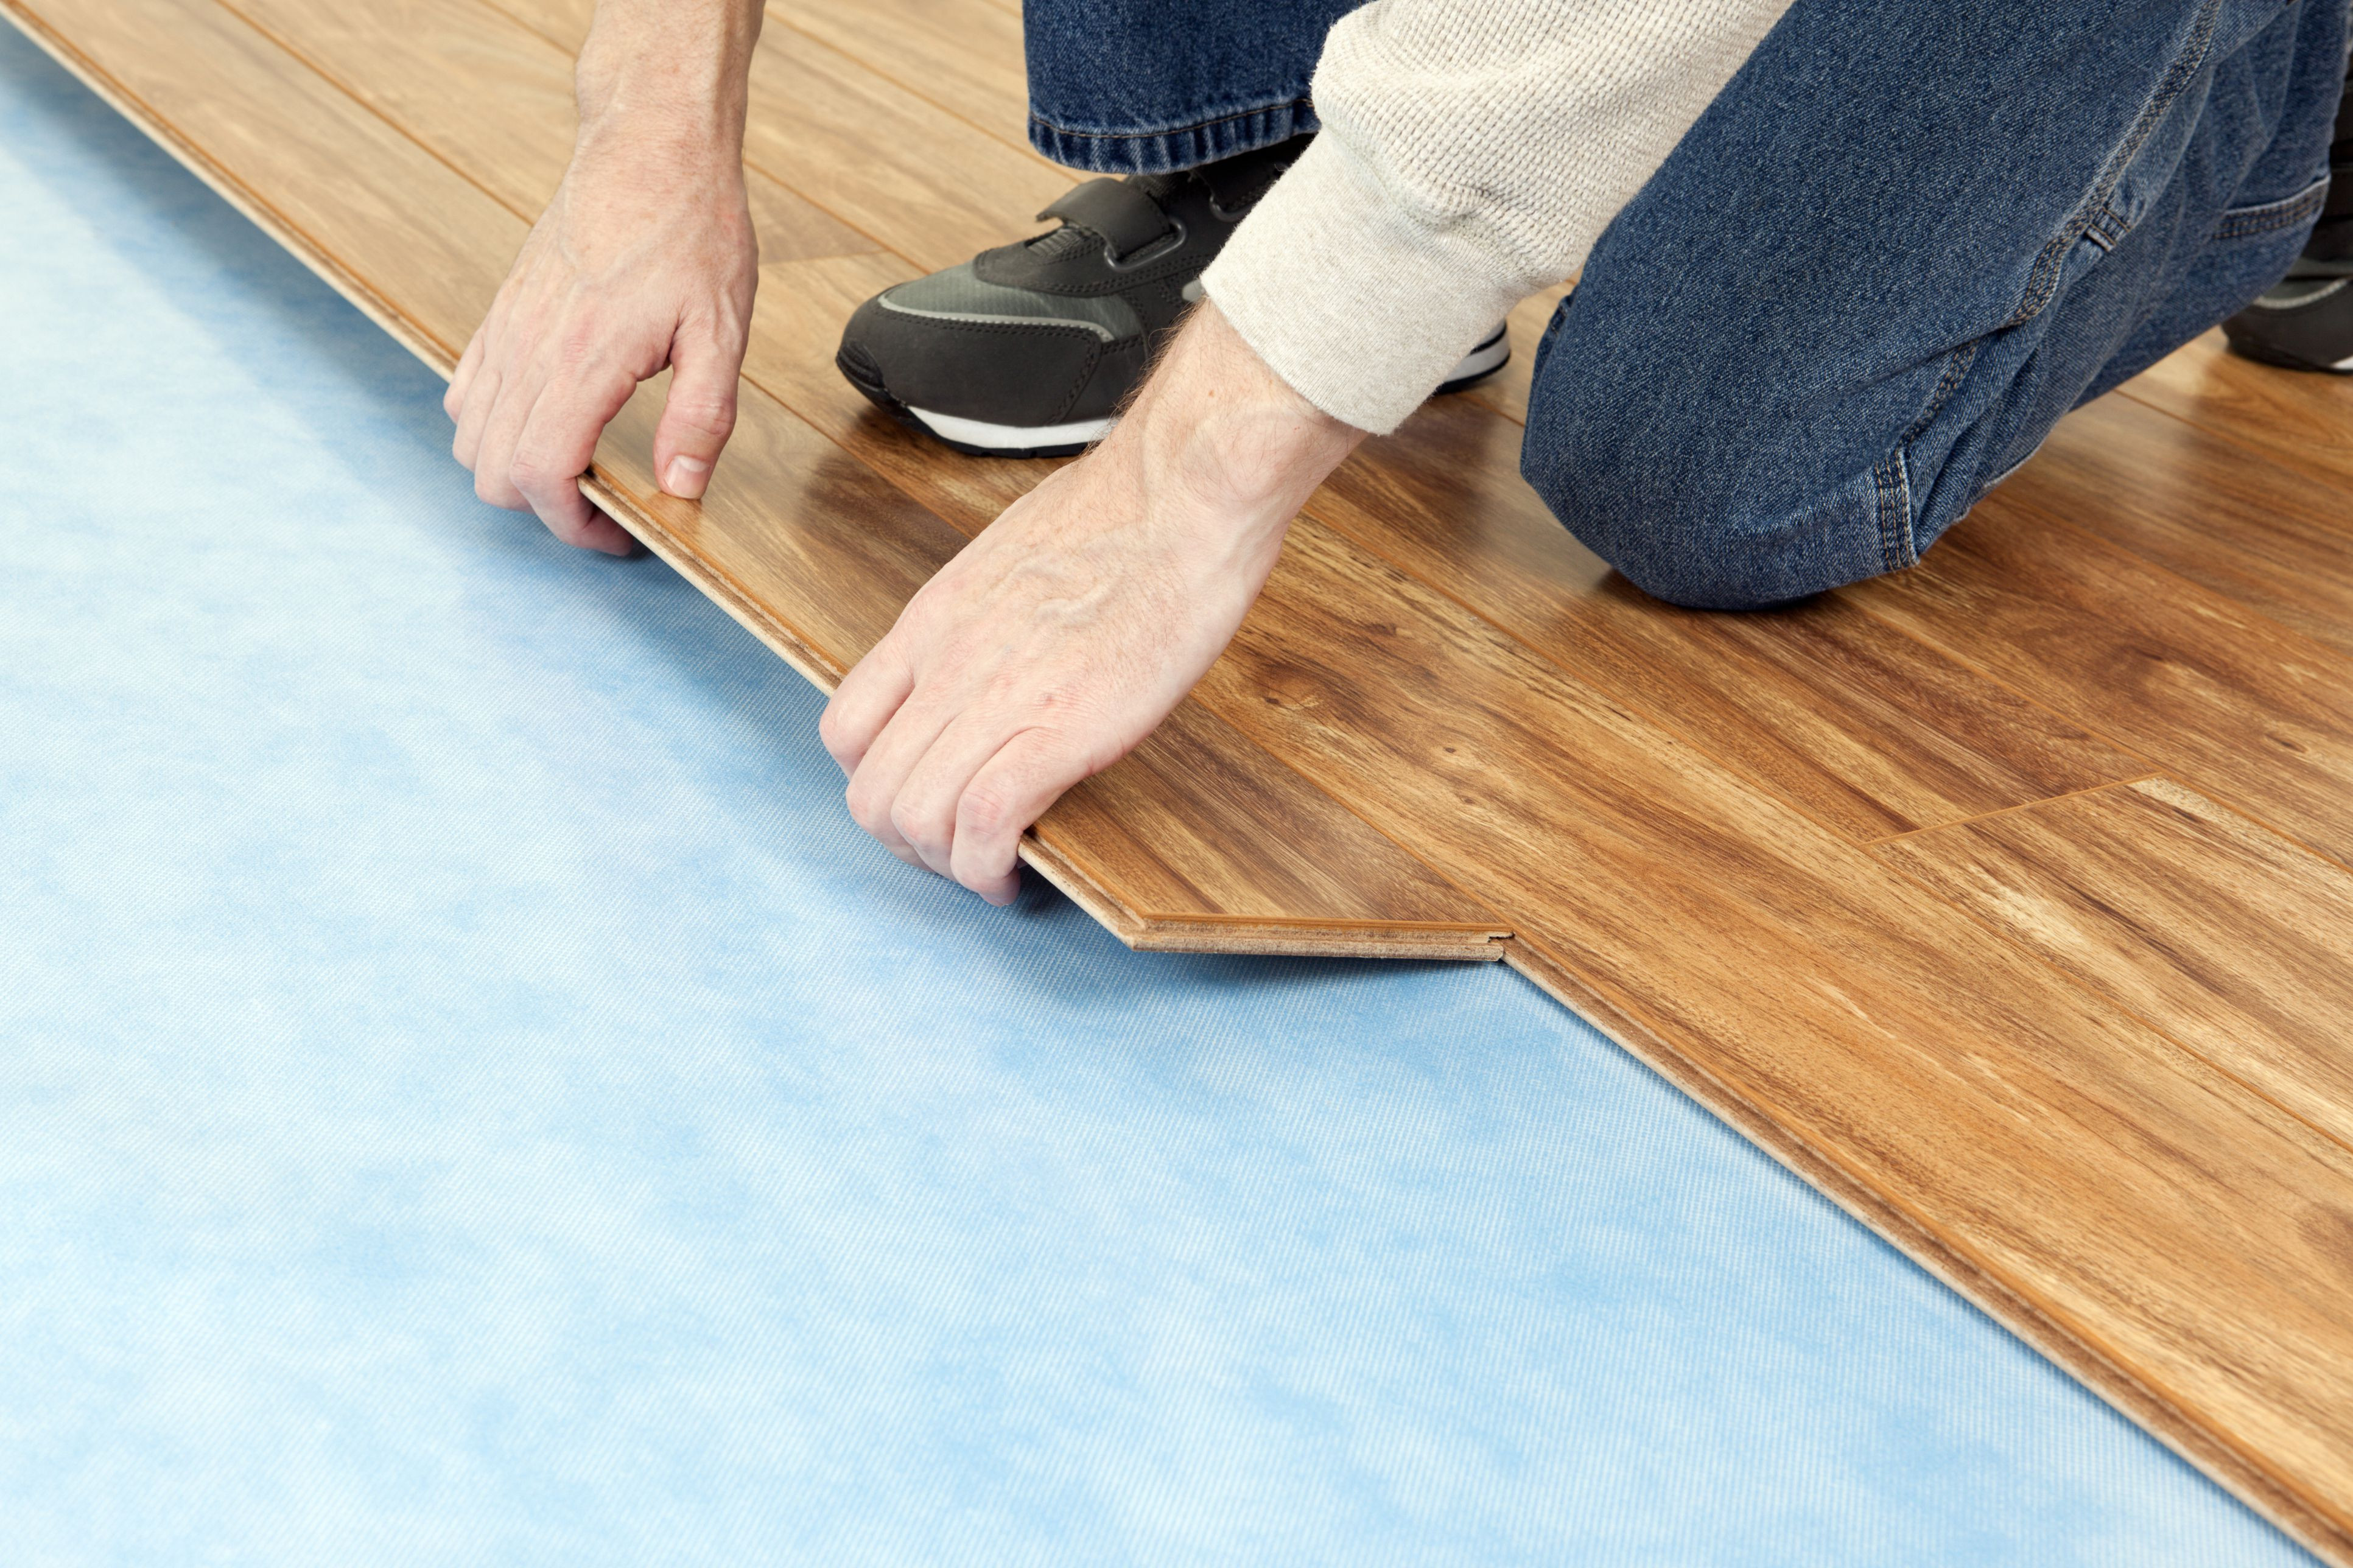
Once the subfloor is prepared, and the wood planks have been acclimated, it is time to start the installation process. Begin by laying an underlayment over the floorboards to provide an additional layer of insulation and reduce noise. The underlayment also acts as a moisture barrier, protecting the wood flooring from potential moisture-related issues.
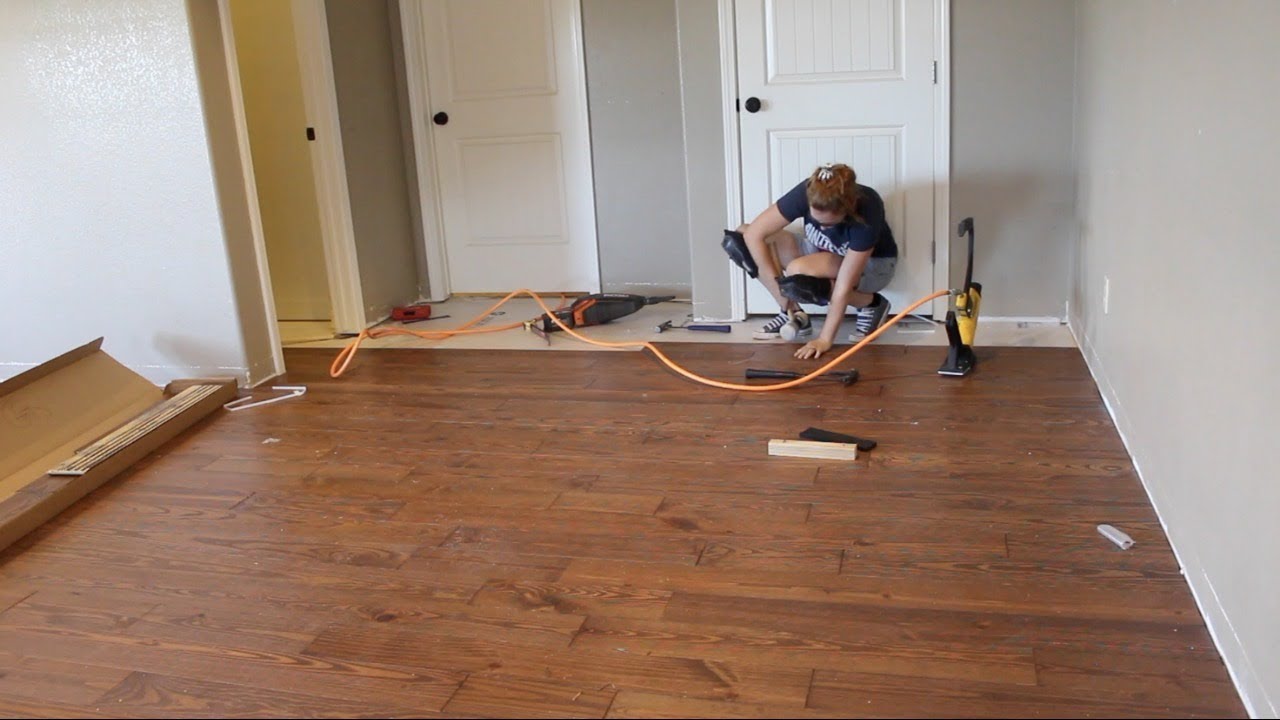
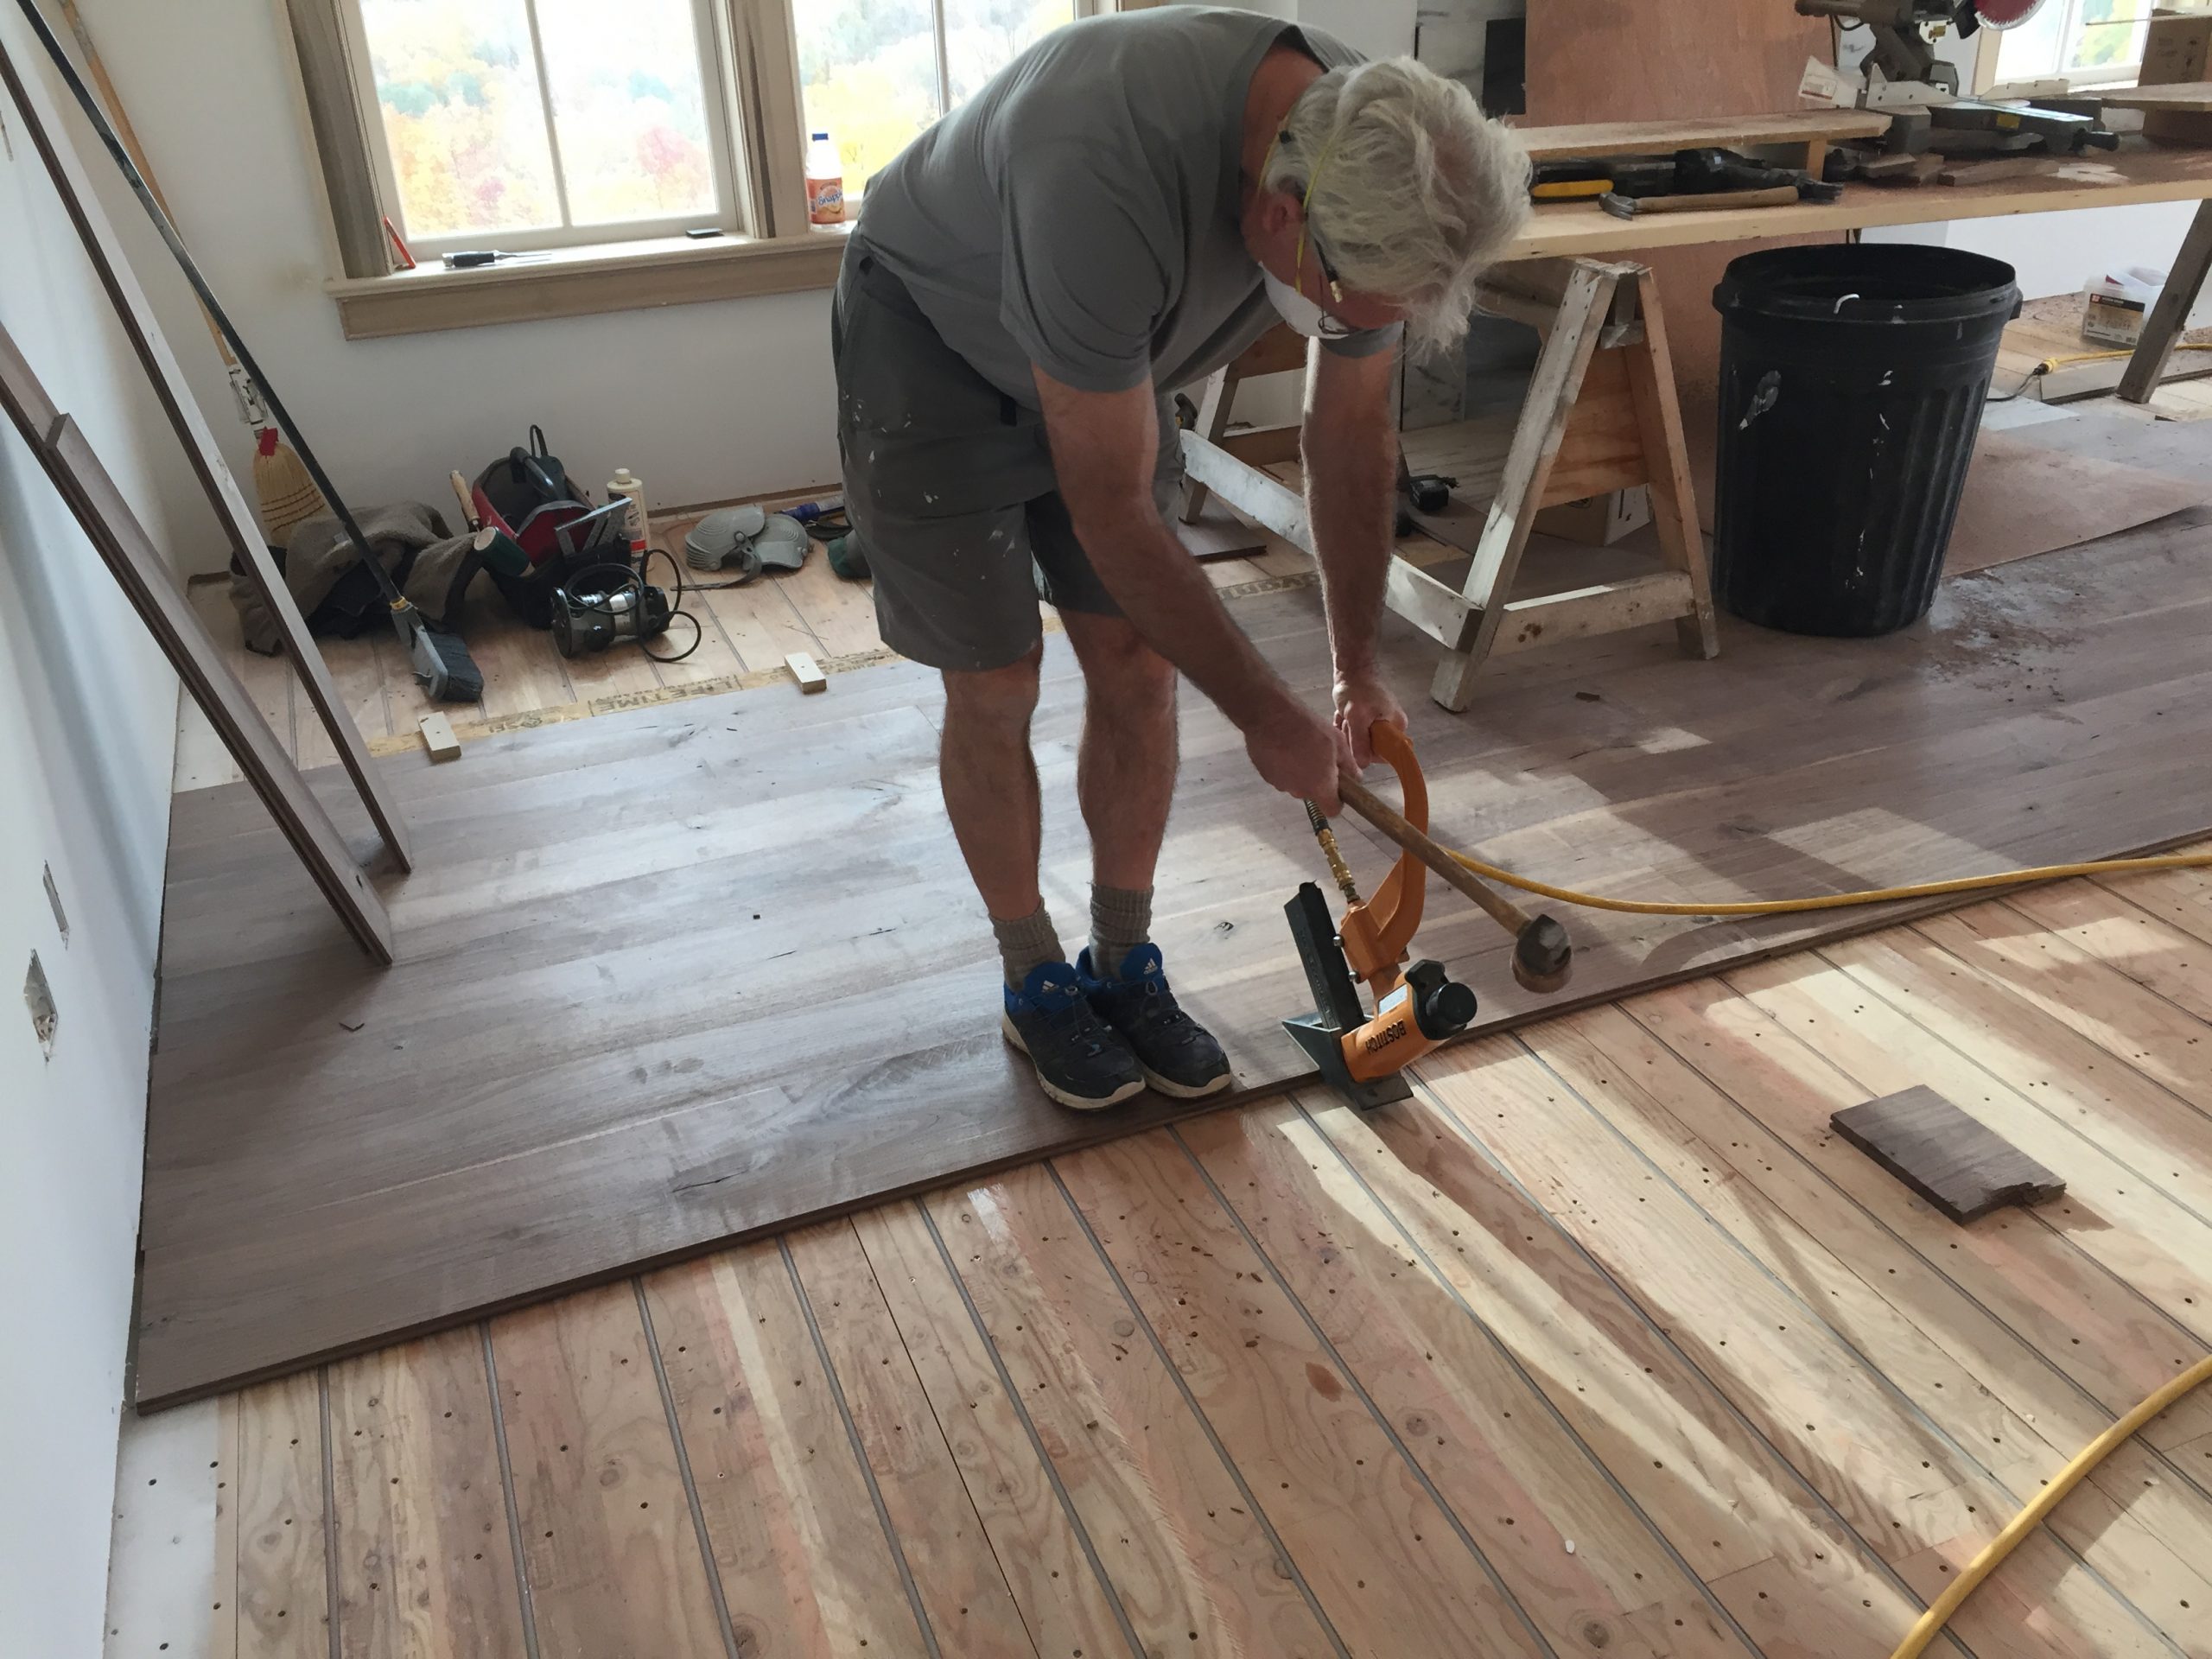
Next, start laying the wood planks according to the chosen installation method. Follow the manufacturer’s instructions carefully, ensuring that each plank fits snugly together. Use a tapping block And a hammer or mallet to gently tap the planks into place, making sure they are securely connected.
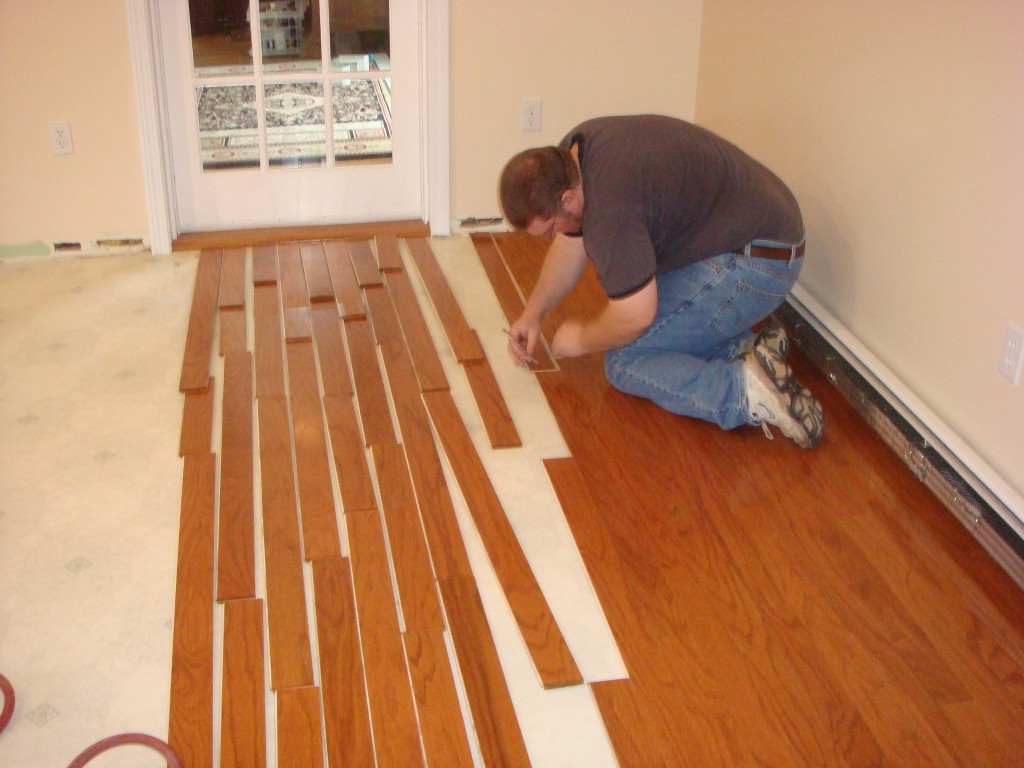
Continue laying the planks row by row, staggering the joints for a more aesthetically pleasing look and added stability. Trim the planks as needed to fit around obstacles such as doorways or vents.
Once all the planks are installed, use a jigsaw or circular saw to cut the last row to fit against the wall, leaving an expansion gap between the flooring and the wall. This gap allows for natural movement of the wood and prevents buckling or warping.
After the installation is complete, clean up any excess adhesive or debris from the flooring. Consider adding baseboards or quarter round molding to cover the expansion gap and provide a finished look.
FAQ: How do I maintain wood flooring over floorboards?
Answer: To maintain wood flooring over floorboards, regularly sweep or vacuum to remove dirt and debris. Avoid using excessive water or harsh cleaning chemicals, as these can damage the wood. Instead, use a damp mop or specialized wood floor cleaner to gently clean the surface. Promptly wipe up any spills to prevent staining or damage.
Also, consider using felt pads on furniture legs to prevent scratches on the wood flooring. Avoid dragging heavy furniture across the floorboards, as this can cause dents or scratches. Additionally, periodically check for any signs of wear or damage and address them promptly to prolong the lifespan of your wood flooring.
In conclusion, laying wood flooring over floorboards requires proper preparation, acclimation of the wood flooring, careful selection of installation method, and precise installation techniques. By following these steps and considering important factors such as acclimation and maintenance, you can achieve a beautiful and durable wood floor that will enhance your space for years to come. Installing wood flooring over floorboards involves several steps:
1. Preparing the subfloor: Ensure that the floorboards are in good condition without any loose or damaged boards. Remove any existing flooring and clean the subfloor thoroughly.
2. Acclimate the wood flooring: Allow the wood planks to acclimate to the room’s temperature and humidity for a recommended period of time, usually 48 to 72 hours. This helps prevent shrinkage or expansion of the wood after installation.
3. Choose an installation method: Decide whether to use a floating or glue-down installation method. Floating installation involves interlocking the planks and allowing them to float above the subfloor, while glue-down installation requires adhering the planks directly to the subfloor using adhesive.
4. Lay an underlayment: Install an underlayment over the floorboards to provide insulation, reduce noise, and act as a moisture barrier.
5. Start installing the wood flooring: Begin laying the wood planks according to the chosen installation method, following the manufacturer’s instructions carefully. Use a tapping block and hammer/mallet to ensure a snug fit between each plank.
6. Stagger the joints: Lay the planks row by row, staggering the joints for stability and an attractive appearance. Trim planks as needed to fit around obstacles like doorways.
7. Leave an expansion gap: Create a small gap between the flooring and walls using spacers. This allows for natural movement of the wood and prevents issues like buckling or warping.
8. Clean up and finish: Remove any excess adhesive or debris from the flooring after installation. Consider adding baseboards or quarter round molding to cover the expansion gap and provide a finished look.
To maintain wood flooring over floorboards, regularly sweep or vacuum to remove dirt and debris. Avoid using excessive water or harsh cleaning chemicals, as they can damage the wood. Use a damp mop or specialized wood floor cleaner for gentle cleaning. Wipe up spills promptly to prevent staining or damage. Felt pads can be used on furniture legs to prevent scratches, and avoid dragging heavy furniture across the floorboards. Periodically check for wear or damage and address them promptly for a longer lifespan of your wood flooring.