Leveling Concrete Garage Floor Garage Floor Self Leveling Epoxy Dandk Organizer Garage Floor Self Leveling Epoxy Dandk Organizer Garage Floor Self Leveling Epoxy Dandk Organizer Garage Floor Self Leveling Epoxy Dandk Organizer Garage Floor Self Leveling Epoxy Dandk Organizer
Garage Floor Self Leveling Epoxy Dandk Organizer

Concrete Leveling – Garage Concrete Repair in Oklahoma City, Ok – Cracked Garage Floor in
American_Concrete_Leveling_Garage_Floor_Steps_Uneven American Concrete Leveling

Concrete Garage Floor Repair and Leveling Services Garage Floor Leveling

Levelling Cracked Concrete Garage Floor – Concrete, Stone & Masonry – DIY Chatroom Home

Levelling Cracked Concrete Garage Floor – Concrete, Stone & Masonry – DIY Chatroom Home

Garage Floor Self Leveling Compound – Flooring : Home Design Ideas #5zPevEOZn999641

The Basement Doctor of Cincinnati – Concrete Lifting and Leveling Photo Album – Garage Floor

Concrete Leveling – Garage Floor Repair in Bartlesville, Ok – Garage door not closing properly

Concrete Garage Floor Repair and Leveling Services Garage Floor Leveling

Related Posts:
- Marble Garage Floor
- Cheap Garage Floor Covering
- Garage Floor Coating
- Heavy Duty Garage Flooring
- Checkerboard Garage Floor Tiles
- Garage Floor Sealer Paint
- Epoxyshield Garage Floor Paint
- Benefits Of Epoxy Flooring In Garage
- Garage Floor Preparation For Epoxy
- Garage Workshop Flooring
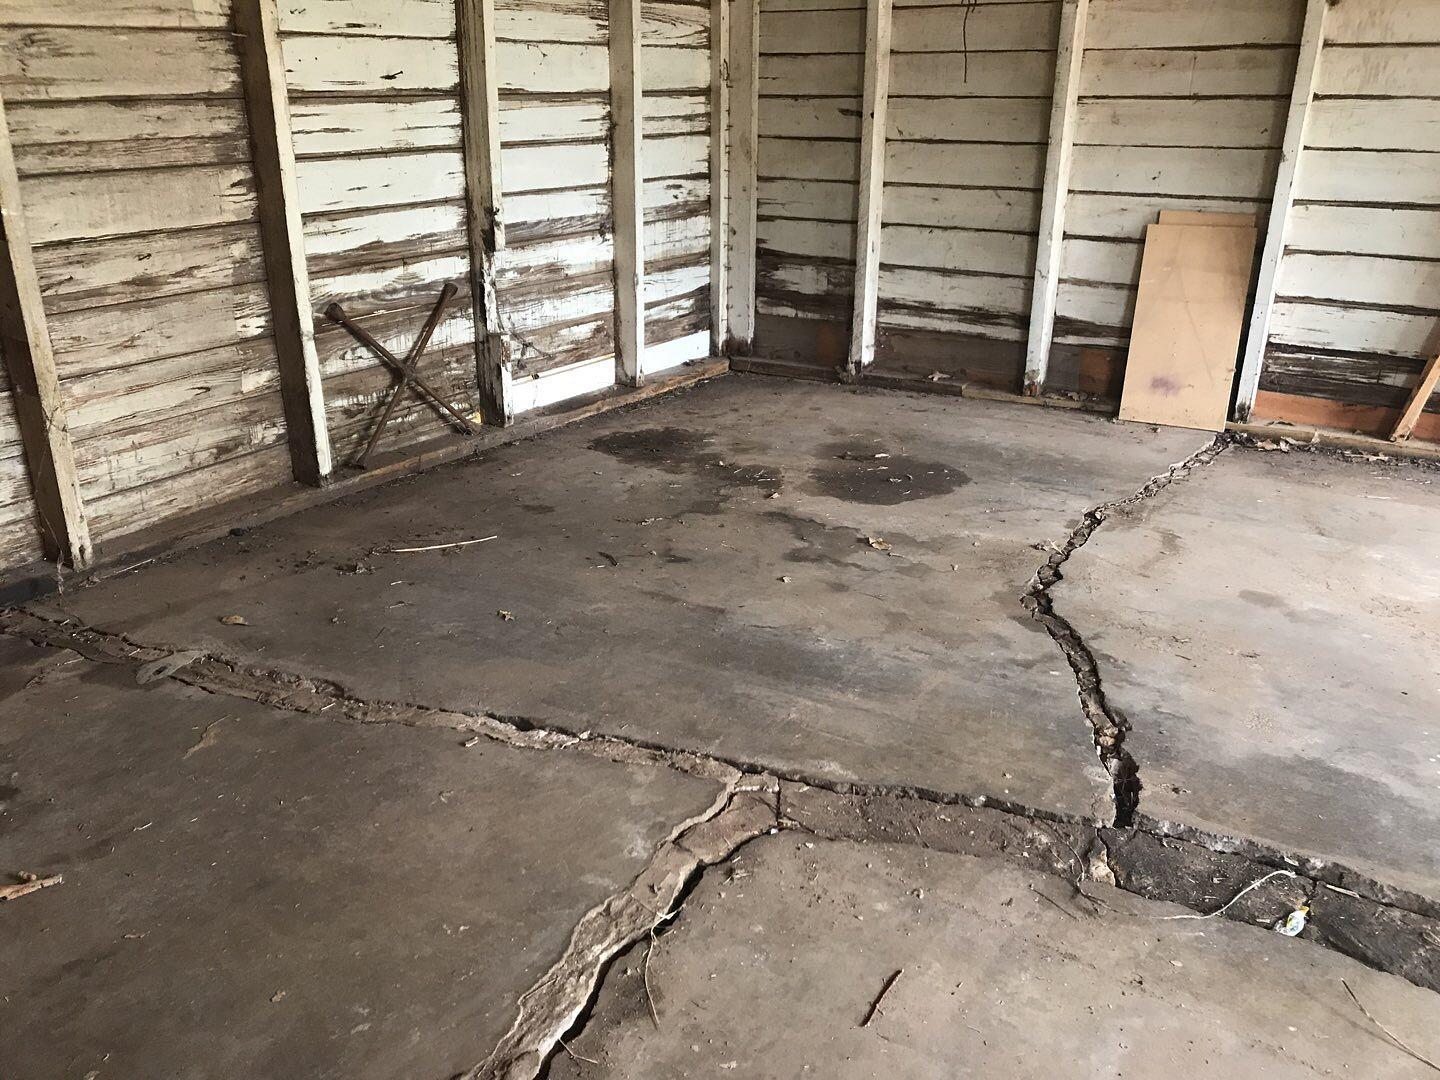
Having an uneven concrete garage floor can be an eyesore and a source of frustration. Whether you’re trying to park your car or perform DIY projects, a level garage floor is essential for achieving optimal results. Fortunately, leveling a concrete garage floor is not a difficult task that can be accomplished by following a few simple steps.
Preparing the Area for Leveling
The first step in leveling your concrete garage floor is to prepare the area. Start by removing any furniture, boxes, and other items that could get in the way. Next, sweep the entire area with a broom or vacuum cleaner to remove any dust or debris. Finally, fill any cracks and holes with a cement patching compound and let it dry before proceeding.
Choosing the Right Leveling Material
There are several types of material available for leveling a concrete garage floor, including paver base, self-leveling compound, and concrete resurfacer. Paver base is great for minor leveling jobs, but it may not be suitable for large or deep depressions. Self-leveling compounds are perfect for filling small gaps and creating an even surface, but they can be expensive. Concrete resurfacer is perfect for larger projects since it will completely level out the entire floor but requires more skill and effort to apply.
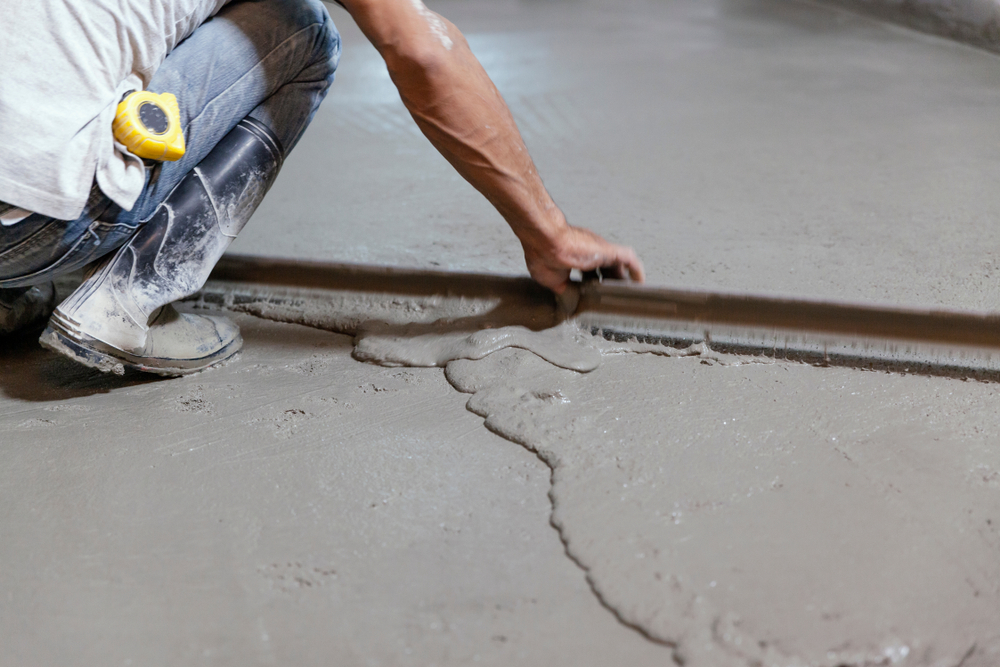
Applying the Leveling Material
Once you’ve chosen the right material for the job, it’s time to apply it to your concrete garage floor. Start by mixing the material according to the instructions on the package. For self-leveling compounds, you will need to mix it with water until it reaches a creamy consistency. For paver base or concrete resurfacer, you may need to mix in additional additives such as sand or perlite depending on the manufacturer’s instructions.
Using a long-handled squeegee or trowel, spread the material over the surface evenly and fill any depressions or holes to create an even layer. Let it dry overnight before applying a second coat if necessary. If you’re using paver base, you can add another layer after 24 hours.
Finishing Touches
Once you’ve applied and let the leveling material dry, it’s time to do some finishing touches. Depending on what type of material you used, this may include sanding down rough spots or applying a sealer or topcoat. Doing this will protect your work and make sure that your concrete garage floor stays level and smooth for years to come.
Conclusion
No matter how uneven your concrete garage floor is, it can be leveled out with the right materials and techniques. Preparing the area before applying a leveling material will help ensure that everything goes smoothly and that you get the perfect finish every time. With just a little bit of effort and some basic DIY skills, you can have your garage floor looking brand new in no time!