Re-Tiling Kitchen Floor

Large Limestone Tiled Kitchen Floor Cleaned and Sealing in Shepperton, Middlesex – Tiling Tips

Pros and cons of tile kitchen floor HireRush Blog
Pin on home

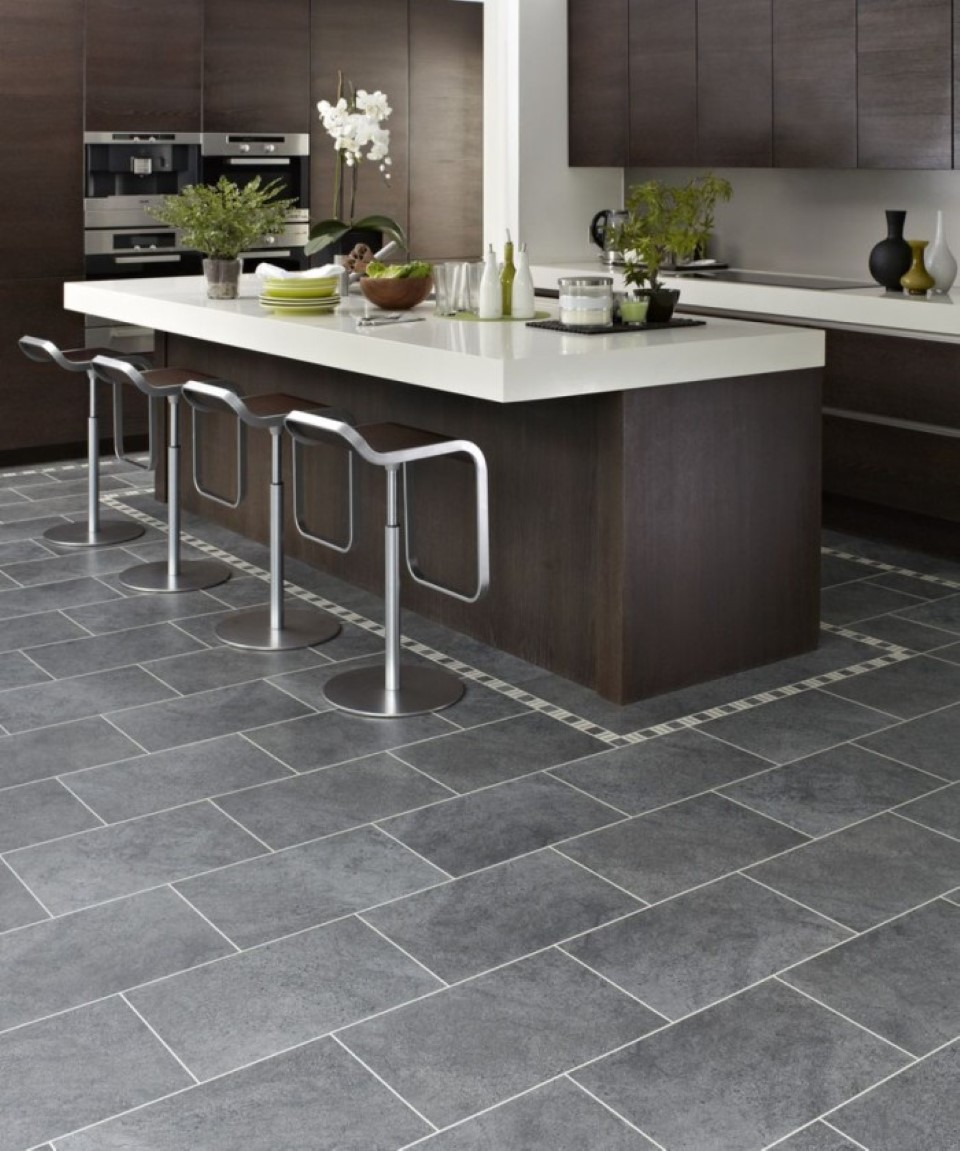
Kitchen Renovation: Floor Tile Tile floor, Kitchen floor tile, Kitchen flooring

Re Tile Kitchen Floor Without Removing Cabinets – Etexlasto Kitchen Ideas
Kitchen Renovation: Floor Tile

My new kitchen floor TILE and COLOR OF CABINETS Kitchen flooring, Kitchen floor tile, New kitchen

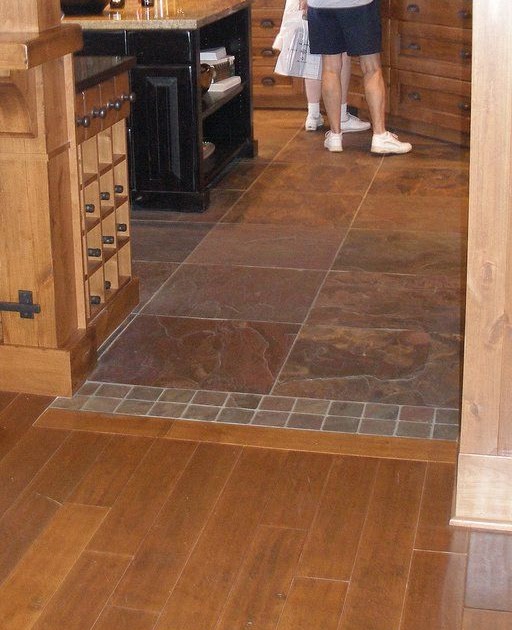
Renovating a Beautiful Slate Tiled Kitchen Floor in Sutton Coldfield – Staffordshire Tile Doctor

Re Tile Kitchen Floor Without Removing Cabinets – Etexlasto Kitchen Ideas

50 Budget Friendly Kitchen Makeover Ideas Diy kitchen flooring, Trendy kitchen backsplash

Related Posts:
- Small Kitchen Floor Plan Ideas
- Laminate Flooring In Kitchen
- Black Slate Tile Kitchen Floor
- How To Lay Tile In Kitchen Floor
- Red Kitchen Floor
- Cheap Kitchen Laminate Flooring
- Decorative Kitchen Floor Mats
- Contemporary Kitchen Flooring Ideas
- Kitchen Ceramic Tile Floor
- Quarry Tile Kitchen Floor
One of the most common home improvement projects is re-tiling a kitchen floor. It’s a relatively quick and easy process, but if you don’t do it correctly, you could end up with a kitchen floor that looks unsightly and is prone to damage. To make sure your kitchen floor looks great for years to come, here are some tips on how to re-tile it the right way.
Preparing for the Project
Before you begin the project, there are a few things you should do to make sure everything goes smoothly. First, make sure you have all the necessary tools and materials. This includes a tile saw, tile spacers, notched trowel, grout float, and grout sponge. You’ll also need a bucket of water and a sponge for cleaning. Additionally, make sure you have enough tiles for the entire project.
Removing the Old Tiles
Once you have all your materials and tools ready, it’s time to start removing the old tiles. Start by wetting the floor with water to help soften up the adhesive. Then use a crowbar or flathead screwdriver to pry up the corner of each tile and work your way across the floor. You may need to use a hammer to help remove some tiles that are too stubborn to come up easily. Make sure you wear protective gloves throughout this process as old tiles may contain asbestos fibers that can be harmful if inhaled or ingested.
Laying Down the New Tiles
After all the old tiles have been removed, it’s time to start laying down the new ones. Start at one end of the room and work your way across in straight lines. Make sure you use tile spacers between each tile to ensure even spacing between them. Additionally, use notched trowel to spread adhesive evenly over each tile before placing it on the floor. Also, make sure you press down firmly on each tile as you place them so they adhere properly to the floor.
Grouting Between Tiles
Once all the tiles are laid down, it’s time to grout between them. Start by mixing up your grout according to instructions on the package. Then spread it over each tile using a grout float. Make sure you get into all the tight corners and crevices between each tile. After that, use a damp sponge to wipe off any excess grout from the surface of each tile. Allow it to dry completely before walking on it or applying sealant.
Sealing Your Kitchen Floor
The final step in this process is sealing your kitchen floor. This will protect it from stains and other damage caused by moisture and spills. Purchase a sealant specifically formulated for ceramic or stone tiles and apply according to instructions on the package. Allow it to dry completely before walking on it or placing furniture back in its place.
Re-tiling your kitchen floor can be a quick and relatively easy project if done correctly. Following these tips will ensure your kitchen floor looks great for years to come without any issues or problems related to improper installation. With just a few simple steps, you’ll be able to create a beautiful new look for your kitchen that will last for many years!