Replacing Ceramic Tile Floor Kitchen

How to Remove Tile Floors – The Harper House Tile removal, Kitchen flooring, Cleaning painted

Removing ceramic floor tiles made easy – YouTube

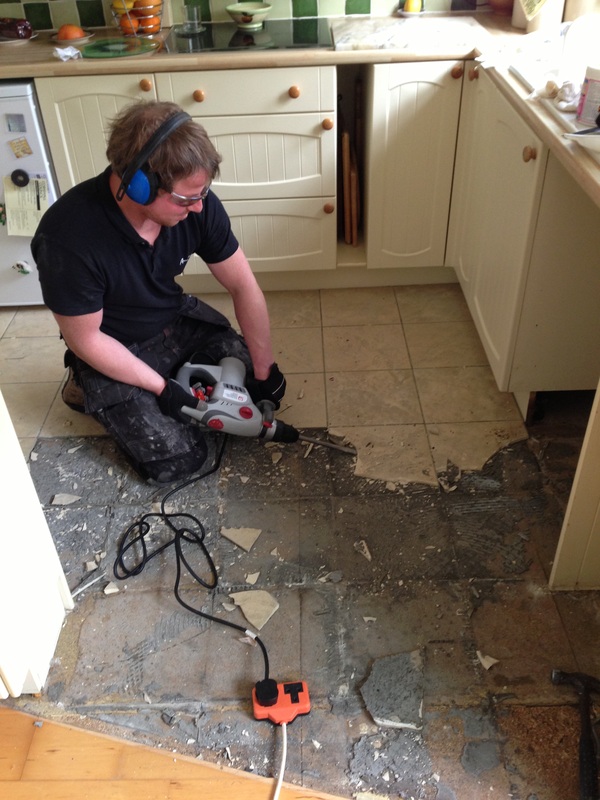
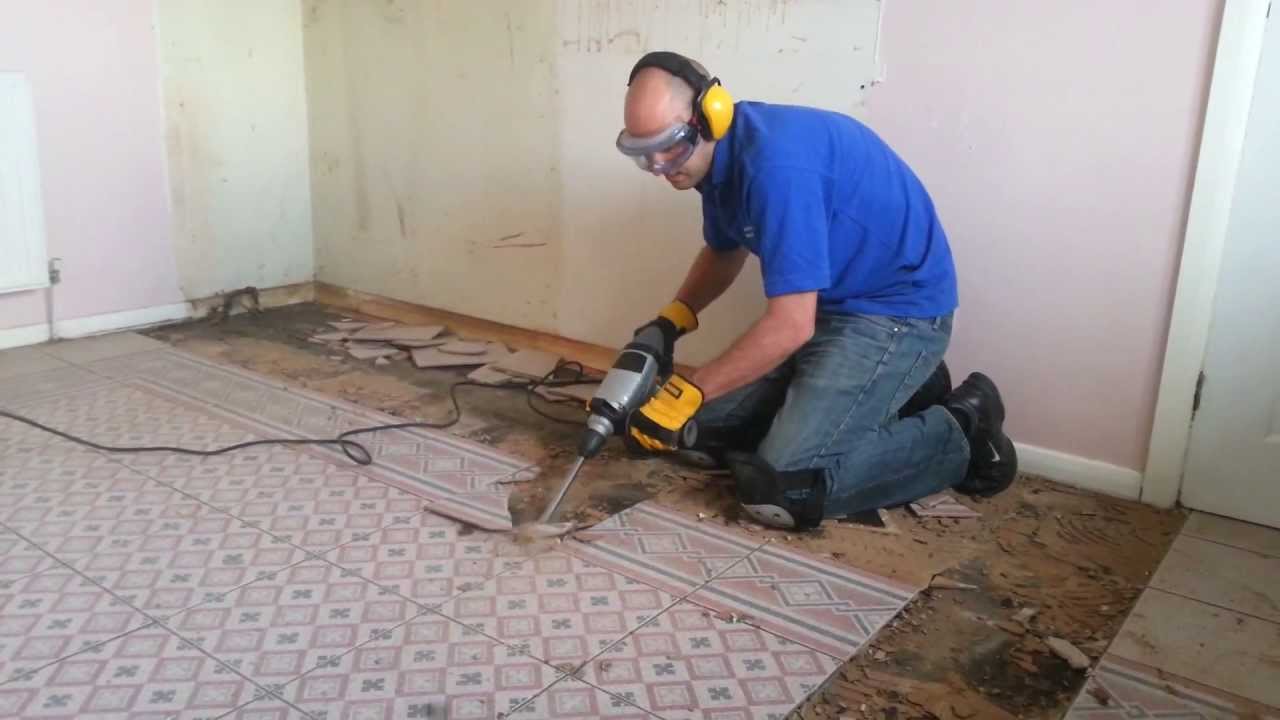
Perfect-Fit Flooring Ltd Blog – Perfect-Fit Flooring Cornwall
Techniques Tile Kitchen Floor With Ceramic Tile – Install Floor Tiles Correctly By Standard
Pin by Michelle Martosella Hileman on intro to 3D Maya Scene Ref Ceramic floor, Ceramic floor

Titan SDS with a 80mm cranked tile chisel removing a kitchen floor (TTB278SDS/TTB279SDS) – YouTube
How to Install a Tile Floor In a Kitchen how-tos DIY
How to Replace Broken Ceramic Tile Tile repair, Ceramic floor tile, Ceramic tiles

How To Install Ceramic Tiles Kitchen – Install Tile Floor, Prepare & Lay Tile – YouTube

How to Replace a Cracked Floor Tile / DIY Projects – YouTube

Changing or removing your tile backsplash is a task that requires careful attention. Learn

Related Posts:
- John Lewis Kitchen Flooring
- Kitchen Diner Flooring Ideas
- Wickes Kitchen Floor Tiles
- Kitchen Floor Ideas Gallery
- How To Clean Grout Lines On Kitchen Floor
- Mediterranean Kitchen Floor Tiles
- Kitchen Cherry Floor
- Kitchen Floor Tile Layout
- Kitchen Backsplash Floor And Decor
- Best Type Of Wood Flooring For Kitchen
Ceramic tile is an attractive and durable flooring material for kitchens. However, with time and wear, ceramic tile can become cracked or chipped. Replacing ceramic tile flooring in a kitchen can be a challenging task for homeowners. Fortunately, with the right tools and materials, replacing the ceramic tile in your kitchen can be accomplished quickly and easily.
## Tools and Materials Needed
When replacing a ceramic tile floor in your kitchen, you will need the following tools and materials:
* Safety glasses
* Knee pads
* Ceramic tile
* Trowel
* Grout
* Electric drill with bits
* Level
* Tile adhesive
* Bucket
* Sponge
* Putty knife
* Chisel
* Hammer
## Removing the Old Tile
The first step in replacing a ceramic tile floor in a kitchen is to remove the old tiles. To do this, you will need to use a chisel and hammer to break up the old tiles. Be sure to wear safety glasses when chiseling away the old tiles to protect your eyes from flying shards of ceramic. Once the tiles have been broken up, you can use a putty knife to scrape away any leftover adhesive or grout that may be on the surface of the subfloor. You may also need to use an electric drill with an appropriate bit to remove any screws or nails that may be holding down the old tiles. Once all of the old tiles have been removed, you can begin to prepare the subfloor for your new tiles.
## Preparing the Subfloor
Before laying down new ceramic tiles, you will need to properly prepare the subfloor. Start by making sure that the surface is even and level. If there are any high or low spots on the subfloor, use a level and shims to make sure that it is even. Once the surface is level, you will need to clean it thoroughly to ensure that it is free of dirt and debris. You can use a vacuum cleaner or broom to remove any dust or dirt from the subfloor before applying new tile adhesive.
## Applying Tile Adhesive
Once your subfloor has been prepared and cleaned, you can begin to apply tile adhesive. Start by mixing a batch of adhesive according to the manufacturer’s instructions. Use a trowel to spread it evenly across the subfloor in small sections at a time. Be sure to apply a thin layer of adhesive that covers an area that is slightly larger than one tile at a time. This will help ensure that you get an even coverage of adhesive over the entire area you are tiling.
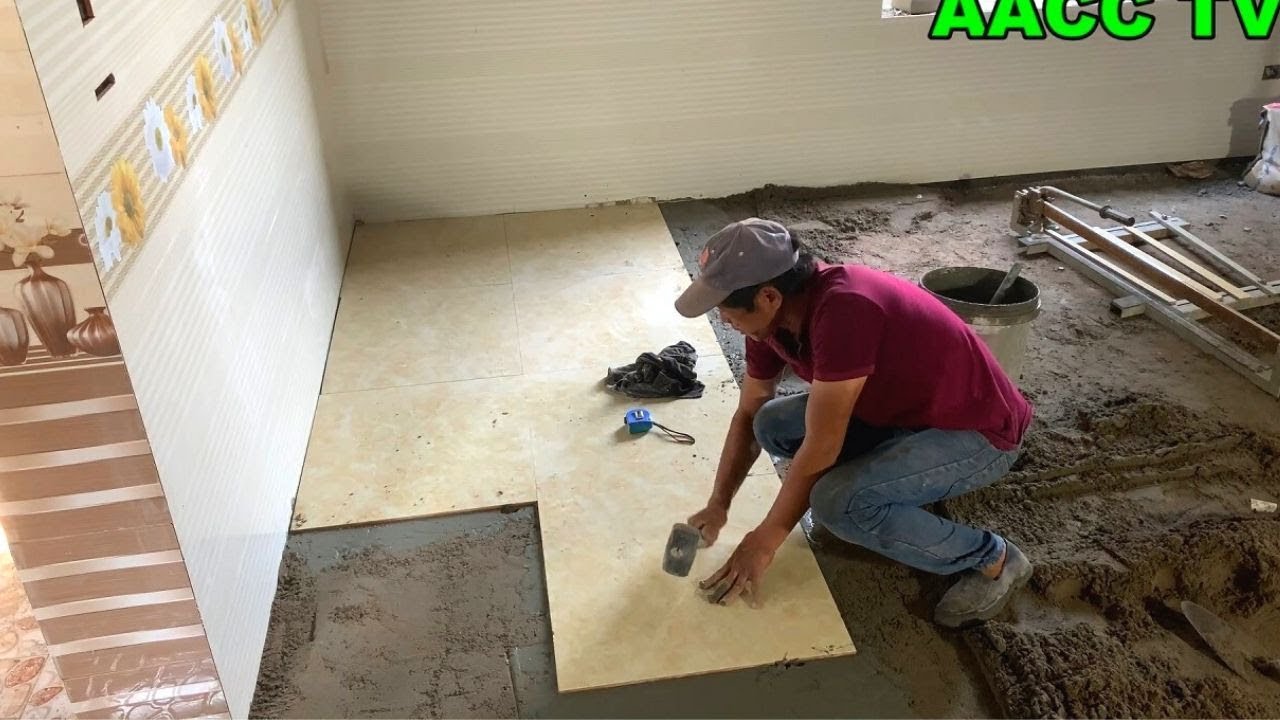
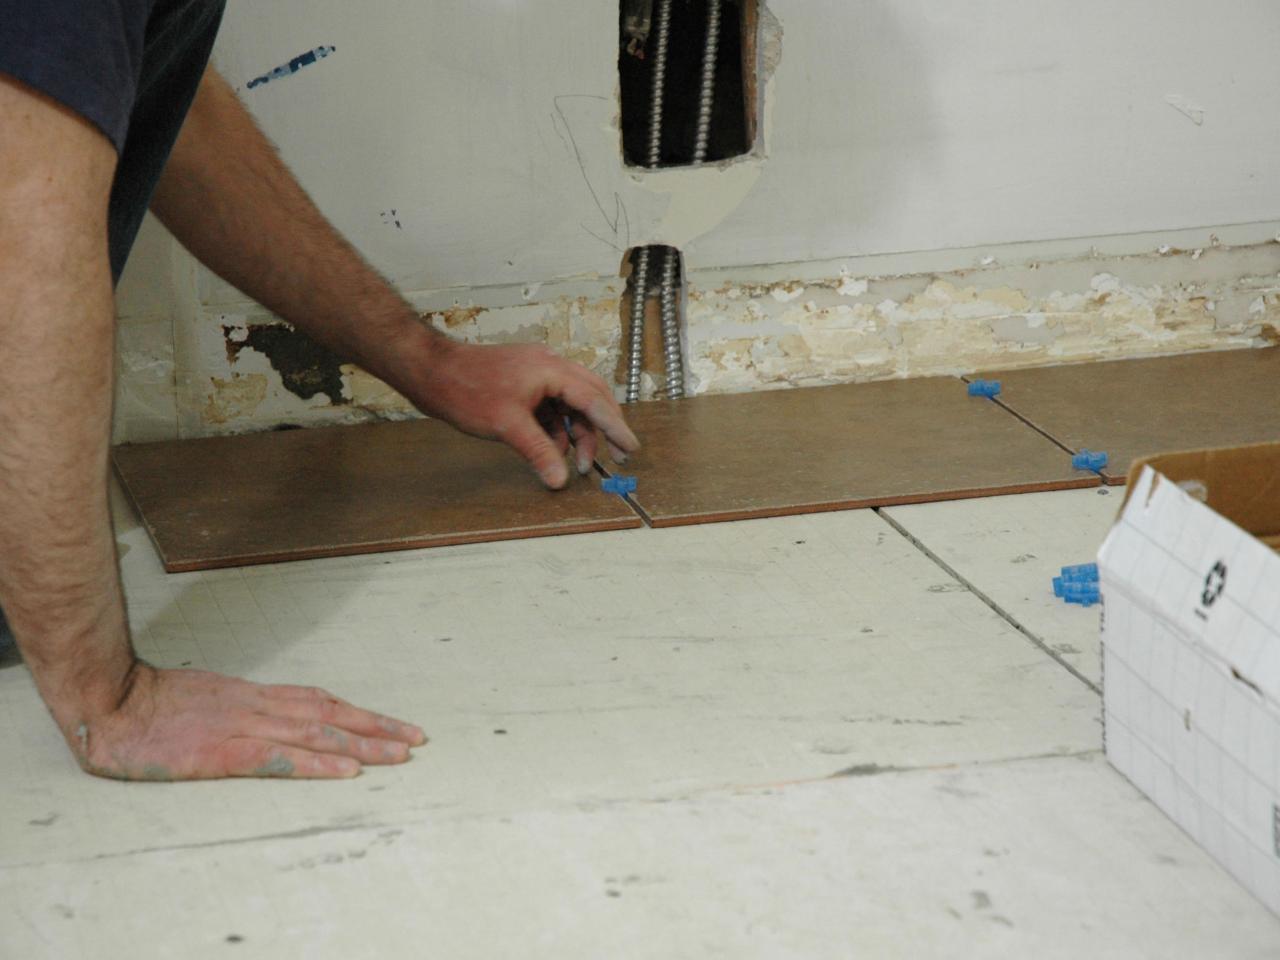
## Laying Down Tiles
Once the adhesive has been applied, you can begin laying down your new ceramic tiles. Start by placing one tile at each corner of your room and then work outward from there. Place each tile into position and press down firmly until it is flush with the surrounding tiles. Use a level periodically throughout this process to make sure that your tiles are even and level as you go along. Once all of the tiles have been laid, allow them to set according to the manufacturer’s instructions before continuing on to grouting.
## Grouting Tiles
Once your new tiles have been laid and allowed to set for an appropriate amount of time, you can begin grouting them. Start by mixing a batch of grout according to the manufacturer’s instructions and then use a trowel to spread it over your tiles in small sections at a time. Work quickly but thoroughly so that all of your tiles are completely covered with grout before it begins setting up. Once all of your tiles have been grouted, use a damp sponge to wipe away any excess grout from their surfaces before allowing them to set up completely according to the manufacturer’s instructions.
## Finishing Touches
Once your tiles have been grouted and allowed to set up completely, you can give them their final touch-up with some sealer if desired. Use a paintbrush or roller to apply sealer evenly across all of your newly installed ceramic tile floors in small sections at a time until they are completely sealed off from moisture and dirt buildup. Allow