Maximizing Space: Efficient Layouts for Small Bathrooms
Designing a small bathroom can be quite a challenge, but with the right approach, you can make even the tiniest space feel functional and stylish. When I was redoing my small bathroom, I learned a lot about maximizing space through efficient layouts. Here’s what I found to be most effective.
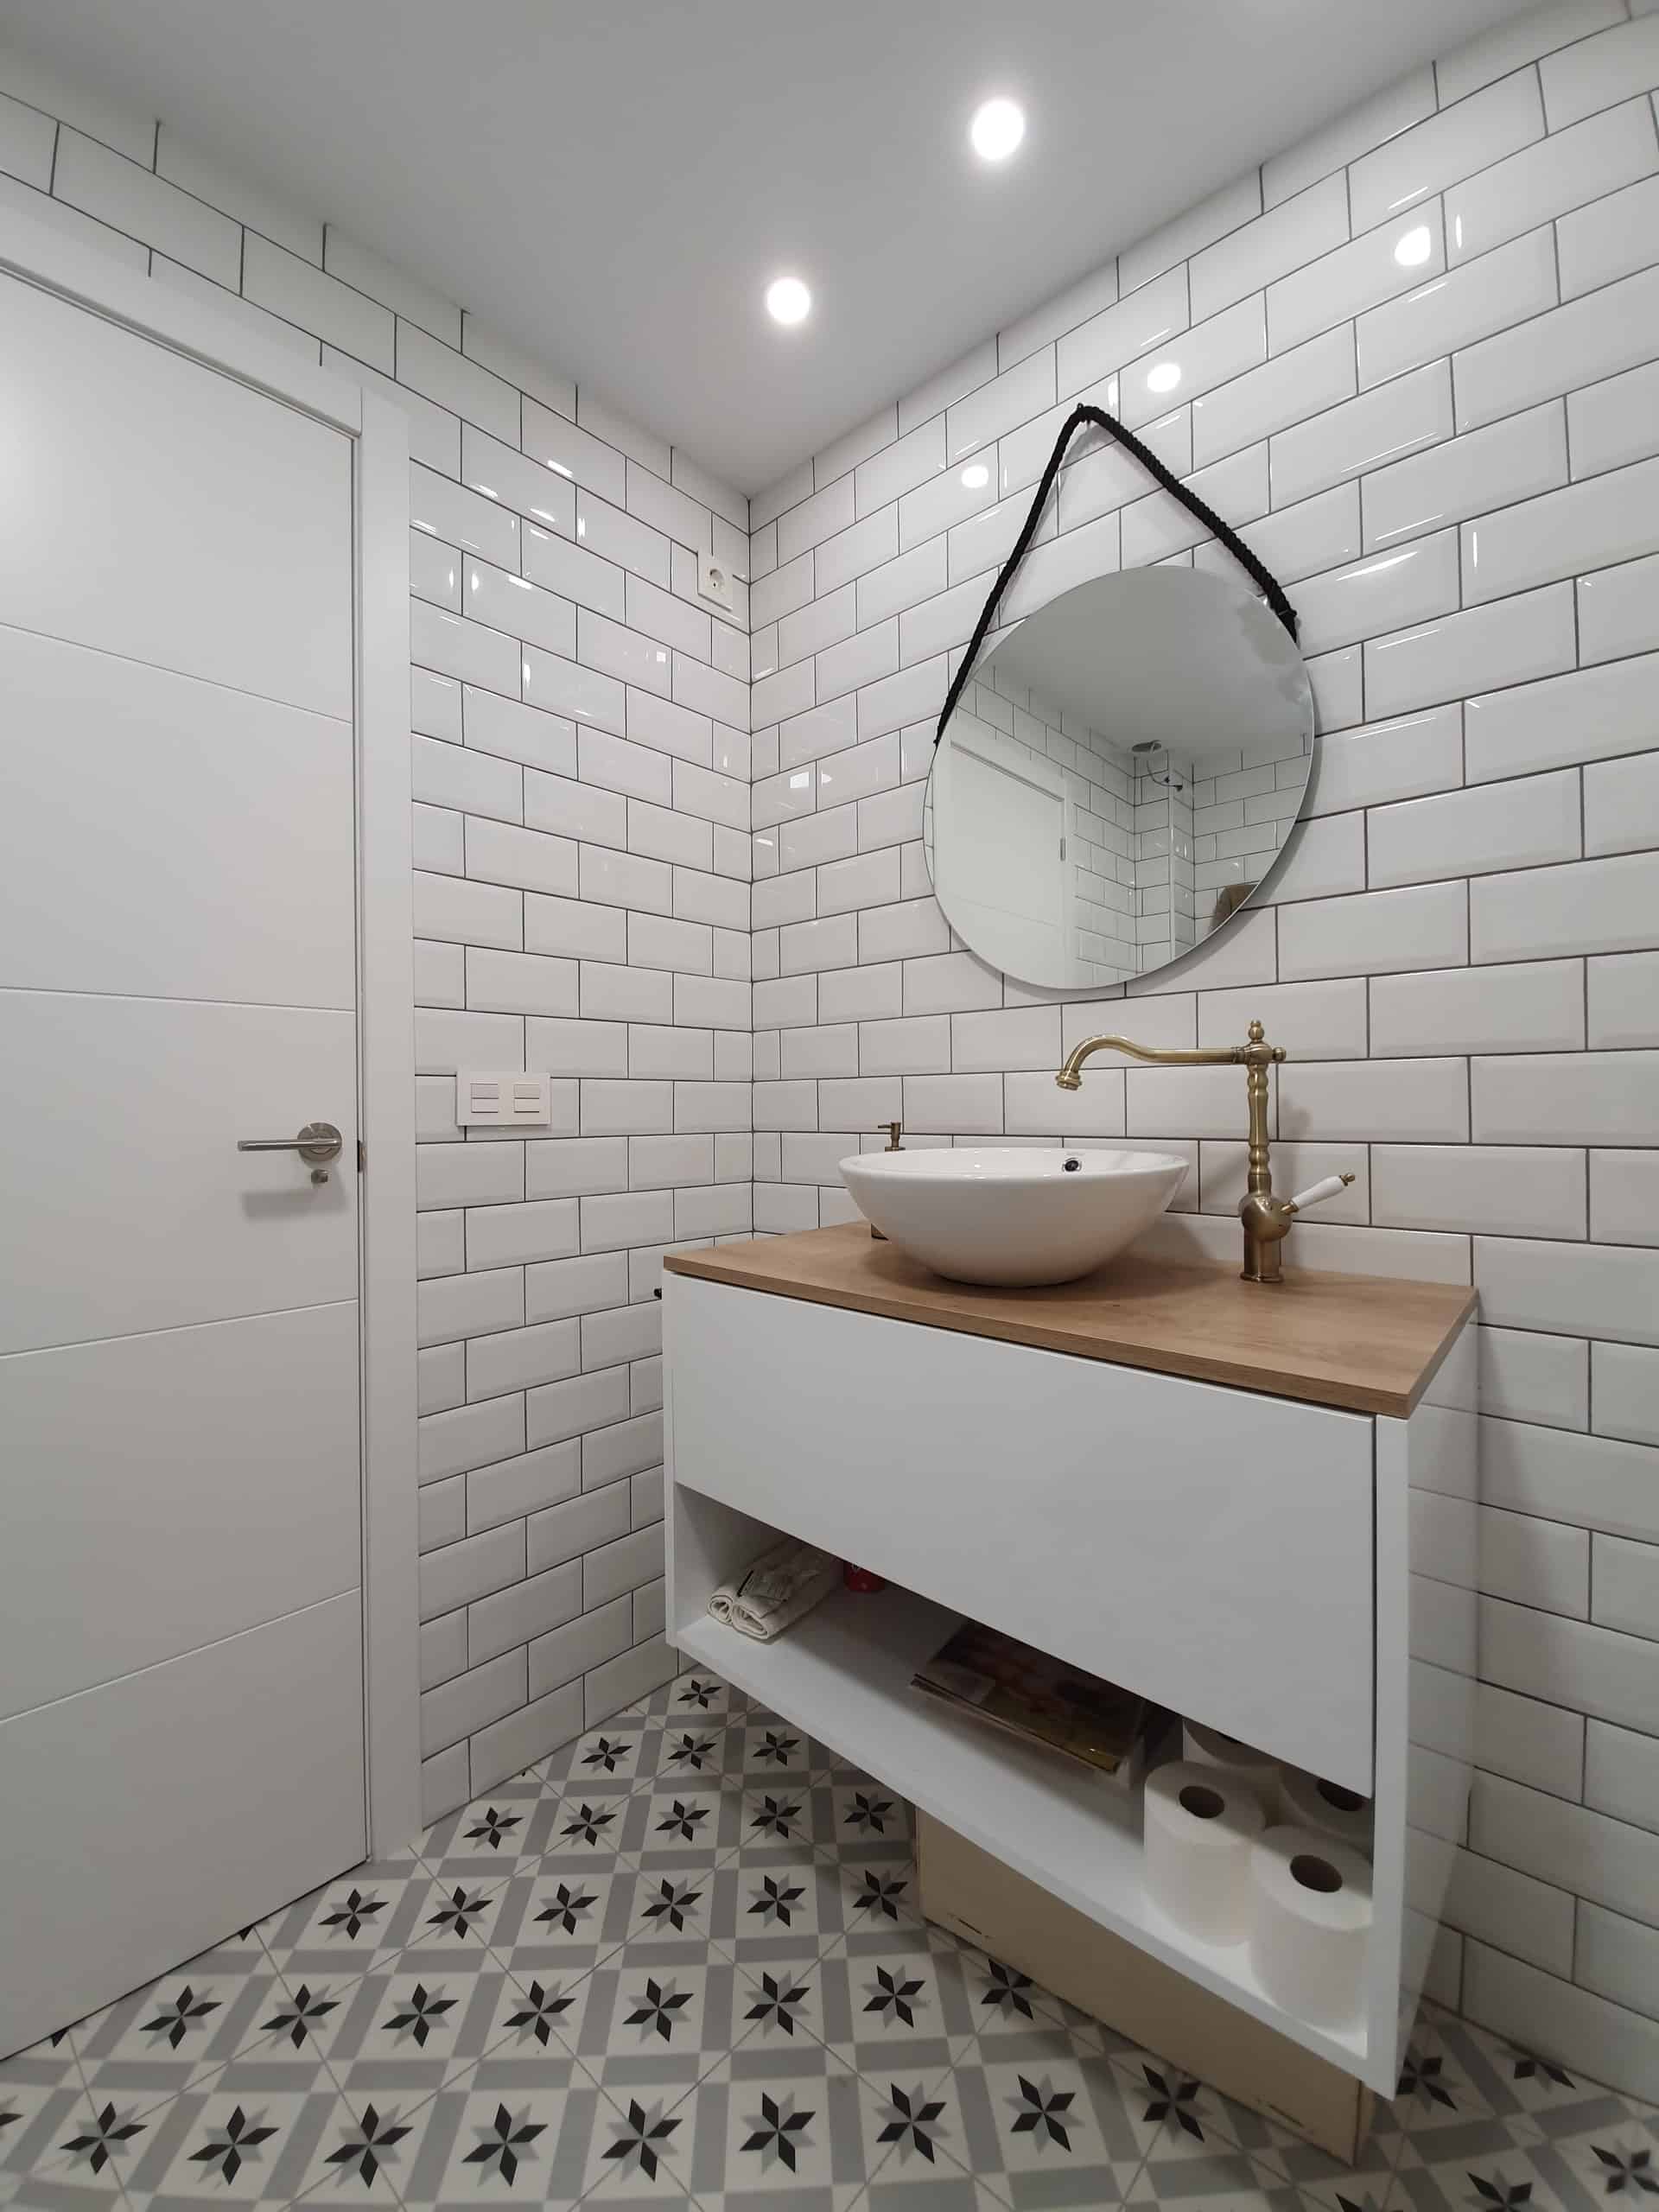
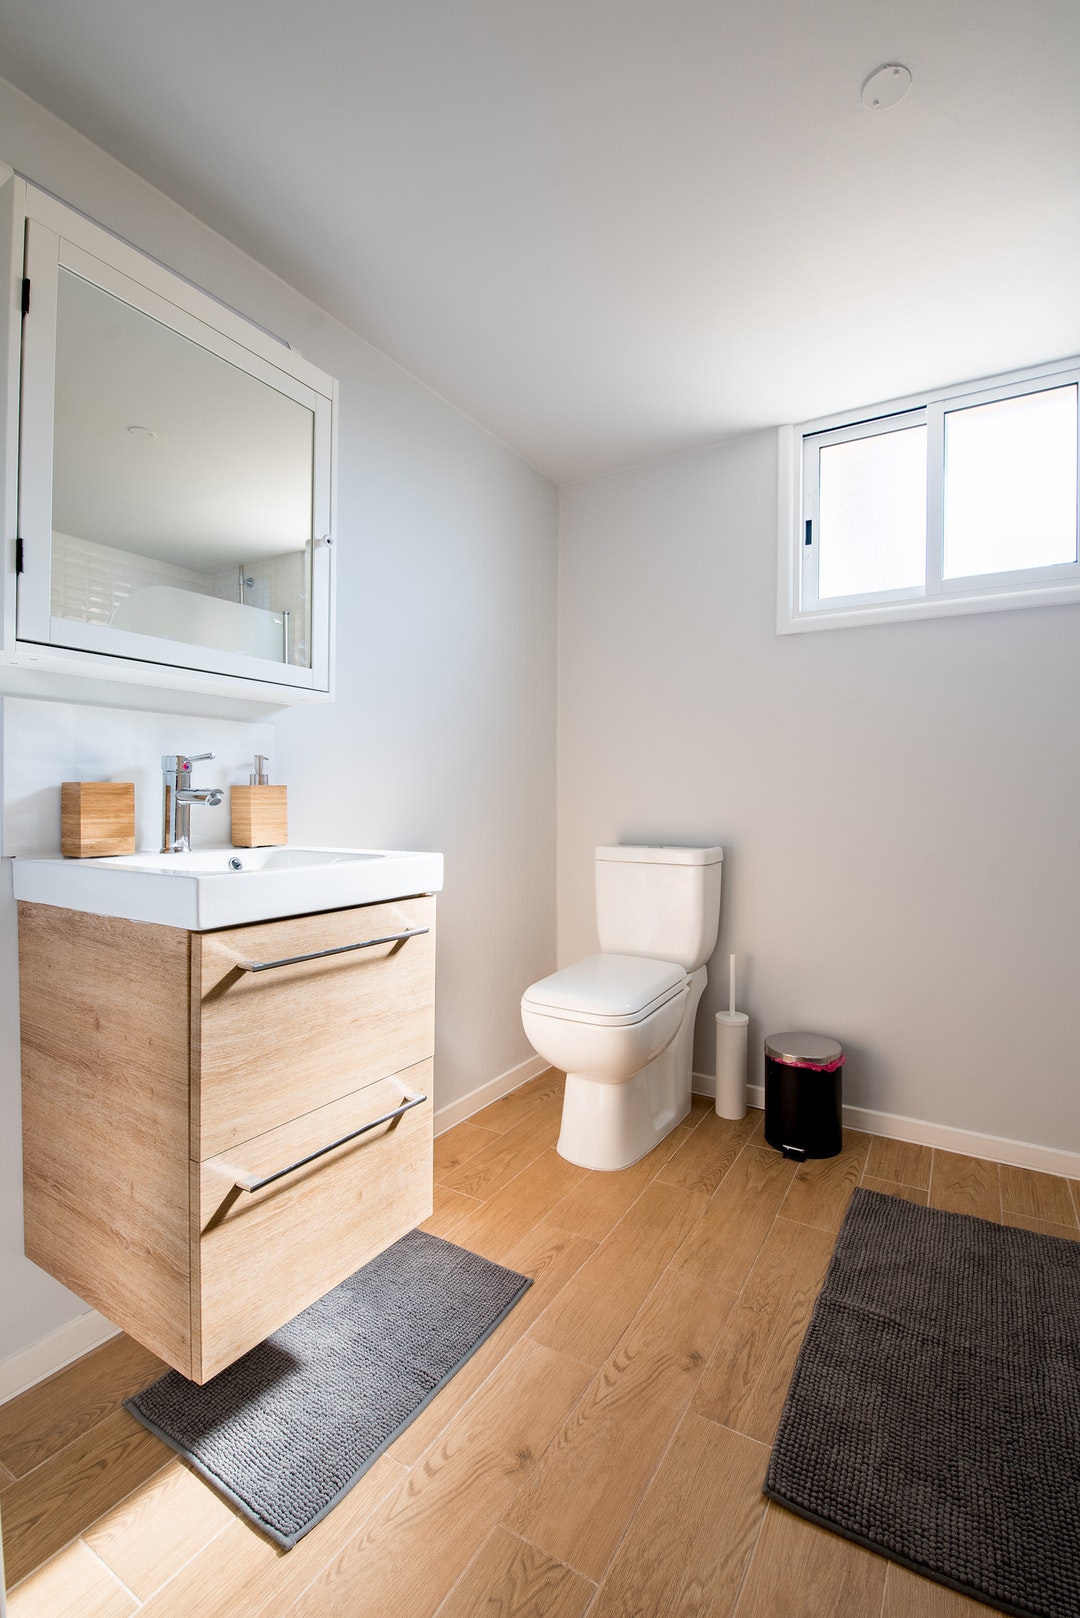
- Utilizing Every Inch: One of the first steps I took was to measure the space meticulously. Every inch counts in a small bathroom, so knowing the exact dimensions allowed me to plan out the space without wasting any room. I decided to use wall-mounted fixtures, like a floating sink and a wall-mounted toilet, which freed up floor space and made the room feel larger.
- Corner Fixtures: I discovered that corner fixtures are a great way to utilize often-overlooked areas. I installed a corner sink, which not only saved space but also added a unique touch to the bathroom. Additionally, a corner shower made the most of the available area without feeling cramped.
- Sliding Doors: Traditional swinging doors can take up a lot of space in a small bathroom. I opted for a sliding door instead, which allowed for more usable space both inside and outside the bathroom. This change made a significant difference in how spacious the room felt.
- Vertical Storage: Going vertical is a key strategy in small spaces. I installed tall, narrow shelving units and cabinets to take advantage of the wall space. This not only provided ample storage but also drew the eye upward, making the room appear taller and more open.
- Light and Bright Colors: Color can significantly impact the perception of space. I chose light, bright colors for the walls and fixtures to reflect more light and create an airy feel. Adding a large mirror further enhanced the sense of space by reflecting light and giving the illusion of a larger room.
- Minimalist Approach: Less is more in a small bathroom. I embraced a minimalist design, keeping the decor simple and avoiding clutter. This not only made the space look cleaner but also helped maintain a sense of openness and calm. Every item had its place, contributing to an overall efficient and pleasant bathroom.

Compact and Cozy: Floor Plans for Tiny Bathrooms
Tiny bathrooms present a unique set of challenges, but they also offer opportunities to create cozy, intimate spaces. When I decided to renovate my tiny bathroom, I focused on creating a floor plan that made the most of the limited space while ensuring it felt comfortable and inviting. Here’s how I achieved that balance.
Small Footprint Fixtures
Choosing fixtures with a small footprint was essential. I went with a compact vanity and a petite toilet designed specifically for small spaces. These fixtures fit perfectly without overwhelming the room, leaving enough space to move around comfortably.
Shower Over Tub
Instead of trying to fit a full-sized bathtub, I opted for a shower-over-tub combination. This provided the versatility of both bathing and showering without taking up extra space. I chose a clear glass shower screen to maintain an open feel, avoiding the visual barrier that a shower curtain or opaque screen would create.
Built-In Niches
Storage is always a concern in tiny bathrooms, so I incorporated built-in niches in the shower and above the sink. These niches provided convenient storage for toiletries without the need for additional shelves or cabinets, keeping the space uncluttered and cozy.

Warm Materials
To create a cozy atmosphere, I used warm, natural materials. Wooden accents, like a teak shower mat and a bamboo vanity, added warmth and texture to the space. These elements contrasted nicely with the white tiles and fixtures, creating a balanced, inviting look.
Soft Lighting
Lighting plays a crucial role in the ambiance of a tiny bathroom. I installed soft, warm lighting to create a relaxing, spa-like environment. Dimmable lights allowed me to adjust the brightness based on the time of day and my mood, enhancing the cozy feel.
Thoughtful Decor
Finally, I added thoughtful decor touches to personalize the space. A few well-chosen accessories, like a small potted plant, a framed picture, and a scented candle, made the bathroom feel more homely and cozy without overcrowding it. These little touches brought character and comfort to the tiny bathroom.

Stylish and Functional: Creative Solutions for Small Bathroom Layouts
Creating a stylish yet functional small bathroom requires a bit of creativity and clever planning. When I tackled my small bathroom remodel, I aimed to blend aesthetics with practicality. Here are some creative solutions I found to make my small bathroom both stylish and functional.
Floating Fixtures
Floating fixtures, like a wall-mounted sink and toilet, were game-changers. They not only saved precious floor space but also gave the bathroom a sleek, modern look. The open space beneath these fixtures made the room feel more expansive and easier to clean.
Multi-Functional Furniture
In a small bathroom, furniture that serves multiple purposes is invaluable. I chose a vanity with built-in storage and a mirrored cabinet that also served as a medicine cabinet. These multi-functional pieces helped keep the bathroom organized without sacrificing style.
Patterned Tiles
To add a touch of style without overwhelming the space, I used patterned tiles on the floor. A bold, geometric pattern added visual interest and made the bathroom feel unique and stylish. I kept the wall tiles simple and neutral to balance the overall look.

Open Shelving
Instead of traditional closed cabinets, I opted for open shelving. This kept the bathroom from feeling closed off and added a decorative element. I used baskets and decorative boxes to store items, maintaining a tidy and stylish appearance.
Statement Pieces
Even in a small bathroom, a statement piece can make a big impact. I chose a unique, sculptural faucet for the sink and a designer light fixture. These elements added a touch of luxury and style, making the bathroom feel special despite its size.
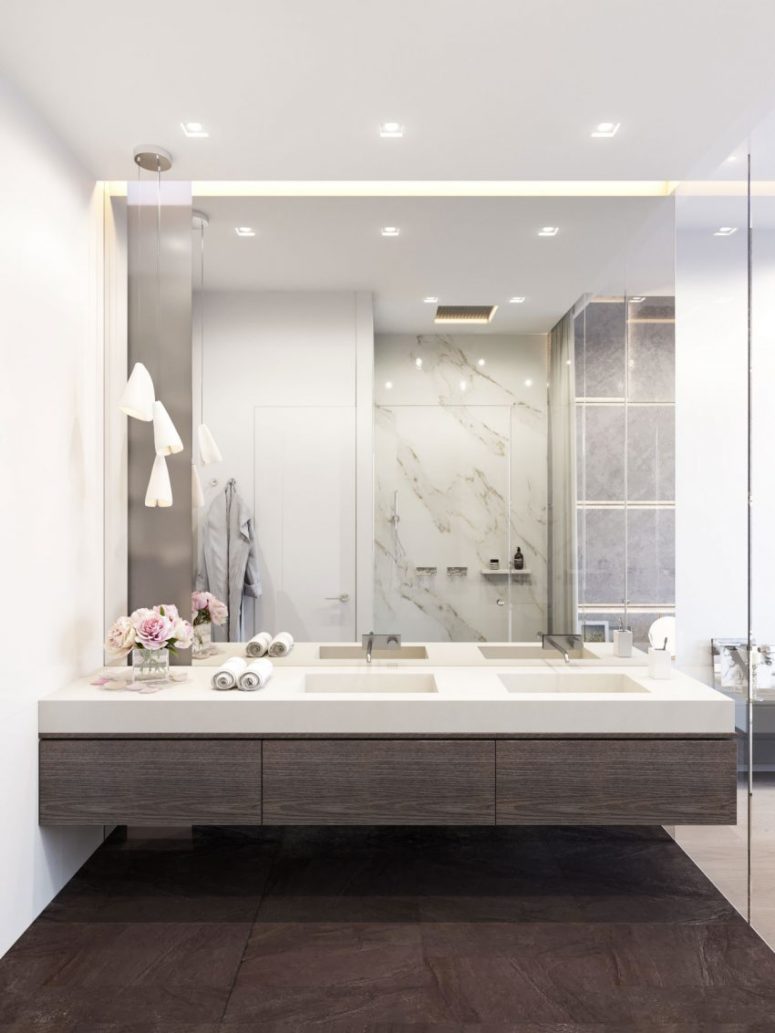
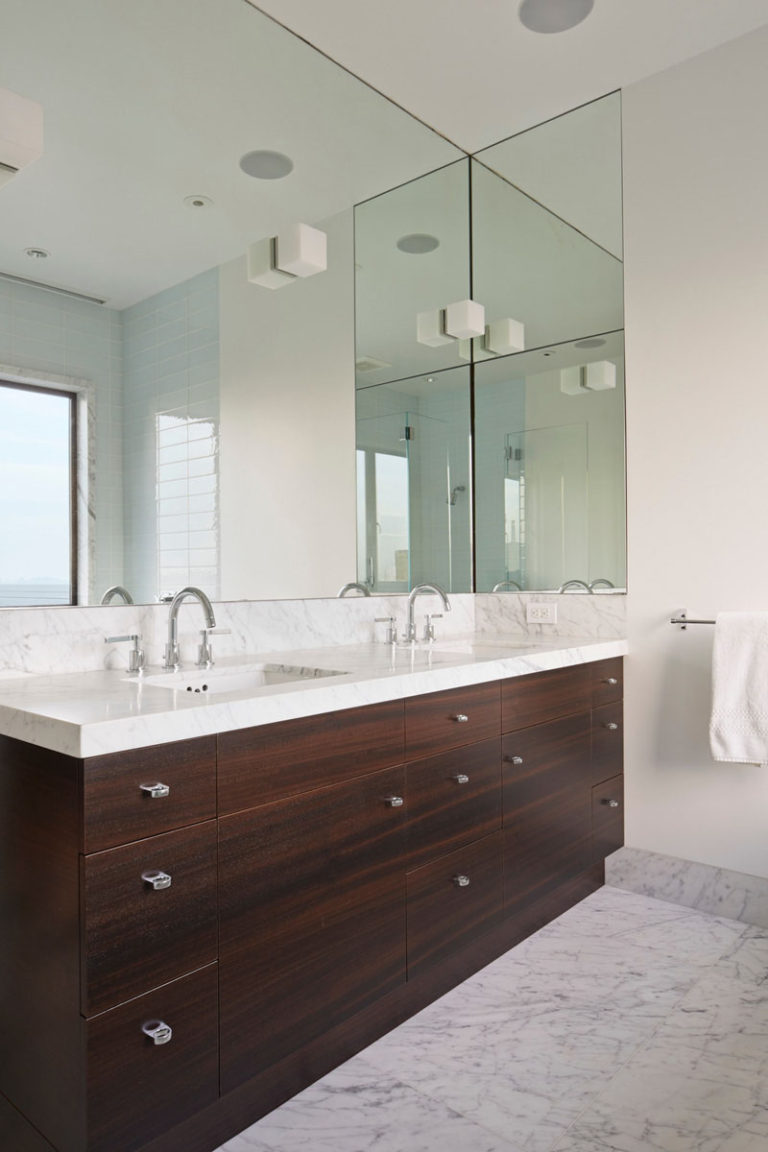
Smart Use of Mirrors
Mirrors can significantly enhance the perception of space in a small bathroom. I installed a large mirror above the sink and added a mirrored wall cabinet. These not only provided functional benefits but also reflected light and created the illusion of a larger space.

Smart Storage: Incorporating Storage Solutions in Small Bathroom Floor Plans
One of the biggest challenges in designing a small bathroom is finding enough storage space. I learned that with a bit of ingenuity, it’s possible to incorporate smart storage solutions without sacrificing style or functionality. Here’s how I maximized storage in my small bathroom.
Vertical Storage
Taking advantage of vertical space was a key strategy. I installed tall cabinets and shelving units that reached up to the ceiling. This provided ample storage for towels, toiletries, and other essentials without taking up valuable floor space.
Over-the-Toilet Storage
The area above the toilet is often underutilized. I added an over-the-toilet shelving unit, which provided extra storage for items like toilet paper, tissues, and decorative items. This kept everything within easy reach while keeping the floor clear.
Recessed Shelving
Recessed shelving is a fantastic way to add storage without protruding into the room. I had recessed shelves installed in the shower and above the sink. These shelves were perfect for storing shower essentials and keeping the countertop clutter-free.
Vanity with Drawers
Instead of a traditional vanity, I chose one with multiple drawers. Drawers are more efficient for storage than cabinets, as they allow you to see and access everything easily. I organized the drawers with dividers to keep items tidy.
Hooks and Racks
Adding hooks and racks to the walls and doors provides extra storage without taking up floor space. I used hooks for towels and robes, and a rack on the back of the door for additional hanging storage. These simple additions significantly increased the storage capacity.
Hidden Storage
Finally, I incorporated hidden storage wherever possible. I chose a mirror with a hidden medicine cabinet behind it and a shower bench with hidden storage inside. These solutions provided extra storage without compromising the sleek, streamlined look of the bathroom.
Open and Airy: Designing Floor Plans for a Spacious Feel in Small Bathrooms
Creating an open and airy feel in a small bathroom can make a significant difference in how the space is perceived. When I redesigned my small bathroom, I focused on techniques that would make it feel more spacious and inviting. Here’s what worked best.
Glass Enclosures
Using glass enclosures for the shower was a game-changer. Unlike shower curtains or opaque doors, glass enclosures don’t break up the visual flow of the room. This made the bathroom feel larger and more open. I opted for a frameless design to maintain a sleek, modern look.
Light Colors
Light colors can make a small space feel much larger. I chose a palette of whites and soft neutrals for the walls, tiles, and fixtures. This not only brightened the room but also created a sense of continuity and openness. I added a few pops of color with accessories to keep the space from feeling too stark.
Large Mirrors
Mirrors are a classic trick for making a space feel larger. I installed a large mirror above the sink and another on the opposite wall. The mirrors reflected light and created the illusion of more space, making the bathroom feel open and airy.
Minimalist Fixtures
Keeping fixtures minimal and streamlined helped maintain an open feel. I chose a floating vanity and wall-mounted toilet to free up floor space. The clean lines and simple design of these fixtures contributed to the overall sense of spaciousness.
Natural Light
Maximizing natural light is essential in a small bathroom. I replaced a small, frosted window with a larger, clear one to let in more light. I also used sheer window treatments that provided privacy without blocking the light. This made the bathroom feel brighter and more open.
Clear Clutter
Finally, keeping the space clear of clutter was crucial. I used smart storage solutions to keep everything organized and out of sight. A clutter-free bathroom looks and feels more open and airy, enhancing the overall sense of space.
Multi-Functional Features: Versatile Floor Plans for Small Bathrooms
In a small bathroom, incorporating multi-functional features can significantly enhance both functionality and aesthetics. When I was designing my small bathroom, I focused on elements that could serve multiple purposes. Here’s how I created a versatile and efficient space.
Combination Units
One of the first changes I made was to install combination units, such as a washer-dryer combo. This allowed me to include laundry facilities in the bathroom without taking up additional space. These units were compact yet highly functional, perfect for a small bathroom.
Fold-Down Fixtures
Fold-down fixtures, like a fold-down shower bench, were lifesavers in maximizing space. When not in use, these fixtures could be folded up against the wall, freeing up space for other activities. This flexibility made the bathroom much more versatile.
Convertible Storage
I opted for convertible storage solutions, such as a vanity with a pull-out step stool for kids and drawers that could be reconfigured to store different items. These adaptable storage options kept the bathroom organized and functional for everyone in the household.
Integrated Lighting
Integrated lighting, such as mirrors with built-in LED lights, served dual purposes. They provided necessary illumination for grooming tasks while also enhancing the aesthetic appeal of the bathroom. This eliminated the need for additional light fixtures, saving space and maintaining a sleek look.
Shower-Tub Combo
A shower-tub combo provided the versatility of both bathing and showering in one compact unit. This was especially useful in a small bathroom where space was at a premium. I chose a model with a clear glass screen to maintain an open feel.
Multi-Purpose Vanity
Finally, I chose a multi-purpose vanity with built-in storage, a sink, and a countertop area for daily tasks. This single unit served several functions, from providing storage space to acting as a grooming station. It was the ultimate space-saving solution for my small bathroom.
Accessibility and Comfort: Inclusive Floor Plans for Small Bathrooms
Designing a small bathroom that is both accessible and comfortable can be challenging, but it’s achievable with thoughtful planning. When I decided to make my bathroom more inclusive, I focused on accessibility features without compromising on style or comfort. Here’s how I did it.
Barrier-Free Shower
A barrier-free, or curbless, shower was one of the first additions. This design not only made the shower accessible for everyone, including those with mobility issues but also created a sleek, modern look. I installed a hand-held showerhead and a built-in shower bench for added convenience.
Grab Bars
Installing grab bars was essential for safety and accessibility. I chose stylish, stainless steel grab bars that blended seamlessly with the bathroom decor. These were placed strategically near the shower, toilet, and sink to provide support where it was most needed.
Adjustable Fixtures
Adjustable fixtures, such as a movable showerhead and an adjustable height sink, made the bathroom more versatile and user-friendly. These fixtures allow for customization based on individual needs, enhancing comfort and accessibility for everyone.
Non-Slip Flooring
Safety was a top priority, so I selected non-slip flooring for the entire bathroom. I chose textured tiles that provided excellent traction even when wet. This feature significantly reduced the risk of slips and falls, making the bathroom safer for all users.
Widened Doorways
To accommodate mobility aids, I widened the bathroom doorways. This made it easier to enter and move around the bathroom, especially for those using wheelchairs or walkers. The wider doorways also gave the bathroom a more open and inviting feel.
Touchless Features
Incorporating touchless features, such as a motion-sensor faucet and an automatic toilet, added both convenience and hygiene. These features were particularly beneficial for users with limited dexterity, making daily tasks easier and more comfortable.
Comfort Height Fixtures
Finally, I installed comfort height fixtures, including a toilet and vanity at a higher, more accessible height. These fixtures were more comfortable for everyone to use, particularly those with mobility challenges. The combination of accessibility and comfort ensured that the bathroom was inclusive and enjoyable for all users.
Related Posts: