How To Tile A Bathroom Floor And Walls

How to tile a shower wall Pro Construction Guide

7 Photos Should You Tile A Bathroom Floor Or Wall First And Description – Alqu Blog
How to tiling a bathroom floor – right tips – Interior Design Inspirations

Long white tile on the horizontal mimics plank board. Bathroom remodel master, Farmhouse

How to Tile Over Existing Tile BREPURPOSED Bathroom shower walls, Tile floor diy, Bathroom

Tiling a Walk-In Shower: Chapter 6 – Wall Tile Installation JLC Online
The Best Tile for Shower Floor That Will Impress You with the Attractive Motifs – HomesFeed
Do you tile the floor or walls first in a bathroom?
Bathroom Tile Ideas for Shower Walls – Decor IdeasDecor Ideas
How to Tile a Shower
/Workman-Tiling-a-Shower-499630724-56a4a1a33df78cf7728353cc.jpg)
How to Install Bathroom Floor Tile how-tos DIY
Related Posts:
- French Country Bathroom Flooring
- Mid Century Modern Bathroom Flooring
- Rustic Bathroom Floor Tiles
- Purple Bathroom Flooring
- How To Clean Bathroom Floor Stains
- Tile Design Bathroom Floor
- Terracotta Bathroom Floor
- Cool Bathroom Floor Ideas
- Light Bathroom Floor Tiles
- Classic Bathroom Floor Tile Ideas
Tiling a bathroom floor and walls doesn’t have to be a difficult or daunting task. With the right tools, supplies, and instructions anyone can achieve a beautiful looking bathroom with some hard work and dedication. Tiling is a great way to update and transform any room in your home. It adds a sense of style and elegance to bathrooms of any size or shape.
To tile a bathroom, it’s important to start with the right tools and supplies for the job. The supplies will vary depending on the size of the job, but generally, you need tile, grout, spacers, sealant, thinset mortar, trowel, level, saw, and sponge. Optional items include grout colorant, tile adhesive mat, and sandpaper.
## Preparing Your Bathroom Space
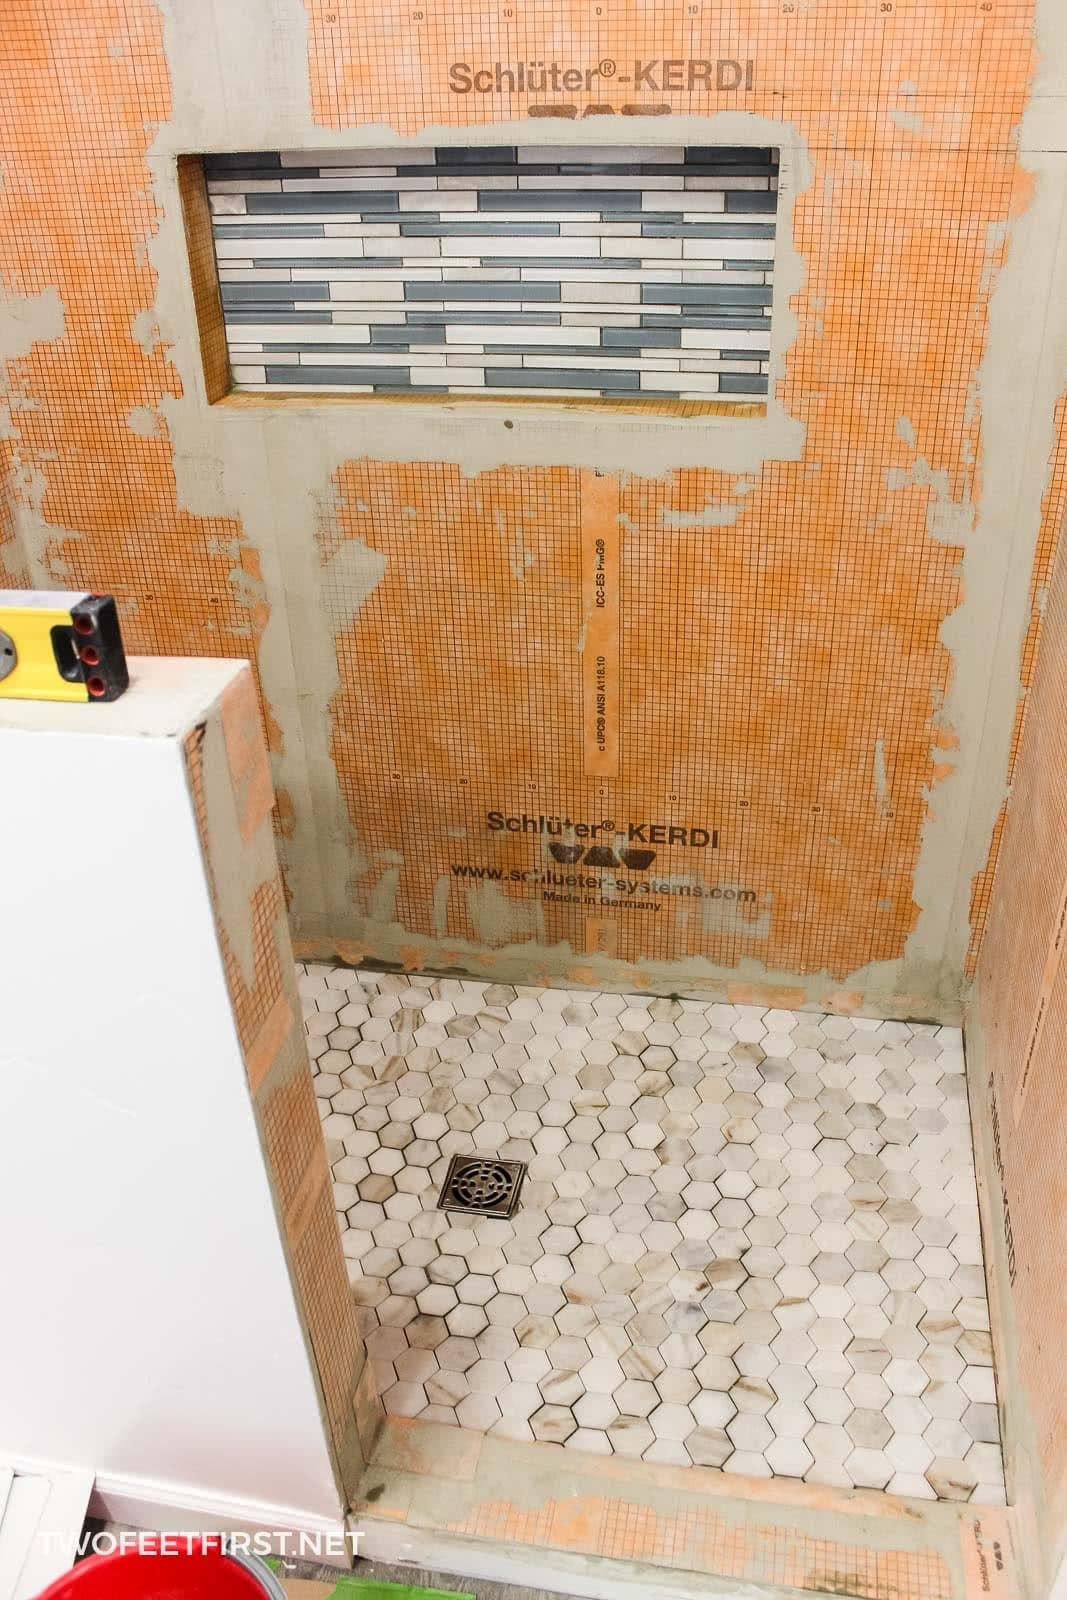
Before tiling your bathroom floors or walls it’s important to prepare the space by removing existing baseboards and fixtures such as toilets, sinks, and vanities. Once these are removed it’s time to inspect the walls and floors for any holes or cracks that may need to be patched.
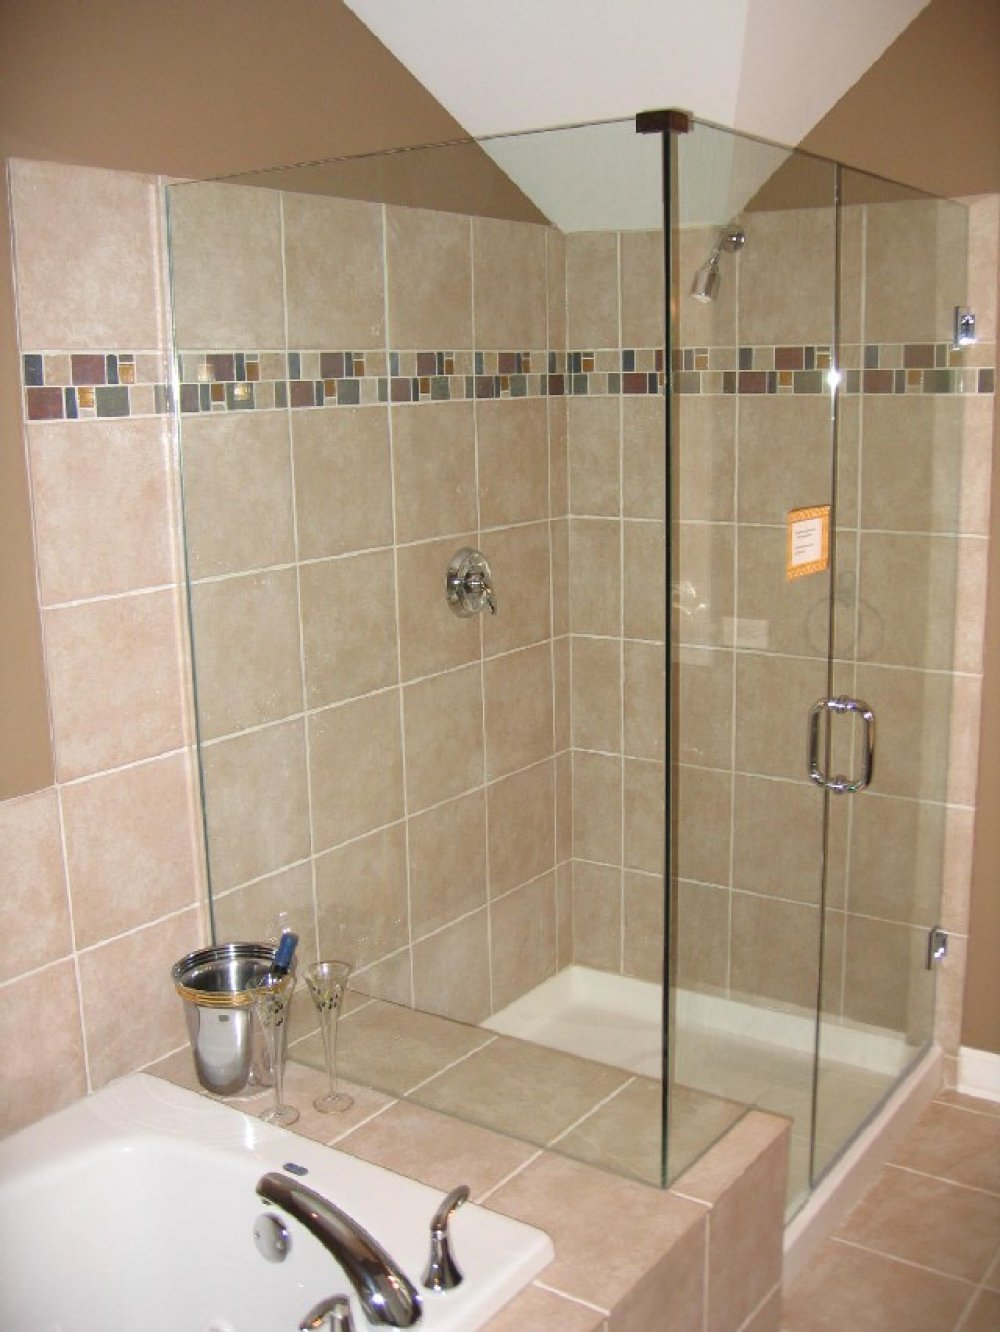
For walls it’s important to get an even surface so that the tiles will adhere properly. You can use cement board on the walls for added protection. For floors it’s important to use plywood or cement board since tile needs something hard and rigid underneath for support.
## Laying Out The Tiles
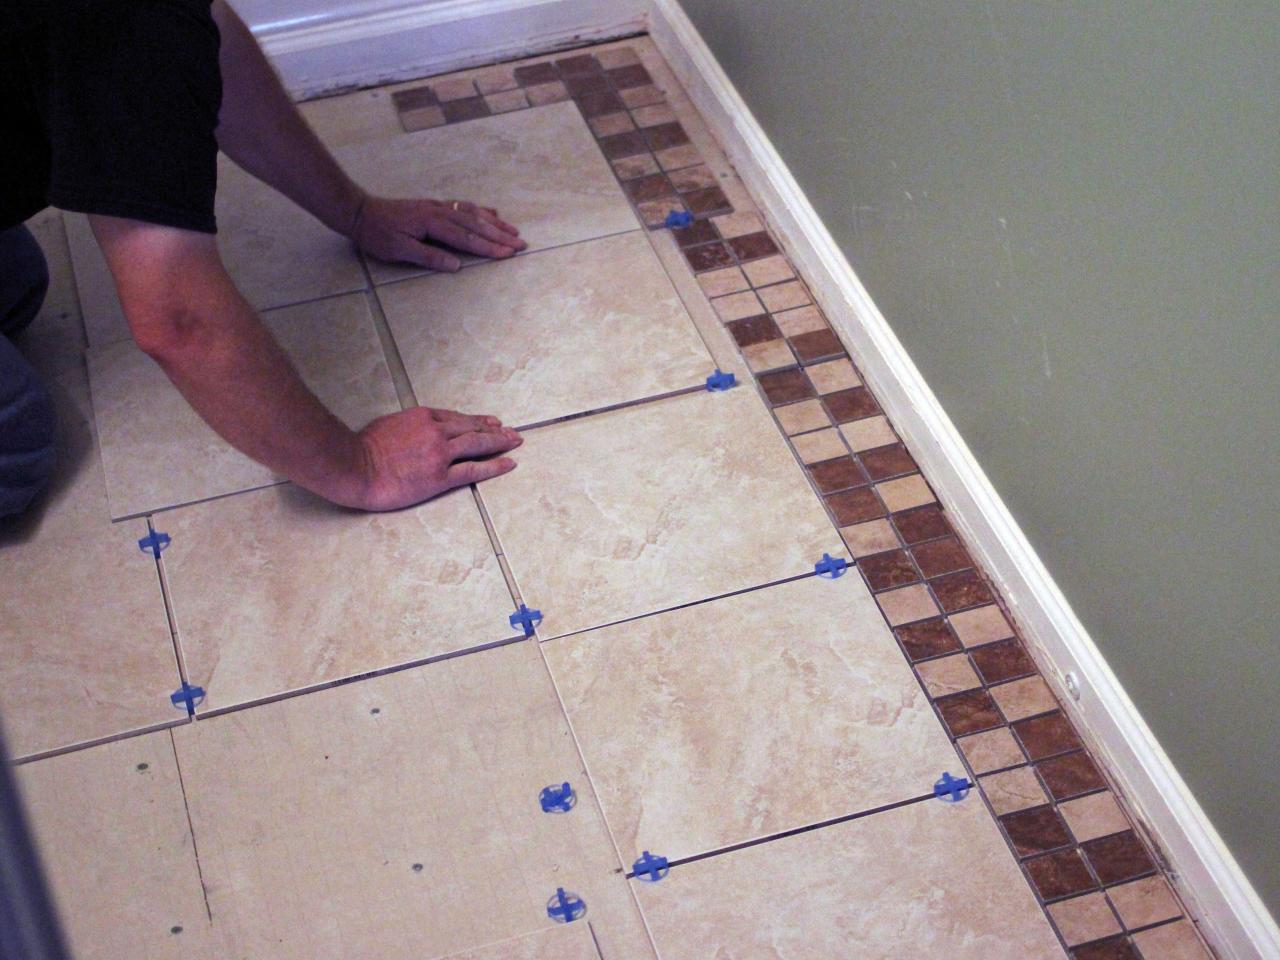
Once all necessary preparation is complete it’s time to start laying out the tiles. Start in a corner of the room and work your way outwards marking where each tile will go with a pencil so you have a roadmap of what your end result will look like. This will also help with figuring out how much overlap you should do on each piece of tile when setting them.
## Installing The Tiles
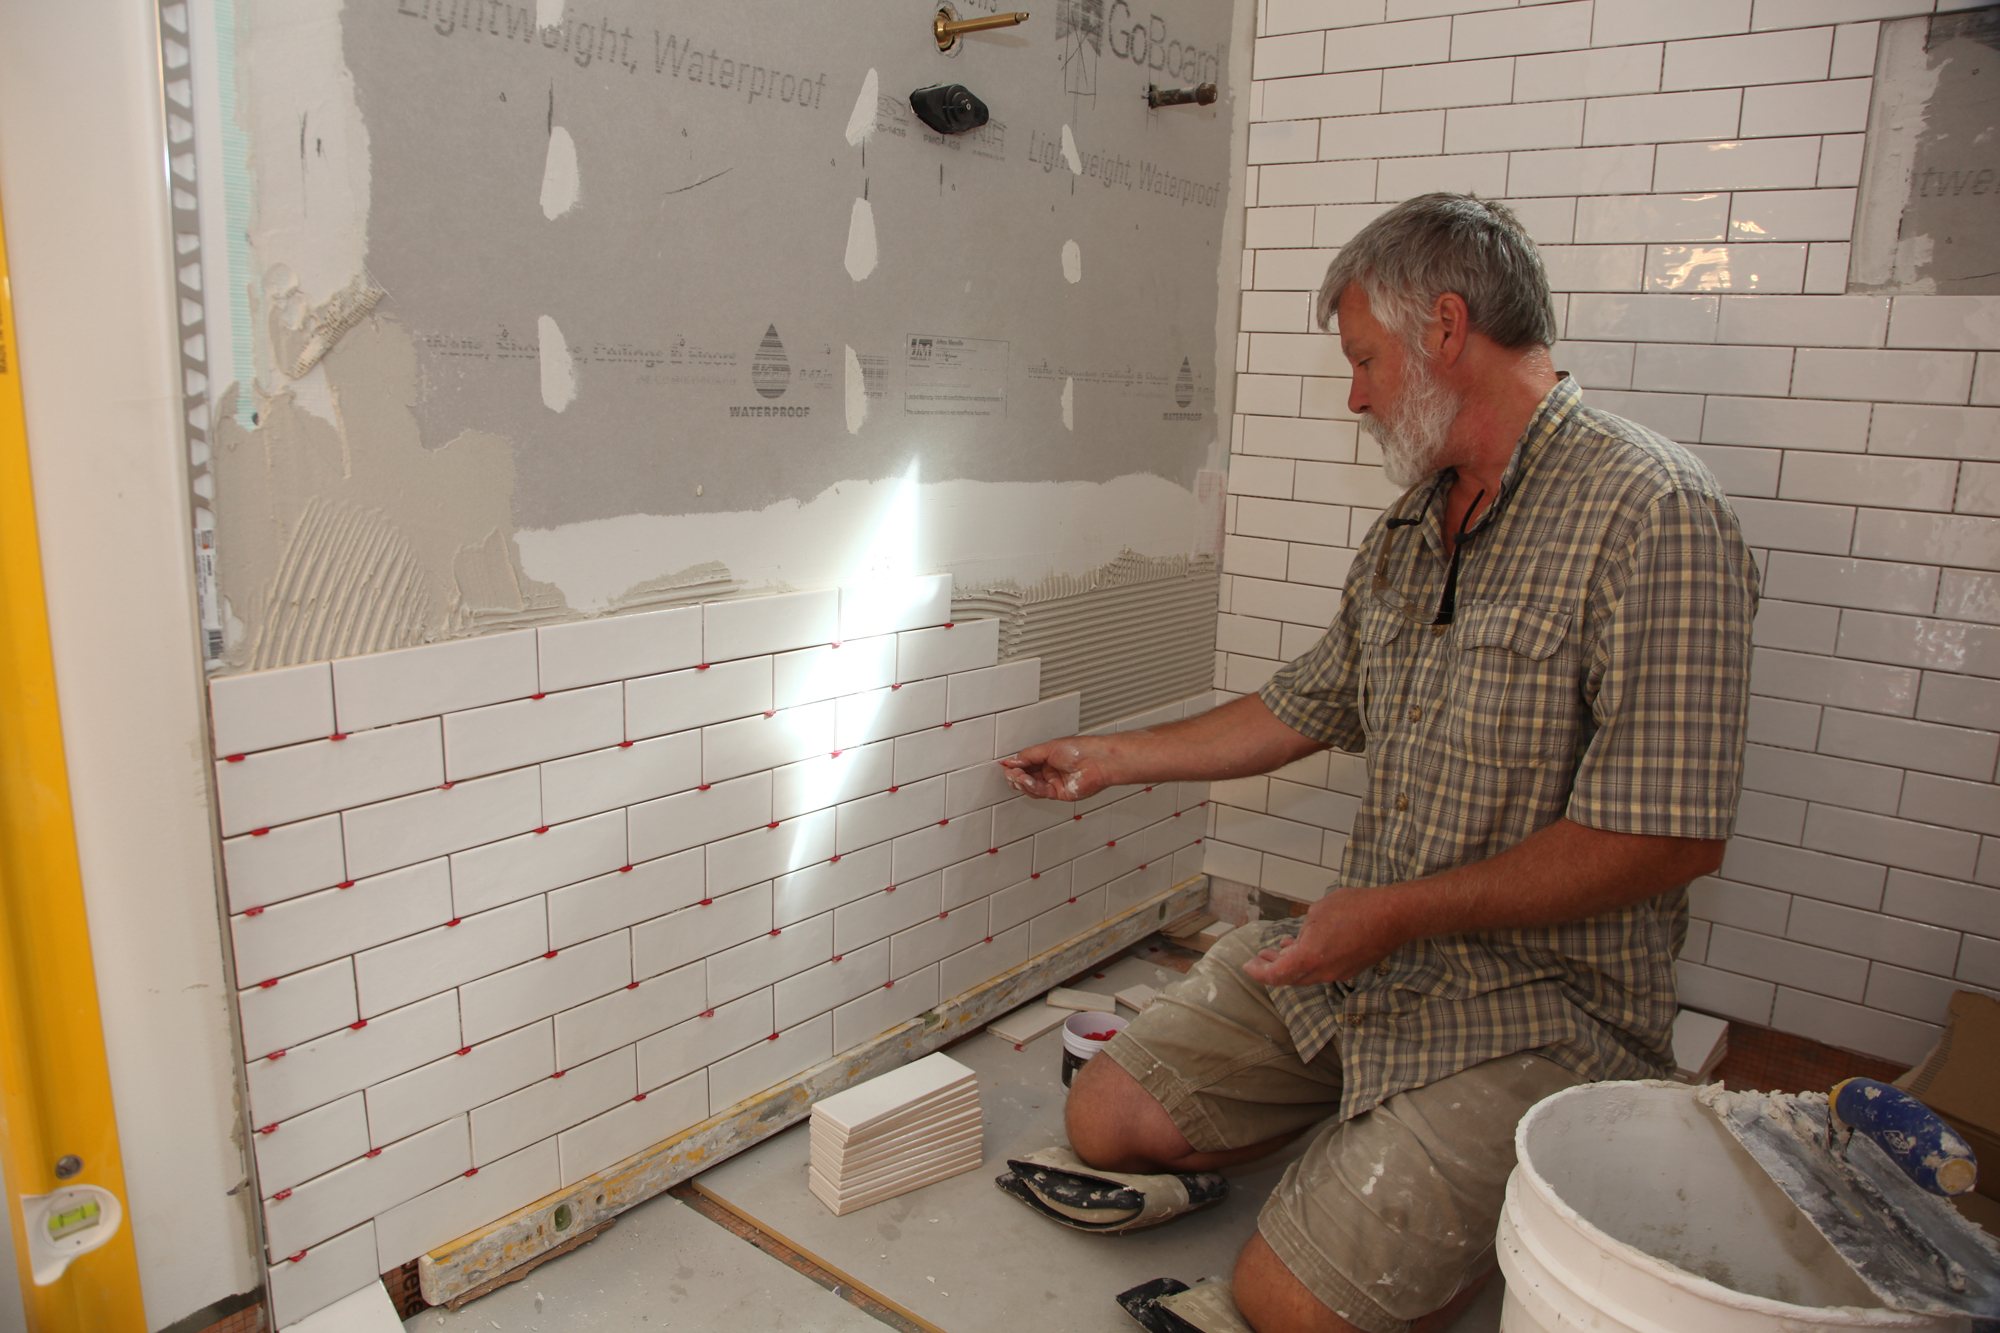
The next step in tiling your bathroom is actually setting the tiles into place. To start this process mix up your thinset mortar according to the manufacturer’s instructions as this type of adhesive bonds better than regular tile adhesive. Use your trowel to spread on the adhesive in an even layer onto the wall or floor area where you want to set your tiles.
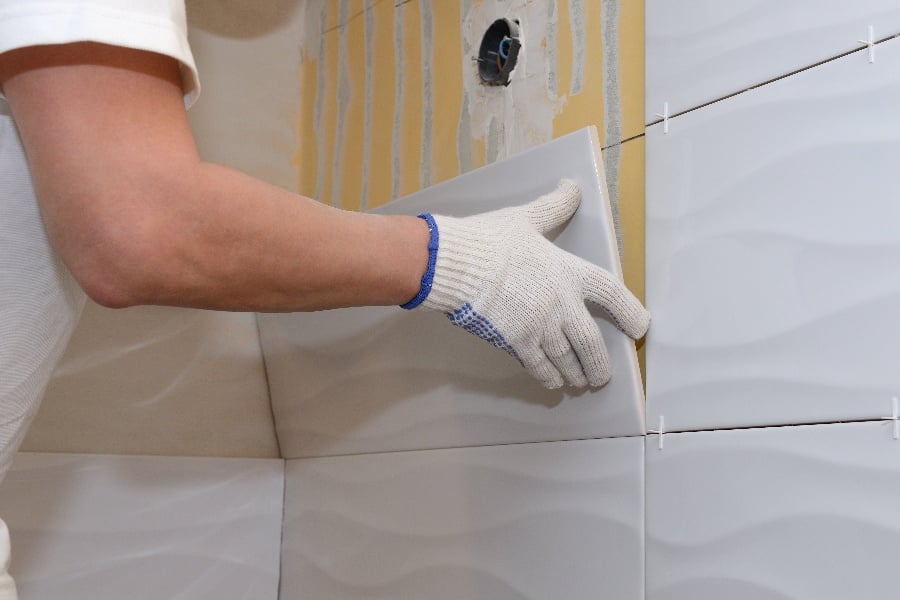
Using your level make sure that each piece is level before pressing into place and then use spacers when necessary for uniformity in size between each tile. Once all of your tiles are set you can move onto grouting them for extra protection against moisture and wear and tear over time.
## Grouting The Tiles
Grouting is what gives tiled surfaces their seamless finish which helps protect against water damage as well as making a room look cleaner overall. To begin grouting mix up your grout according to manufacturers instructions until you have achieved a thick paste like consistency.
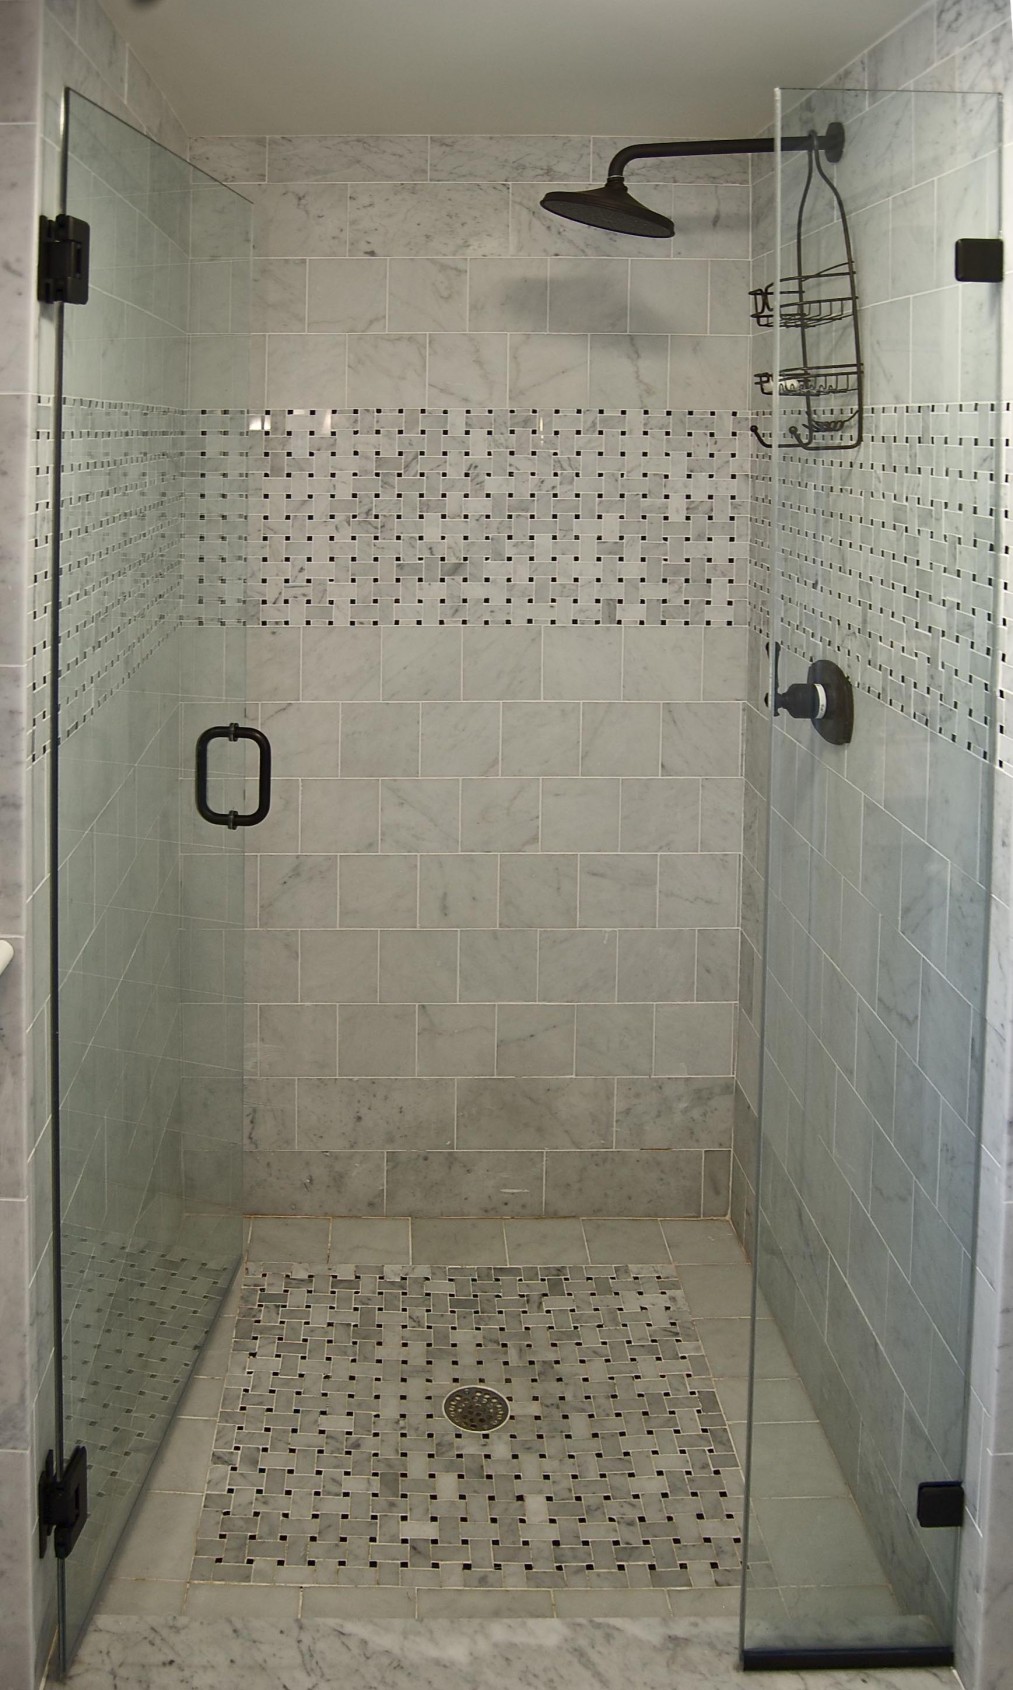
Spread this mixture over the tiled surfaces using either your hands or a rubber float which helps get an even distribution throughout the entire area. Allow this to sit for 15-20 minutes before wiping away any extra grout with a damp sponge and then rinsing away any remaining residue with water. Finish off by applying sealant to help protect against mold or mildew buildup when exposed to moisture from showers or bathtubs in bathrooms.
Tiling a bathroom floor or walls may seem like an intimidating task but following these steps and using the right tools makes it much easier than it seems! With some patience and dedication anyone can have beautiful tiled surfaces that will last for years to come!
What type of tile is best for bathroom walls and floors?
The best type of tile for bathroom walls and floors is porcelain or glazed ceramic tile, as they are both impervious to water and highly durable. However, other types of tiles such as natural stone, terracotta, or vinyl can also be used depending on the desired look and budget.What type of grout should I use for bathroom tile?
The type of grout you should use for bathroom tile depends on the material and size of your tile. If your tile is made of natural stone, you should use epoxy grout, which is very resistant to water and stains. If your tile is ceramic or porcelain, then you should use a sanded grout, which is waterproof and helps prevent cracks.What kind of grout is waterproof for bathroom tile?
Most people recommend a waterproof epoxy grout for bathroom tiles. It is a strong, durable and stain-resistant grout that resists mold and mildew growth. It is also the best choice for natural stone tiles, as it adheres tightly to the surface and helps prevent moisture from accumulating behind the tile.What types of grout are best for shower tile?
The best type of grout for shower tile is epoxy grout. It is waterproof, resists staining and will not be affected by mold or mildew. Epoxy grout also does not need to be sealed, which makes it an easy-to-maintain option.What is the difference between epoxy grout and regular grout?
Epoxy grout is more water-proof and stain-resistant than regular grout since it’s composed of a two-part epoxy and hardener mix. It also comes in a variety of colors, is more durable, and is easier to keep clean. However, epoxy grout is more expensive and requires more time and expertise to install and is not appropriate for all applications. Regular grout is easier to use and can be used in many different applications, but it’s more susceptible to staining and damage from water.What is the advantage of using epoxy grout over regular grout?
Epoxy grout has several advantages over regular grout, including enhanced stain resistance, increased durability, greater flexibility, and a higher chemical resistant. Additionally, epoxy grout is non-porous, meaning it won’t absorb dirt or bacteria. This makes it much easier to clean and maintain than regular grout. Epoxy grout is also more color-stable than regular grout, meaning it won’t fade or discolor over time.What are the drawbacks of using epoxy grout?
1. It is a more expensive option than traditional grout.2. It is harder to work with than traditional grout and requires more skill and experience to use properly.
3. Epoxy grout can also be difficult to clean due to its waterproof and smooth surface.
4. Over time, epoxy grout can discolor and become stained with dirt and usage.
5. It has a strong odor while being installed, so it can be uncomfortable for those in the home.
What are the benefits of using epoxy grout?
1. Epoxy grout is extremely durable and resistant to water damage, mildew, mold, stains, and discoloration.2. It is flexible and will not crack or shrink like traditional grout.
3. Epoxy grout is also resistant to abrasion and won’t be eroded away by acidic or alkaline solutions.
4. It is low maintenance and doesn’t require any special attention after installation.
5. Epoxy grouts can be mixed to a variety of colors including metallic shades for a unique look in your kitchen or bathroom.
6. Unlike cement-based grouts, epoxy grouts are non-porous, making them more hygienic since they don’t absorb moisture or dirt.