Tiling A Bathroom Floor And Walls

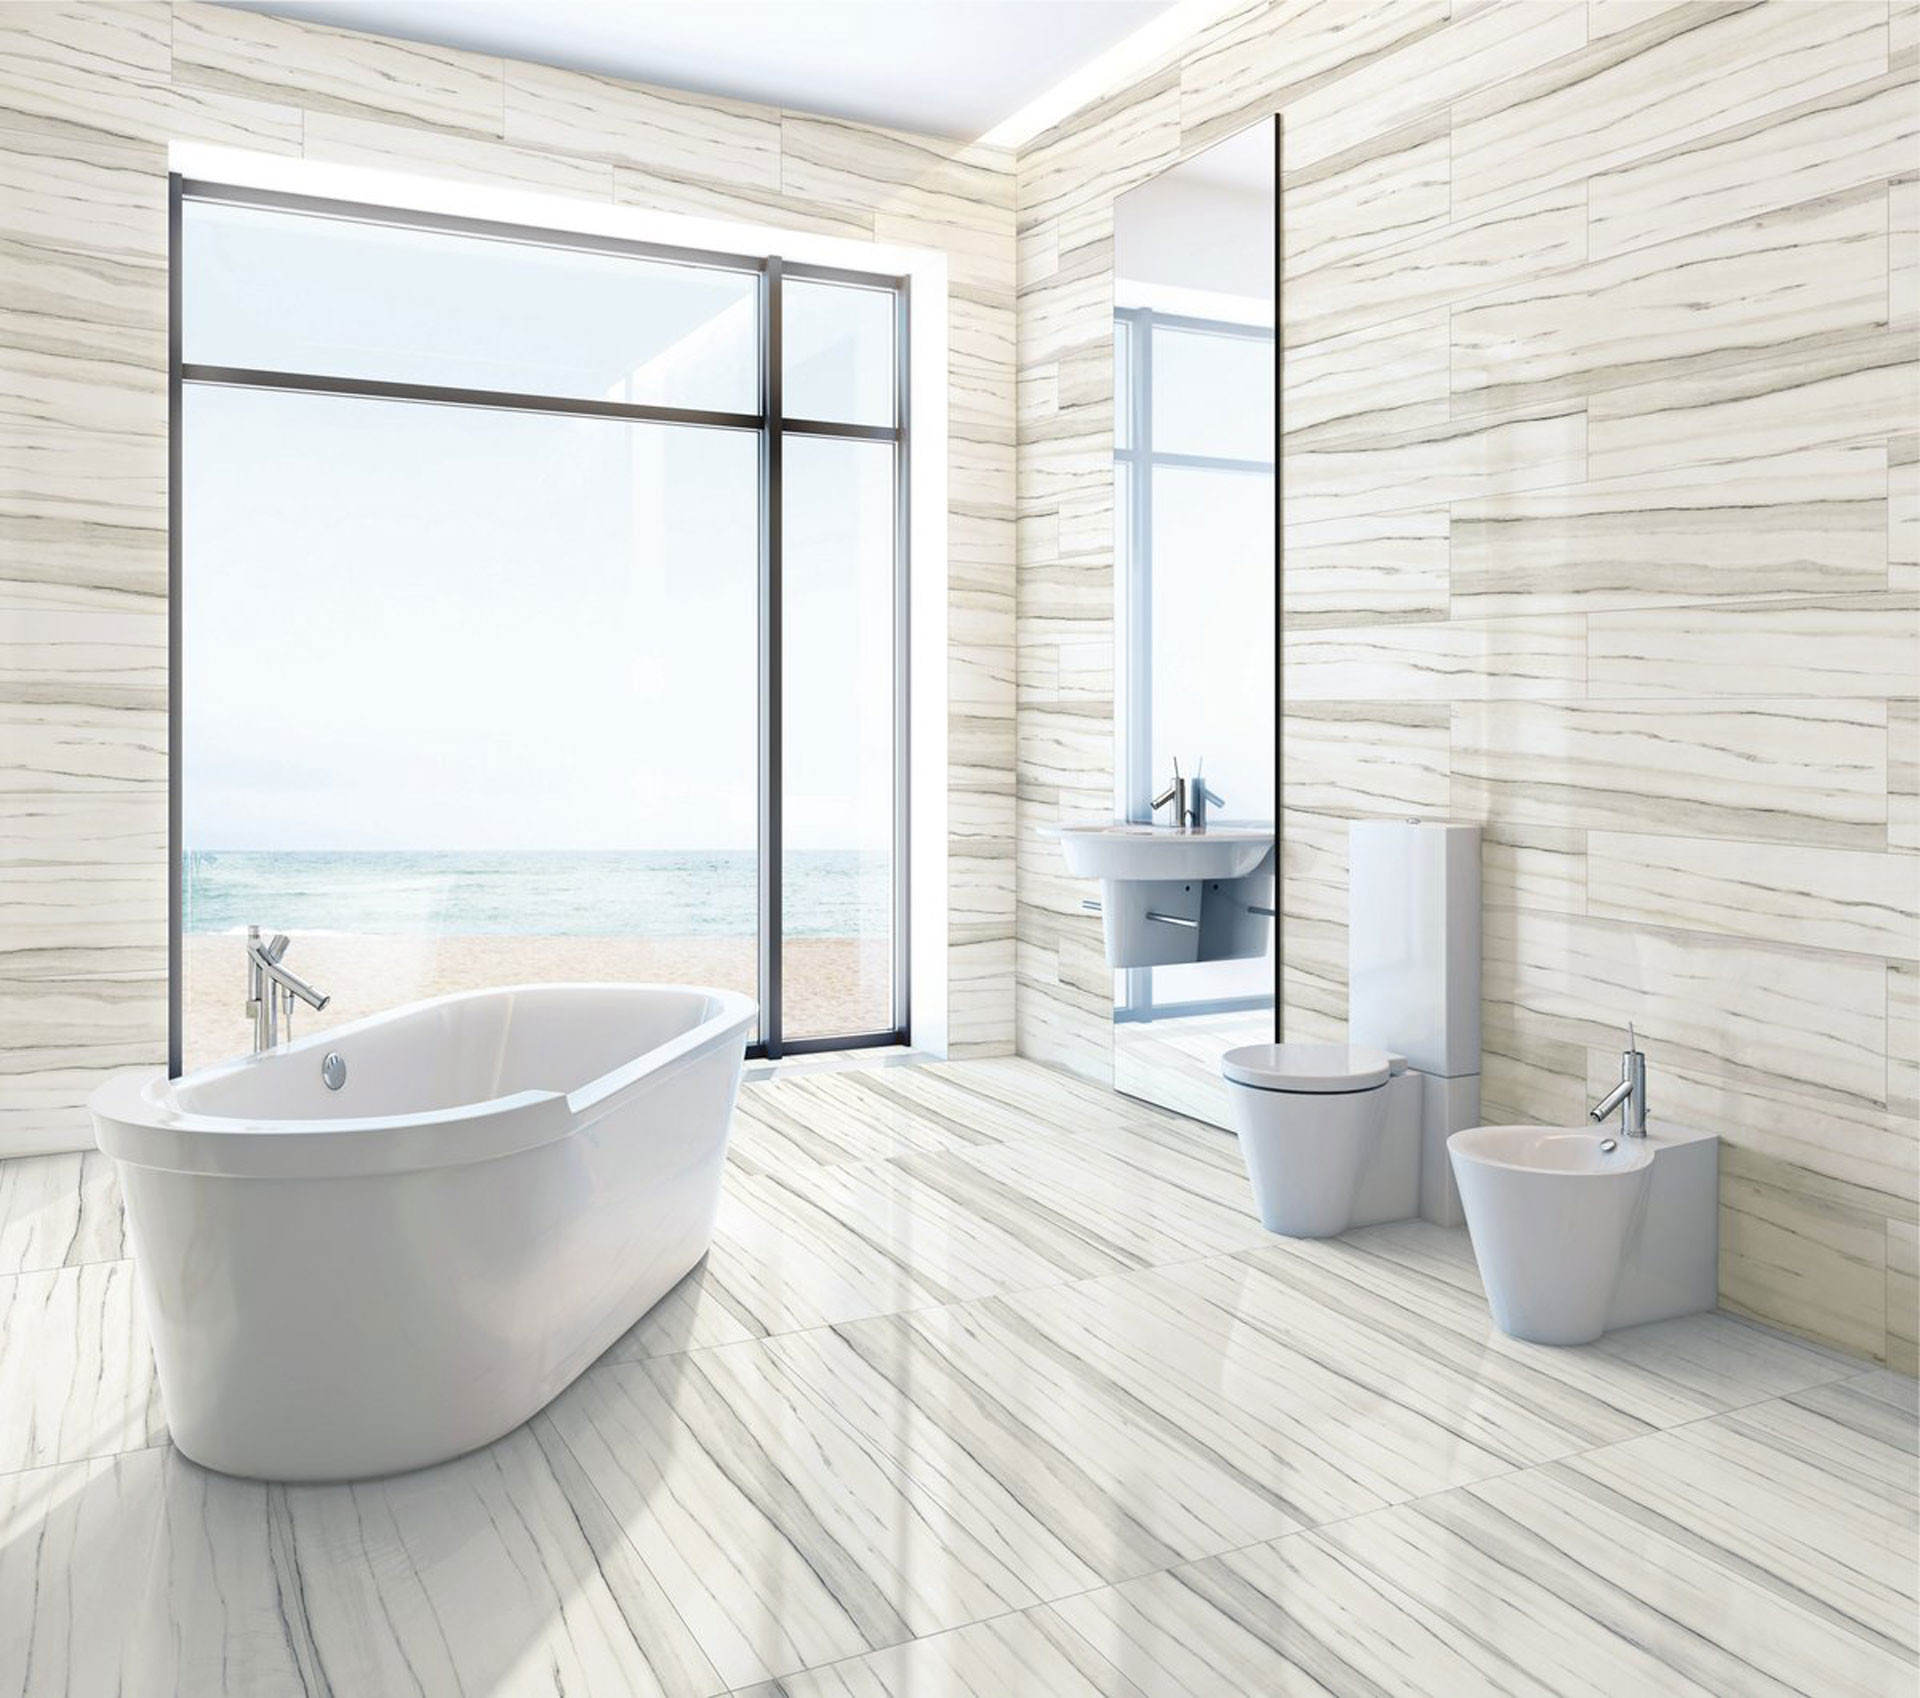
Bathroom Design Ideas: Use the Same Tile On the Floors and Walls Modern Home Decor

Bathroom Floor And Wall Tile Designs

Cheverny Blanc Encaustic Cement Wall and Floor Tile – 8 x 8 in. Grey bathroom floor, Bathroom

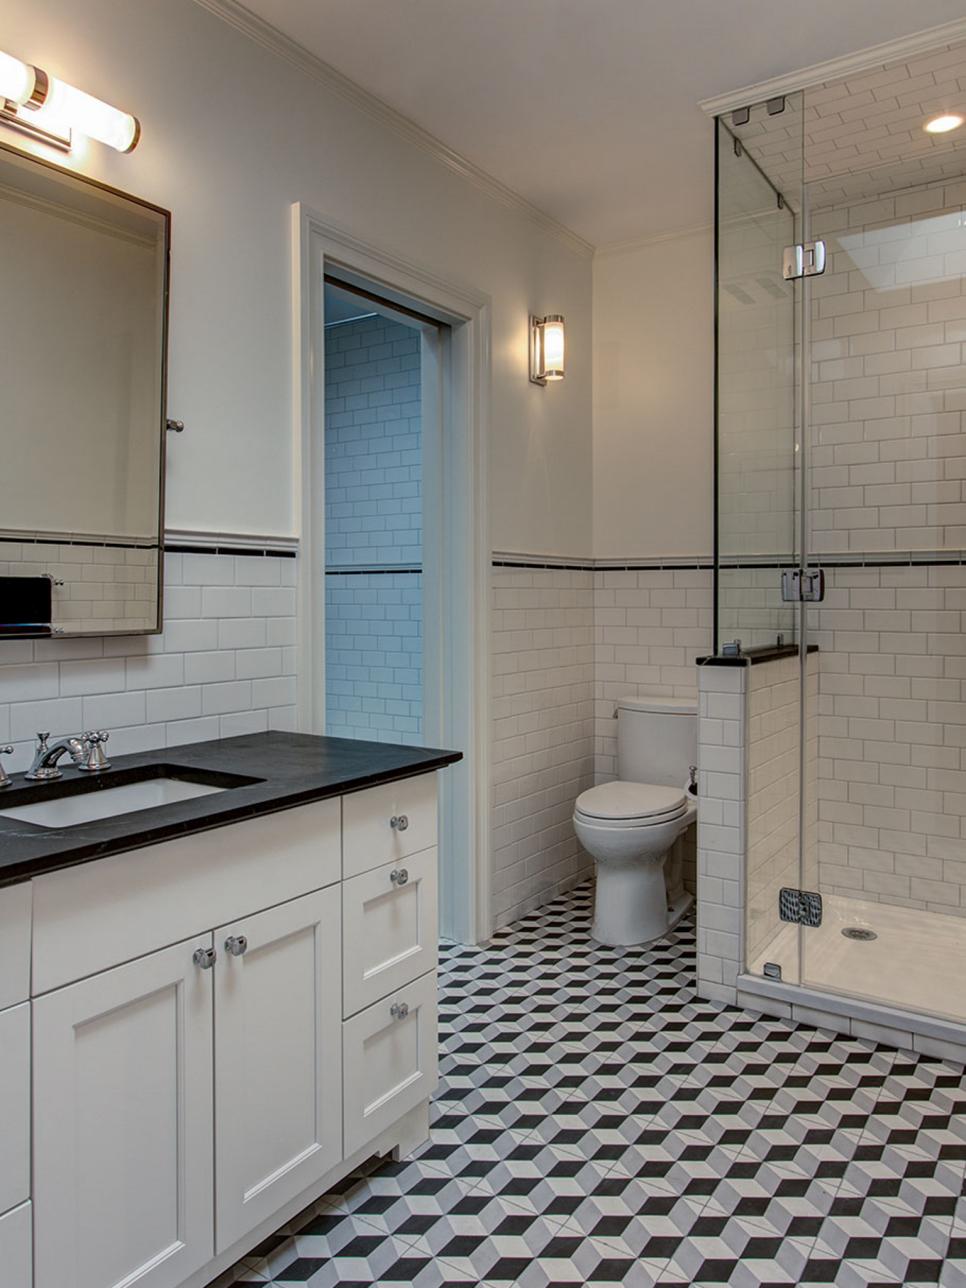
Transitional Bathroom With Geometric Tile Floor HGTV
Bathroom Design Ideas: Use the Same Tile On the Floors and Walls Modern Home Decor

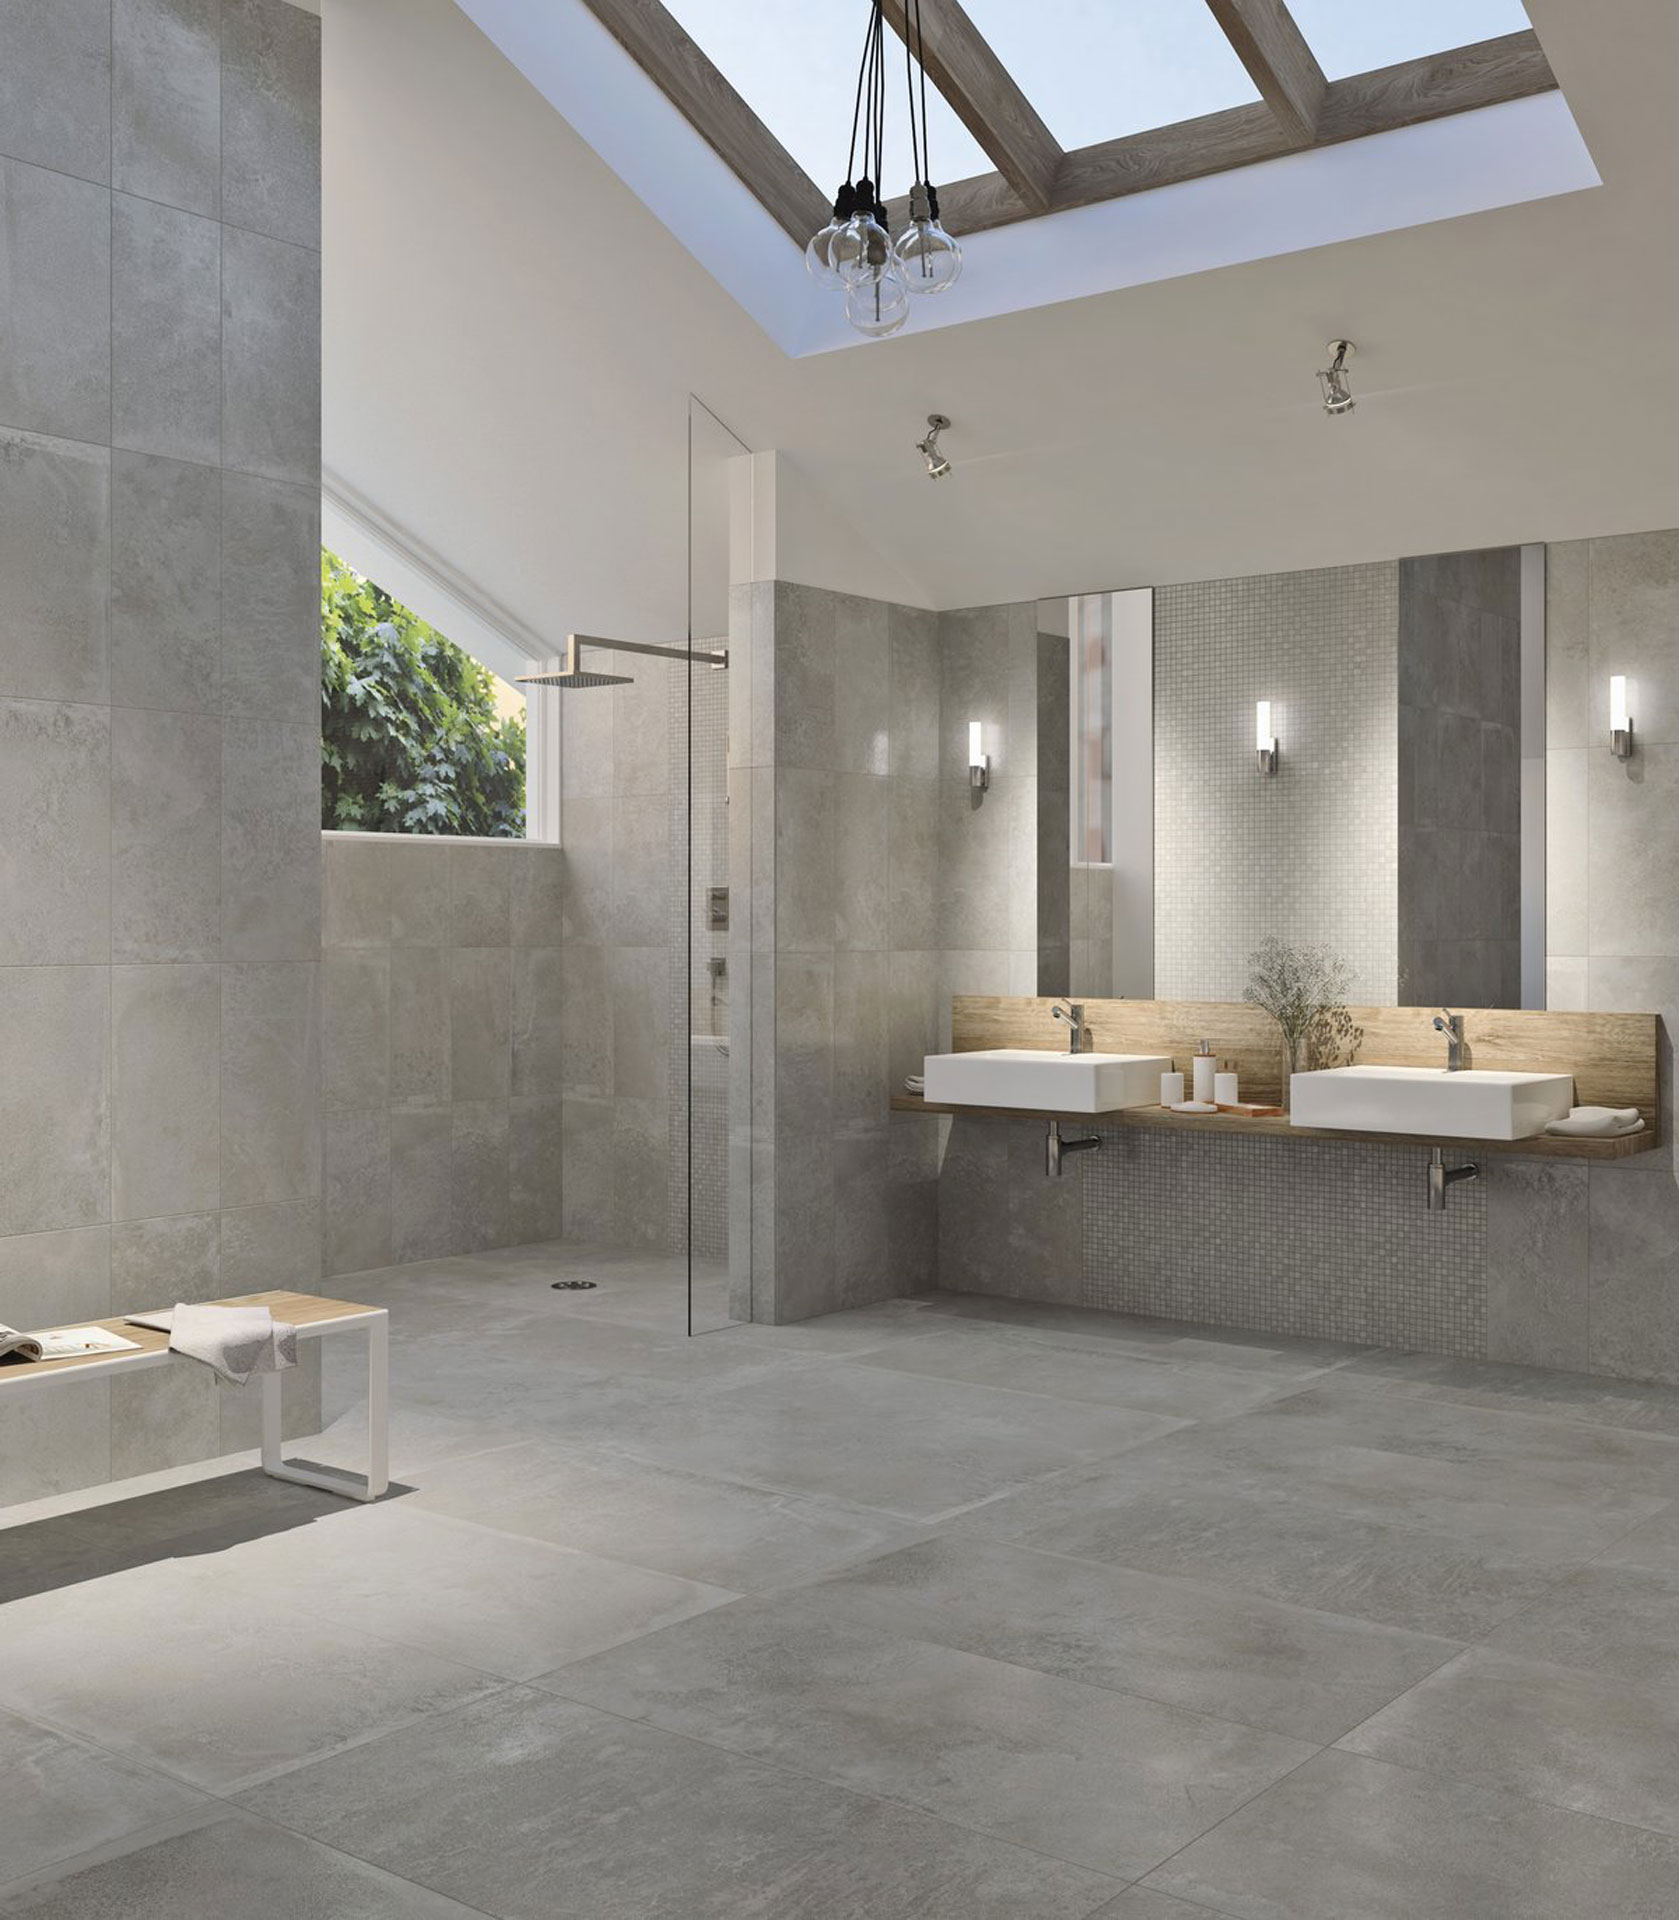
The contemporary bathroom with Stonepeak’s porcelain floor and wall tiles Floornature
SMALL BATHROOM TILE IDEAS PICTURES

How to tiling a bathroom floor – right tips – Interior Design Inspirations

The contemporary bathroom with Stonepeak’s porcelain floor and wall tiles Floornature
Related Posts:
- French Country Bathroom Flooring
- Mid Century Modern Bathroom Flooring
- Rustic Bathroom Floor Tiles
- Purple Bathroom Flooring
- How To Clean Bathroom Floor Stains
- Tile Design Bathroom Floor
- Terracotta Bathroom Floor
- Cool Bathroom Floor Ideas
- Light Bathroom Floor Tiles
- Classic Bathroom Floor Tile Ideas
Tiling a bathroom can be an intimidating task for many homeowners. After all, there is a lot of work involved and the potential for mistakes to be made. However, with the right tools and techniques, it is possible to tile your own bathroom floor and walls to create a professional look. In this article, we will discuss the materials you need, the steps to follow, and tips to make your project successful.
Materials Needed for Tiling a Bathroom Floor and Walls
Before starting any tiling project, it is important to make sure you have all of the necessary materials. For tiling a bathroom floor and walls, you will need:
• Tile
• Grout
• Tile adhesive/mastic
• Notched trowel
• Level
• Sponge
• Bucket
• Rags
• Protective eyewear
• Work gloves
• Masking tape
• Caulk
• Scissors or utility knife (to cut tiles)
• Wax pencil or marker (to mark tiles)
• Hammer and chisel (to remove old tiles, if needed)
• Wet saw (to cut tiles if needed)
• Mixing stick (for mixing grout)
• Putty knife (for spreading adhesive/mastic)
• Rubbing stone (to smooth grout lines)
Preparing Your Bathroom for Tiling
Before you begin tiling your floor and walls, it is important to properly prepare the area. Start by removing any existing tiles that you may have. If there are any cracks or holes in the walls or floor, be sure to fill them with spackle or mortar before continuing. Once you have done this, use a damp cloth or sponge to clean the surface. Any dirt or residue can interfere with the adhesion of the tiles. Once the area is clean, apply masking tape along the edges of any fixtures, such as sinks or toilets. This will help protect them from damage while you are tiling. Finally, measure the area that you are going to be tiling and make sure you have enough tiles on hand.
Applying Adhesive/Mastic & Laying Tiles
Now that your bathroom is ready, it’s time to start laying some tiles! Start by applying adhesive/mastic to the surface using a notched trowel. Make sure to spread it evenly across the area and make sure there are no gaps between tiles. Once you have applied the mastic, start laying your tiles from one corner of the room and work outwards in a grid-like pattern. As you go along, use your level to make sure that each tile is level with its neighbors. Once all of your tiles are in place, let them sit for at least 24 hours before continuing.
Grouting Your Tiles
After 24 hours have passed, it’s time to grout your tiles! Start by mixing your grout according to the manufacturer’s instructions in a bucket. Once it’s ready, spread it over the tiles with a rubber float in an even layer. Make sure that each tile is filled with grout and that there are no air pockets left behind. Use your sponge to remove any excess grout from between the tiles and then let it dry completely (usually takes about 24 hours).
Finishing Touches
Now that your grout has dried completely, it’s time to finish off your tile job! Begin by using a rubbing stone to smooth out any rough grout lines between tiles. Then use caulk around any fixtures in order to create a waterproof seal. Finally, clean off all of your tools and materials and put them away for future use.
Conclusion
Following these steps will help you achieve professional results when tiling your bathroom floor and walls. Keep in mind that tiling is hard work and requires patience – but with some practice and dedication, you can achieve great results!