Gather Your Tools and Materials
Before diving into your vinyl floor laying project, it’s essential to gather all the necessary tools and materials. Having everything on hand will save you time and ensure a smooth installation process.
- Start by measuring the room where you plan to install the vinyl flooring. This will help you determine how much material you need. Vinyl flooring comes in sheets, tiles, or planks, so choose the type that best suits your space and style.
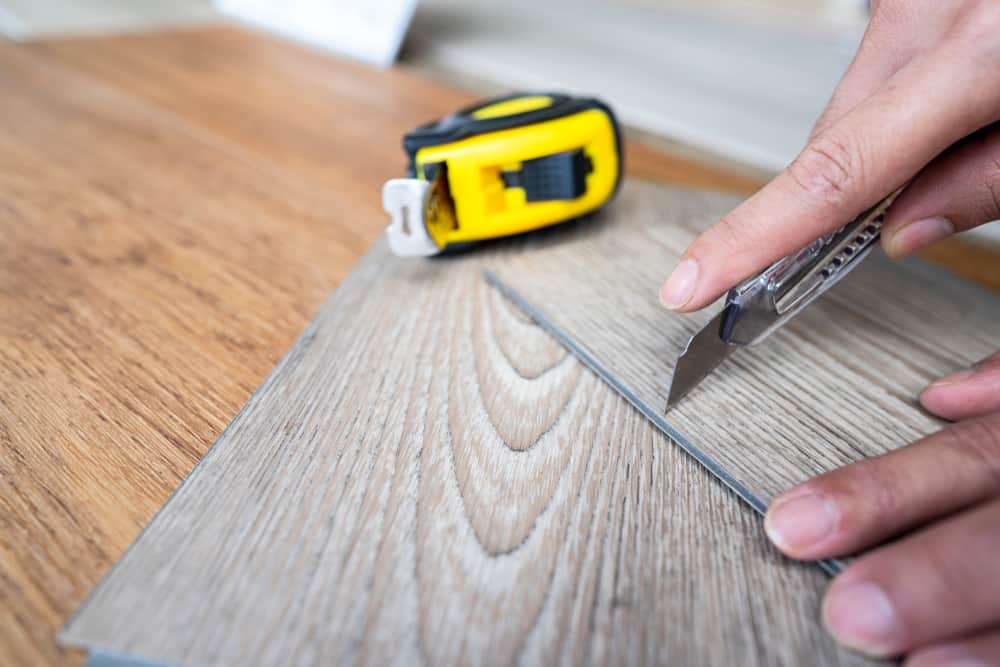
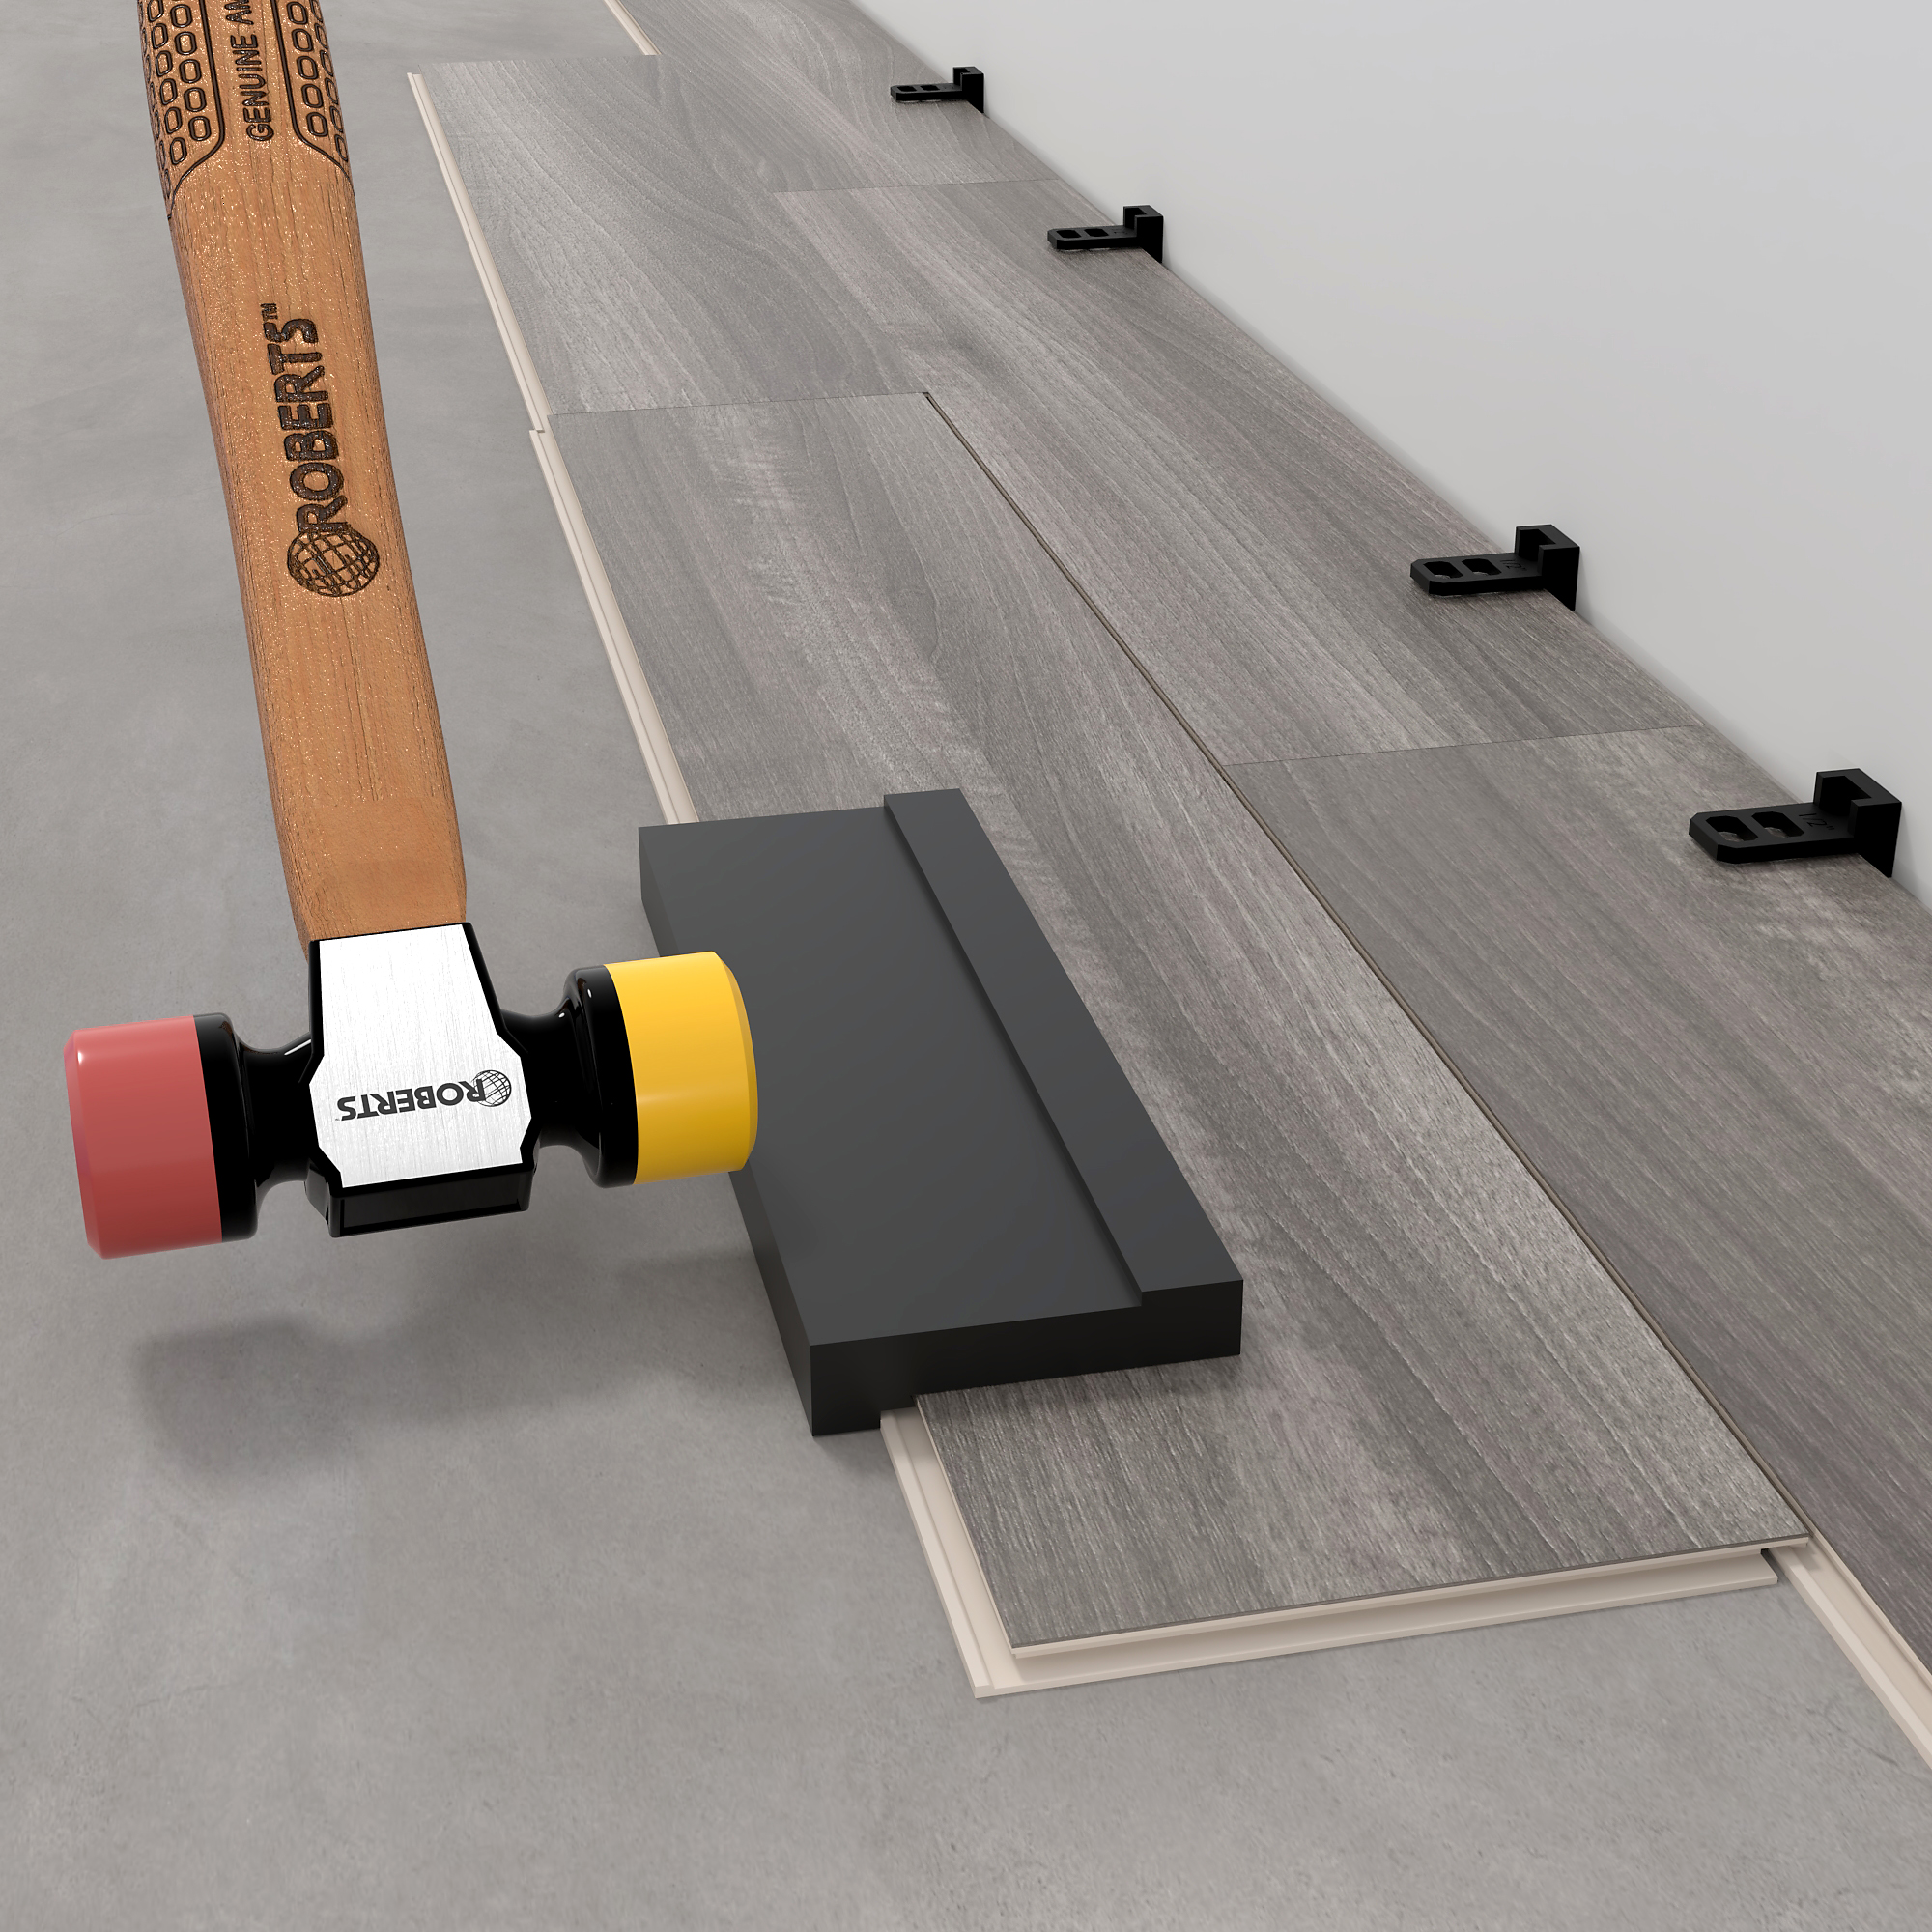
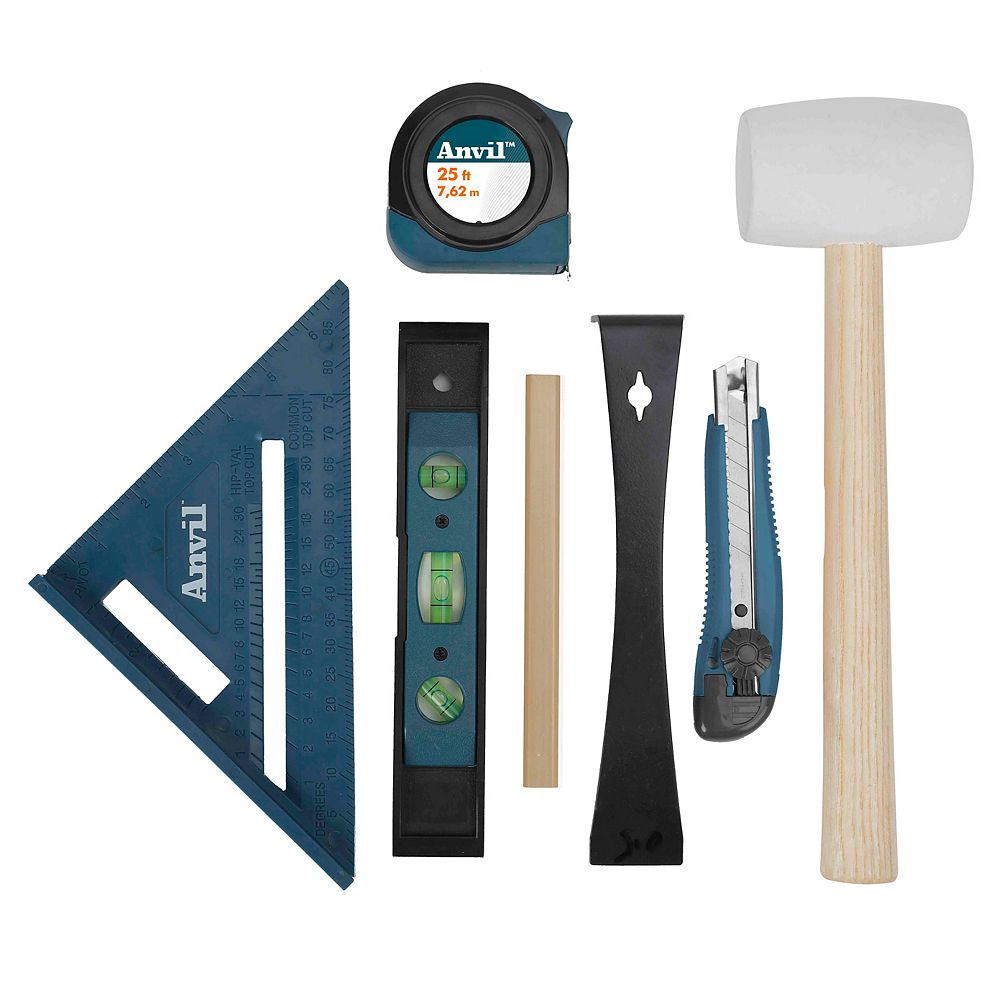
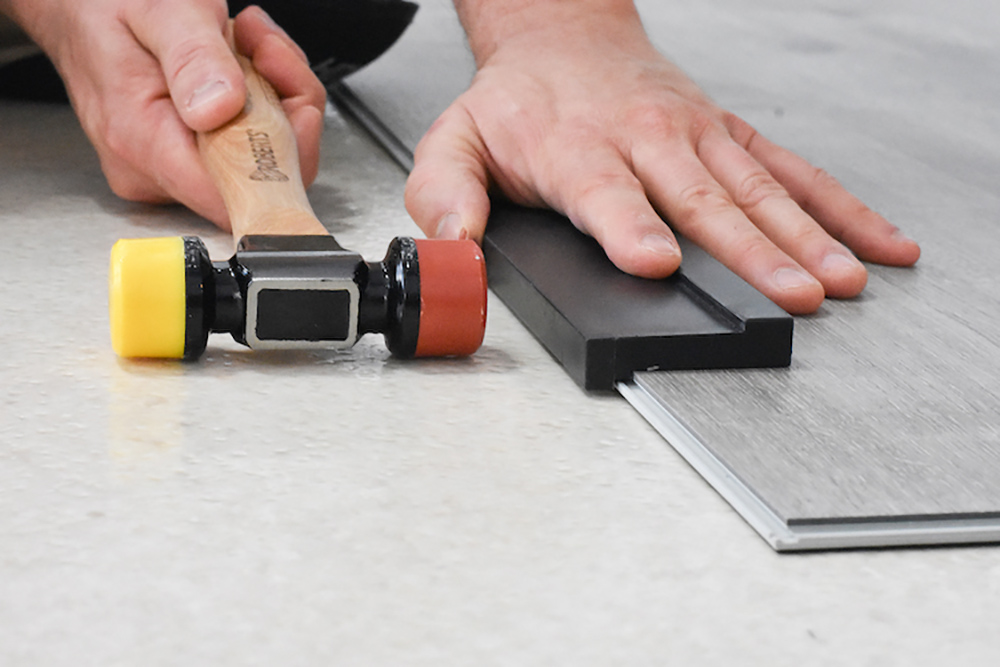
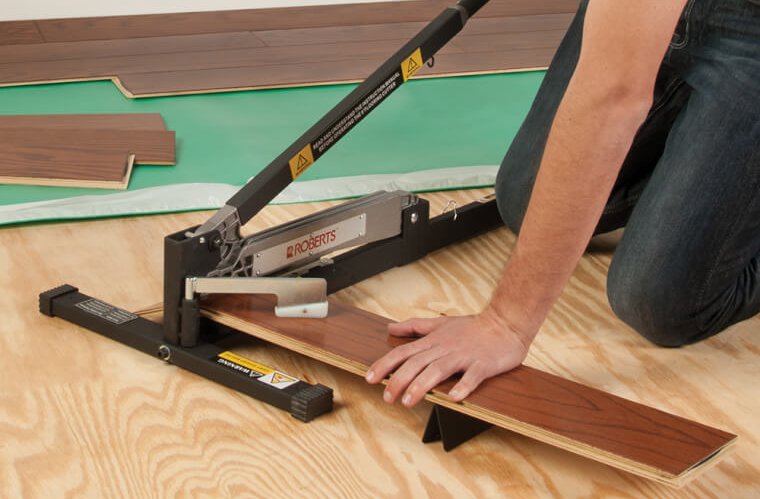
- Next, assemble your tools. You’ll need a utility knife, measuring tape, straightedge, adhesive (if using sheet vinyl), a roller, and a notched trowel. For vinyl planks or tiles, a tapping block and pull bar are also useful. Don’t forget safety gear like gloves and knee pads!
- Ensure your subfloor is clean, dry, and level. If you’re working with concrete, check for moisture issues. For wooden subfloors, repair any loose boards or uneven areas. A smooth, stable surface is crucial for a flawless vinyl floor installation.
- Finally, allow your vinyl flooring to acclimate to the room’s temperature and humidity for at least 24 hours before installation. This prevents warping or shrinking after laying.
Prepare the Subfloor
Proper subfloor preparation is the foundation of a successful vinyl floor installation. Skipping this step can lead to uneven surfaces, visible imperfections, and even damage to your new flooring.
Begin by removing any existing flooring, such as carpet, tile, or old vinyl. Use a scraper or pry bar to lift the material, being careful not to damage the subfloor. If you’re working with concrete, patch any cracks or holes with a suitable filler and let it dry completely.
For wooden subfloors, check for squeaky or loose boards and secure them with screws. Sand down any high spots and fill gaps with wood filler. If the subfloor is uneven, consider using a self-leveling compound to create a smooth surface.
Clean the subfloor thoroughly to remove dust, debris, and grease. A vacuum and damp mop are ideal for this task. Any leftover dirt can affect the adhesive’s performance or cause bumps under the vinyl.
If you’re installing sheet vinyl, you may need to lay down an underlayment for added cushioning and moisture protection. For vinyl planks or tiles, check the manufacturer’s instructions to see if an underlayment is required.
Plan Your Layout
Planning your layout is a critical step that ensures your vinyl flooring looks professional and fits seamlessly into your space. A well-thought-out layout minimizes waste and avoids awkward cuts or patterns.
Start by finding the center of the room. Measure the walls and mark the midpoint on each side. Use a chalk line to connect these marks, creating a cross that divides the room into four equal quadrants. This will serve as your guide for laying the flooring.
If you’re using vinyl planks or tiles, dry-fit a few pieces along the chalk lines to visualize the pattern. Adjust the layout as needed to avoid narrow strips at the edges or mismatched seams. For sheet vinyl, roll it out and trim it to fit the room, leaving a few inches of excess on all sides.
Consider the direction of the planks or tiles. Laying them parallel to the longest wall often makes the room appear larger. However, if your space has unique features like a fireplace or angled walls, you may need to adjust the layout accordingly.
Take your time during this step. A well-planned layout not only enhances the aesthetic appeal but also makes the installation process much easier.
Install the Vinyl Flooring
Now that your subfloor is ready and your layout is planned, it’s time to install the vinyl flooring. The method varies slightly depending on whether you’re using sheet vinyl, planks, or tiles.
For sheet vinyl, roll it out and position it according to your layout. Trim the excess material, leaving a small gap (about 1/8 inch) along the walls to allow for expansion. If using adhesive, apply it evenly with a notched trowel and carefully lay the vinyl, smoothing out air bubbles with a roller.
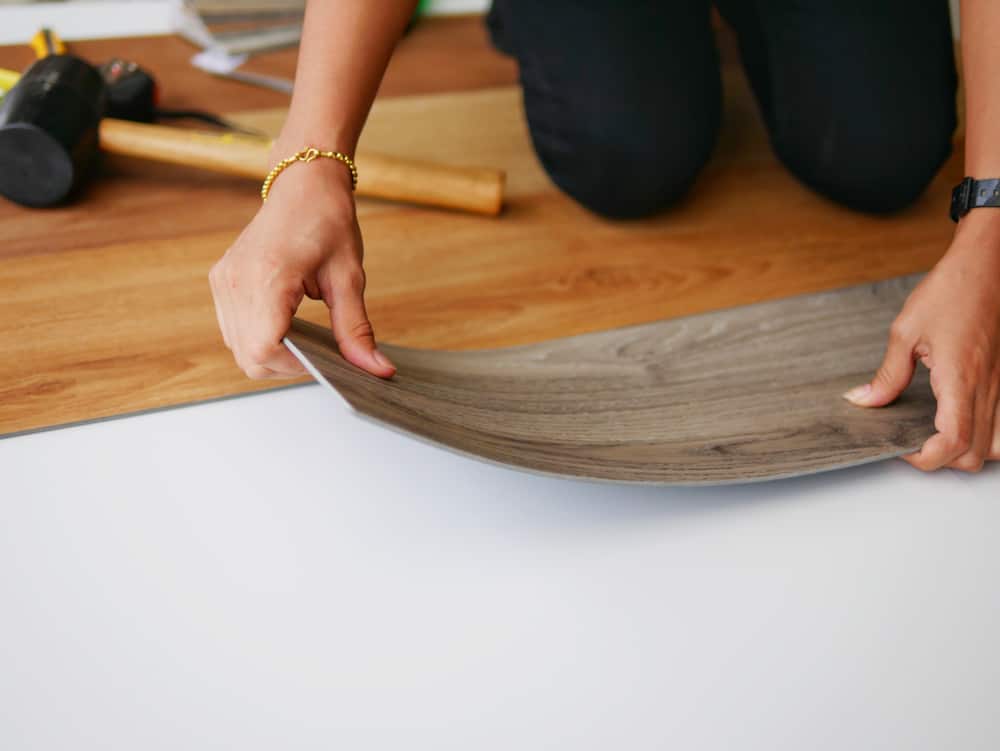
Vinyl planks and tiles typically use a click-lock or peel-and-stick system. Start in one corner of the room and work your way out, following your chalk lines. Use a tapping block and pull bar to secure the pieces tightly together. For adhesive-backed tiles, peel off the backing and press them firmly onto the subfloor.
Take care when cutting pieces to fit around obstacles like doorways or cabinets. A utility knife and straightedge are your best tools for precise cuts. If you make a mistake, don’t worry—vinyl is forgiving and can often be repositioned.
Once the flooring is installed, go over the entire surface with a roller to ensure proper adhesion and eliminate any remaining air bubbles.
Finish and Maintain Your Vinyl Floor
The final step in your vinyl floor laying DIY project is to add the finishing touches and learn how to maintain your new floor for years to come.
Install baseboards or quarter-round molding to cover the expansion gap along the walls. This not only gives your floor a polished look but also protects the edges from damage. Use a nail gun or adhesive to secure the trim in place.
Clean up any adhesive residue or debris from the installation process. A damp cloth or mild cleaner is usually sufficient for vinyl flooring. Avoid using harsh chemicals or abrasive tools that could scratch the surface.
To keep your vinyl floor looking its best, sweep or vacuum regularly to remove dirt and grit. Mop with a mild cleaner and avoid excessive water, as standing moisture can damage the flooring. Place felt pads under furniture legs to prevent scratches.
With proper care, your vinyl floor will remain durable and attractive for many years. Enjoy the satisfaction of a job well done and the transformation of your space!

A comprehensive list of tools and equipment for vinyl flooring installations

Tools Required For Laying Laminate Flooring

Wood, Laminate & Vinyl Tools – Roberts Consolidated

How To Install Laminate Flooring, Laying your Floor, and Flooring Tools you need! – Home

The List of Vinyl Flooring Tools (Preparing, Planning, Laying and Cleaning)
The Best Laminate Floor Cutters [ 2022 Reviews ] • Tools First
Related Posts: