I discovered the beauty of pine vinyl flooring during a challenging basement renovation project where moisture concerns ruled out traditional hardwood options. The homeowners wanted the warm, natural appearance of knotty pine floors they remembered from their childhood cabin, but needed something practical for a below-grade space. Modern pine vinyl flooring exceeded all our expectations with its realistic wood grain textures, authentic color variations, and superior moisture resistance. Since then, I’ve specified pine vinyl in dozens of projects where clients desire rustic charm without the maintenance headaches of real wood floors.
Understanding Pine Vinyl Construction and Quality
Pine vinyl flooring has evolved dramatically over the past decade, and I’ve watched manufacturers perfect printing techniques that capture pine’s distinctive characteristics with remarkable accuracy. The best products feature multiple photographic layers that replicate pine’s natural knots, grain patterns, and color variations. I look for vinyl planks with registered embossing, where the surface texture aligns perfectly with the printed grain pattern, creating tactile experiences that genuinely feel like real wood underfoot.
The construction quality varies significantly between manufacturers, and I always examine the wear layer thickness when selecting pine vinyl products. Premium options feature 20-mil or thicker wear layers that provide excellent durability and stain resistance, while budget products often use 6-12 mil layers that show wear more quickly. I’ve learned that investing in thicker wear layers pays dividends in high-traffic areas, maintaining the pine appearance for decades rather than years.
Core stability makes a tremendous difference in installation success and long-term performance, particularly with pine vinyl that needs to replicate wood’s natural movement patterns. I prefer products with stone polymer composite (SPC) cores that provide dimensional stability while still allowing the characteristic click-locking installation that makes vinyl so practical. These rigid cores prevent the telegraphing of subfloor imperfections that can ruin the authentic wood appearance pine vinyl is designed to achieve.
Color Variations and Grain Patterns
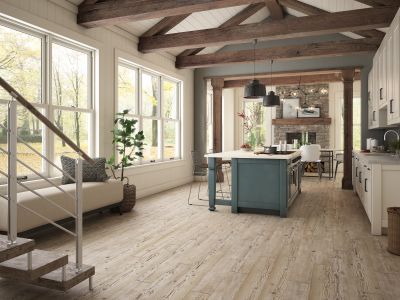
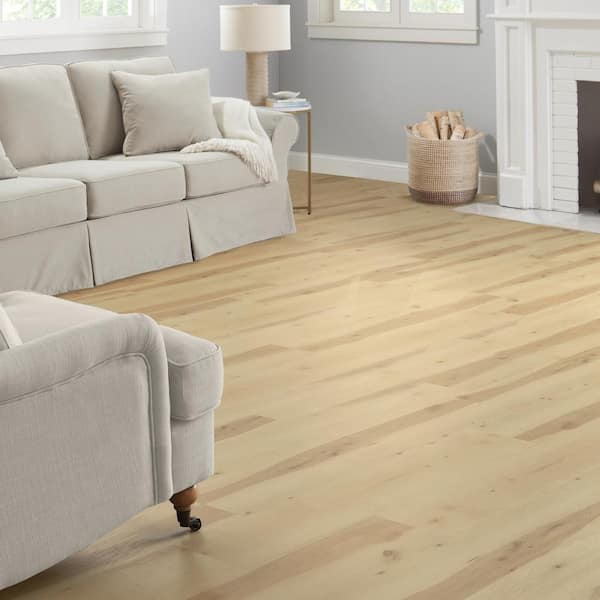
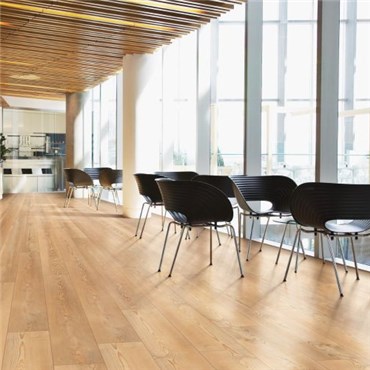
Natural pine encompasses a wide spectrum of colors and grain characteristics, and I help clients understand these variations when selecting vinyl options. Light honey pine colors work beautifully in farmhouse and cottage-style interiors, providing warm backgrounds that complement both traditional and contemporary furnishings. I’ve used these lighter pine tones successfully in kitchens and living areas where the cheerful color creates welcoming atmospheres without overwhelming smaller spaces.
Weathered and reclaimed pine styles have become increasingly popular in my recent projects, offering character and depth that new wood cannot match. These products feature gray undertones, worn edges, and distressed appearances that tell stories of decades of use. I particularly enjoy specifying weathered pine vinyl in entryways and mudrooms where the rustic character complements the casual, lived-in feeling these spaces should convey.
The knot patterns distinguish pine from other wood species, and quality pine vinyl captures these distinctive features accurately. I look for products that include tight knots, larger sound knots, and the occasional pin knot that creates authentic pine character. The best vinyl products feature random knot placement rather than repetitive patterns that immediately reveal their manufactured nature. These realistic knot patterns contribute significantly to the overall authenticity of the pine appearance.
Installation Considerations and Techniques
Installing pine vinyl flooring requires attention to detail that ensures the final appearance lives up to the product’s potential. I always emphasize proper subfloor preparation because vinyl telegraphs every imperfection, and pine patterns can highlight irregularities more than solid colors. I use self-leveling compounds when necessary and ensure moisture levels meet manufacturer specifications before beginning installation, particularly in basements where pine vinyl often replaces problematic wood floors.
The plank layout significantly affects the final appearance of pine vinyl installations, and I spend considerable time planning layouts that maximize the wood-like appearance. I avoid repetitive patterns by ensuring no identical planks appear adjacent to each other, and I vary plank lengths to create more natural randomness. Starting with full planks along the most visible wall creates better proportions, while strategic placement of planks with prominent knots can create focal points that enhance the rustic pine character.
Click-lock installation systems make pine vinyl accessible to DIY enthusiasts, though I always recommend professional installation for best results. Proper expansion gaps around perimeters accommodate seasonal movement, while careful trimming around obstacles maintains clean lines that complement the pine aesthetic. I use matching or complementary transition strips where pine vinyl meets other flooring materials, ensuring smooth connections that don’t interrupt the natural wood appearance.

Maintenance and Longevity Benefits
One of my favorite aspects of pine vinyl flooring is explaining the maintenance advantages to clients who’ve struggled with real wood floors. Unlike natural pine, which requires regular refinishing and careful moisture management, vinyl versions maintain their appearance with simple sweeping and occasional damp mopping. I’ve tracked pine vinyl installations from five years ago that still look pristine with nothing more than routine cleaning and occasional deep cleaning with vinyl-specific products.
The moisture resistance that initially drew me to pine vinyl continues to impress me in challenging installations. I’ve used it successfully in basements, bathrooms, and mudrooms where real pine would fail quickly. The ability to withstand spills, pet accidents, and humidity changes without warping, cupping, or staining makes pine vinyl particularly valuable for families with active lifestyles and unpredictable maintenance schedules.
Scratch and dent resistance varies with product quality, but premium pine vinyl floors handle normal household wear remarkably well. I’ve seen these floors survive furniture moves, dropped objects, and pet claws that would damage real pine significantly. When damage does occur, individual planks can be replaced without affecting surrounding flooring, a significant advantage over traditional wood floors that require extensive refinishing to address localized damage.

Design Applications and Style Coordination
Pine vinyl flooring works beautifully in rustic and farmhouse design schemes where the warm wood tones complement natural materials and casual furnishings. I love using pine vinyl in family rooms and kitchens where the relaxed character matches the informal lifestyle these spaces support. The honey and amber tones pair perfectly with cream walls, natural stone countertops, and wrought iron fixtures that define country living aesthetics.
Contemporary applications surprise many clients, but I’ve used pine vinyl successfully in modern settings where the natural texture provides a welcome contrast to sleek surfaces. Light pine tones work particularly well in Scandinavian-inspired interiors, while weathered pine styles complement industrial design elements like exposed brick and metal fixtures. The key is balancing the rustic character with cleaner design elements that prevent the space from feeling too casual or cluttered.
Cabin and cottage applications represent natural choices for pine vinyl, especially in vacation homes where moisture concerns and low maintenance requirements make real wood impractical. I’ve installed pine vinyl in lakefront properties where the authentic appearance creates the desired cabin atmosphere while handling wet swimsuits, sandy feet, and variable occupancy patterns that would challenge traditional pine floors significantly.
Cost Analysis and Value Considerations
Pine vinyl flooring offers excellent value compared to real pine hardwood when I calculate the total cost of ownership for clients. While quality vinyl products require a similar initial investment to mid-grade pine flooring, the elimination of refinishing costs, repair expenses, and premature replacement makes vinyl significantly more economical over time. I’ve helped clients save thousands of dollars over ten-year periods by choosing premium vinyl over hardwood in appropriate applications.
Installation costs favor vinyl significantly because the click-lock systems reduce labor time and complexity compared to nail-down hardwood installation. Many of my clients opt for professional installation to ensure warranty coverage, but the DIY-friendly nature of vinyl installation provides additional cost savings for capable homeowners. The faster installation timeline also reduces disruption to daily routines, particularly valuable in occupied homes.
The durability and replaceability of individual planks provide long-term value that hardwood cannot match in challenging environments. I’ve helped clients maintain beautiful pine floors in pet-friendly homes, busy entryways, and moisture-prone areas where real wood would require expensive repairs or replacement. This reliability makes pine vinyl an intelligent investment for homeowners prioritizing both aesthetics and practicality in their flooring decisions.

How realistic does pine vinyl flooring look compared to real pine hardwood?
Modern pine vinyl can be remarkably convincing, especially premium products with registered embossing and multiple photographic layers. The best options capture pine’s distinctive knots and grain patterns accurately. While close inspection reveals the synthetic nature, normal viewing distances create very convincing wood illusions that satisfy most homeowners seeking pine’s rustic character.
Can pine vinyl flooring be installed in bathrooms and basements?
Yes, pine vinyl’s moisture resistance makes it excellent for bathrooms and basements where real pine would fail. Proper installation with appropriate vapor barriers and expansion gaps ensures long-term success. I’ve installed pine vinyl in full bathrooms and below-grade spaces with excellent results, provided manufacturer guidelines are followed carefully.
What thickness should I choose for pine vinyl flooring?
I recommend 6-8mm total thickness for most residential applications, with at least 20-mil wear layers for durability. Thicker products provide better sound dampening and feel more substantial underfoot. Consider thinner options only for temporary installations or very budget-conscious projects where longevity isn’t the primary concern.
How do I clean and maintain pine vinyl floors?
Regular sweeping or vacuuming removes debris, while damp mopping with vinyl-specific cleaners maintains appearance. Avoid wax-based products, steam cleaners, or abrasive cleaning methods that can damage the wear layer. For deeper cleaning, use the manufacturer’s recommended products and follow dilution instructions. Most spills clean easily with prompt attention.

Can individual pine vinyl planks be replaced if damaged?
Yes, click-lock vinyl systems allow individual plank replacement without disturbing surrounding flooring. Keep spare planks from installation for future repairs. Replacement requires careful removal of damaged planks and precise installation of new ones. This replaceability represents a significant advantage over traditional hardwood flooring systems.
How does pine vinyl flooring perform with pets and children?
Pine vinyl handles pets and children excellently, resisting scratches, stains, and moisture better than real wood. The textured surfaces help hide minor scratches and wear patterns. Easy cleanup of spills and accidents makes it practical for busy families. Choose products with thicker wear layers for maximum durability in high-activity households.
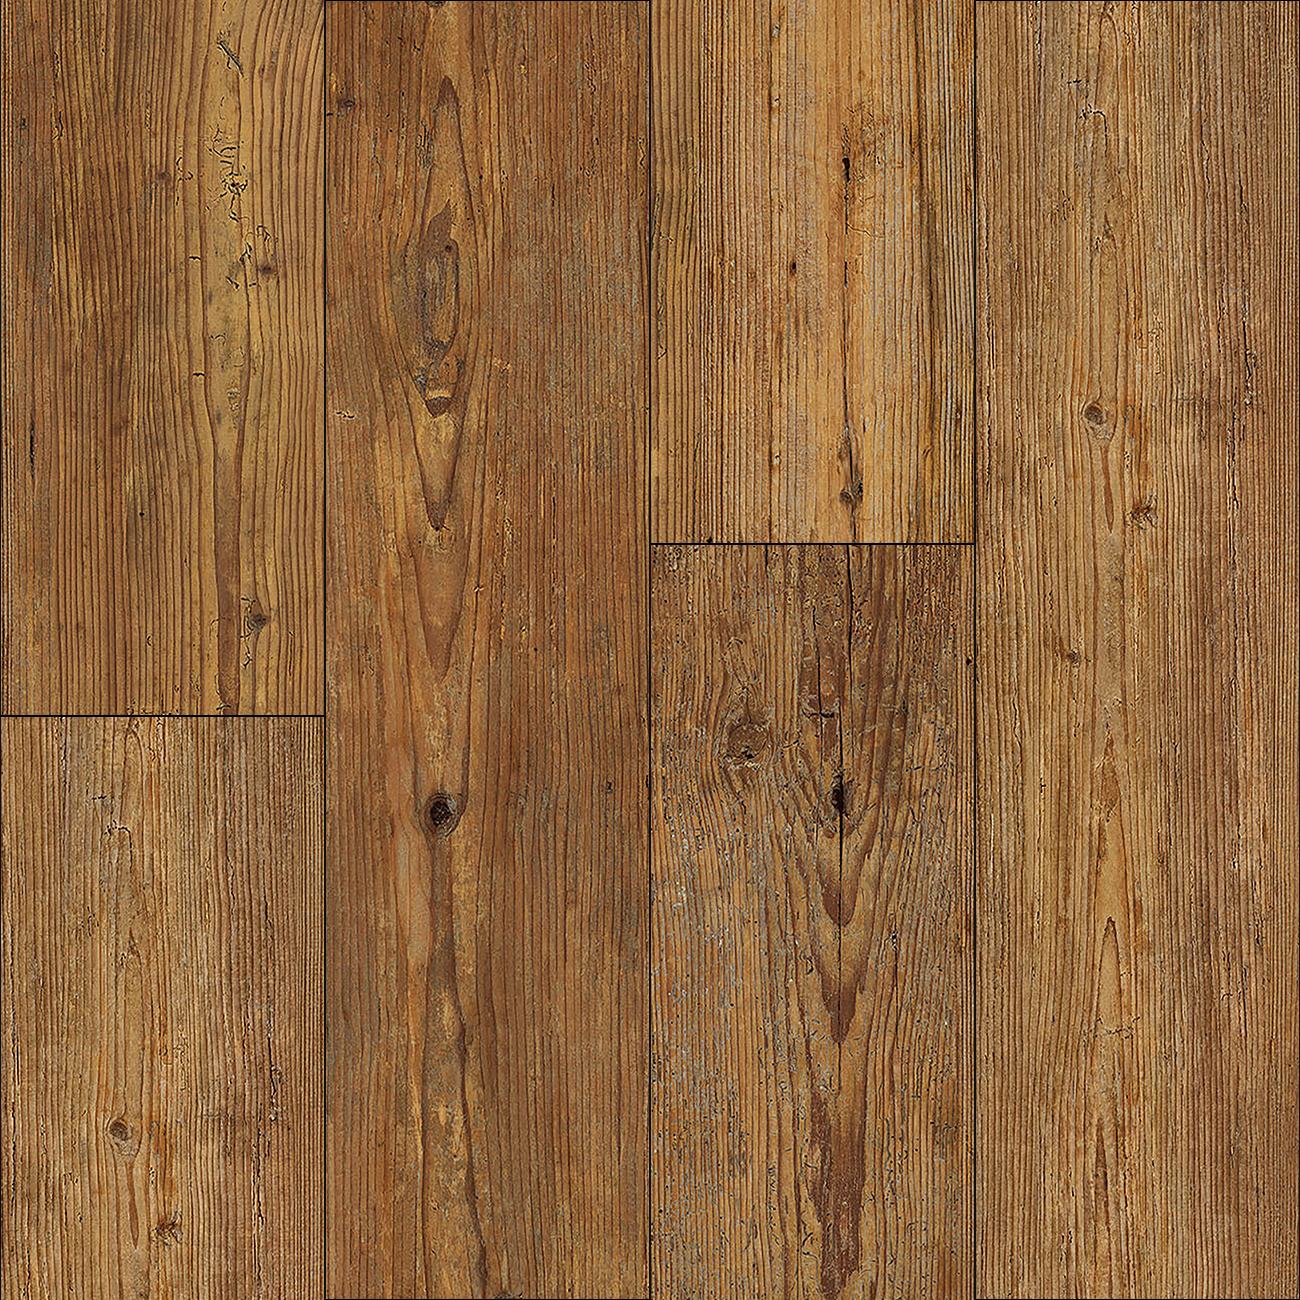
Pine 6-1/2-mm T x 5-in W x 48-in L Waterproof
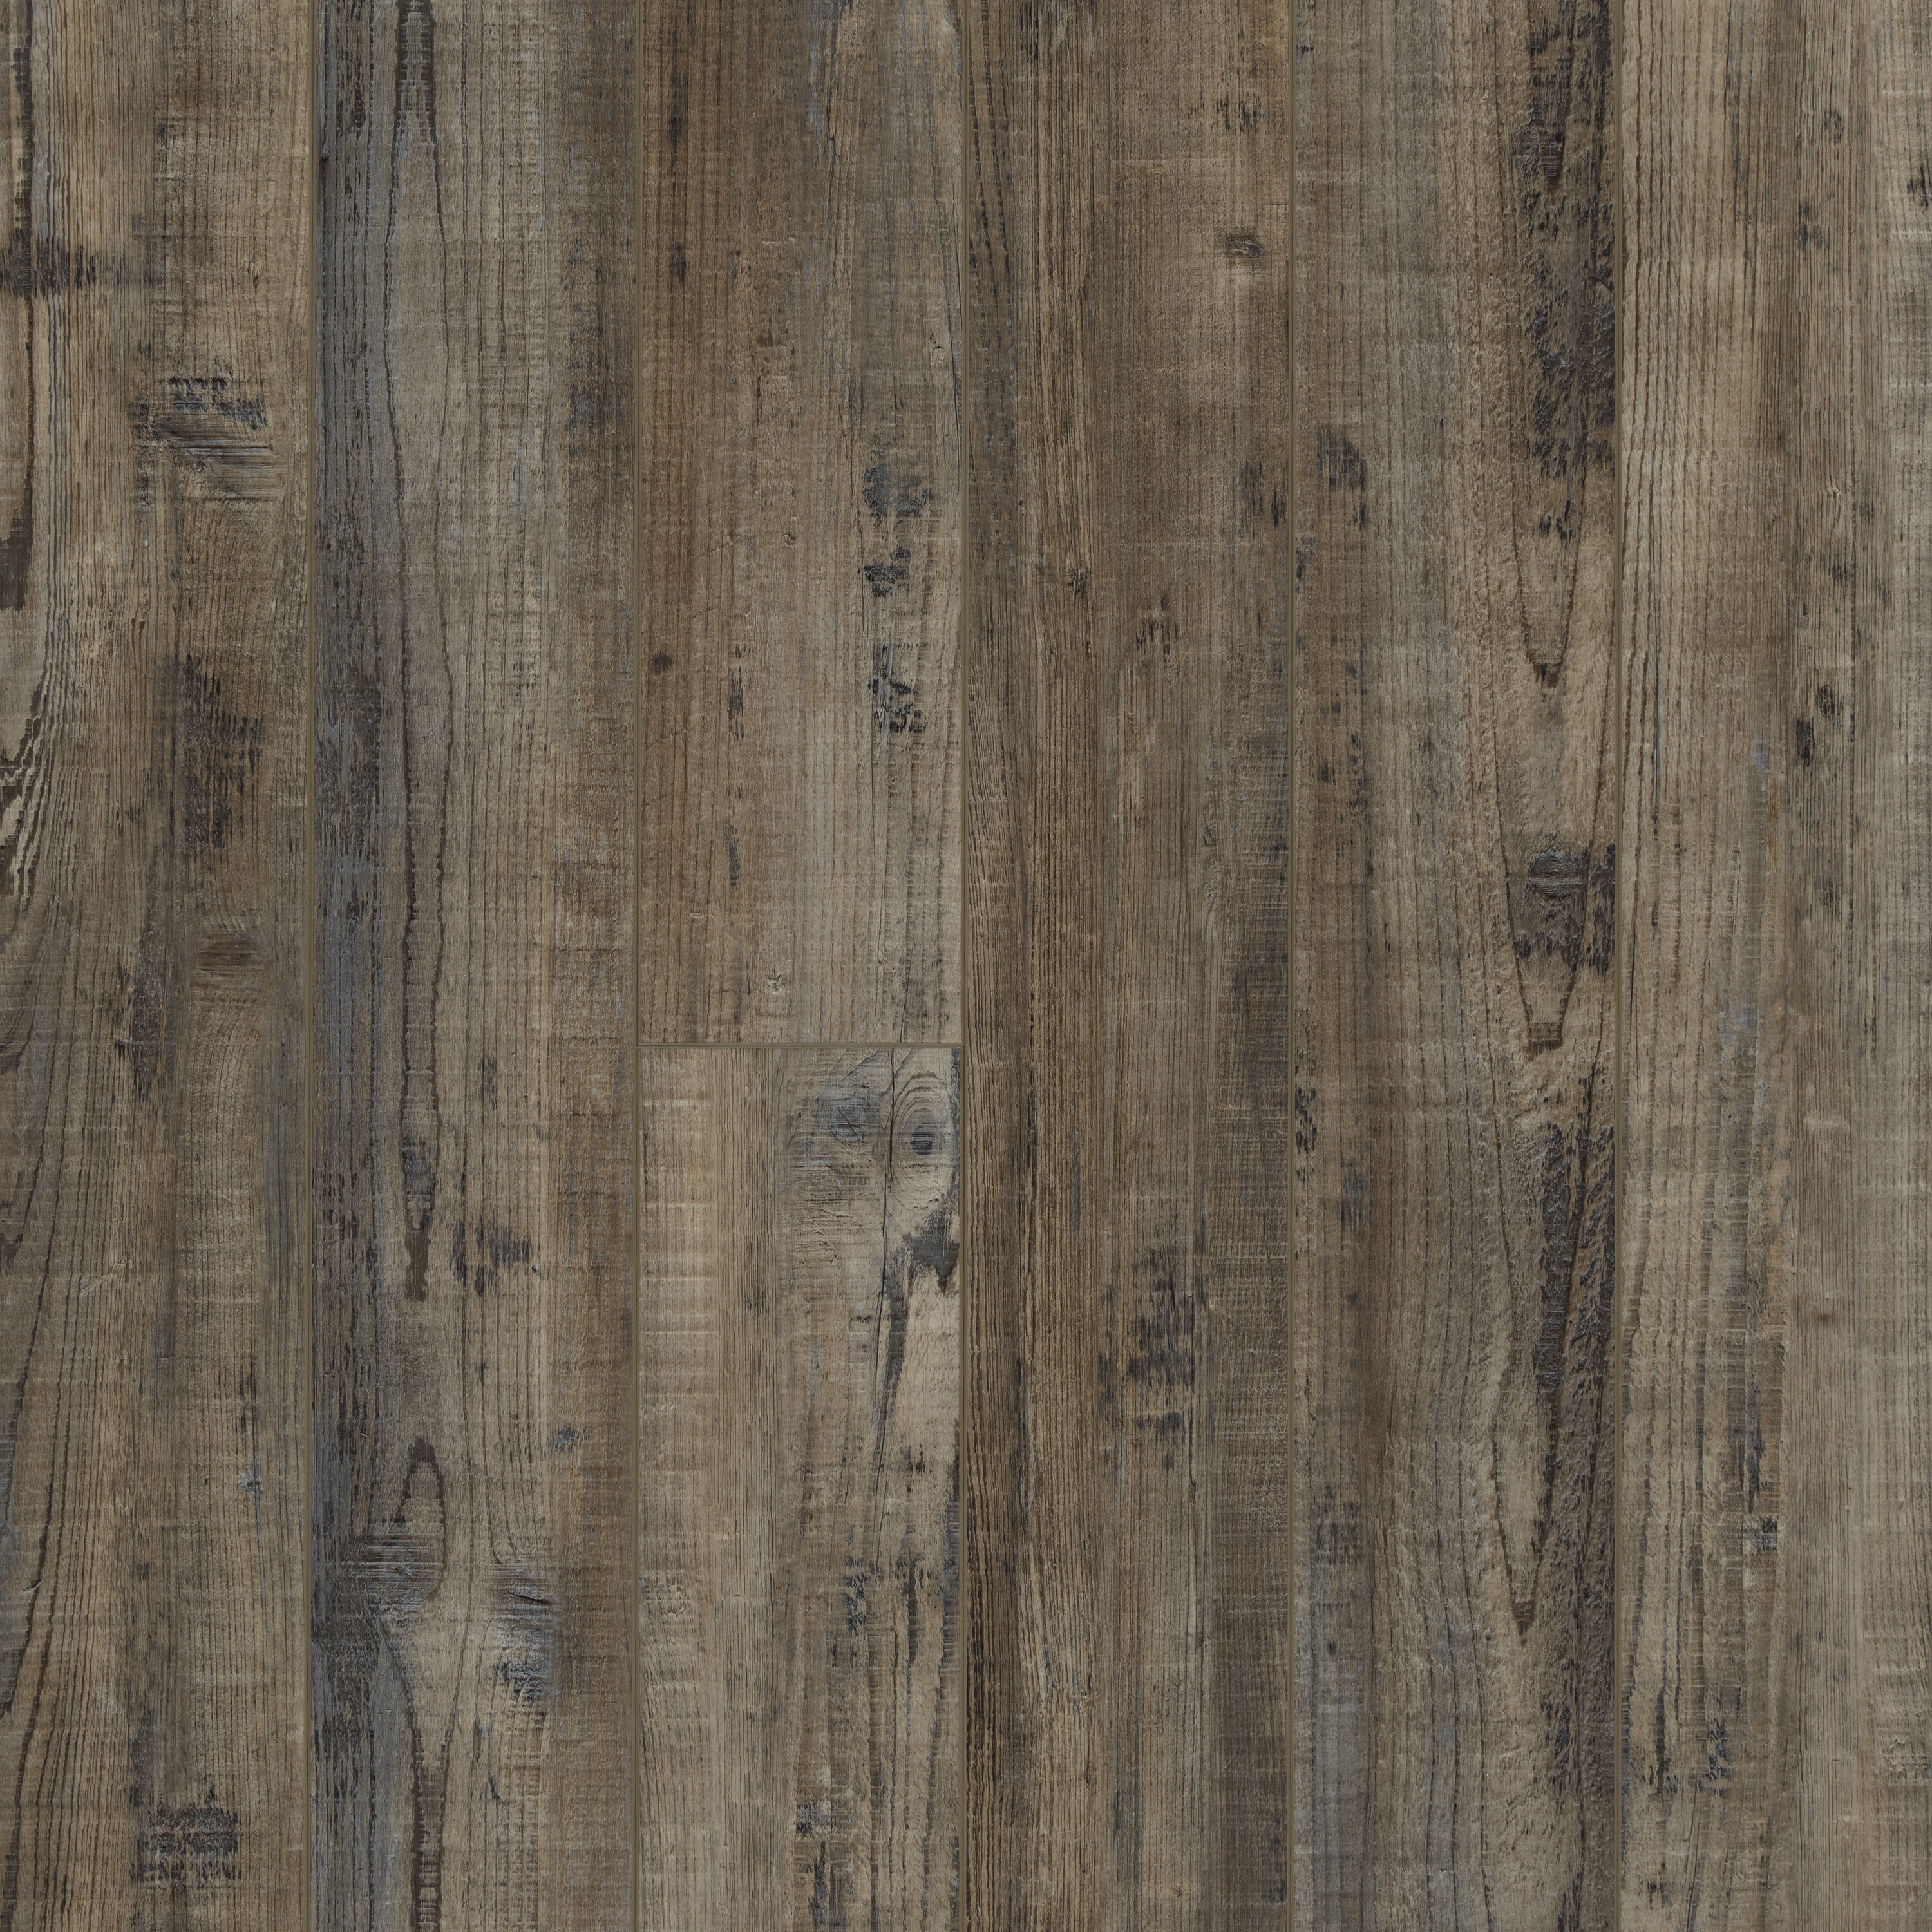
COREtec Plus Tile Collection VV023-00501 Carolina Pine 5″ x 48″ Vinyl

Related Posts:
- Pine Vinyl Flooring
- Vinyl Floor Laying DIY
- Cortex Vinyl Flooring
- Grey Slate Effect Vinyl Floor Tiles
- Dark Oak Vinyl Flooring
- Limestone Effect Vinyl Flooring
- Vinyl Floor With Border
- Adhesive For Vinyl Flooring To Concrete
- Teak Wood Vinyl Flooring
- Cheap Vinyl Flooring
What is the best way to install pine vinyl flooring?
1. Start by preparing the area where you will install the flooring. Make sure that the surface is clean and level, and any existing flooring is removed.
2. Calculate the total square footage of the area you are installing the flooring in, and multiply it by 12 to determine how many boxes of vinyl planks you will need.
3. Open one box of vinyl planks, and use a saw to cut them into pieces that will fit the room’s dimensions.
4. Lay down a thin layer of adhesive on the subfloor, following the instructions provided by the manufacturer.
5. Place the vinyl planks on top of the adhesive and press them firmly into place. Use a rolling pin or a rubber mallet to ensure they are firmly adhered to the subfloor.
6. Attach the planks together with a tongue-and-groove system, as well as special trim pieces around doorways and edges of walls, if necessary.
7. Seal any seams between boards with vinyl seam sealer, following the manufacturer’s instructions.
8. Allow the adhesive to dry for 24 hours before walking on your newly installed flooring.