Wood Floor Lacquer Finish
Matt lacquer – Kährs wood flooring – YouTube

Sustainability and Polyurethane varnish – Woodguide.org

Solid Wood Flooring Oak 18mm x 90mm Lacquered

Build DIY Lacquer wood finish repair PDF Plans Wooden woodworking tool adze margarital64we

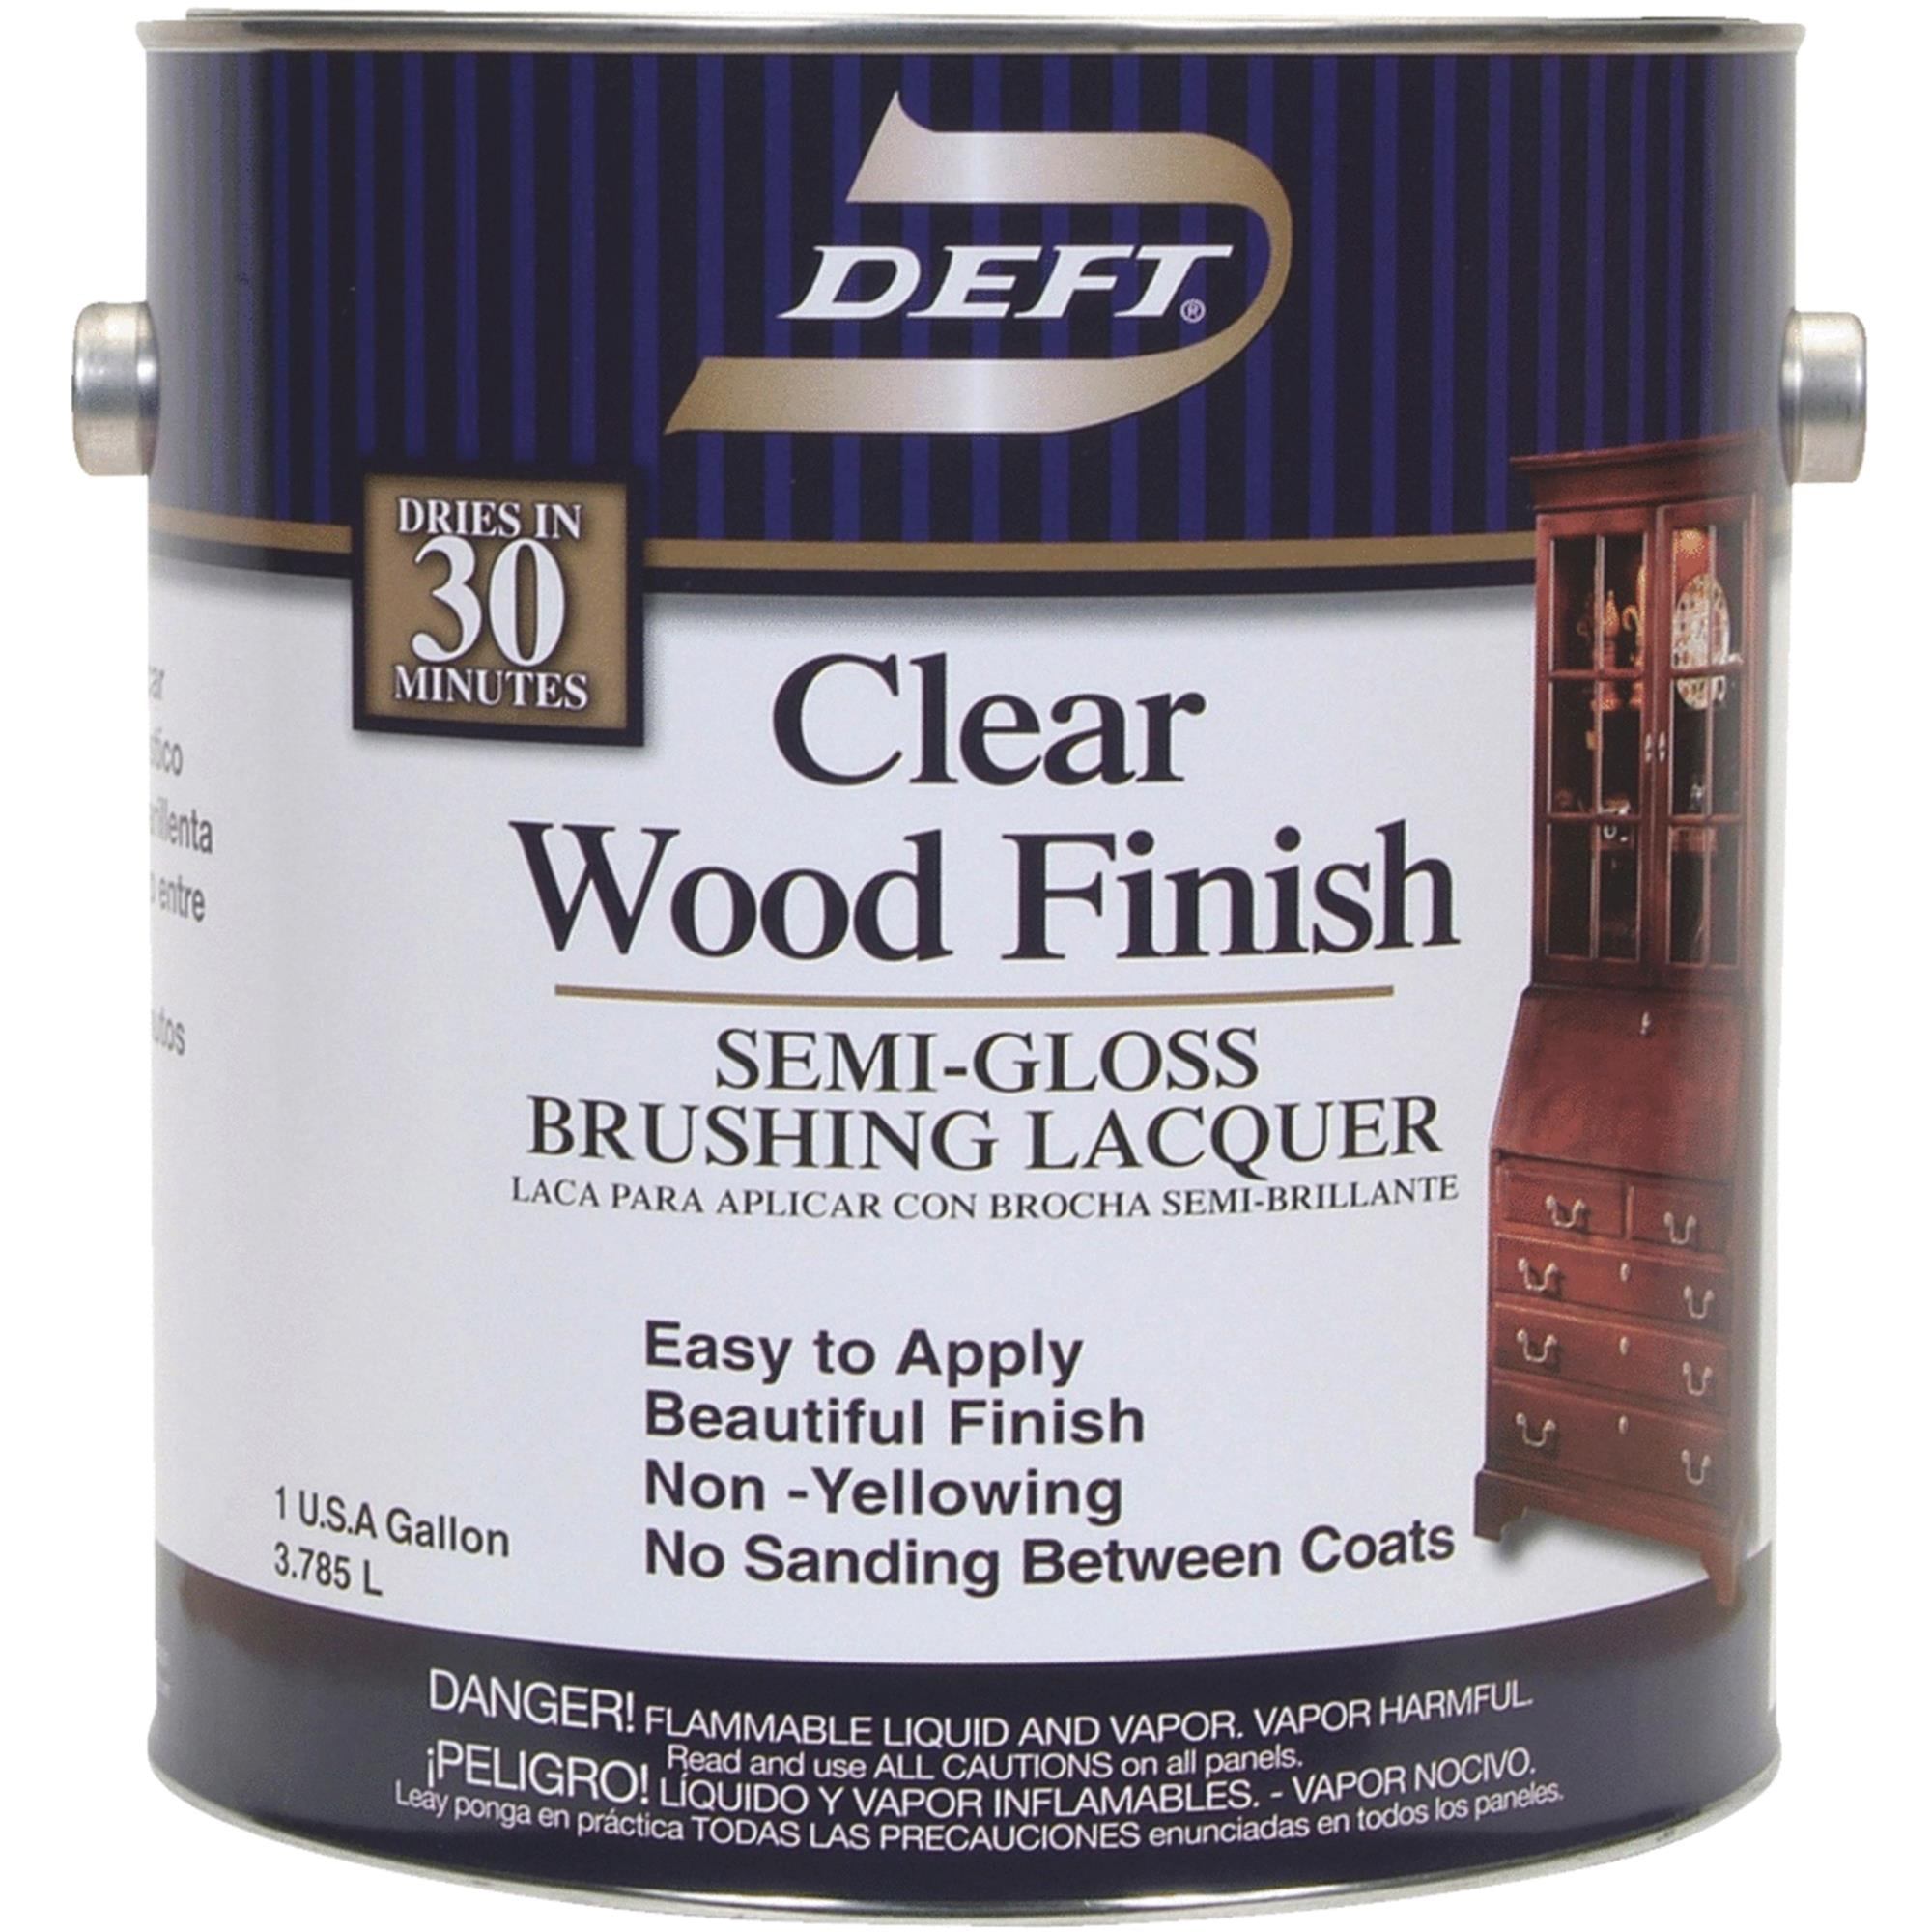
Deft Interior Lacquer, Clear Wood Finish – Walmart.com
CoverSeal AC30 High-Gloss Wood Floor Finish And Sealer Covertec

Alabama 90mm Classic Lacquered Oak Solid Wood Flooring – Flooring Surgeons

Commercial Wood Floor Lacquer – Cheshire Floor Sanding
Hardwood floor sanding and lacquer finish #CraftedForLife

Matte Finish Vs Semi Gloss Hardwood Floors Wood floor finishes, Installing hardwood floors

Red Oak Hardwood Floors with a High Gloss Finish Central Mass Hardwood Inc.
Related Posts:
- Grey Parquet Wood Flooring
- How To Install Pergo Wood Flooring
- Dark Black Wood Flooring
- Solid Wood Flooring White
- Pallet Wood Flooring Ideas
- Wood Floor Chevron Pattern
- Wood Flooring Home Ideas
- Wood Floor Filler Resin
- Glossy Wood Flooring Ideas
- Pergo Wood Flooring Installation
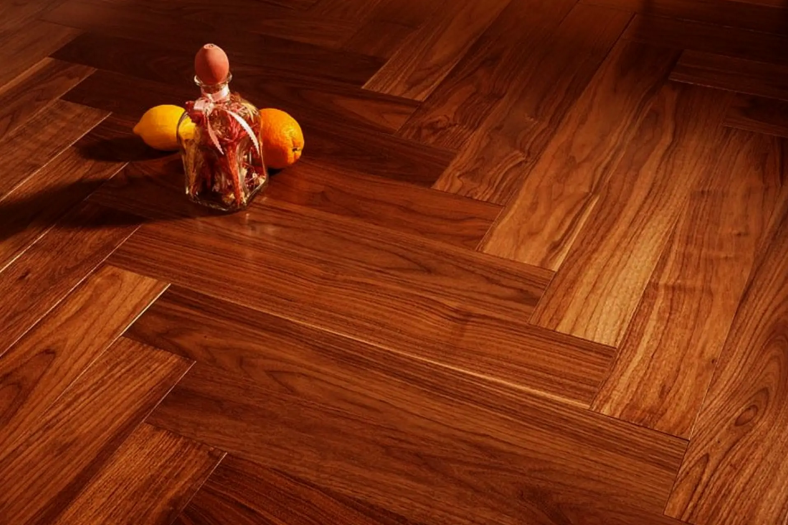
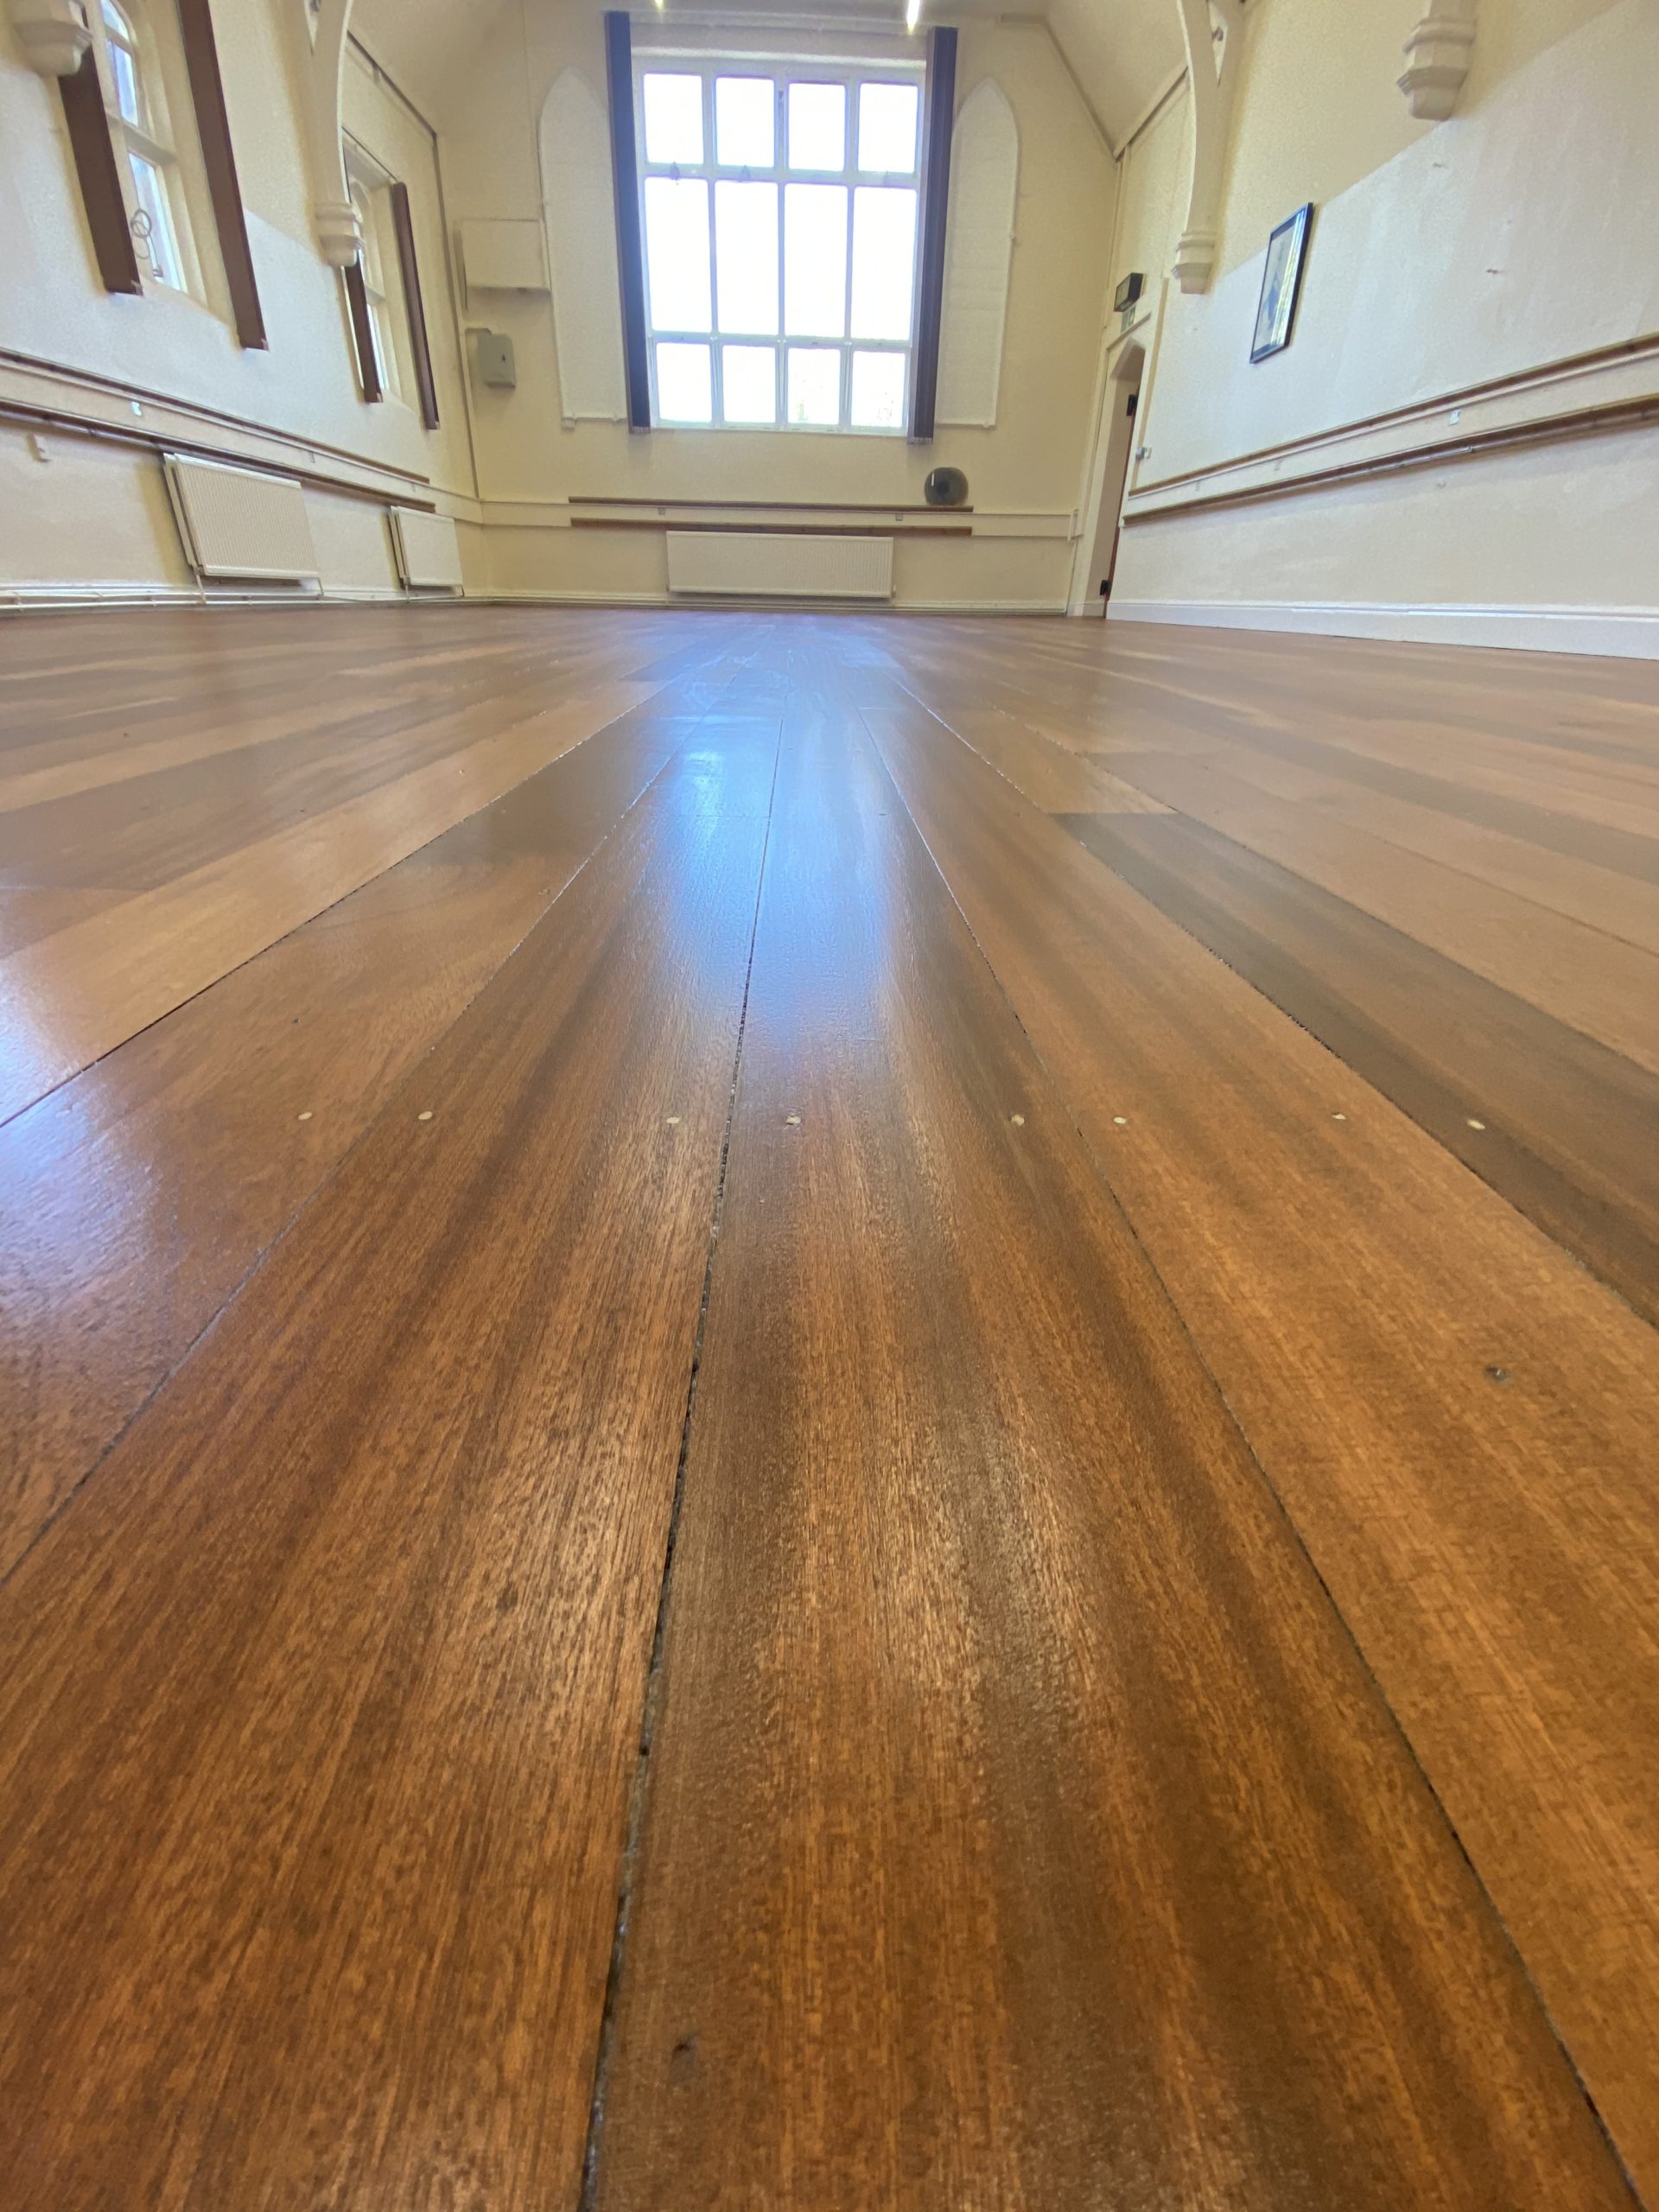
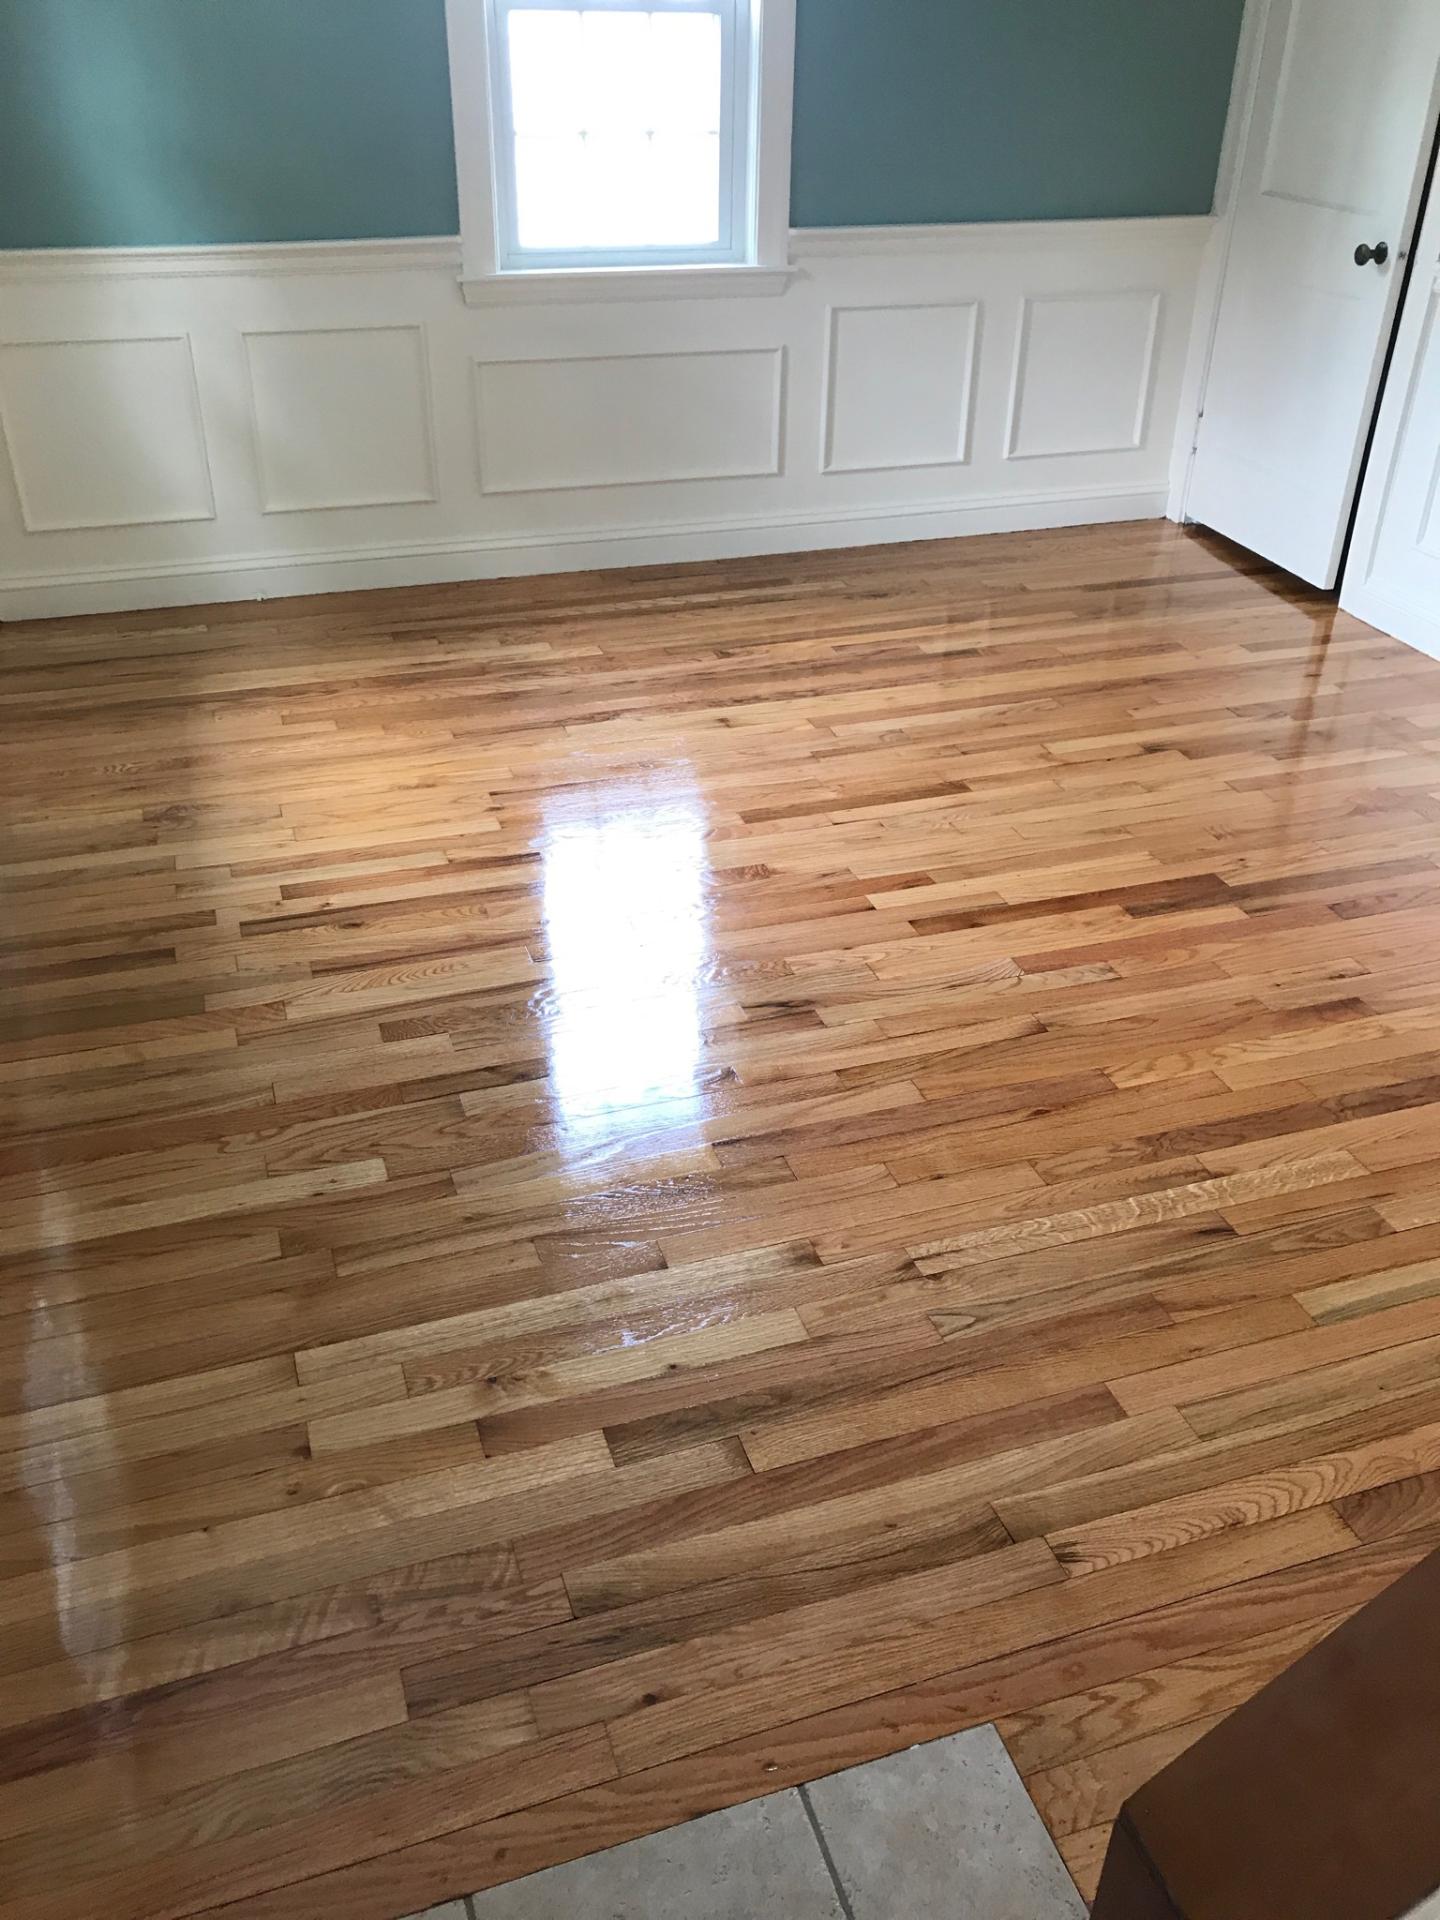
The wood floor lacquer finish is one of the most popular ways to make a wood floor look great and last for many years. It is also one of the most durable options available, making it an ideal choice when you want your floor to stand up to heavy foot traffic. The lacquer finish is applied by spraying the wood with a special lacquer, which bonds with the surface and creates a hard shell. This shell helps protect the wood from scratches and wear and tear, making it a great choice for high-traffic areas.
When it comes to applying the lacquer finish, there are several steps you will need to take to ensure that your job is done right. First of all, you will need to make sure that the wood is completely clean and free of dust and debris. A good way to do this is by vacuuming the floor before you start. This will help remove any dirt or dust that could affect the lacquer’s ability to bond with the wood.
Next, you will need to prepare the surface of the wood by sanding it down. This process helps to create a smooth surface so that the lacquer can be applied evenly. Be sure to use a fine-grit sandpaper so that you don’t damage the wood too much. After sanding, you should vacuum again to remove any remaining dust or debris.
Once your wood is ready, you can apply the lacquer finish using either a spray gun or brush. If you’re using a spray gun, be sure to read all instructions carefully before beginning. You want to make sure that you are using the correct nozzle size for the type of lacquer finish you are using. You also want to make sure that you are using enough pressure so that the finish is applied evenly.
If you’re using a brush, then be sure to use an even amount of pressure as you apply the lacquer finish. When applying with a brush, it is important not to go back over areas that have already been covered with lacquer. Doing so could result in streaks or uneven coverage which will detract from the final look of your floor.
Once your lacquer finish has been applied, it is important to let it dry completely before walking on it or continuing with any other projects in the room. This can take anywhere from 24 hours up to several days depending on the type of lacquer used and humidity levels in your home. Once your floor is completely dry, it is time to seal it with a sealer such as polyurethane or wax. Sealing your floor will help protect it from moisture and wear and tear over time, ensuring that your beautiful wood floor lasts for years to come!