Wood Flooring How To
How to Install a Hardwood Floor HGTV

How to Install Laminate FlooringLearning Center

How to Install Reclaimed Hardwood Flooring

How to Install a Hardwood Floor HGTV
How to Install a Floating Engineered-Wood Floor Wood floor installation, Engineered wood

How to Install Hardwood Flooring Yourself with Complete Step

Installing Wood Flooring Over Vinyl Flooring – Wood and Beyond Blog

How to Install Herringbone Hardwood Flooring – Room for Tuesday

HOW TO REFINISH HARDWOOD FLOORS: Step-by-Step Do It Yourself Guide
Hardwood: Hardwood Flooring Installer
6 Essential Tips for Cleaning of Hardwood Flooring – Darbi Blog

Related Posts:
- Grey Parquet Wood Flooring
- How To Install Pergo Wood Flooring
- Dark Black Wood Flooring
- Solid Wood Flooring White
- Pallet Wood Flooring Ideas
- Wood Floor Chevron Pattern
- Wood Flooring Home Ideas
- Wood Floor Filler Resin
- Glossy Wood Flooring Ideas
- Pergo Wood Flooring Installation
Get the Best Flooring Results with Wood Flooring How To Guide
Wood Flooring How To Guide: Tips for a Perfect Finish
Wood flooring is a great way to add beauty and warmth to your home. It’s also an investment that can last for many years, so it’s important to make sure you do it right. Whether you’re installing hardwood, engineered wood, or laminate flooring, this Wood Flooring How To guide will provide you with the tips and tricks you need to get the best results.
Understanding Different Types of Wood Flooring
When it comes to wood flooring, there are three main types: hardwood, engineered wood, and laminate. Each type of flooring has its own unique advantages and drawbacks, so it’s important to understand which type is best for your project.
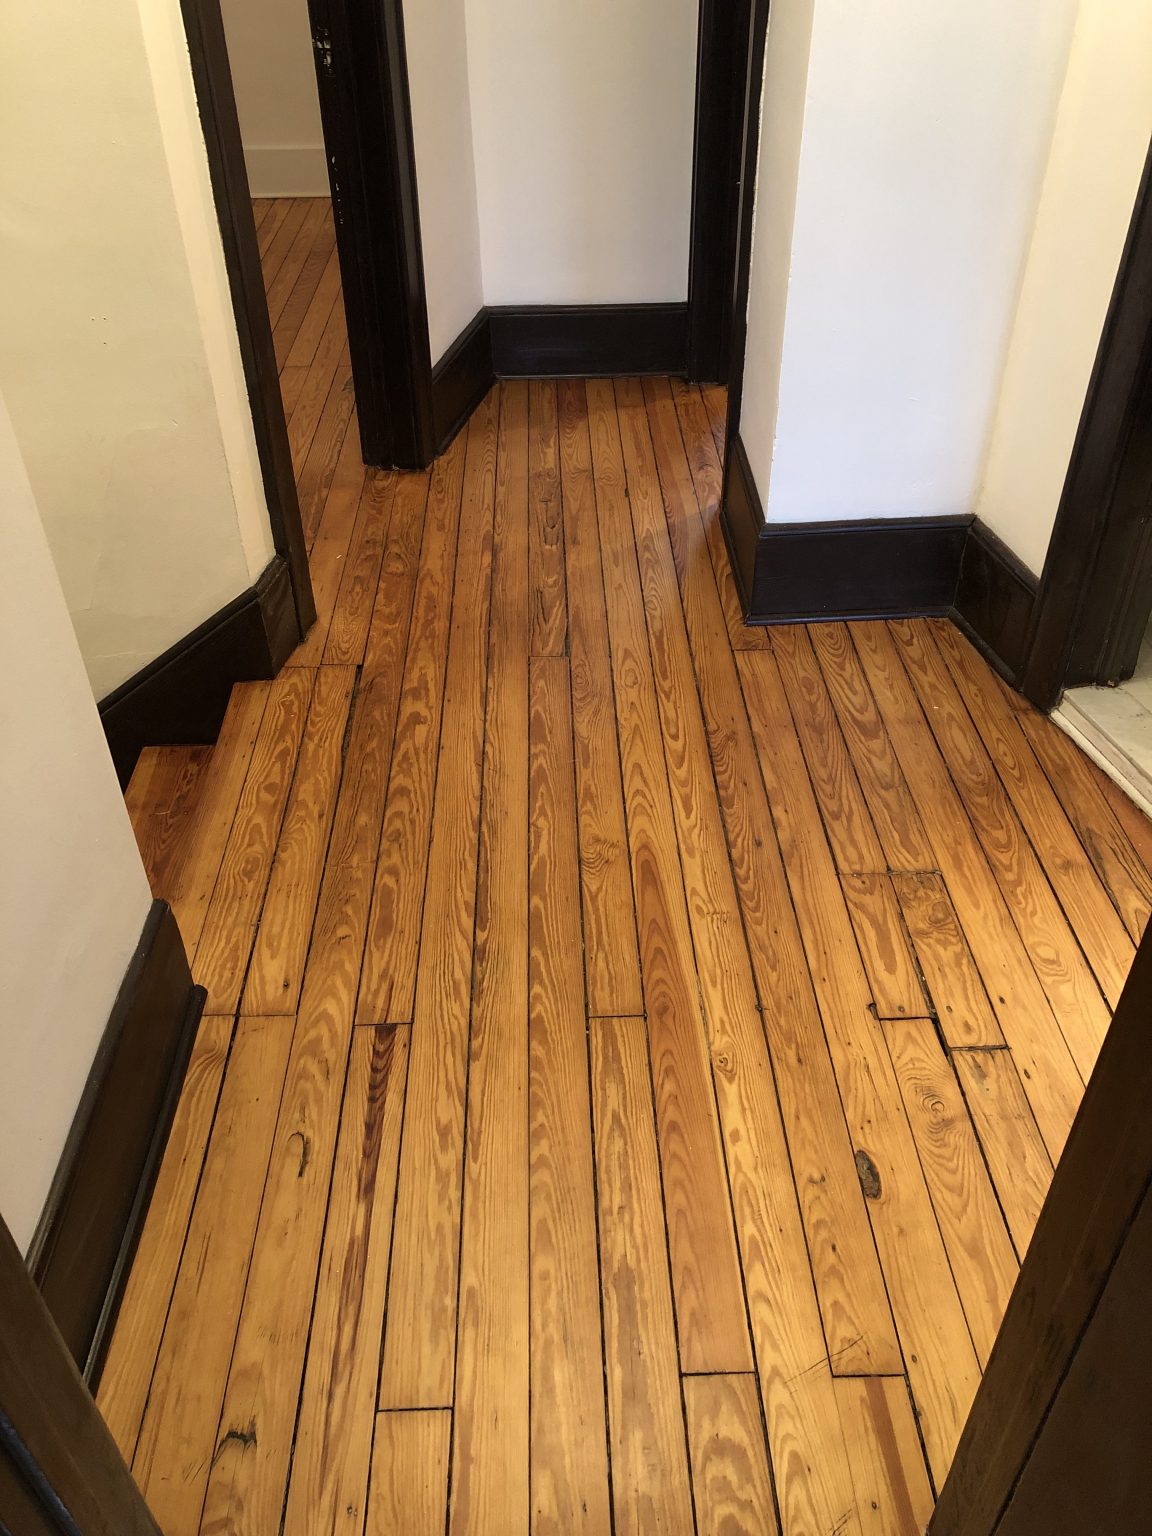
Hardwood Flooring: The Traditional Choice
Hardwood flooring is a classic choice for many homeowners. It’s made from solid wood planks and can be sanded and refinished multiple times over its lifetime, so it can look as good as new even after years of wear and tear. Hardwood is also resistant to moisture damage, making it a good choice for kitchens and bathrooms. The downside is that hardwood can be expensive, and installation can be time-consuming.
Engineered Wood Flooring: A Rising Star
Engineered wood flooring is fast becoming the go-to choice for many homeowners. It consists of several layers of wood glued together with a veneer on top. This makes it much more resistant to moisture damage than hardwood, and it’s also quicker and easier to install. However, engineered wood doesn’t have the same lifespan as hardwood — it cannot be sanded or refinished multiple times — so it’s not ideal for areas with high foot traffic.
Laminate Flooring: An Affordable Option
Laminate flooring is an affordable option that looks just like real wood but costs much less. It’s made from layers of plastic and fiberboard that are sealed together with a photographic image of wood on top. Laminate flooring is easy to install and highly resistant to moisture damage, making it a great choice for kitchens and bathrooms. The downside is that laminate cannot be refinished like hardwood or engineered wood, so it won’t last as long in high-traffic areas.
Choosing the Right Wood Flooring for You
When choosing the right type of wood flooring for your project, consider your budget, lifestyle, and the amount of traffic in the area. If you’re looking for an elegant look that will last for years, hardwood may be your best option. If you’re on a budget or want something quick and easy to install, engineered wood or laminate may be better choices.
Preparing Your Subfloor for Installation
Before installing any type of wood flooring, you’ll need to make sure your subfloor is properly prepared. If you’re installing on concrete, make sure it’s level and free of any cracks or holes by filling them in with a patching compound. If you’re installing on plywood or OSB board, make sure it’s securely attached to the joists beneath by using screws or construction adhesive. Once the subfloor is prepped, you’ll be ready to start laying down your new floor!
Installing Wood Flooring: Step by Step Guide
Now that your subfloor is prepped and ready to go, here’s how to install your new wood floor:
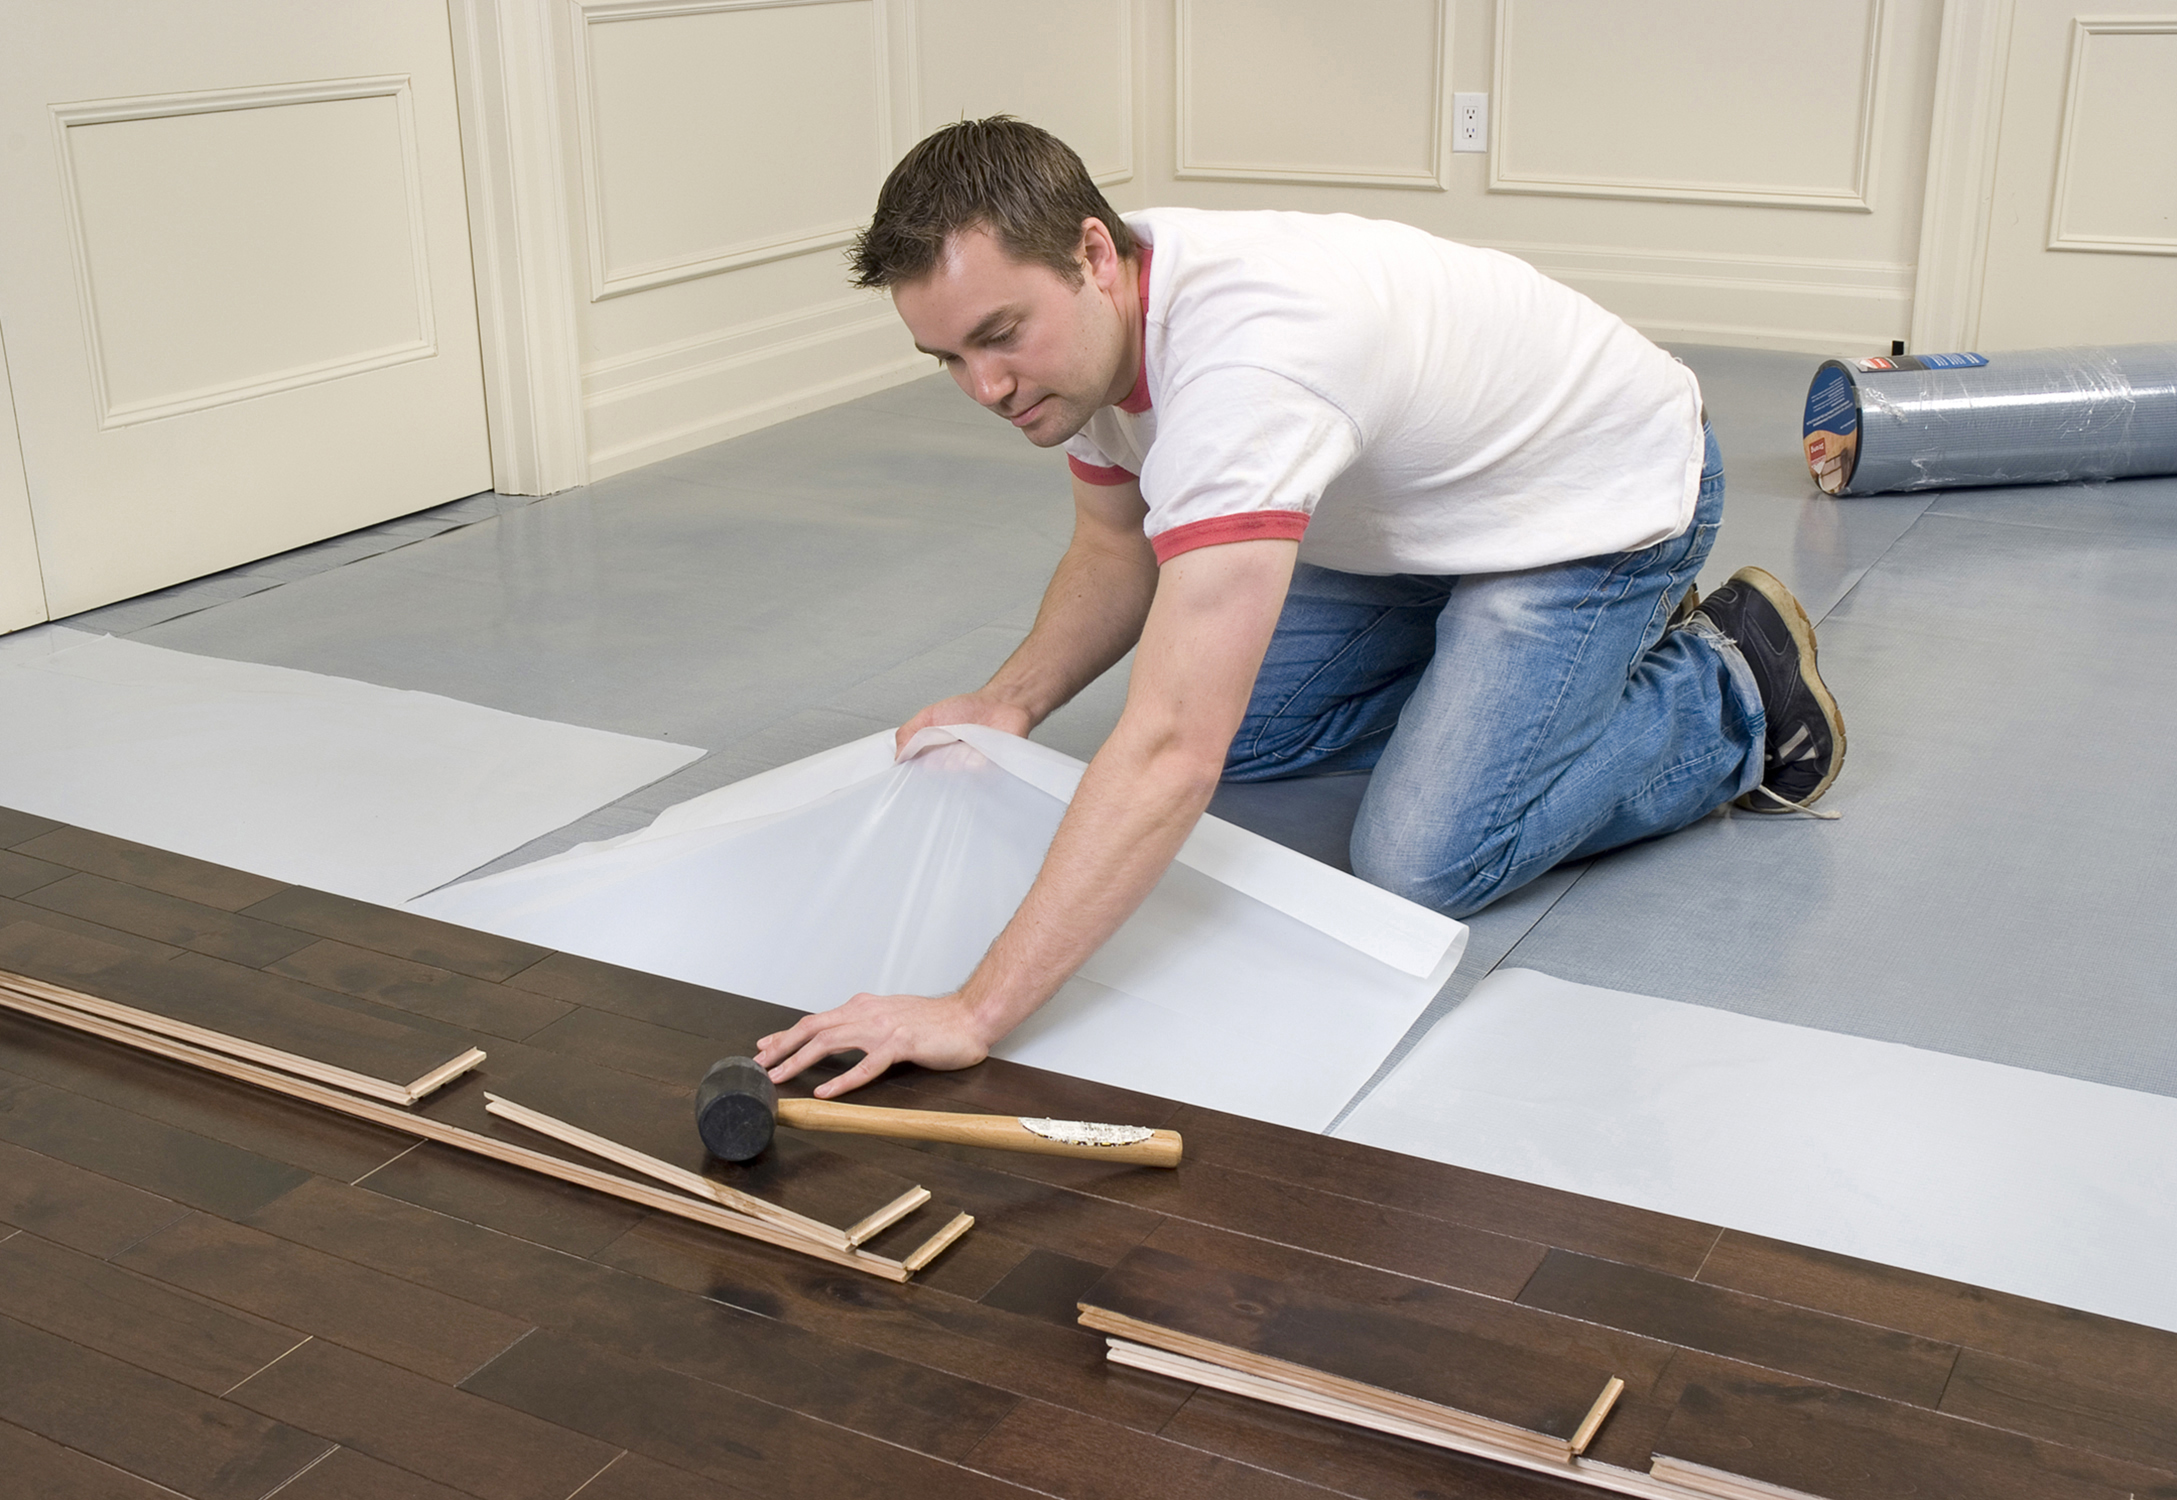
1. Start by laying down an underlayment such as foam or cork to protect your floors from moisture damage.
2. Measure out the area where you will be laying your floors and cut the boards accordingly.
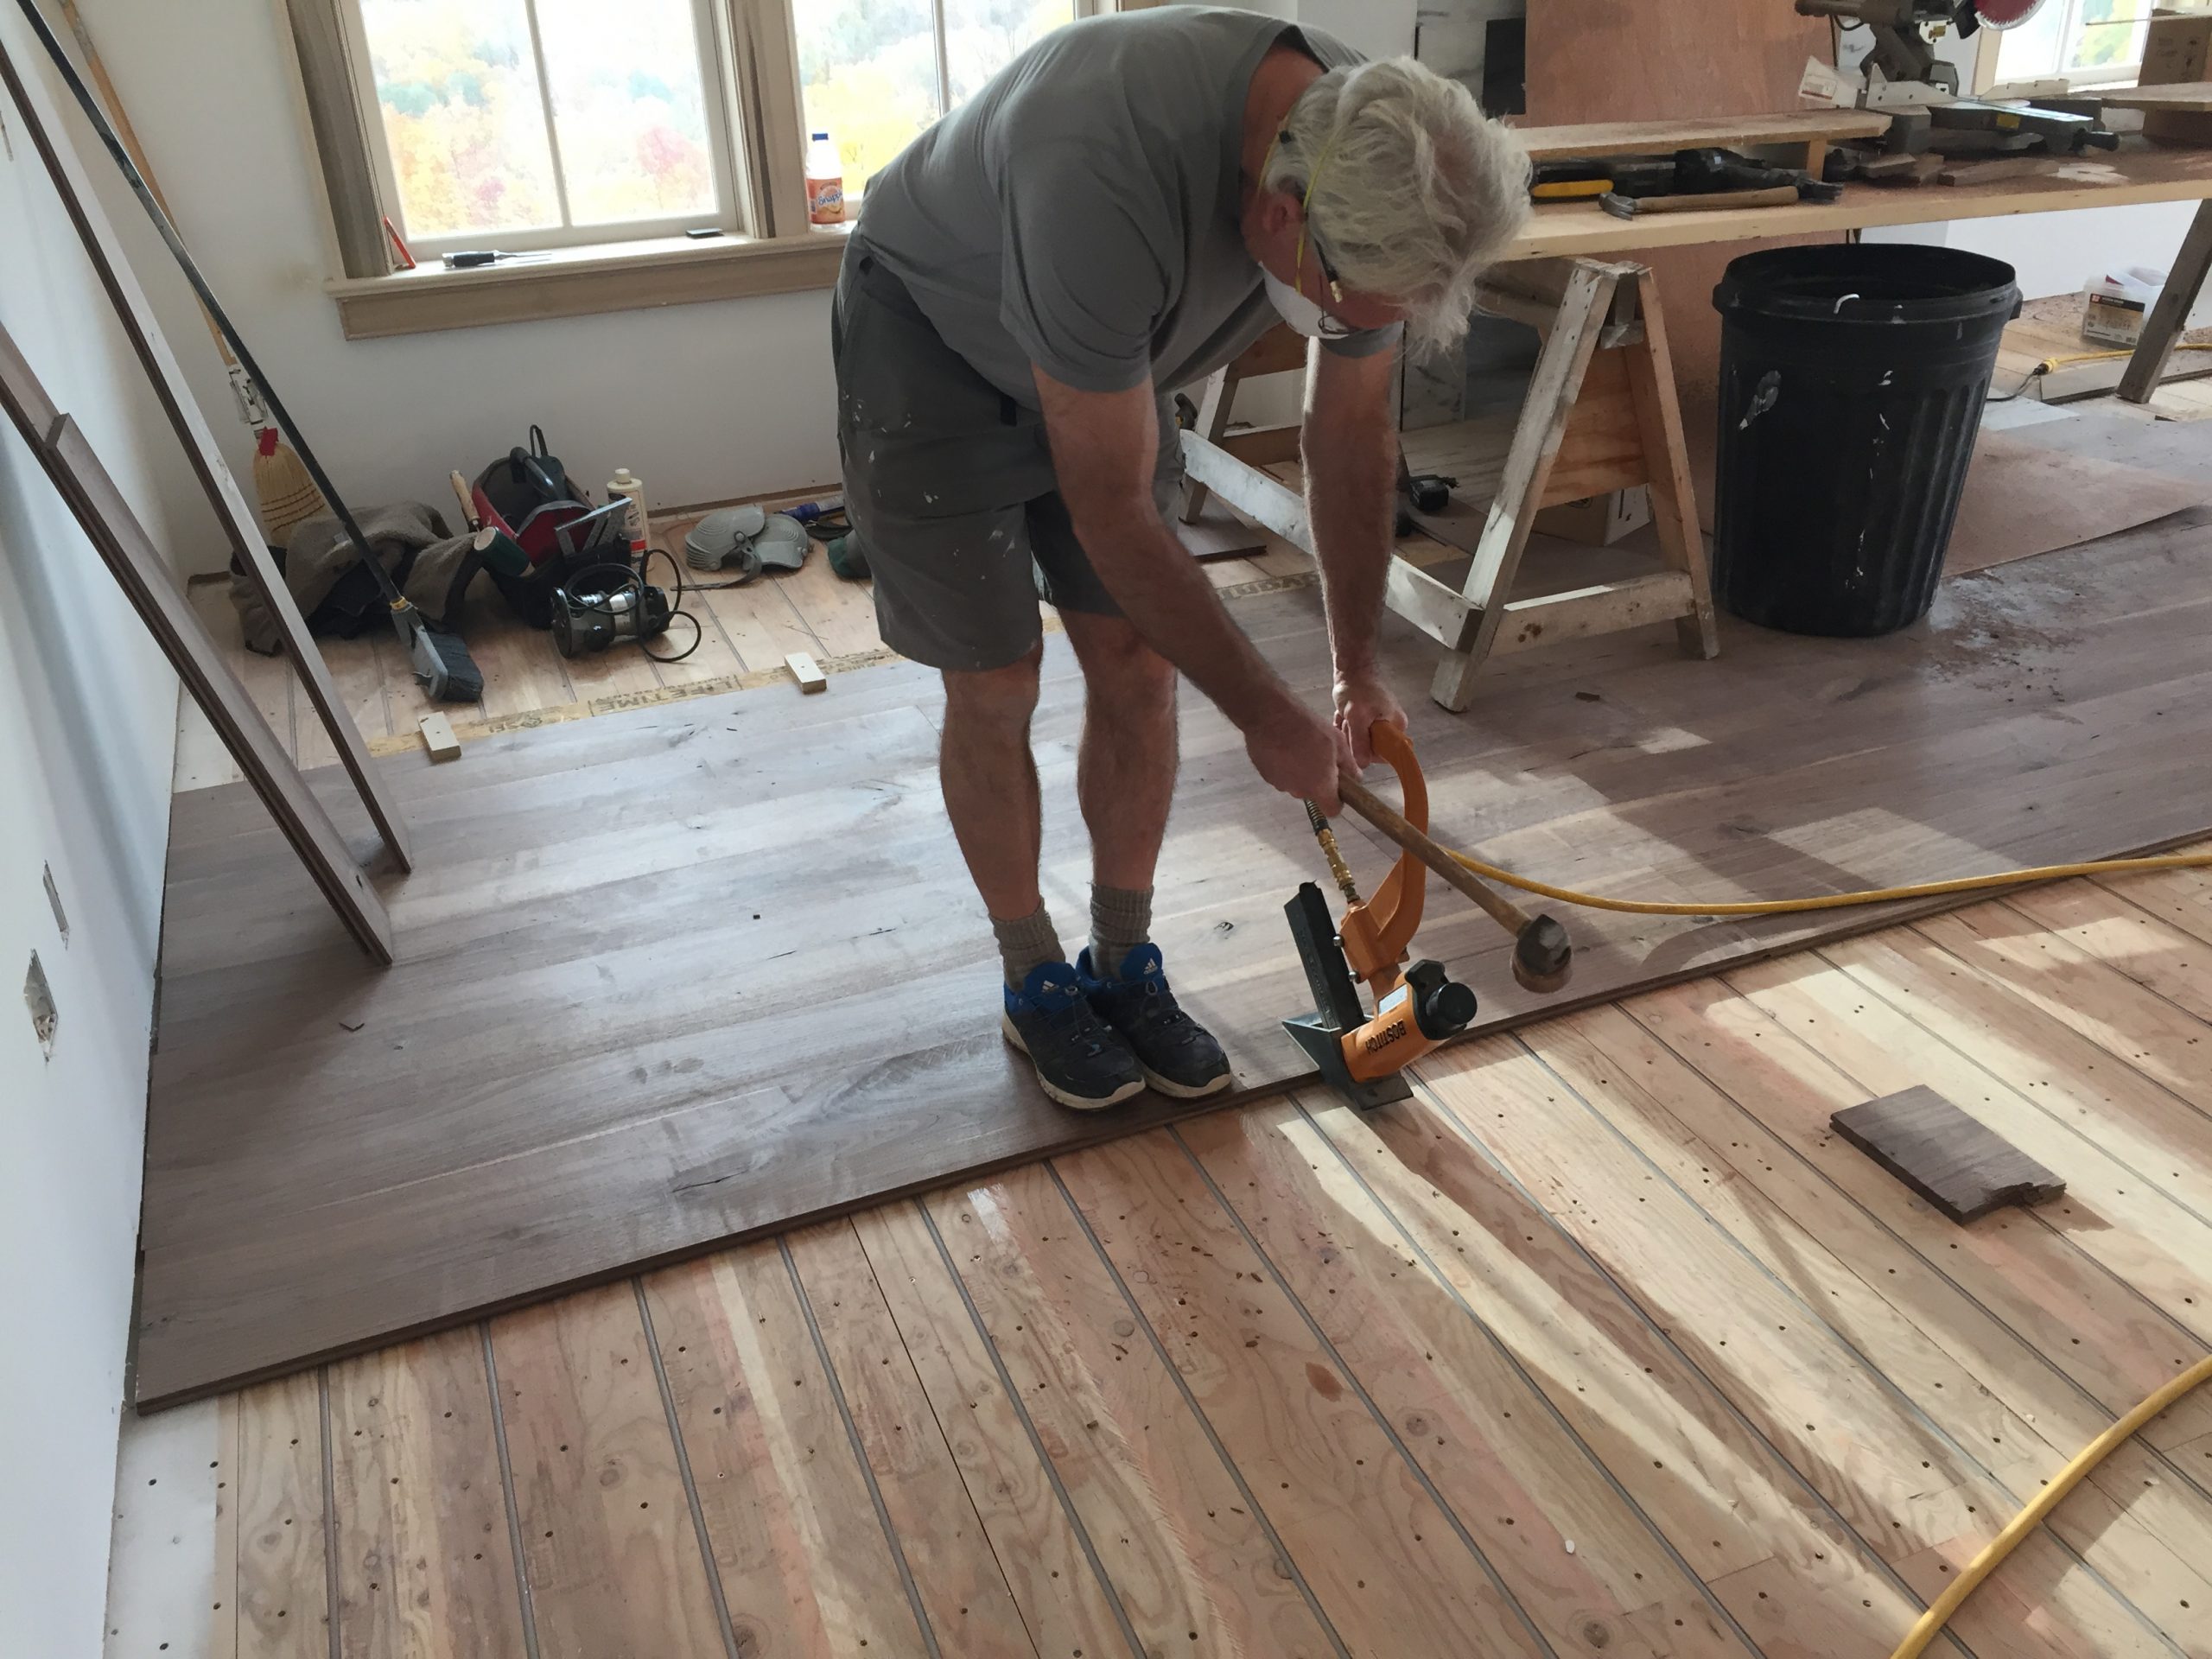
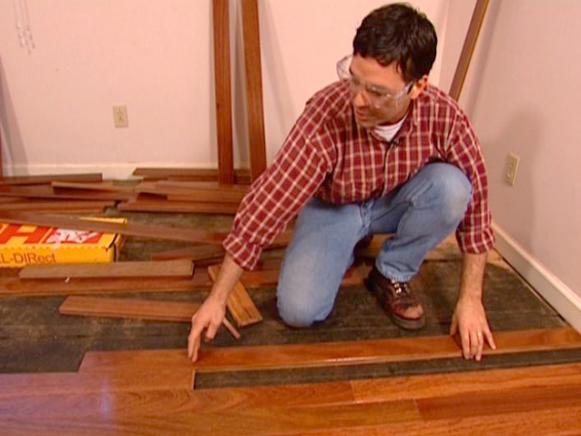
3. Begin laying down the boards starting from one corner and working your way out towards the other side of the room. Make sure each board fits snugly against its neighbor before nailing it down with a nail gun or hammer and nails.
4. Use spacers between boards if necessary to ensure a uniform gap between them all around the room.
5. Once all boards are installed, use a tapping block along the edges to help ensure they fit together tightly without gaps.
6. Finally use a trim piece along the edges of the