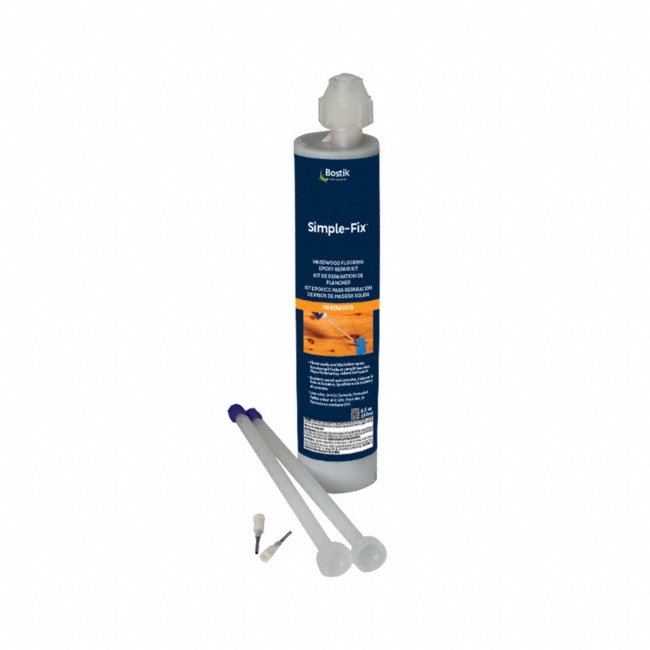
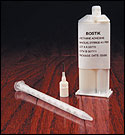
Bostik Flooring Epoxy Repair Kit
Bostik Flooring Epoxy Repair Kit Lumber Liquidators Flooring Co.
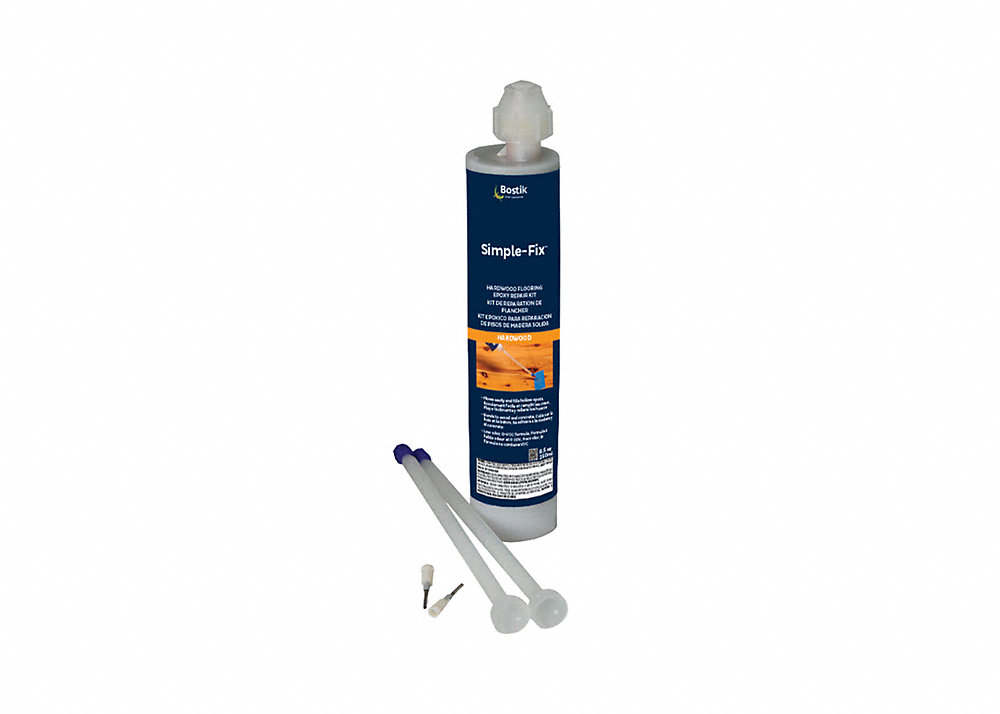
Bostik SimpleFix Hardwood Epoxy Flooring Repair Kit – 8.5oz. – 100092857 Floor and Decor

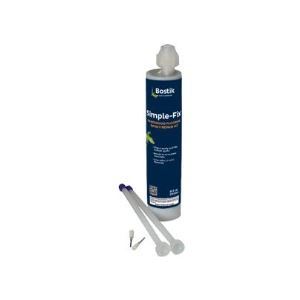
Bostik Simple-Fix Hardwood Flooring Epoxy Repair Kit eBay

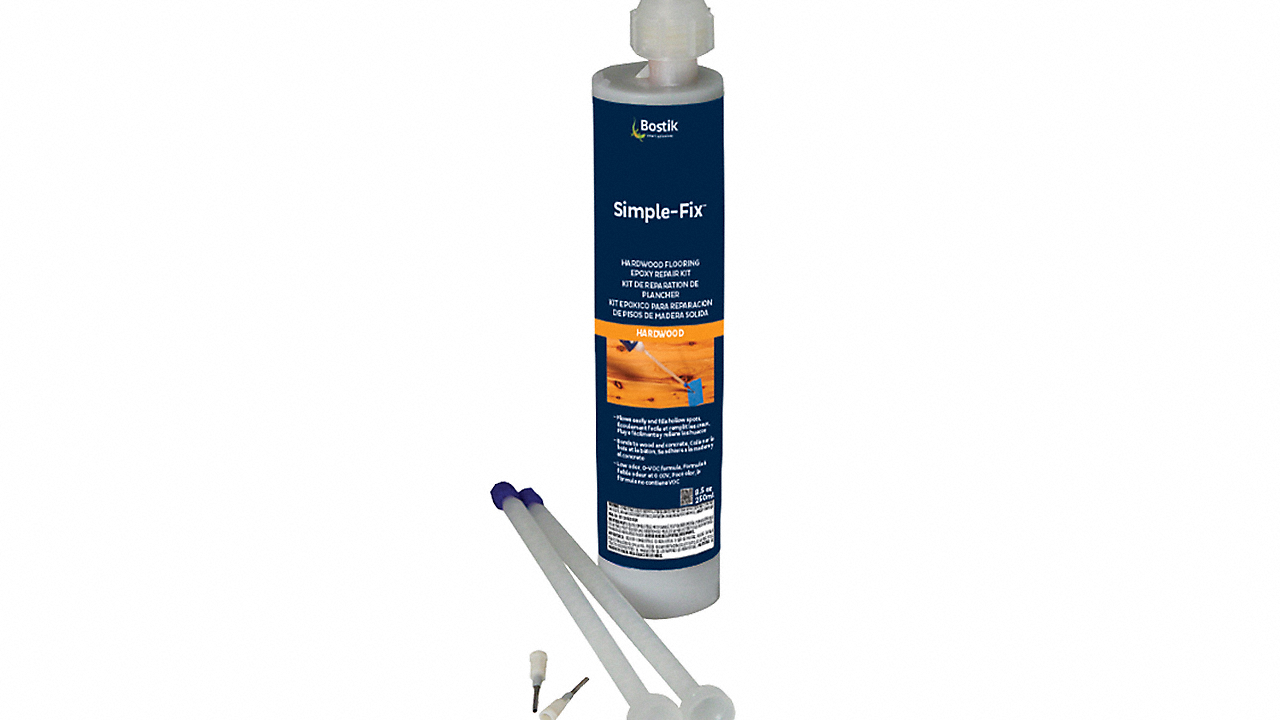
Simple-Fix™ Hardwood Flooring Epoxy Repair Kit – Bostik – Sweets
Bostik Simple-Fix Hardwood Flooring Epoxy Repair Kit: Amazon.ca: Home & Kitchen
3m Hardwood Floor Adhesive Repair Kit – Carpet Vidalondon
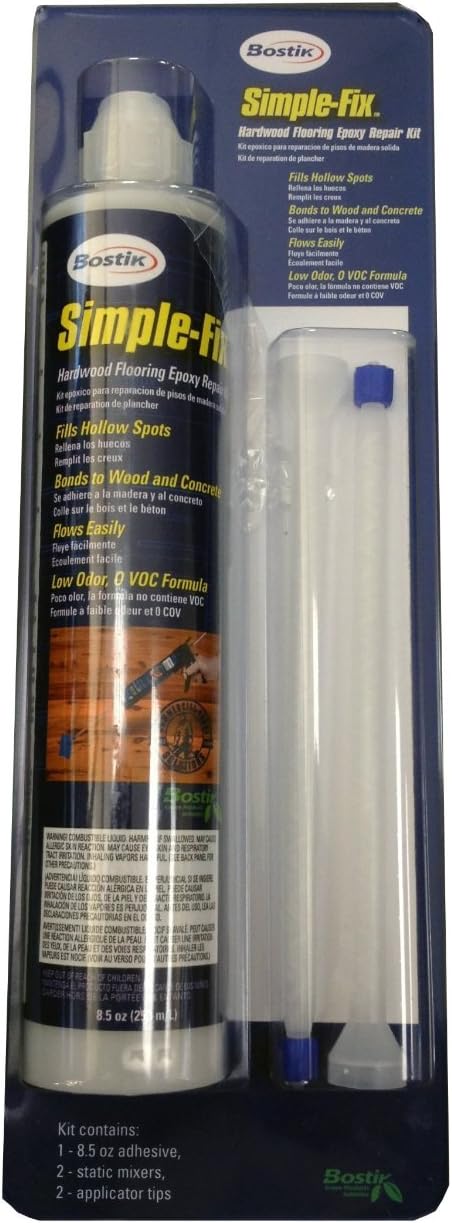
The Flor Stor Factory Hardwood Flooring Touch-Up Kits

Hardwood Flooring Epoxy Repair Kit Simple-Fix – Bostik, Inc

Simple-Fix™ Hardwood Flooring Epoxy Repair Kit – YouTube

Bostik Hardwood Products Adhesives Concord CA San Ramon
Bostik stone repair stick epoxy filler – Mancini & Mancini Shop

Related Posts:
- Fast Cure Epoxy Floor Coating
- Stone Hard Epoxy Flooring
- How To Epoxy Flooring Garage
- How To Repair Epoxy Floor Coating
- Non Slip Epoxy Flooring
- Solid Epoxy Garage Floor
- Quikrete Floor Epoxy
- Paint Flakes Epoxy Floor
- Cheap Epoxy Floor
- Rock Solid Epoxy Floor
Flooring in a home or business is a substantial investment and when it becomes damaged, it can be considerably costly and time-consuming to repair. The risks of leaving damage unrepaired can lead to further damage, leading to even more costly repairs. The Bostik Flooring Epoxy Repair Kit is a comprehensive kit that will help fix any flooring problems quickly and easily.
## What Is Included in the Bostik Flooring Epoxy Repair Kit?
The Bostik Flooring Epoxy Repair Kit contains everything you need for a successful floor repair. The kit includes:
* 2 PartUR Adhesive, 6 Litres – This two-part adhesive is designed specifically for use in concrete and timber floors. It provides a stable, durable bond that doesn’t shrink or crack with time. It also offers protection from moisture, mould and mildew.
*Primer, 1 Litre – Primer provides excellent adhesion between the substrate and the adhesive, as well as helping to protect against water damage and reduce the risk of cracking during the curing process.
*Repair Filler, 1 Kilogram – The repair filler included in the kit is a fast-setting compound designed to fill gaps, cracks and holes in the floor. It can be sanded down if needed and is suitable for use on ceramic and wood floors.
*Levelling Compound, 5 Kilograms – The levelling compound helps to level out any differences between the existing surface and the new one you are creating. It is a smooth material designed for easy spreading and can handle heavy loads once cured.
*Mixing Tool – The mixing tool included in the kit is ergonomically designed for easy use. It helps you to mix all of the components together thoroughly for optimal results.
## How to Prepare for Installing With Bostik Flooring Epoxy Repair Kit
Before you begin installing your new flooring using the Bostik Flooring Epoxy Repair Kit, there are some important steps you must take to prepare your space for installation:
* Remove any existing flooring or debris that might be present in the area you are planning to repair.
* Check that your surface is level by using a spirit level or straight edge ruler. Make sure there are no obstacles or objects that could interfere with your work.
* Ensure that all surfaces are clean, free from dust, dirt or debris of any kind. If needed, use a vacuum cleaner to ensure that dust and dirt have been thoroughly removed from all surfaces.
* Apply primer on all surfaces when instructed by product directions and allow it to dry fully before continuing with installation.
## Installing Bostik Flooring Epoxy Repair Kit
Using the products within the Bostik Flooring Epoxy Repair Kit is relatively simple when you follow these steps:
1. Prepare area as previously outlined by following product instructions closely when mixing and applying the product components.
2. When spreading the adhesive compound, it must be evenly distributed across the entire area using a notched trowel (included in kit) or roller spreader (not included). Make sure not to leave any lumps or unwanted clumps of material behind.
3. Once adhesive has been applied, immediately place flooring into place while still wet to ensure adequate adhesion is achieved (this varies depending on material being used).
4. Use weights such as bricks or stones to hold down material until adhesive has had time to fully cure (as per product instructions).
5. After allowing ample drying time, apply levelling compound over entire floor if needed (if using self-levelling compounds) and then follow product instructions for use when sanding down any excess material after it has cured (if needed). Monitor for levelling throughout process if needed by using spirit level or straight edge ruler as a guide.
6. Finally, allow entire surface plenty of time to dry before lightly sanding down any additional dust particles left over from application process (if needed).
Using Bostik Flooring Epoxy Repair Kit is an effective method of repairing damaged floors quickly and easily without having to spend too much time or money . By following the steps outlined above, you will be able to have a beautiful floor in no time!