Ceramic Tile Floor Installation Instructions

How to Install Ceramic Tile Floor in the Bathroom Ceramic floor tiles, Tile floor diy, How to

How to Lay Tile: Install a Ceramic Tile Floor In the Bathroom The Family Handyman Ceramic

How to Lay Tile: Install a Ceramic Tile Floor In the Bathroom Family Handyman

How To Install Ceramic Tile: A Seven-Step Guide – Tool Digest
Installing Ceramic Tile Floor In Bathroom – How to Lay Tile: Install a Ceramic Tile Floor In the
Vinyl Bathroom Flooring Vs. Ceramic Tile: Which One Is Better? Compare Factory

Porcelain Tile Installation Instructions
Ceramic tile floor install – YouTube

What Is Ceramic Tile? Flooring America
Konsep Baru Ceramic Tile Installation, Keramik Granit

How to Lay Tile: Install a Ceramic Tile Floor In the Bathroom Family Handyman

Related Posts:
- Cuban Tile Floors
- Easy Way To Grout Tile Floor
- Types Of Marble Tile Flooring
- Slate Tile Floor
- Classic Bathroom Tile Floors
- Tile Floor Color Ideas
- Wet Mops For Tile Floors
- Staining Saltillo Tile Floors
- Terrazzo Tile Floor Outdoor
- Tile Flooring For Screened Porch
Installing ceramic tile flooring is a relatively straightforward process that anyone with basic DIY skills can handle. Ceramic tiles come in a variety of sizes and shapes, and are suitable for use in a variety of indoor and outdoor applications. By following the proper steps and taking time to prepare the floor properly, you can create a durable and beautiful ceramic tile floor that will last for years.
## Preparing Your Subfloor for Tile Installation
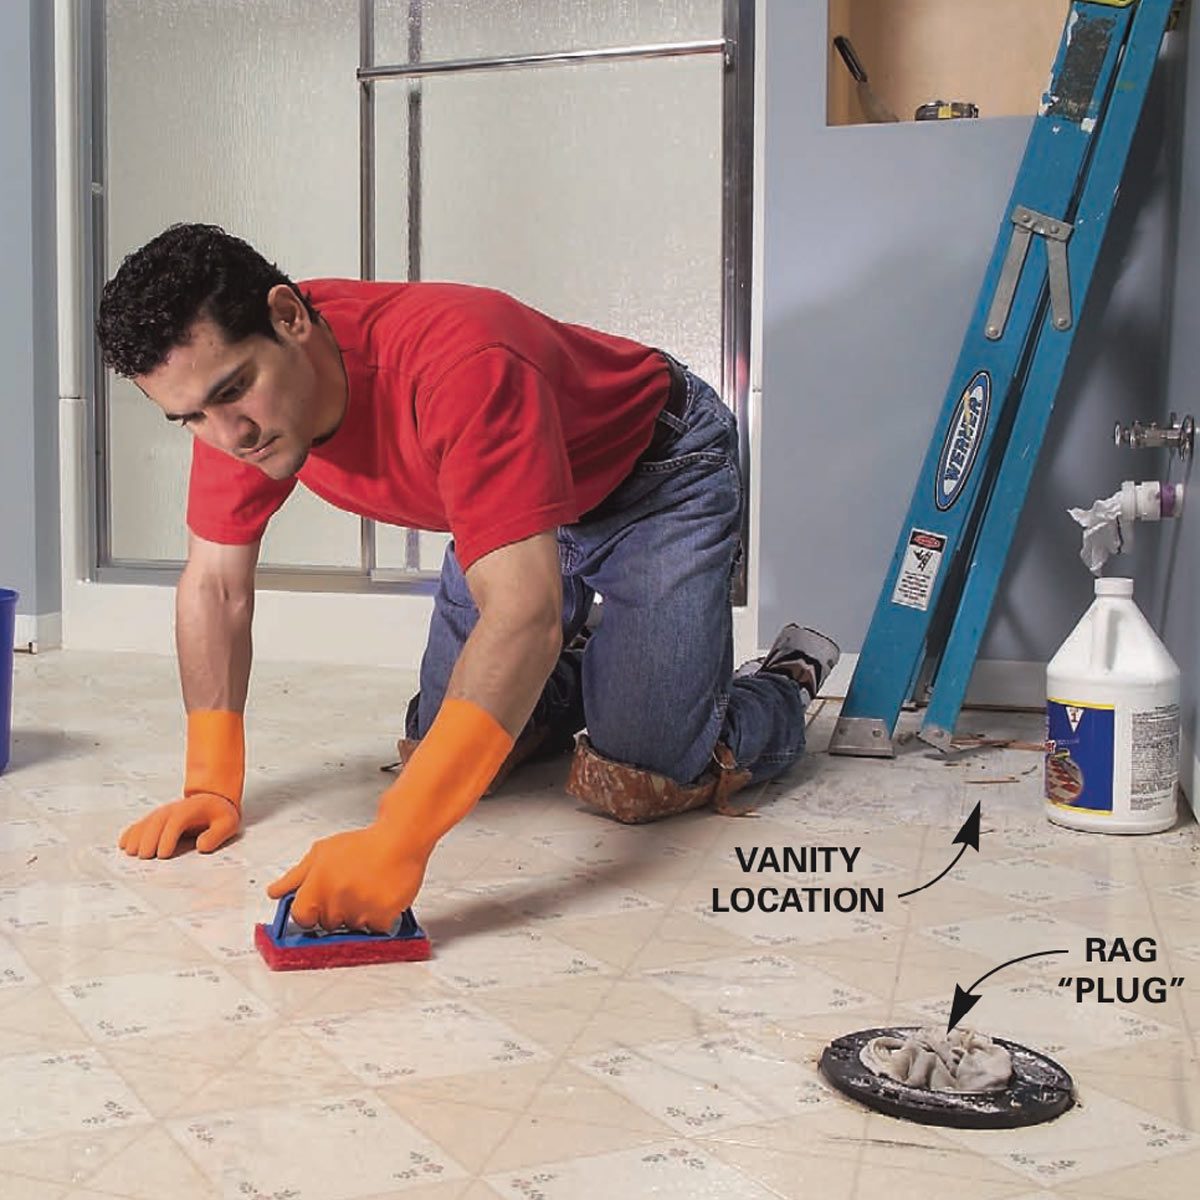
Before you begin installing your ceramic tile flooring, it’s important to ensure that your subfloor is in good shape. If you’re working with a concrete subfloor, check for any signs of cracking or deterioration. If there are any significant issues, these should be addressed before you proceed with tiling. If you’re working with a wood subfloor, make sure it is level, clean, and dry before beginning installation.
## Laying Out Your Tile Pattern
Once your subfloor is prepared, you can start laying out your tile pattern. To do this, begin by measuring the room and dividing it into four equal quadrants. Starting in one corner, lay out tiles along the longest wall in the room, leaving a ¼-inch gap between each tile. Continue to lay out tiles around the perimeter of the room, leaving the appropriate gaps between each tile.
Once you have laid out the perimeter tiles, you can begin to lay out your interior tiles. To create a staggered pattern, start by laying out rows of full tiles along one wall of the room. As you move across the room, adjust the pattern slightly so that half of each row is lined up with the full tiles from the previous row. This will help create an alternating pattern that looks aesthetically pleasing once finished.
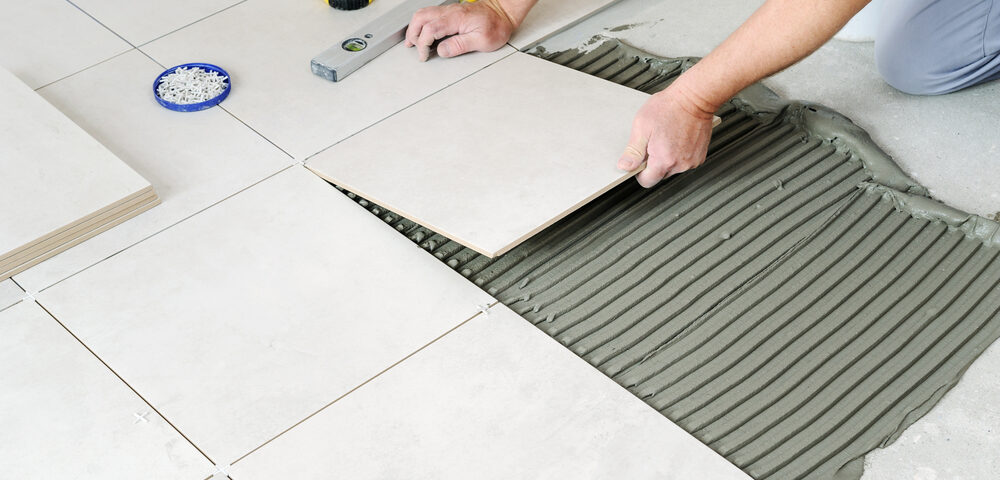
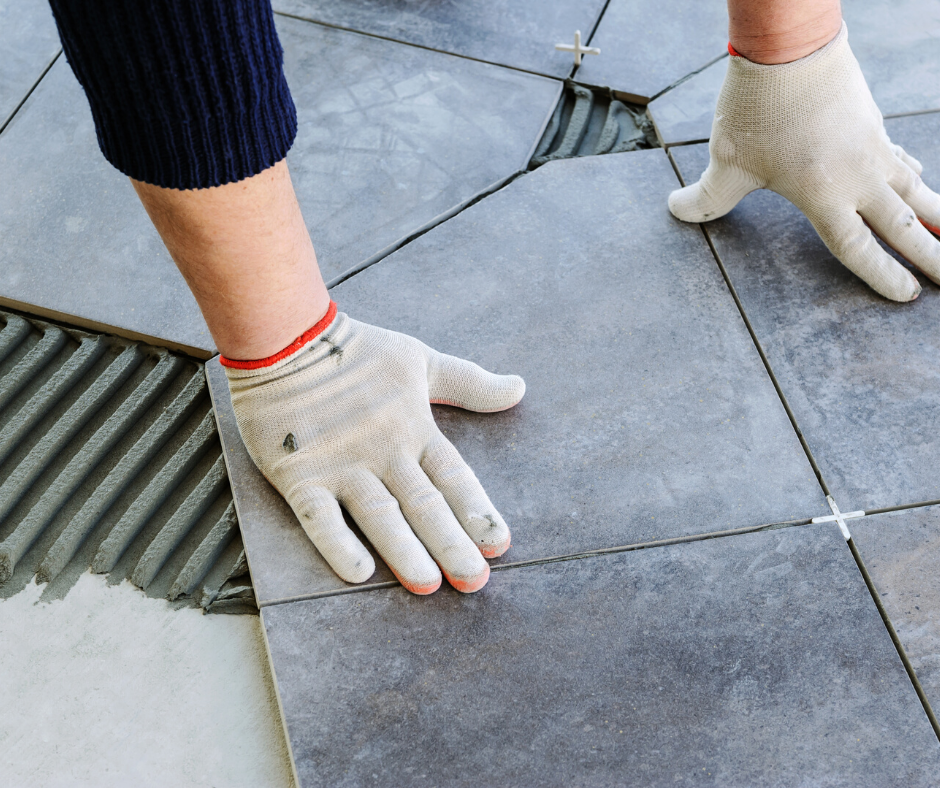
## Applying Mortar and Setting Your Tiles
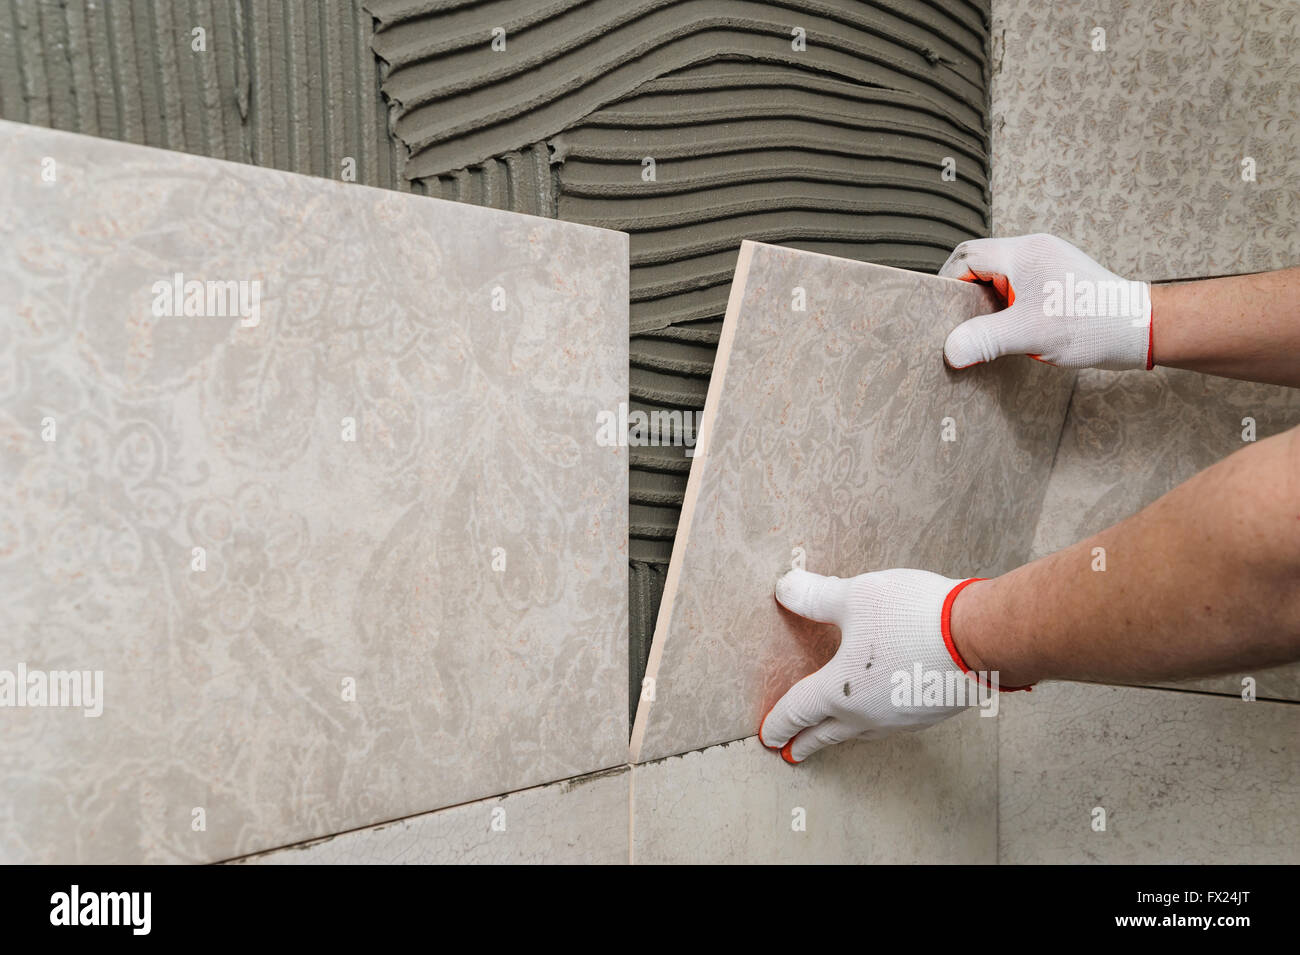
Once you have laid out your tile pattern, it’s time to apply mortar and set your tiles. Start by mixing your thinset mortar as directed by the manufacturer’s instructions. Once mixed, apply a generous layer of mortar to small sections of your subfloor using a notched trowel. Once applied, press each tile firmly into place, making sure that they are level and flush against one another.
Continue to set your tiles until all of them are in place. After setting all of your tiles, allow the mortar to cure for 24 hours before grouting or walking on them.
## Grouting Your Tiles
The next step in installing ceramic tile flooring is grouting them. Begin by mixing your grout as directed by the manufacturer’s instructions. Once mixed, apply grout over all of your tiles using a rubber float or grout sponge. Make sure to press firmly into all corners and crevices to ensure an even coverage and seal all seams between tiles.
Once applied, use a damp rag or sponge to wipe away any excess grout and clean up any spills immediately. Allow the grout to cure for 24 hours before applying sealer or walking on it.
## Sealing Your Ceramic Tile Floor
After grouting your tiles, it’s time to seal them to protect them from moisture and dirt buildup. To do this, start by lightly sanding down any raised joints between tiles using 220-grit sandpaper. Once complete, use a vacuum cleaner to remove any dust particles that might be left behind from sanding.
After vacuuming, apply a generous layer of sealer over all exposed surfaces using a paintbrush or roller applicator. Allow the sealer to dry overnight before walking on it or applying additional coats if necessary.
## Finishing Your Ceramic Tile Floor Installation
Once you have sealed your ceramic tile flooring installation is complete! In order to ensure long-term durability and maintain its aesthetic value, make sure to clean up spills or dirt immediately and follow manufacturer instructions for cleaning and maintenance when needed. With proper care, your ceramic tile flooring should look great for years to come!