How To Replace Vinyl Tile Flooring

How To Fix Vinyl Flooring That Is Lifting – vinyl plank flooring be installed outdoors

Vinyl Flooring Removal and Disposal Guide Pro Junk Dispatch
How to replace the Vinyl floor in a bathroom – LetsFixIt

Luxury Vinyl Tile Installation Family Handyman
How To Install Vinyl Tiles for your floor – YouTube

How to Lay a Vinyl Tile Floor Vinyl tile flooring, Vinyl tile, Laying vinyl flooring

How To Install Vinyl Flooring In Bedroom – How to install sheet vinyl flooring Windmill

How To Install Vinyl Plank Flooring ? – Home Pictures :: Easy Tips

LVT Flooring Over Existing Tile the Easy Way – Vinyl Floor Installation DIY in 2020 Lvt

Video: Install Peel-and-Stick Vinyl Plank Flooring

How to Install Luxury Vinyl Plank Flooring – YouTube
Related Posts:
- Cuban Tile Floors
- Easy Way To Grout Tile Floor
- Types Of Marble Tile Flooring
- Slate Tile Floor
- Classic Bathroom Tile Floors
- Tile Floor Color Ideas
- Wet Mops For Tile Floors
- Staining Saltillo Tile Floors
- Terrazzo Tile Floor Outdoor
- Tile Flooring For Screened Porch
Vinyl tile flooring is a durable and stylish option for updating the look of your home. Its low maintenance and easy installation make it a great choice for many homeowners. But eventually, you may want to replace your vinyl tile flooring for a more modern look. Replacing vinyl tile flooring is not difficult and can be done in just a few steps.
## Materials Needed for Vinyl Tile Replacement
Before you begin, make sure you have all the necessary materials on hand. You will need:
* A utility knife
* A pry bar
* A hammer
* A vacuum cleaner
* New vinyl tile
* Adhesive
* A rubber mallet
* A grout float
* Grout
* A sponge
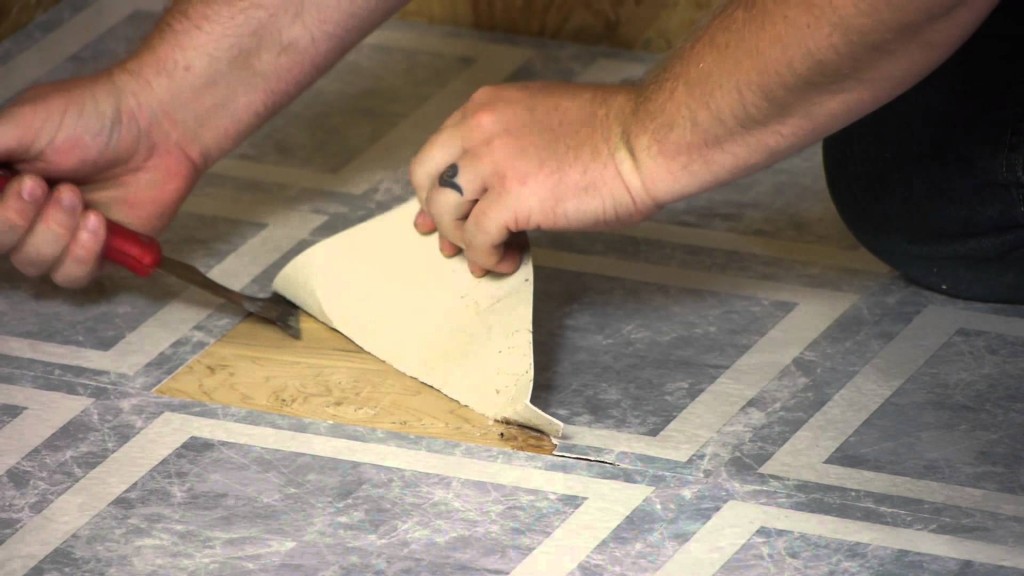
## Step 1: Remove the Old Tile
The first step to replacing your vinyl tile is to remove the old tile. Start by using a utility knife to score the grout lines on the old tile. This will help the grout to break away easily when you start prying up the tiles. Next, use a pry bar to carefully remove the tiles from the floor. Be careful not to damage any of the underlying flooring. Once all of the tiles are removed, use a vacuum cleaner to clean up any debris.
## Step 2: Prepare the Subfloor
Once all of the old tiles have been removed, it’s time to prepare the subfloor for the new tiles. Inspect the subfloor to ensure that it is in good condition and free of any damage or debris. If necessary, make any repairs before continuing. Next, use a sandpaper to smooth out any rough spots on the surface of the subfloor. This will help ensure that your new vinyl tile adheres properly.
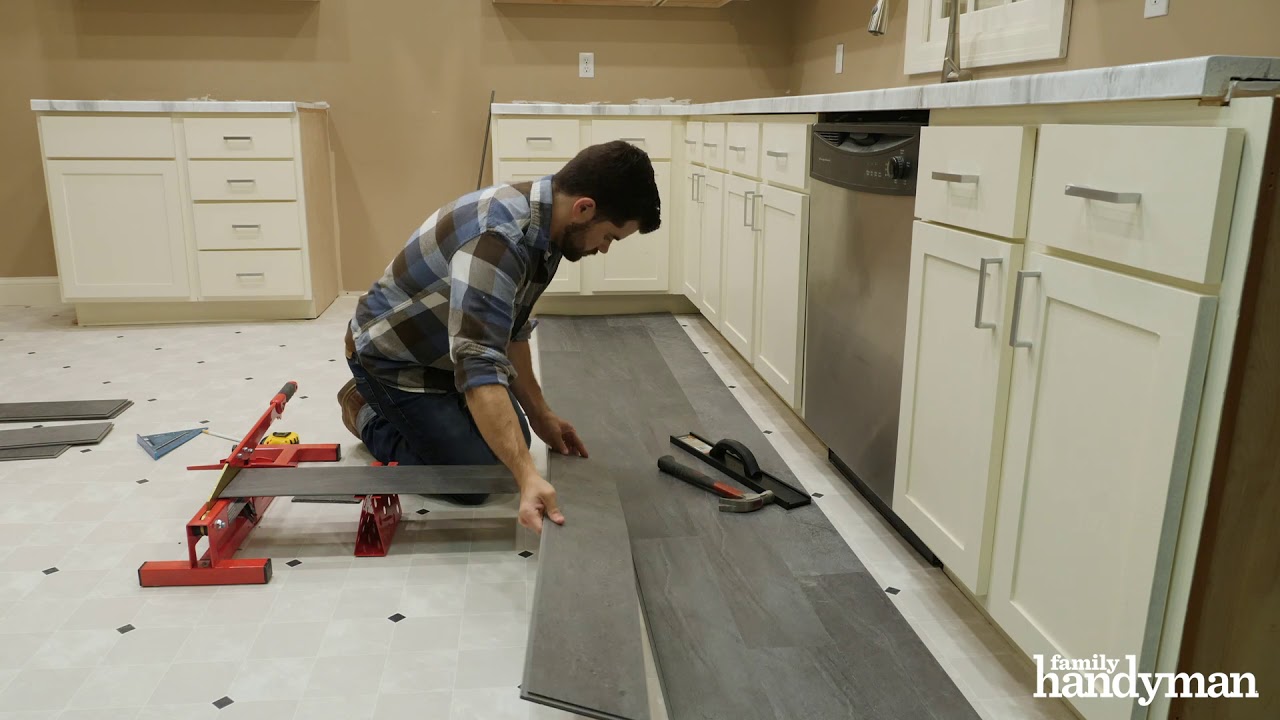
## Step 3: Install the New Tile
Now that your subfloor is prepared, it’s time to install the new vinyl tile. Start by applying adhesive to the back of each tile and then place it onto the subfloor. Make sure that each tile is properly aligned with its surrounding tiles and press down firmly. Once all of the tiles are in place, use a rubber mallet to lightly tap them into place.
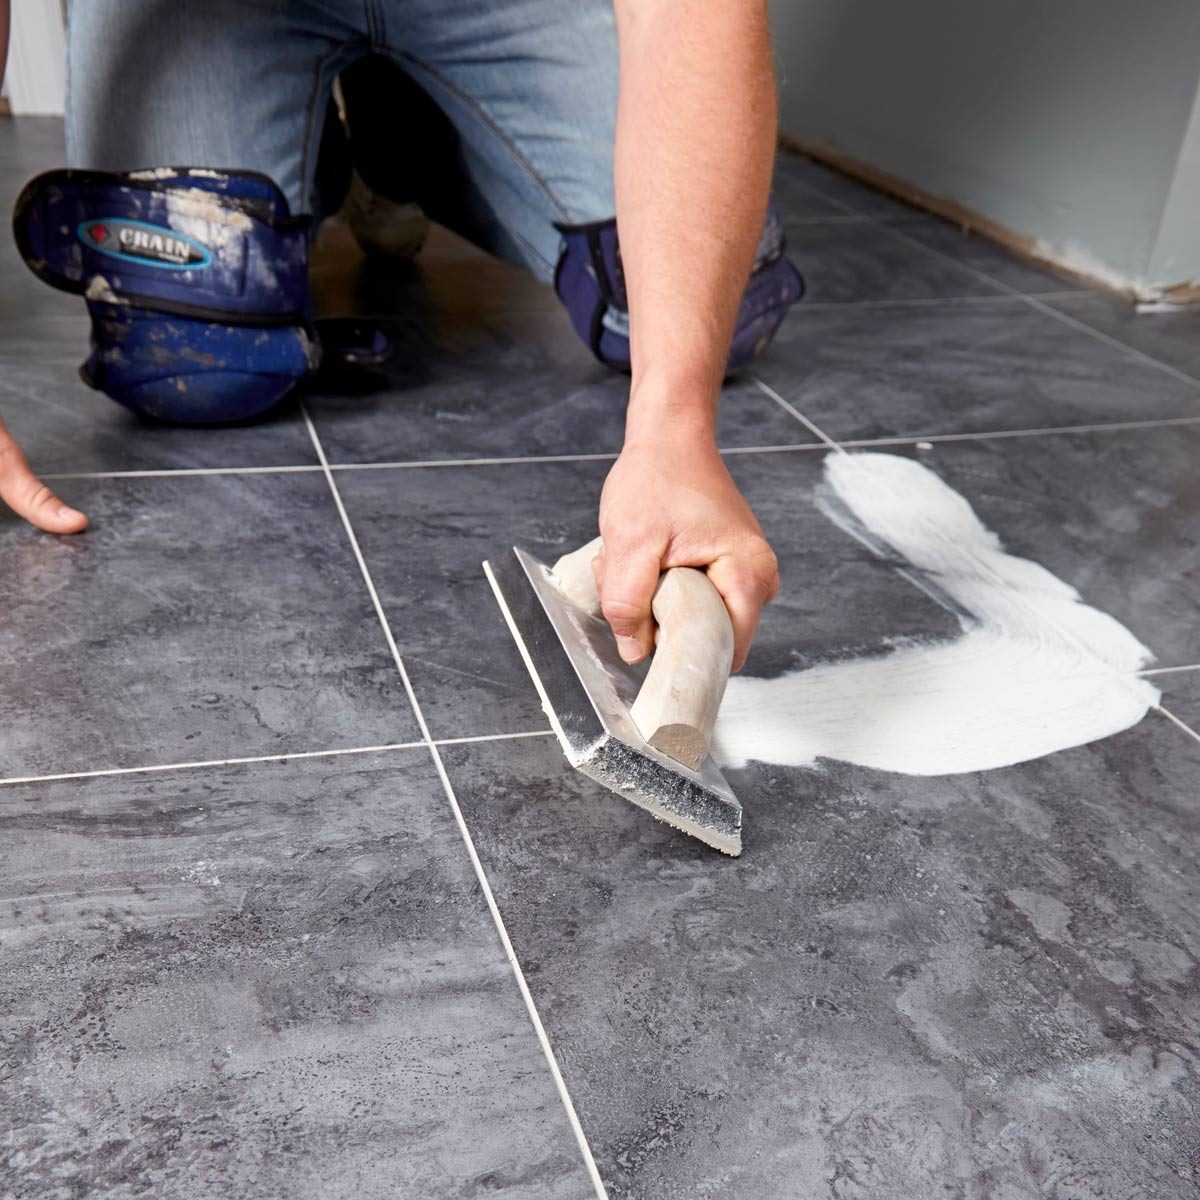
## Step 4: Grout
Once all of the tiles are installed, it’s time to grout them. Start by mixing up some grout according to the instructions on the package. Then, use a grout float to spread a thin layer of grout between each of the tiles. Make sure that you wipe away any excess grout with a damp sponge before it dries. Allow the grout to dry according to package instructions before walking on it.
## Step 5: Cleanup and Finishing Touches
Finally, once your new vinyl tile flooring is installed and dried, it’s time for some cleanup and finishing touches. Use a damp mop or cloth to remove any remaining grout residue from your tiles. Then, add furniture pads or felt pads to furniture legs as needed to protect your newly installed flooring from scratches or damage. You may also want to apply a sealant or wax to protect your new flooring from dirt and wear over time.
Replacing your old vinyl tile flooring is an easy task that can be done in just a few steps with minimal effort and cost. With proper preparation and installation techniques, you can enjoy your new vinyl flooring for years to come!