Color Chips For Epoxy Floors

Colored Flakes/Color Vinyl Chips for Epoxy Floor Coating System. Cosmos – Walmart.com – Walmart.com

Colored Flakes/Color Vinyl Chips for Epoxy Floor Coating System. Asphalt – Walmart.com – Walmart.com
Color Chips For Epoxy Floors – Flooring Ideas
Epoxy Colors » Epoxy Floors & Painting

Epoxy Colors » Epoxy Floors & Painting

Epoxy Paint Chips – 5 lb Bulk

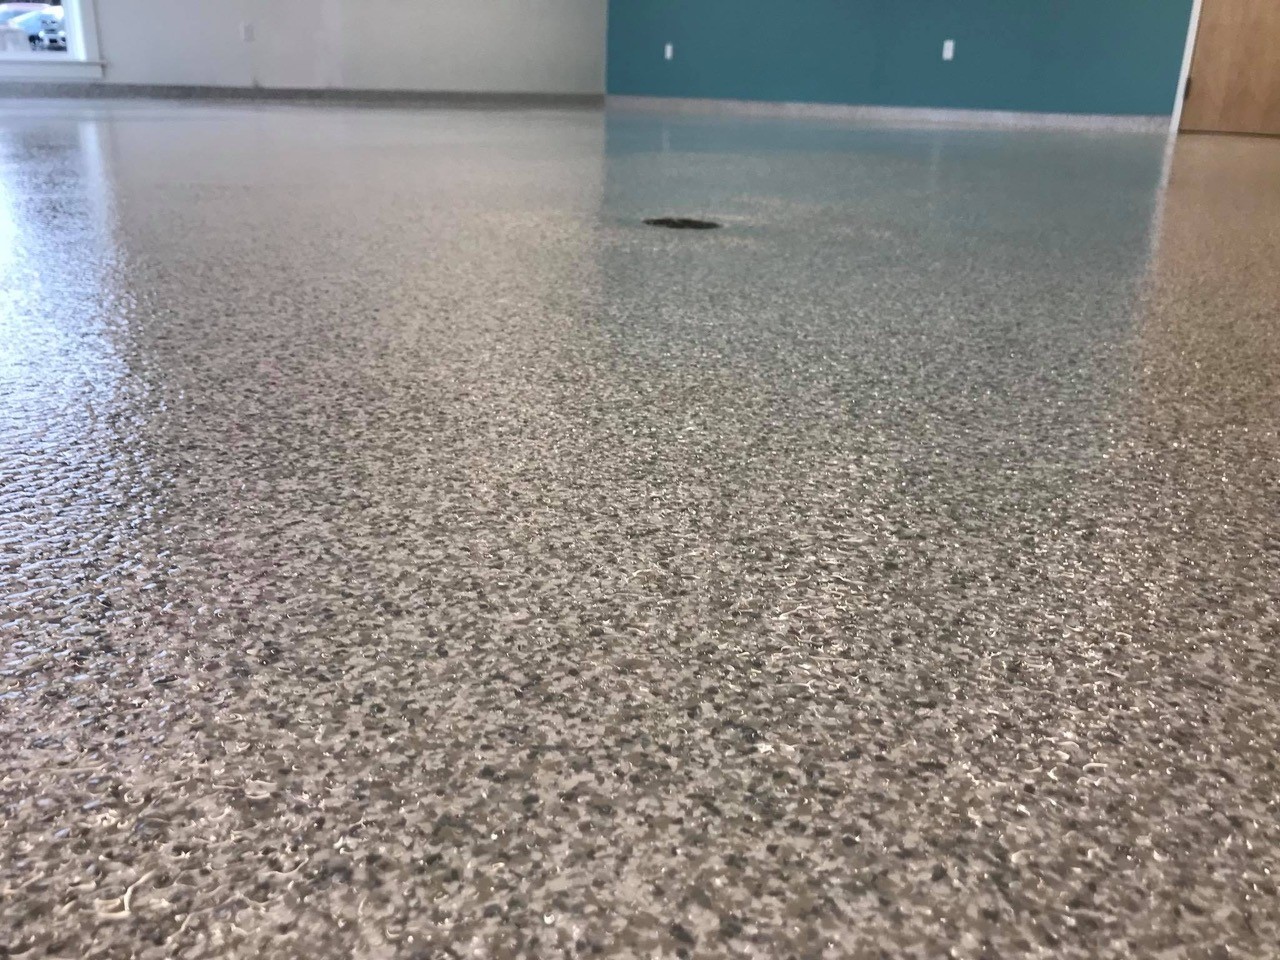
Epoxy Color Flake for Hospitatal Floors SUNDEK of Washington
Epoxy Flake Coating Malaysia Price – Epoxy Chip Flake Flooring Seamless Chemical Resistant Uv
Colored Flake Chips Moncton Epoxy Flooring, Floor Sealing and Decorative Flooring
Epoxy Flooring

Epoxy Colors » Epoxy Floors & Painting

Related Posts:
- Fast Cure Epoxy Floor Coating
- Stone Hard Epoxy Flooring
- How To Epoxy Flooring Garage
- How To Repair Epoxy Floor Coating
- Non Slip Epoxy Flooring
- Solid Epoxy Garage Floor
- Quikrete Floor Epoxy
- Paint Flakes Epoxy Floor
- Cheap Epoxy Floor
- Rock Solid Epoxy Floor
Color Chips For Epoxy Floors: Enhancing the Aesthetics and Durability
Introduction:
Epoxy floors have become increasingly popular in recent years due to their durability, versatility, and aesthetic appeal. One of the key factors that contribute to the visual appeal of epoxy floors is the use of color chips. Color chips, also known as decorative flakes or vinyl flakes, are small pieces of colored material that are broadcasted into the epoxy coating. This article will discuss the significance of color chips for epoxy floors and how they can enhance both the aesthetics and durability of the flooring.
1. The Role of Color Chips in Epoxy Flooring:
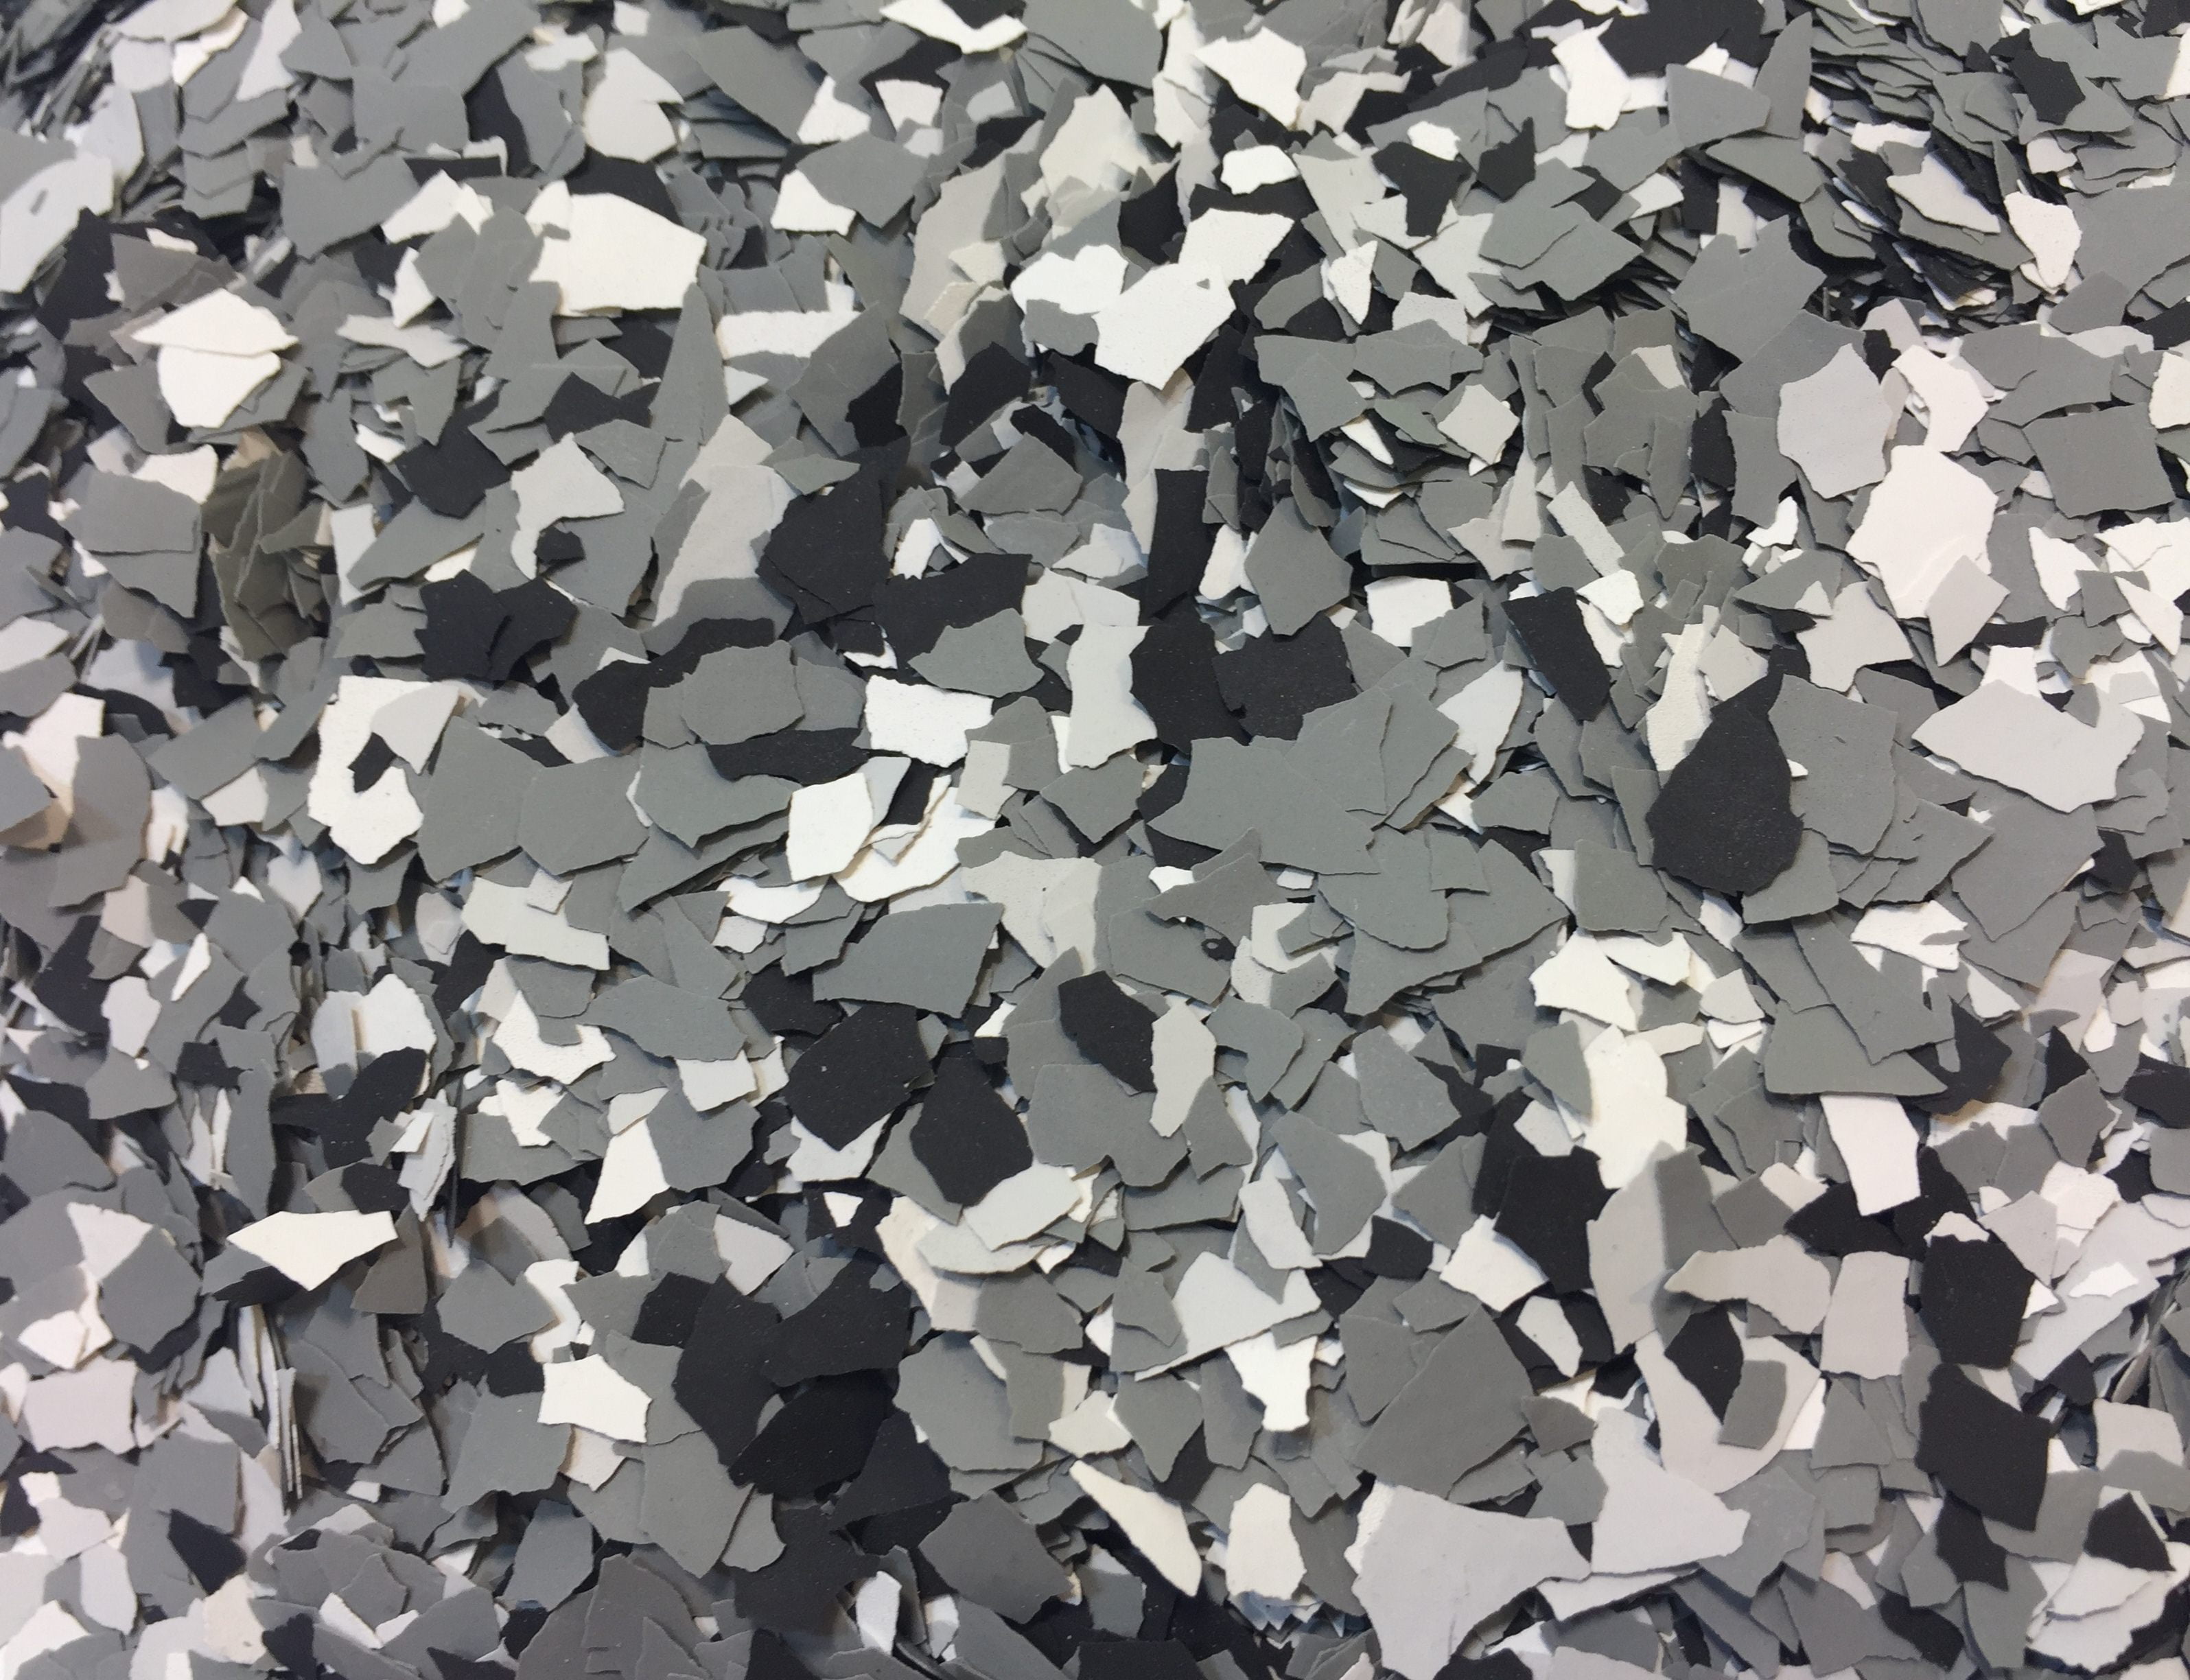
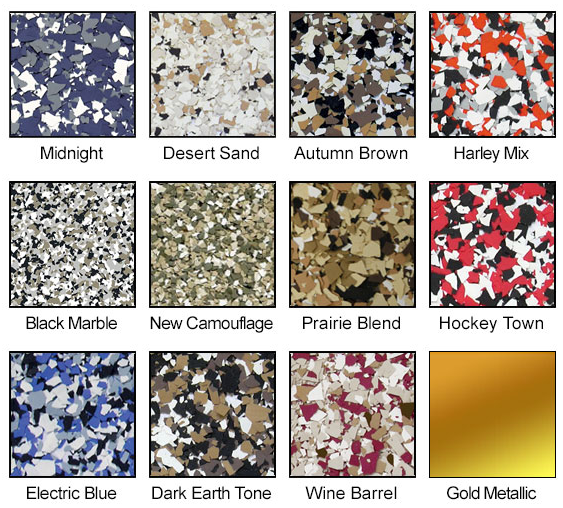
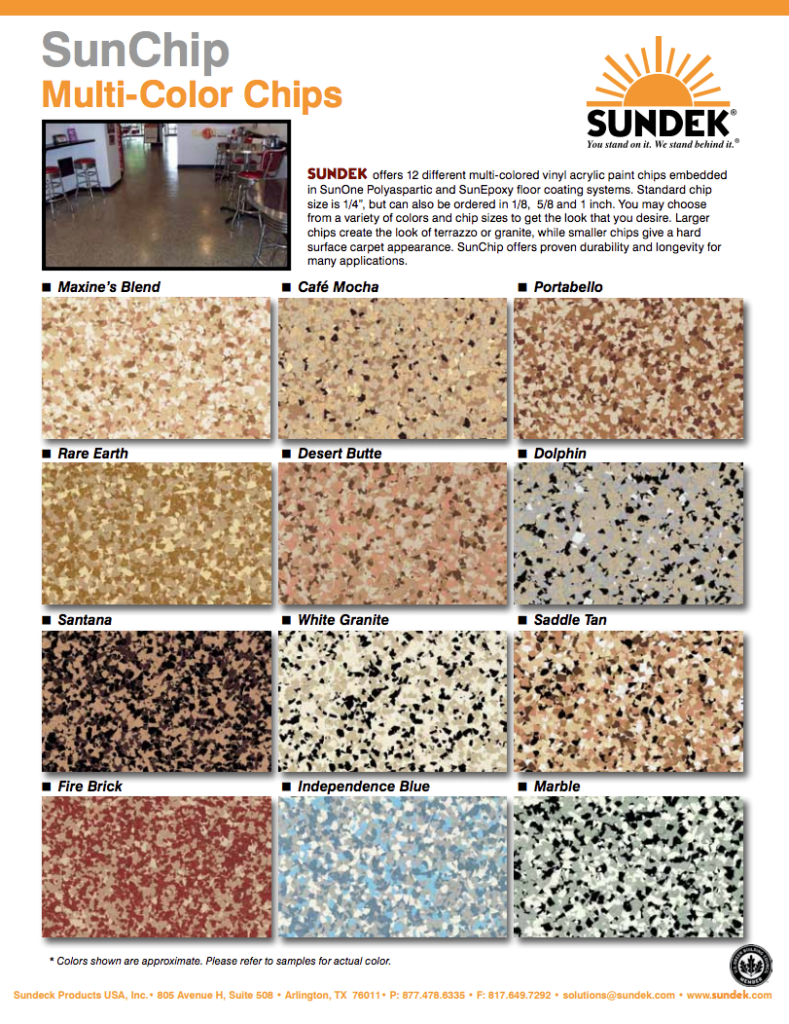
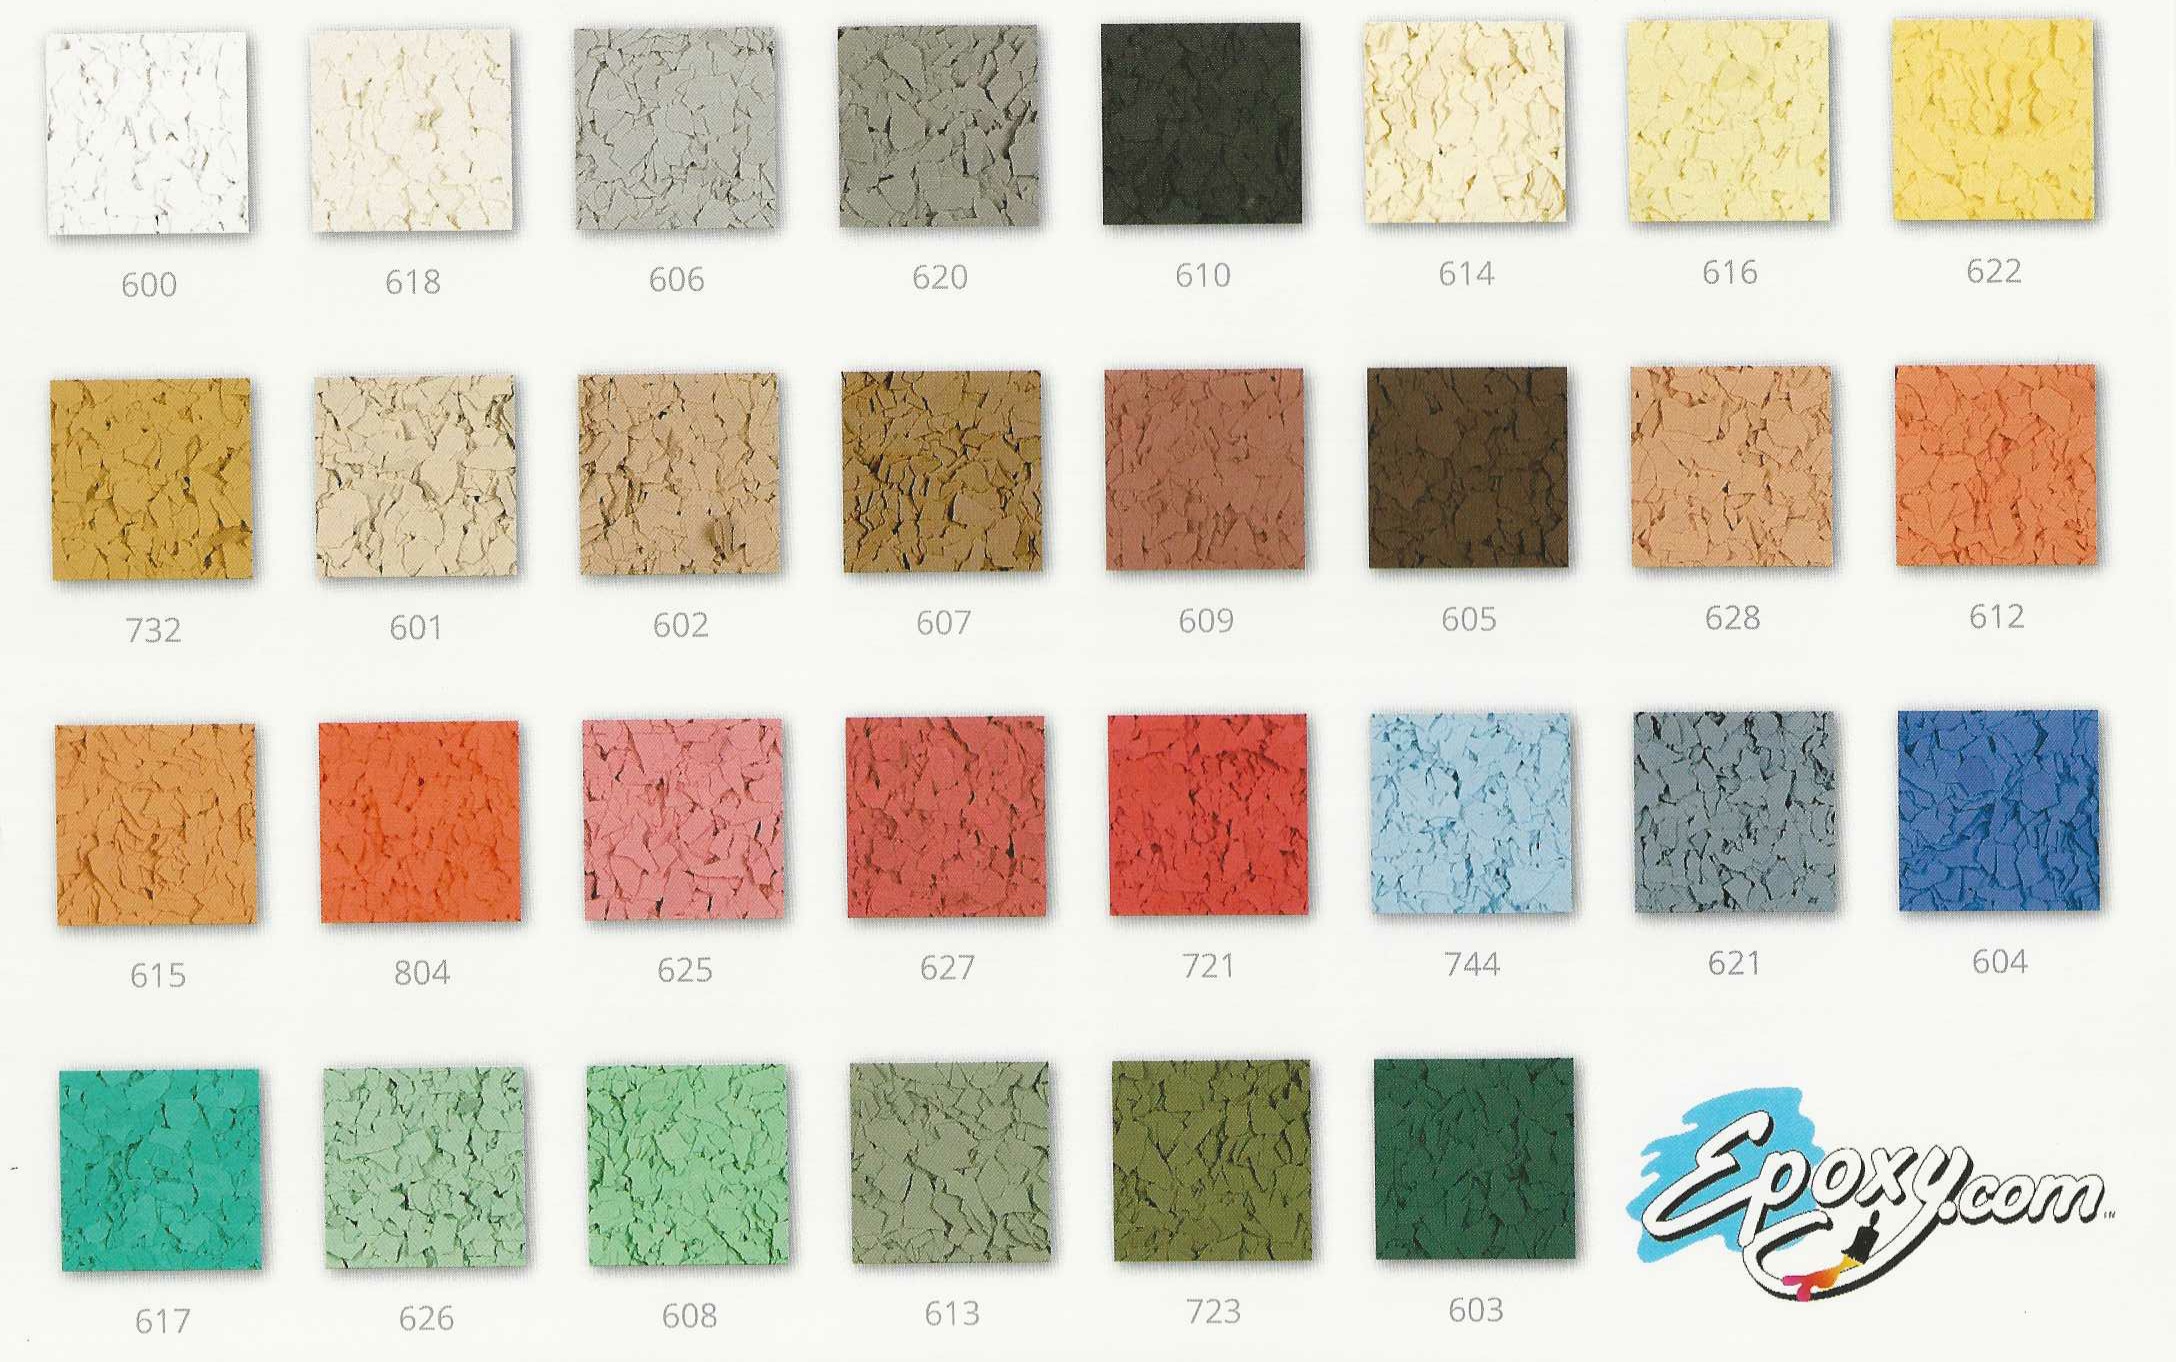
Color chips play a crucial role in enhancing the appearance of epoxy floors. These tiny flakes add depth and dimension to the flooring, creating a visually appealing surface. By incorporating color chips into epoxy floors, you can transform an ordinary concrete surface into a stunning work of art. The wide range of color options available allows you to customize your flooring to suit your personal style and complement the overall design scheme of your space.
2. Benefits of Using Color Chips:
2.1 Enhanced Durability:
Aside from their aesthetic benefits, color chips also improve the durability and longevity of epoxy floors. When added to the epoxy coating, these flakes create a textured surface that increases slip resistance, making it safer for walking even when wet. Moreover, color chips provide additional thickness to the epoxy layer, resulting in a more resilient floor that can withstand heavy foot traffic and resist impact from dropped objects.
2.2 Concealing Imperfections:
Another advantage of using color chips is their ability to conceal imperfections on the concrete substrate. Chips or cracks on the floor may be inevitable over time, especially in high-traffic areas. However, by incorporating color chips into your epoxy coating, you can effectively camouflage these flaws, giving your floor a flawless appearance.
2.3 Easy Maintenance:
Epoxy floors with color chips are also relatively easy to maintain. The flakes create a textured surface that helps to hide dust, dirt, and other debris, making them less noticeable between cleanings. Additionally, the epoxy coating over the chips provides a seamless and non-porous surface that can be easily cleaned with mild detergents and water. With regular maintenance, an epoxy floor with color chips can retain its vibrant appearance for years to come.
3. Choosing the Right Color Chips:
Selecting the right color chips for your epoxy floor is essential to achieve the desired outcome. Consider the following factors before making a decision:
3.1 Color Palette:
When choosing color chips, it is important to consider the overall color palette of your space. Selecting chips that complement or contrast well with the existing elements in the room can create an eye-catching and cohesive design.
3.2 Size and Shape:
Color chips are available in various sizes and shapes, including square, round, and irregular forms. The size and shape of the chips you choose can significantly impact the final look of your flooring. Smaller chips tend to create a more seamless appearance, while larger ones can add a bold and dramatic effect.
3.3 Flake Density:
The density of color chips used can also influence the overall appearance of your epoxy floor. A higher density of chips will result in a more vibrant and colorful finish, while a lower density will provide a more subtle look.
4. FAQs about Color Chips for Epoxy Floors:
4.1 Can color chips be used on any type of epoxy floor?
Yes, color chips can be used with different types of epoxy floor systems, including 100% solids epoxy, water-based epoxy, and solvent-based epoxy.
4.2 How are color chips applied to epoxy floors?
After applying the base coat of epoxy, color chips are broadcasted evenly onto the wet surface until saturation is achieved. Once the epoxy has cured, excess chips are removed, and a topcoat is applied to lock them in place.
4.3 Can color chips fade or discolor over time?
Due to their UV stability, high-quality color chips are resistant to fading or discoloration. However, it is essential to choose reliable suppliers and use premium-grade chips to ensure long-lasting vibrancy.
4.4 Can I customize the blend of color chips for my epoxy floor?
Yes, many suppliers offer a wide range of standard color blends to choose from. Additionally, some suppliers allow customization, allowing you to create a unique blend that aligns with your preferences and design goals.
5. How to Apply Color Chips To an Epoxy Floor:
5.1 Prepare the Surface:
Before applying color chips, make sure the epoxy floor is clean and free from any contaminants. Remove any dirt or debris and repair any cracks or blemishes on the surface.
5.2 Apply the Base Coat:
Apply a base coat of epoxy to the floor using a roller or brush. Make sure to cover the entire surface evenly and allow it to cure according to the manufacturer’s instructions.
5.3 Broadcast the Color Chips:
Once the base coat is still wet, broadcast the color chips evenly over the surface. Use a chip spreader or your hand to ensure even distribution. Sprinkle on more chips than you think you need to ensure full coverage.
5.4 Allow for Saturation:
Let the chips sit on the wet epoxy for a few minutes to allow them to fully saturate. This will help ensure they adhere properly to the floor.
5.5 Remove Excess Chips:
After saturation, gently remove any excess chips from the floor using a broom or vacuum cleaner. Be careful not to disturb the chips that have adhered to the epoxy.
5.6 Apply Topcoat:
Once the excess chips have been removed, apply a topcoat of clear epoxy over the entire surface. This will seal in the color chips and provide a protective layer for your floor.
5.7 Allow for Curing:
Allow the topcoat to cure according to the manufacturer’s instructions before allowing foot traffic or placing heavy objects on the floor.
By following these steps and considering the factors mentioned earlier, you can achieve a beautiful and durable epoxy floor with color chips. Color chips can significantly enhance the appearance of epoxy floors by adding vibrant colors and patterns. Here are the steps to apply color chips to an epoxy floor:
1. Prepare the Surface: Ensure that the floor is clean and free from any dirt, dust, or contaminants. Repair any cracks or imperfections on the surface.
2. Apply the Base Coat: Use a roller or brush to apply a base coat of epoxy to the entire floor. Make sure to cover the surface evenly and allow it to cure according to the manufacturer’s instructions.
3. Broadcast the Color Chips: While the base coat is still wet, evenly sprinkle color chips over the surface. Use a chip spreader or your hand to ensure even distribution. It is recommended to sprinkle more chips than you think are needed for full coverage.
4. Allow for Saturation: Let the color chips sit on the wet epoxy for a few minutes to allow them to fully saturate and adhere to the floor.
5. Remove Excess Chips: Gently remove any excess chips from the floor using a broom or vacuum cleaner. Be careful not to disturb the chips that have adhered to the epoxy.
6. Apply Topcoat: Once the excess chips have been removed, apply a topcoat of clear epoxy over the entire surface. This will seal in the color chips and provide a protective layer for your floor.
7. Allow for Curing: Follow the manufacturer’s instructions for curing time. It is essential to allow the topcoat to fully cure before allowing foot traffic or placing heavy objects on the floor.
By following these steps and considering factors like chip density and chip quality, you can achieve a beautiful and long-lasting epoxy floor with customized color chips.