Concrete Floor In Shower

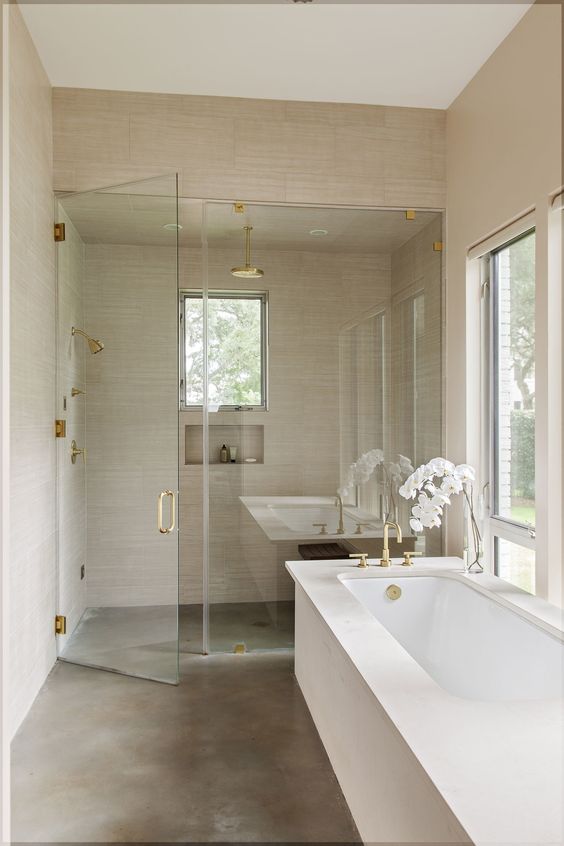
MODE CONCRETE: Modern Open Concept Bathroom – featuring a concrete floor, a curbless shower and
.JPG)
Shower Floor Ideas That Reveal The Best Materials For The Job
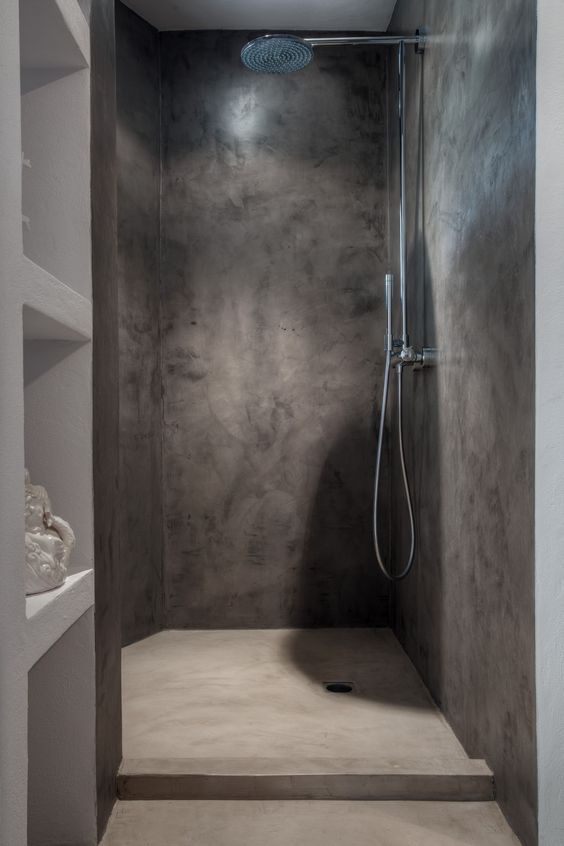
Concrete shower with 1/2″ panels and stamped/carved pan and curb. dccustomconstruction.net

Concrete Shower Floor Concrete shower, Shower floor, Bathroom flooring

Shower Floor Ideas That Reveal The Best Materials For The Job
Shower Floor Ideas That Reveal The Best Materials For The Job
July Moodboard : Concrete & Cement Decor in 2020 (With images) Concrete bathroom design

Shower Floor Ideas That Reveal The Best Materials For The Job

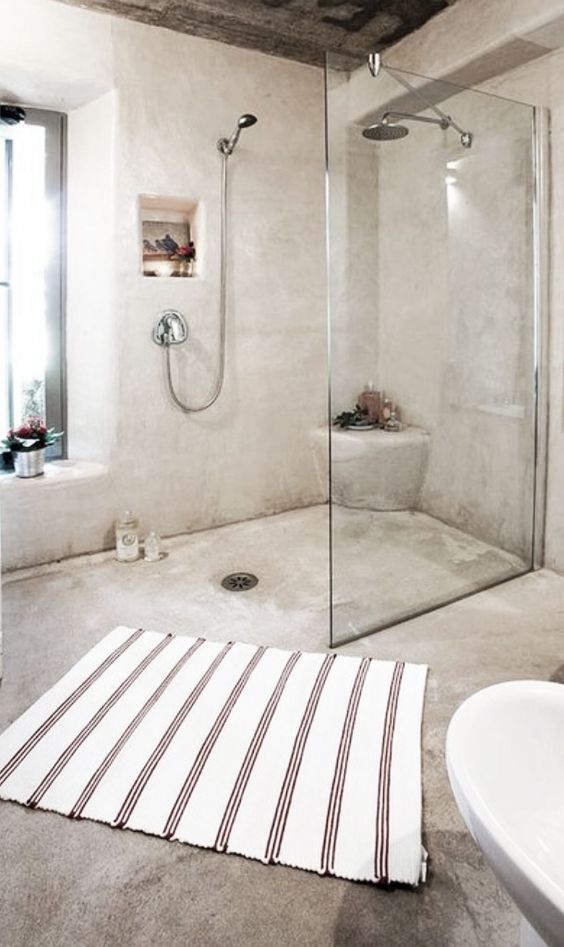
The polished concrete floor and walls contrast with the warmth of the wooden shower tray

Stained Concrete Bathroom Floor Concrete Shower Cement Shower Floor Cement Shower Floor Sealer

Related Posts:
- Outdoor Concrete Flooring Ideas
- Concrete Floor Polishing
- Interior Concrete Floor Paint Ideas
- Concrete Floor Epoxy Crack Filler
- Concrete Floor Basement Ideas
- Painting Concrete Floor With Epoxy
- Outdoor Concrete Floor Paint Ideas
- Concrete Floor Painting Tips
- Outdoor Concrete Floor Finishes
- Non Slip Concrete Floor
# Concrete Floor In Shower: Easy Installation and Stunning Results
If you’re looking for an easy, affordable way to update your bathroom, installing a concrete floor in the shower is an excellent option. Not only is it simple to do, but it also adds a unique and stylish look to your bathroom that will last for years to come. In this article, we’re going to discuss the advantages of having a concrete floor in the shower, as well as how to install one with ease.
## Advantages of Concrete Flooring in the Shower
Concrete is a great choice for shower floors because it is durable and easy to clean. It is also an extremely affordable option compared to tile, stone, or other high-end materials. Concrete is also highly customizable and can be dyed or stained to fit any color scheme or design aesthetic.
Another great advantage of using concrete for a shower floor is that it won’t crack or break over time like tile can. This makes it a great option for bathrooms with heavy foot traffic. Finally, concrete is naturally slip-resistant, making it much safer than other materials.
## Installing a Concrete Floor in the Shower
Installing a concrete floor in the shower isn’t as difficult as you might think. The first step is to measure the area that you want to cover and mark off the edges. Once this is done, you can begin the installation process.
The first step is to lay down a layer of gravel over the entire area and compact it down with a tamper. Next, you will need to mix up some concrete and pour it into the area. Once it’s been poured, use a trowel to level and smooth out the surface.
Once the concrete has had time to set (usually 24 hours), you can add any additional features such as drain covers or decorative tiles. Finally, apply a sealer to protect the surface from water damage and give it a glossy finish.
## Maintenance and Care for Concrete Floors in Showers
Once your concrete floor has been installed, all that’s left is to keep it clean and well maintained. This means regularly wiping down the surface with a damp cloth or mop and using mild soap if necessary. It’s also important to avoid using harsh chemicals on the surface as they can damage the sealer over time.
Additionally, you should make sure to reapply the sealer every 6-12 months depending on how often you use your shower. This will help keep your concrete floor looking like new for many years to come.
## Final Thoughts
Installing a concrete floor in the shower is an easy and cost-effective way to upgrade your bathroom without breaking the bank. Not only does it look great, but it’s also incredibly durable and easy to maintain over time. With just a little bit of effort, you can have stunning results that will last for years to come.