Concrete Flooring Process
Concrete flooring: a guide to polished concrete floors, costs and more Real Homes

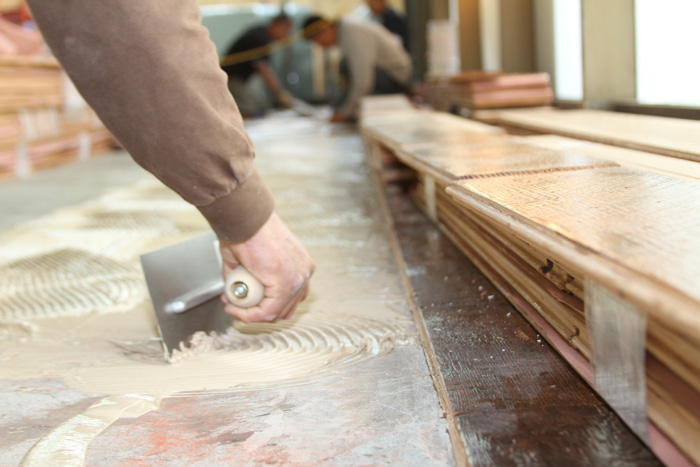
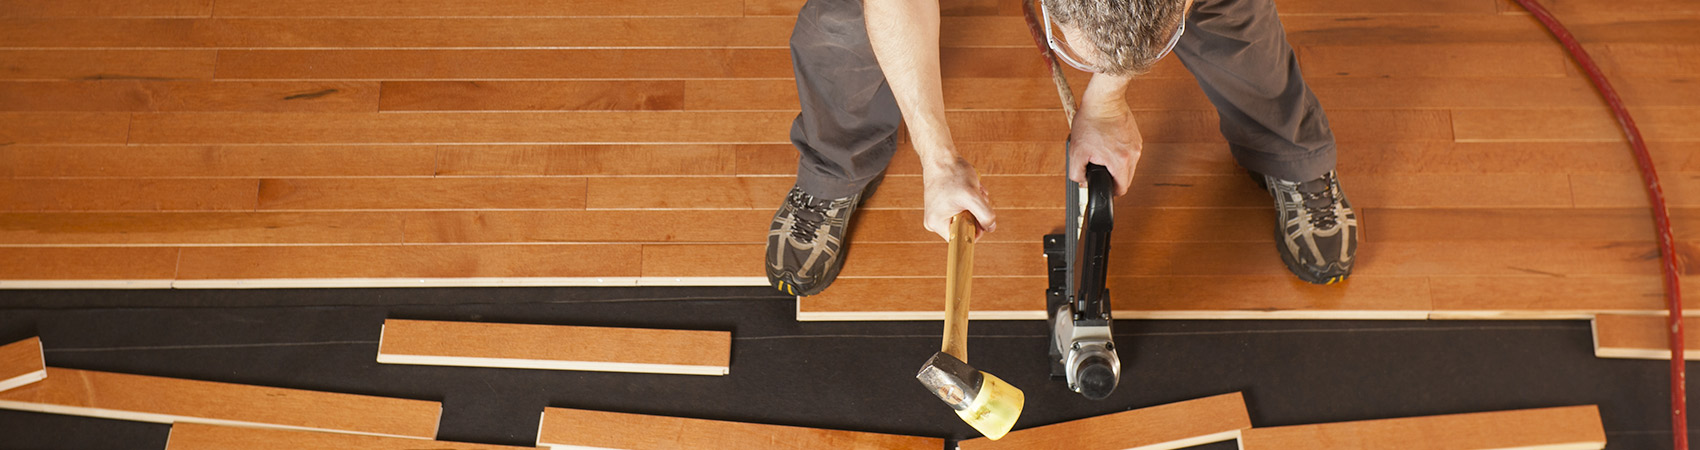
Installing A Hardwood Floor: The Preparation Process – Top Flooring
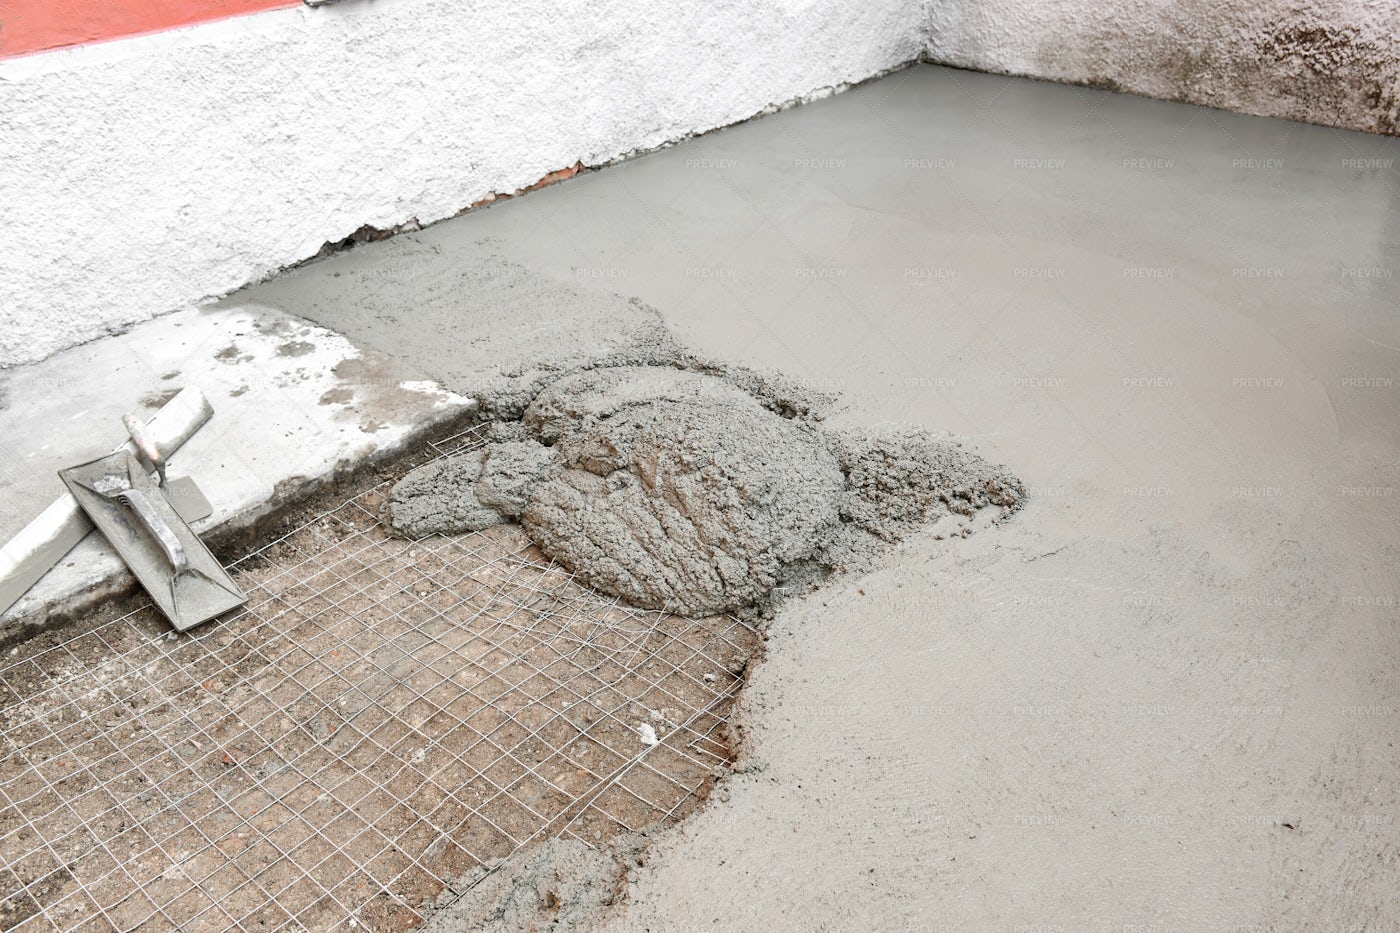
Process Of Making Concrete Floor – Stock Photos Motion Array
The Evolution of Concrete Flooring News Tric
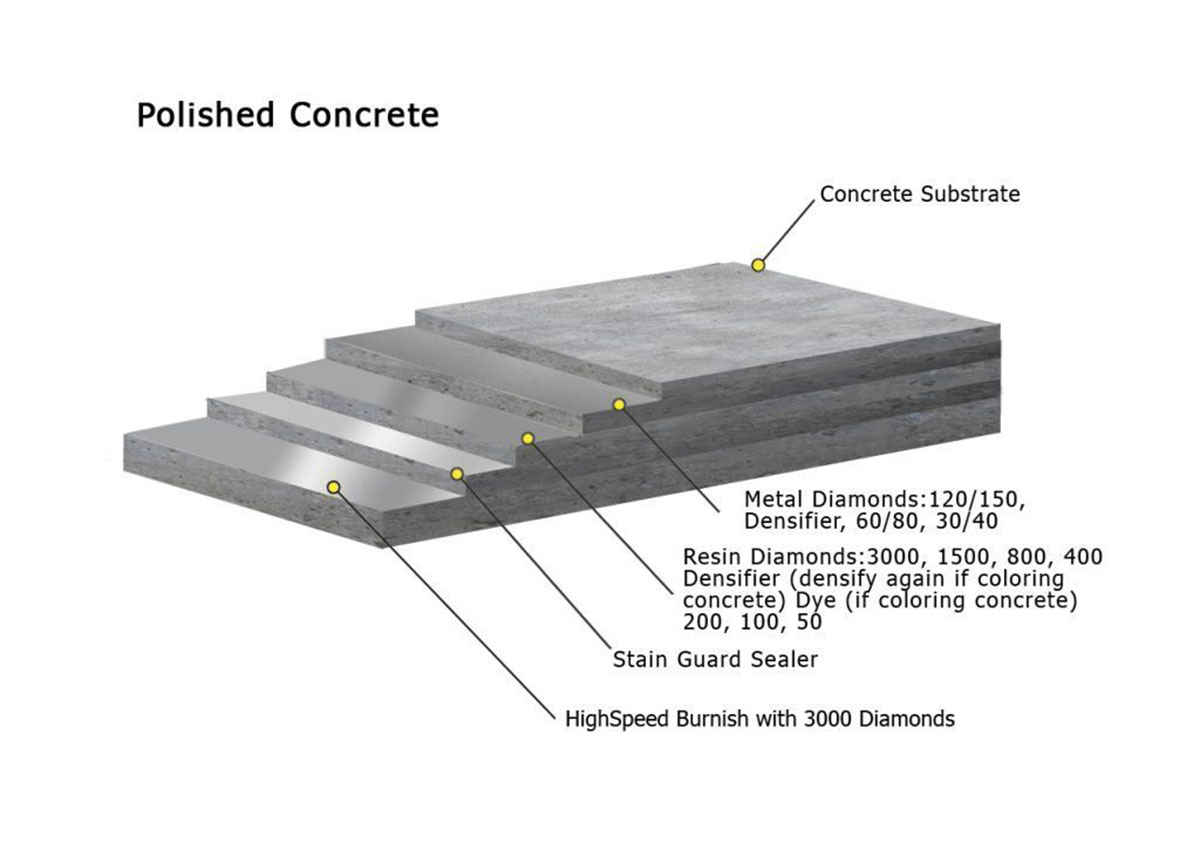
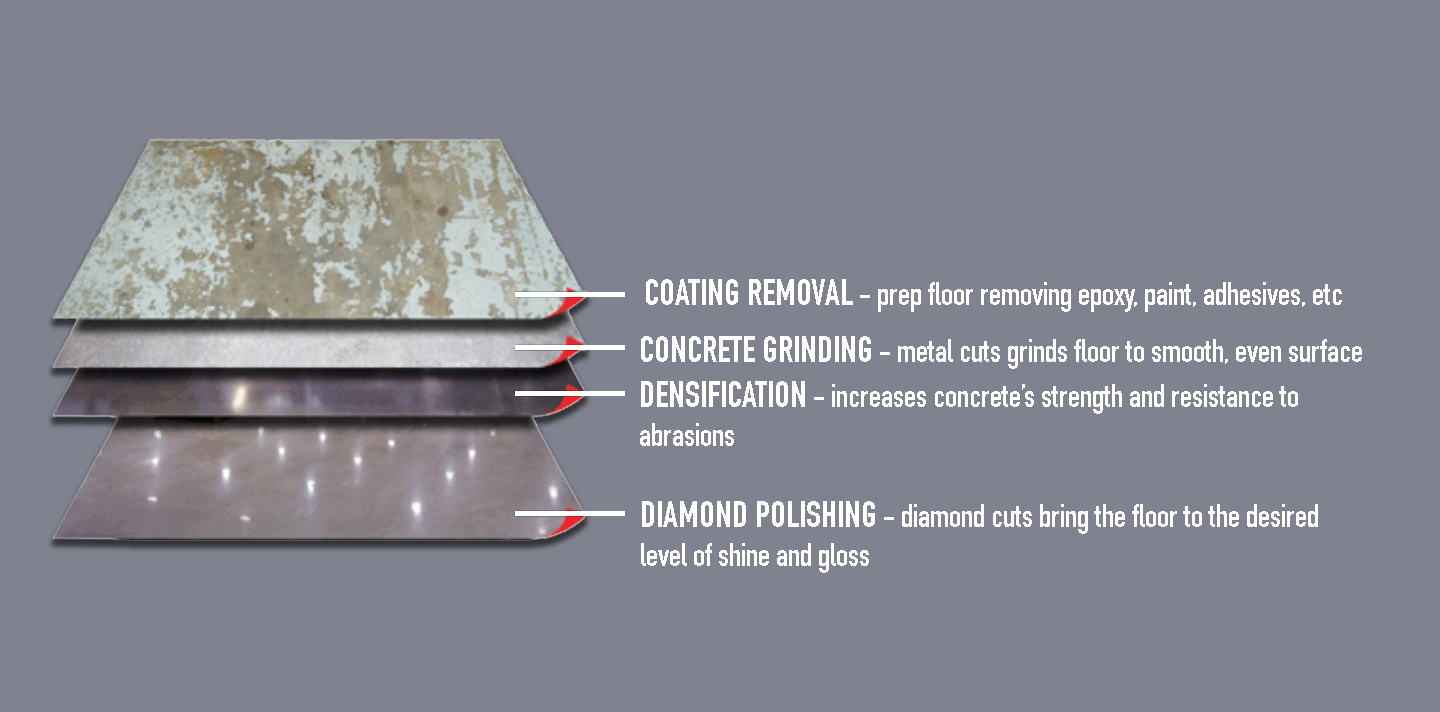
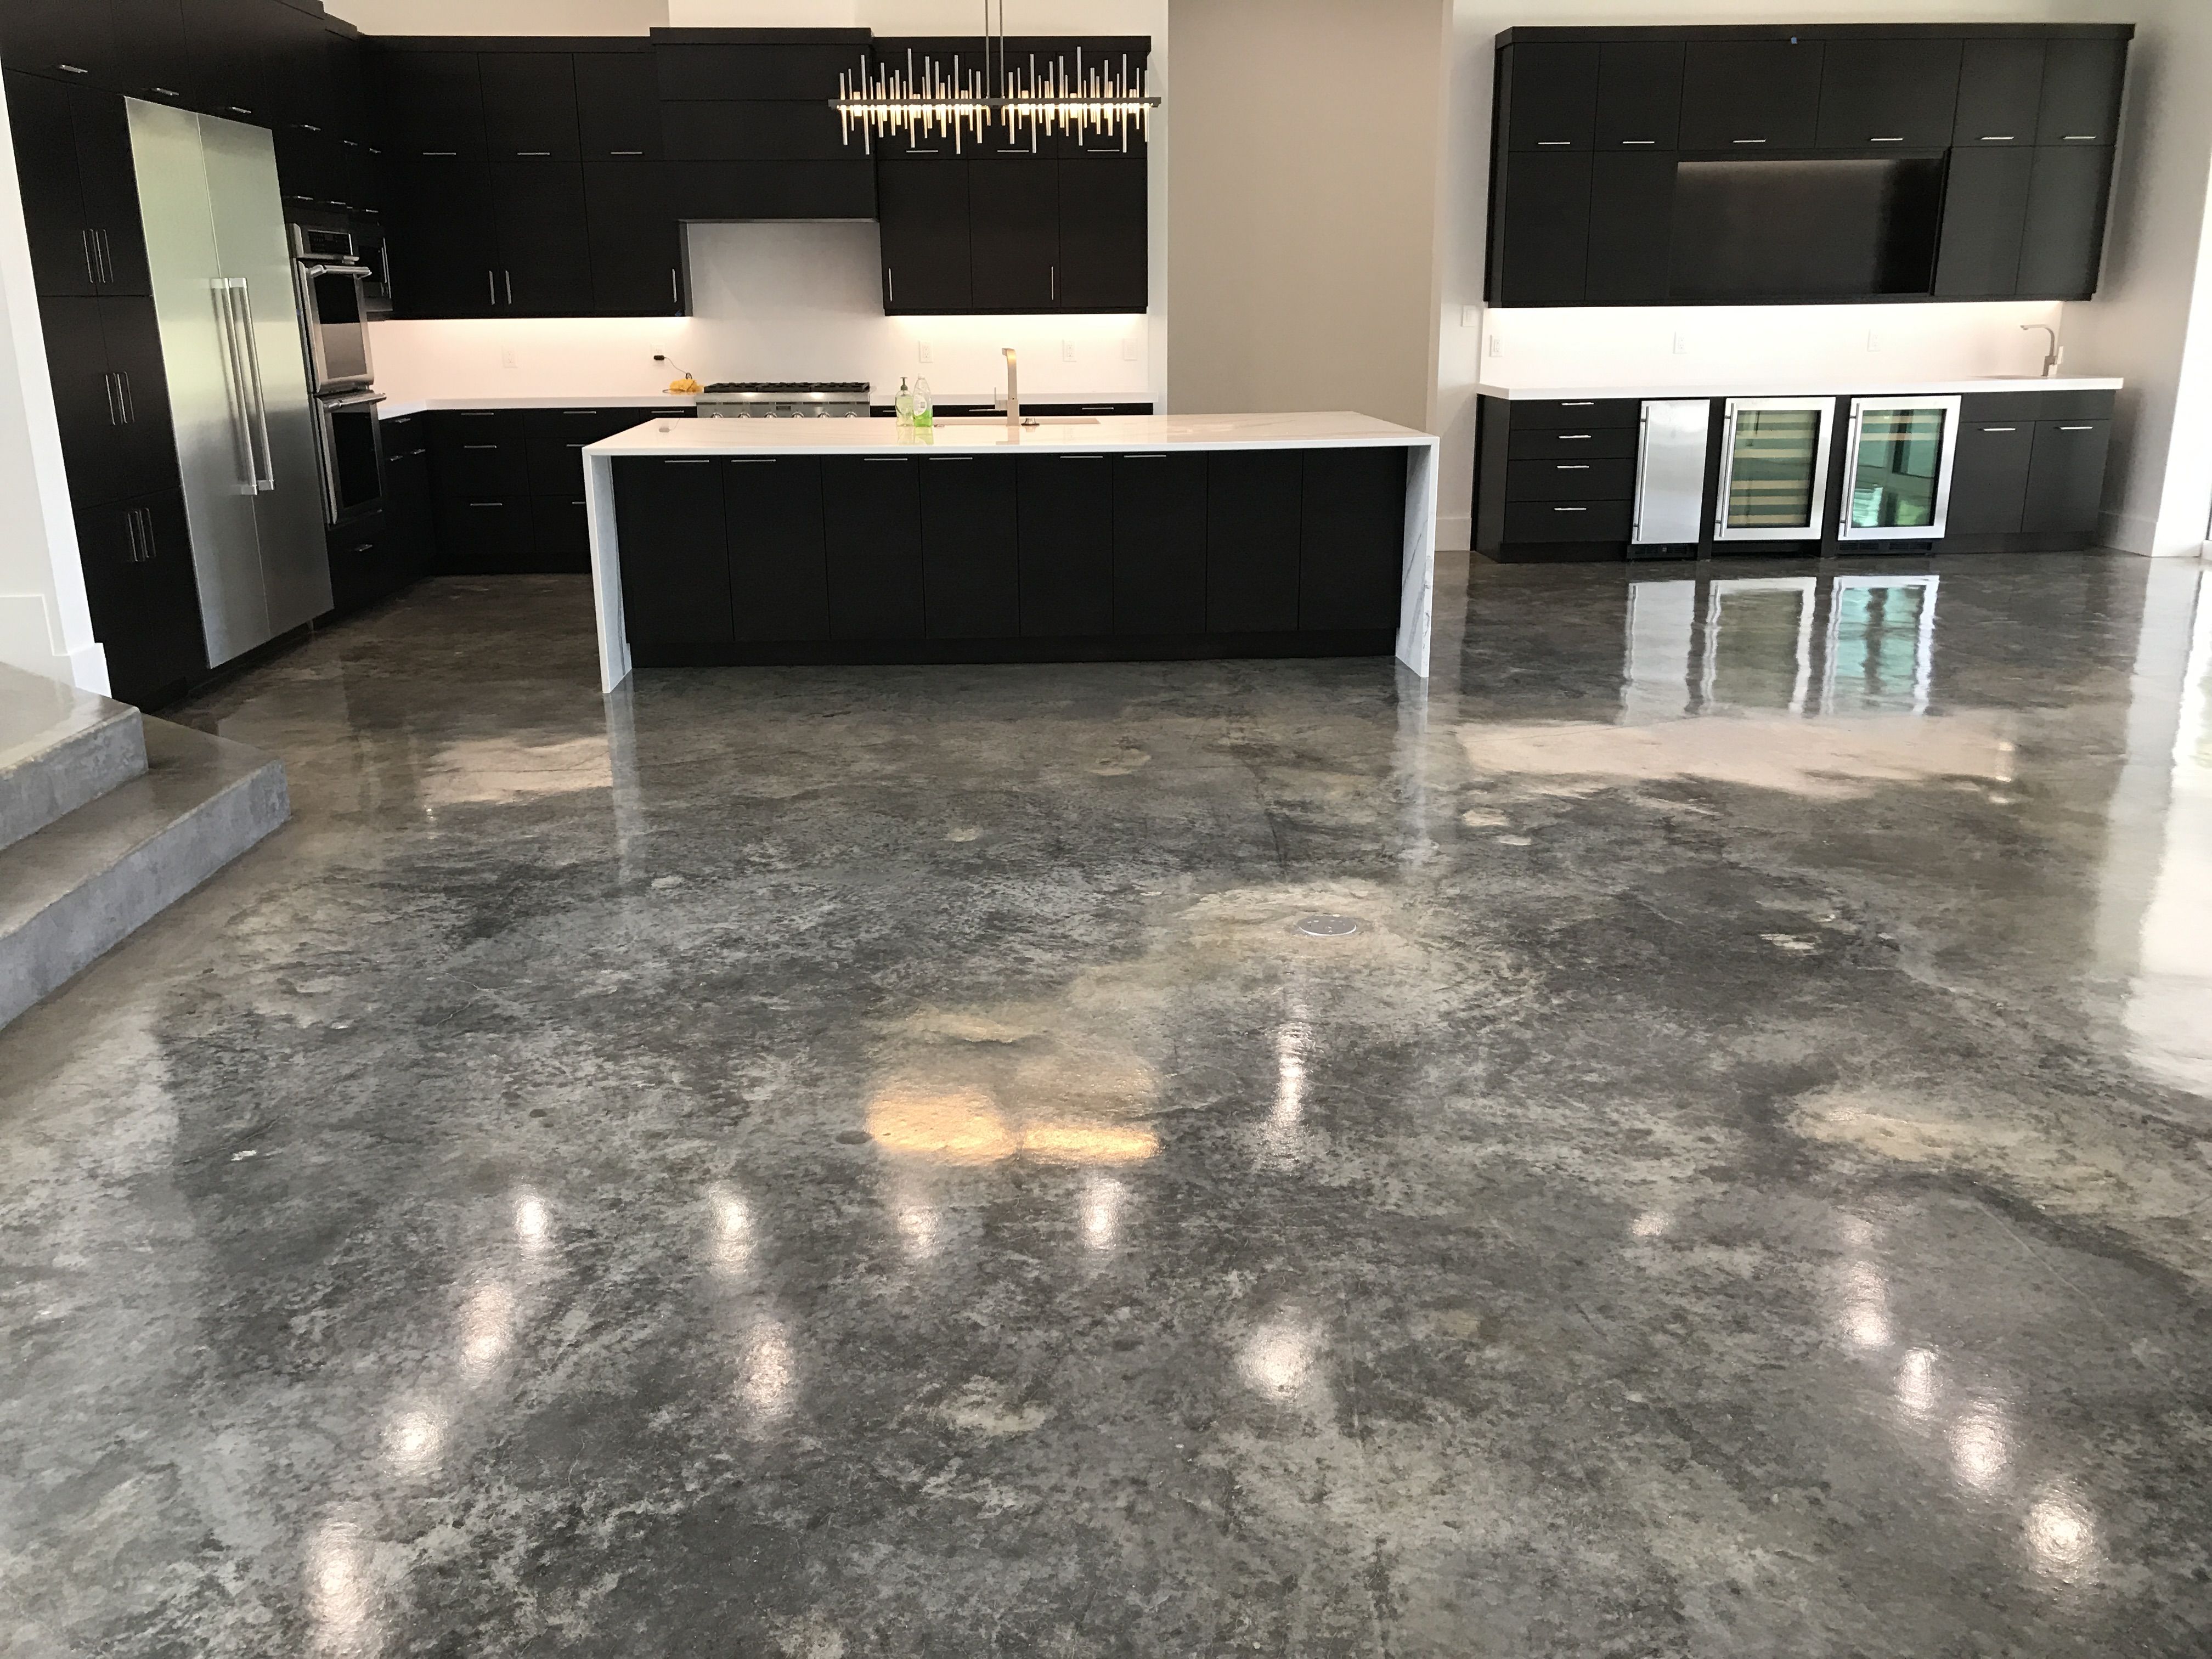
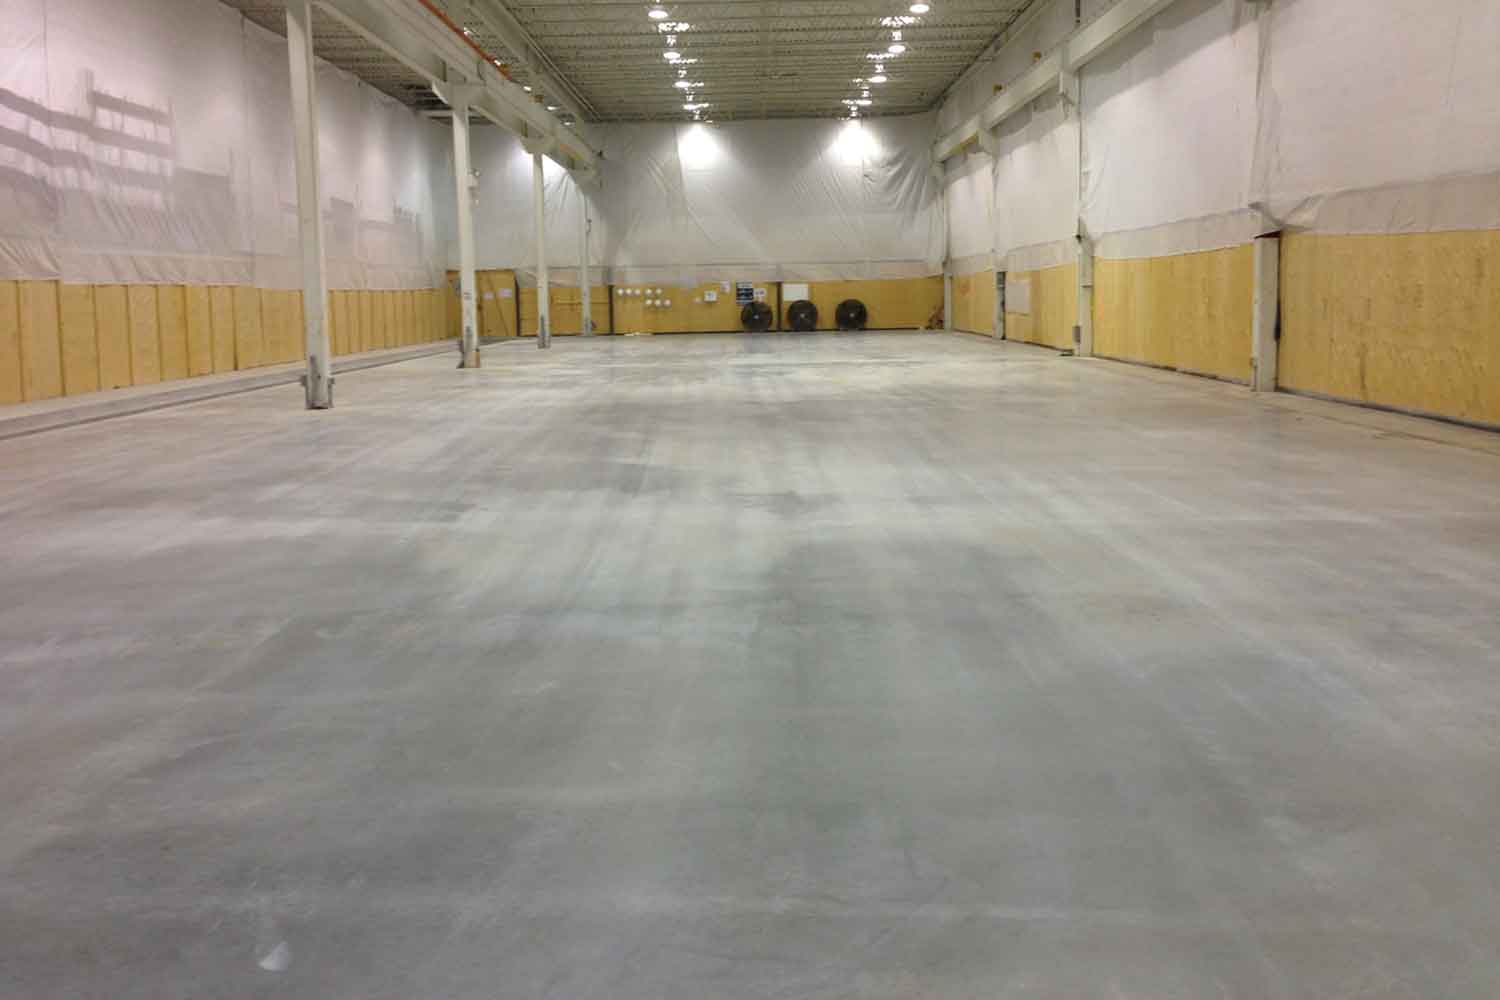
Commercial Polished Concrete Floors – Andy’s Polished Concrete Floors Concrete polishing
How to Pour a Concrete Floor EasyMix Concrete UK Ltd
Advantages and disadvantages of Concrete Flooring

The Process of Installing Wood Flooring Over Concrete – Architecture Admirers Wood floors

Flooring Process – South Carolina Flooring Installation : A Step Above Flooring
CONCRETE FLOORING An Architect Explains And Reviews
Concrete Placement Systems – Concrete Contractor
Related Posts:
- Outdoor Concrete Flooring Ideas
- Concrete Floor Polishing
- Interior Concrete Floor Paint Ideas
- Concrete Floor Epoxy Crack Filler
- Concrete Floor Basement Ideas
- Painting Concrete Floor With Epoxy
- Outdoor Concrete Floor Paint Ideas
- Concrete Floor Painting Tips
- Outdoor Concrete Floor Finishes
- Non Slip Concrete Floor
Concrete flooring is one of the most popular flooring types available, and for good reason. Not only is it durable and easy to maintain, but it’s also incredibly versatile and can be used in a variety of ways. Whether you’re looking for a sleek and modern look or something more traditional, concrete flooring can provide the perfect finishing touch to any room. But before you can enjoy the benefits of concrete flooring, you must first understand the concrete flooring process.
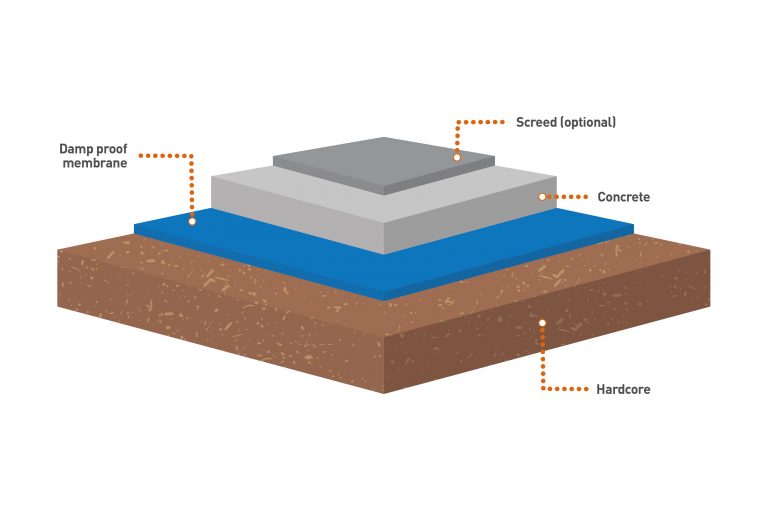
## Prepping Your Subfloor
The first step in the concrete flooring process is prepping the subfloor. This is the layer of material that will be installed beneath the concrete and will act as support. Depending on the type of subfloor you have, there may be additional steps involved in prepping the surface for concrete. For example, if you have a wood subfloor, you may need to add a vapor barrier or use a leveling compound to ensure a smooth surface.
## Applying the Slab
Once your subfloor has been adequately prepped, it’s time to apply the concrete slab. This involves pouring a wet mix of ingredients onto the subfloor and then using tools such as trowels and floats to spread it evenly over the surface. The thickness of the slab will depend on what type of finish you’re looking for and where the concrete will be installed.
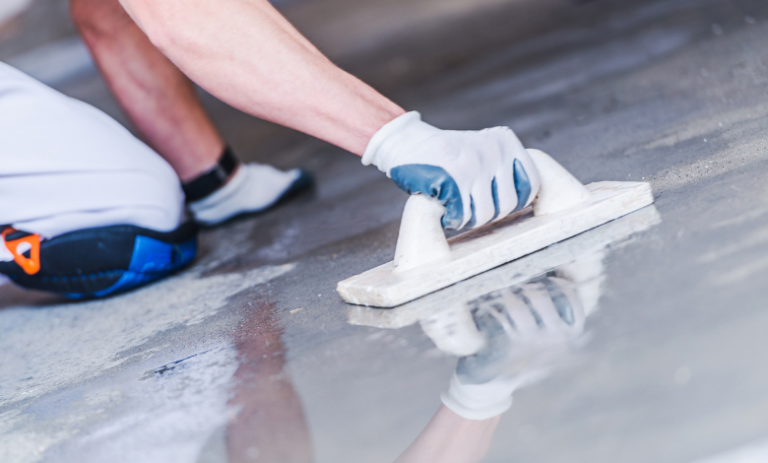
## Finishing
After the slab has been applied, it’s time to finish it with a sealer or other treatment. The type of finish you choose will depend on the desired look and feel for your space. For example, if you’re looking for a glossy finish, you may opt for an epoxy sealer. On the other hand, if you’re looking for a matte finish, a penetrating sealer may be a better option. No matter which sealer or treatment you choose, it’s important to make sure that it is applied correctly and that all instructions on the packaging are followed.
## Curing
Once your concrete floor has been sealed and treated, it needs to be cured properly before use. This involves allowing the concrete to slowly dry out over several days or weeks in order to harden it properly. During this time, it’s important to keep the area well ventilated and avoid walking on it until it is fully cured.
## Maintenance
Maintaining your concrete floor is essential if you want it to look its best over time. Regular sweeping and mopping is important to keep dirt and debris off of it, while regular sealing can help protect against stains and wear-and-tear. Additionally, using mats or rugs in high-traffic areas can help protect your floor from scratches or cracks.
The concrete flooring process may seem daunting at first, but with patience and some careful preparation, you can enjoy beautiful results that will last for years to come. By following these steps and taking proper care of your floor, you can ensure that your concrete floors will look as good as new for years to come!