Cork flooring has gained popularity in recent years due to its durability, eco-friendliness, and aesthetic appeal. When installed over concrete, it provides a warm, resilient, and comfortable surface underfoot. However, proper installation is crucial to ensure its longevity and performance. This article will cover everything you need to know about installing cork flooring on concrete, including preparation, installation steps, maintenance, and common mistakes to avoid.
Understanding Cork Flooring and Its Benefits
What is Cork Flooring?
Cork flooring is made from the bark of cork oak trees, primarily found in the Mediterranean region. The bark is harvested without harming the tree, making it a renewable resource. This unique material is ground up, compressed, and formed into sheets bonded with resins to create tiles or planks.
Eco-Friendly and Sustainable
One of the primary benefits of cork flooring is its eco-friendliness. Cork is a sustainable material, as the trees are not cut down during harvesting. Additionally, cork production generates minimal waste, and many manufacturers use recycled cork to produce new flooring products.
Comfort and Resilience
Cork flooring is known for its comfort and resilience. Its natural cushioning properties make it comfortable to walk on, reducing fatigue and providing a softer surface than traditional hardwood or tile flooring. This makes it an excellent choice for areas where you stand for extended periods, such as kitchens and living rooms.
Thermal and Acoustic Insulation
Cork has excellent thermal and acoustic insulation properties. It helps maintain a consistent temperature in your home, reducing energy costs. Additionally, cork absorbs sound, making it an ideal choice for reducing noise levels in multi-story buildings or busy households.
Durability and Longevity
Cork flooring is highly durable and can withstand heavy foot traffic. Its natural elasticity allows it to recover from minor impacts and dents. When properly maintained, cork flooring can last for decades, making it a cost-effective investment.
Aesthetic Appeal
Available in various colors, patterns, and textures, cork flooring can complement any interior design style. Whether you prefer a natural, rustic look or a sleek, modern appearance, there’s a cork flooring option to suit your taste.

Preparing the Concrete Subfloor
Assessing the Condition of the Concrete
Before installing cork flooring, it’s essential to assess the condition of the concrete subfloor. Check for cracks, uneven surfaces, and moisture issues. Any imperfections can affect the performance and longevity of your cork flooring, so addressing these issues beforehand is crucial.
Cleaning the Subfloor
A clean subfloor is essential for a successful cork flooring installation. Remove any debris, dust, and old adhesive residue from the concrete surface. Use a vacuum or broom to ensure the subfloor is free of any particles that could interfere with the adhesive or underlayment.
Leveling the Subfloor
An even subfloor is vital for a smooth cork flooring installation. Use a leveling compound to fill in any low spots and ensure the concrete surface is flat. Follow the manufacturer’s instructions for applying and drying the leveling compound to achieve the best results.
Moisture Testing
Concrete subfloors can retain moisture, which can cause damage to cork flooring. Conduct a moisture test using a moisture meter or calcium chloride test to ensure the concrete’s moisture levels are within acceptable limits. If moisture levels are too high, consider applying a moisture barrier or using a different flooring option.
Applying a Moisture Barrier
If moisture is detected in the concrete subfloor, applying a moisture barrier is essential. A moisture barrier prevents moisture from seeping into the cork flooring, which can cause warping and mold growth. Use a liquid or sheet membrane moisture barrier, following the manufacturer’s instructions for proper application.
Installing an Underlayment
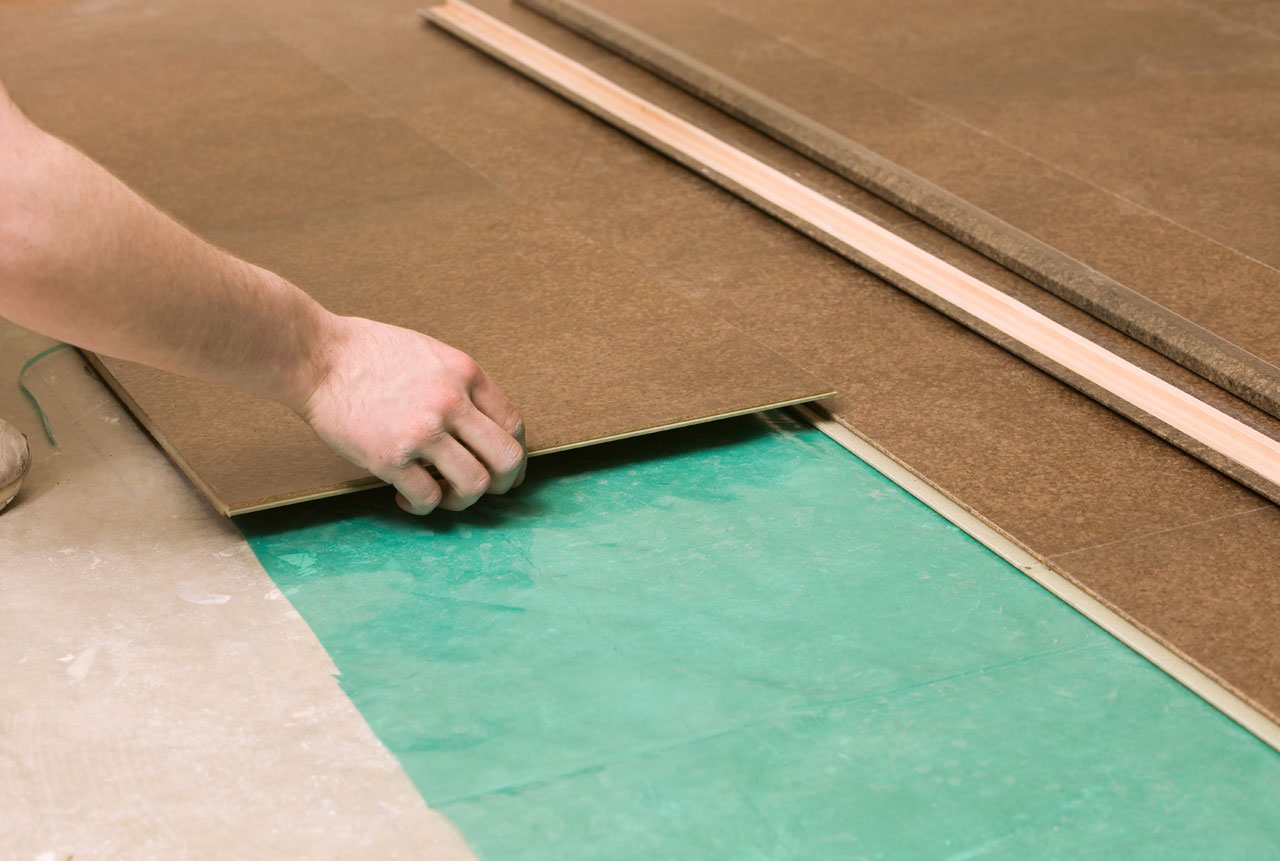
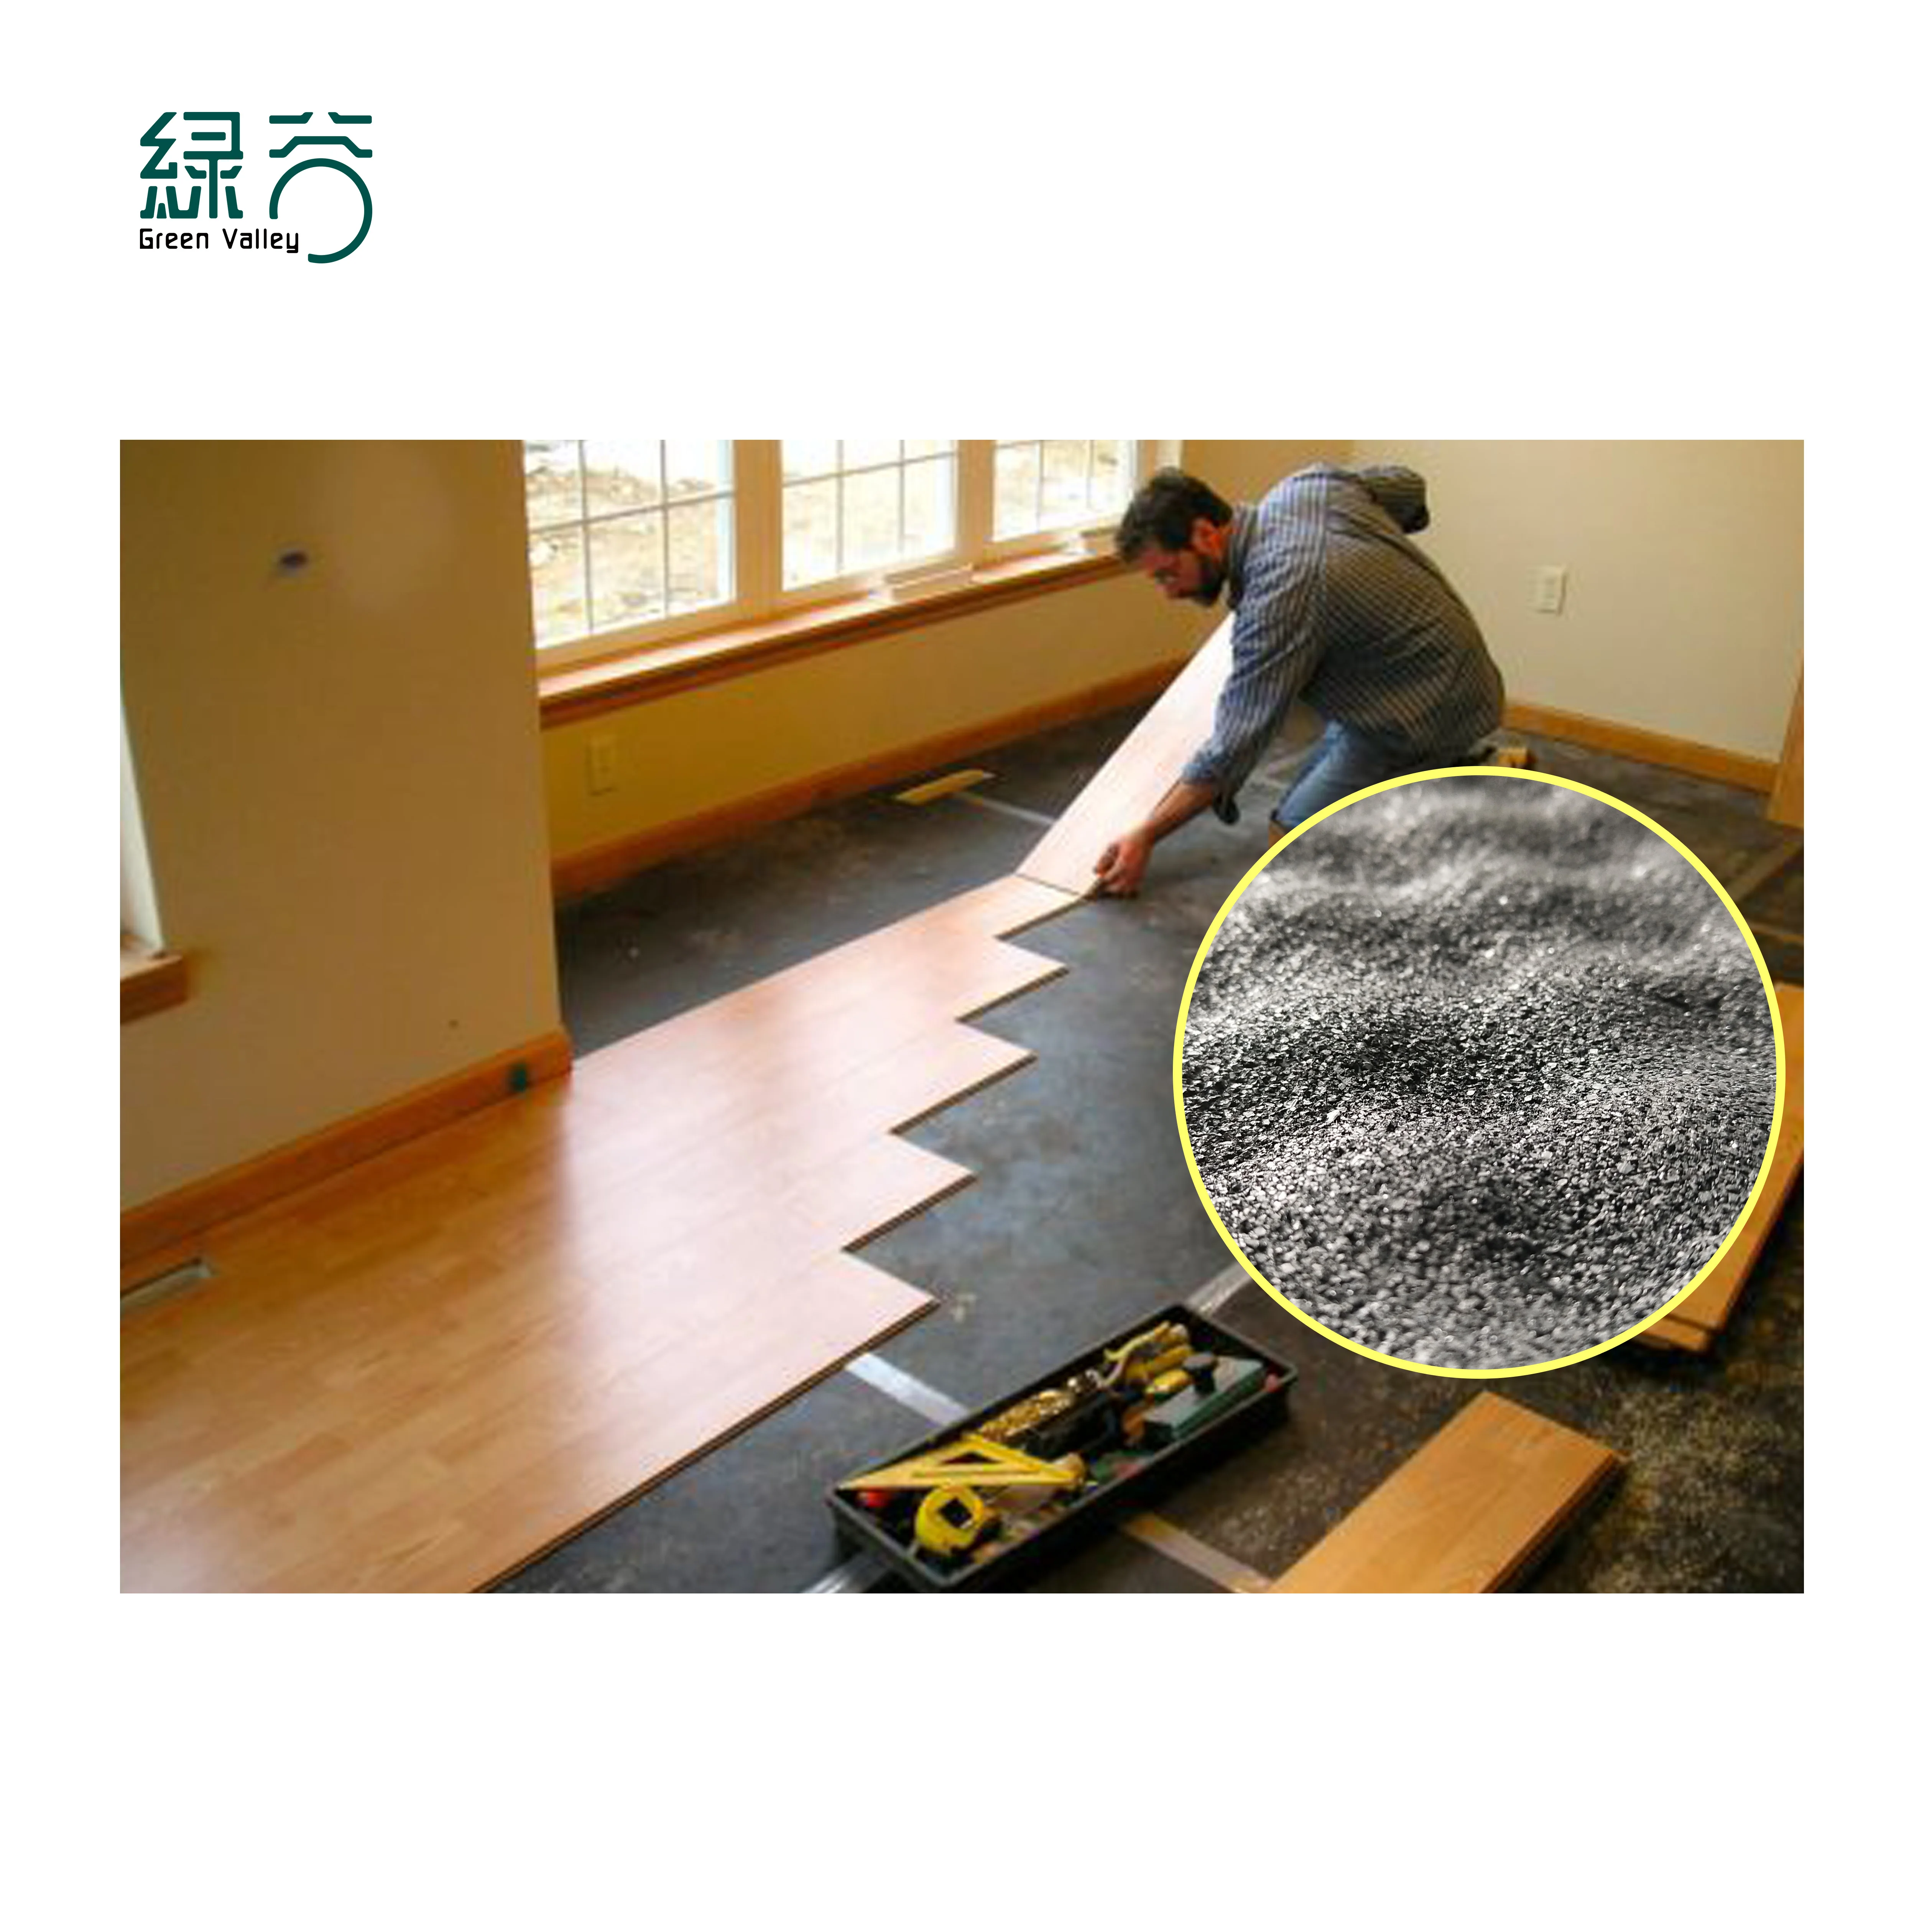
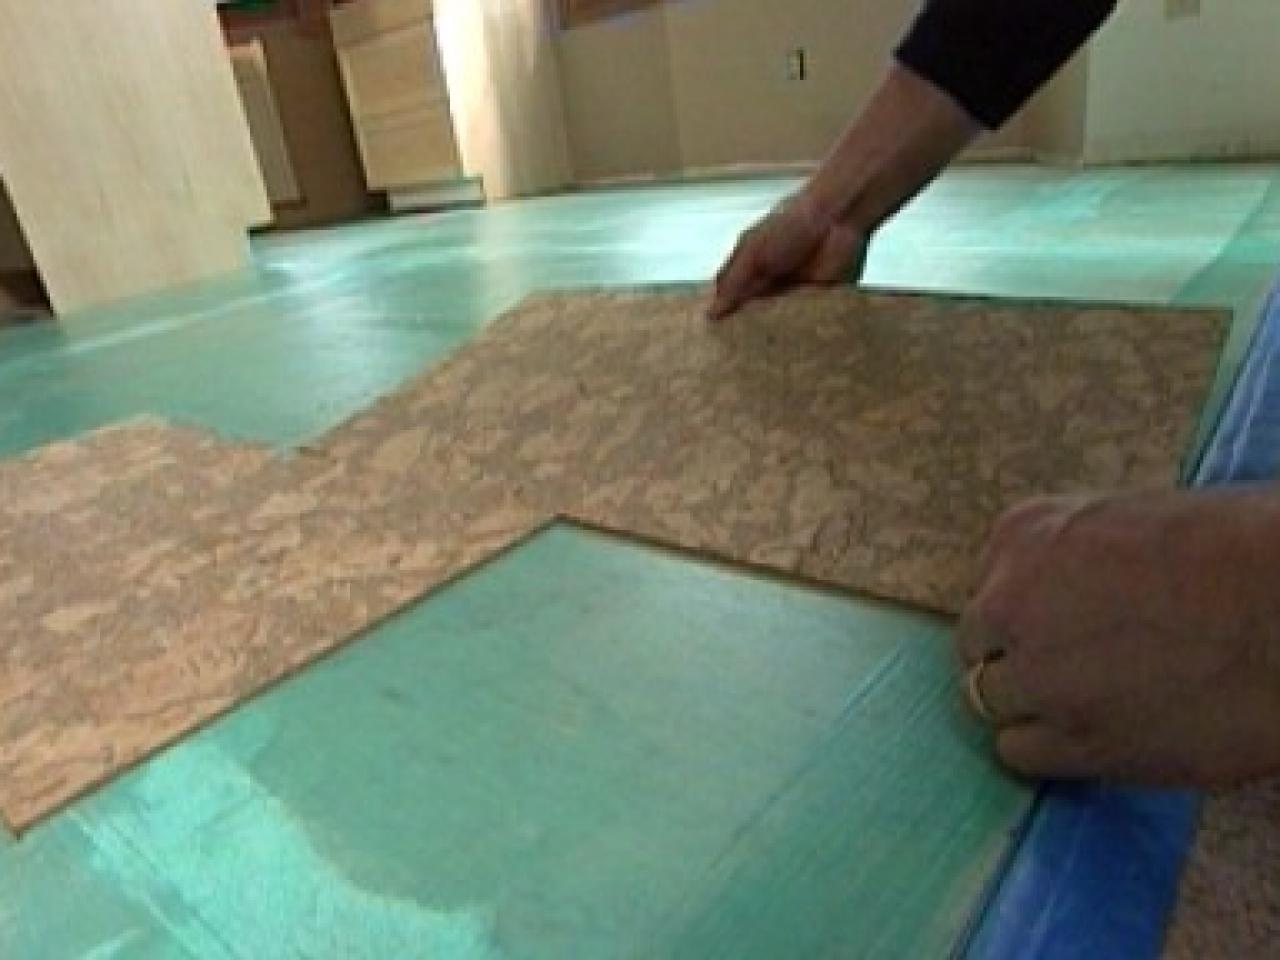
An underlayment provides additional cushioning and insulation, enhancing the comfort and performance of your cork flooring. Choose an underlayment compatible with cork flooring and suitable for use over concrete. Roll out the underlayment and secure it to the subfloor using adhesive or double-sided tape.
Step-by-Step Installation Process
Acclimating the Cork Flooring
Before installation, allow the cork flooring to acclimate to the room’s temperature and humidity for at least 48 hours. This helps prevent expansion or contraction after installation. Lay the cork tiles or planks flat in the room where they will be installed.
Planning the Layout
Planning the layout of your cork flooring is crucial for achieving a professional-looking installation. Start by measuring the room and marking the center point. Lay out the tiles or planks in a dry run to determine the best placement and minimize cuts.
Cutting the Cork Tiles or Planks
Cutting cork tiles or planks is necessary to fit around edges and obstacles. Use a sharp utility knife and a straightedge to make precise cuts. For more intricate cuts, such as around door frames or vents, use a jigsaw or a coping saw.
Applying Adhesive
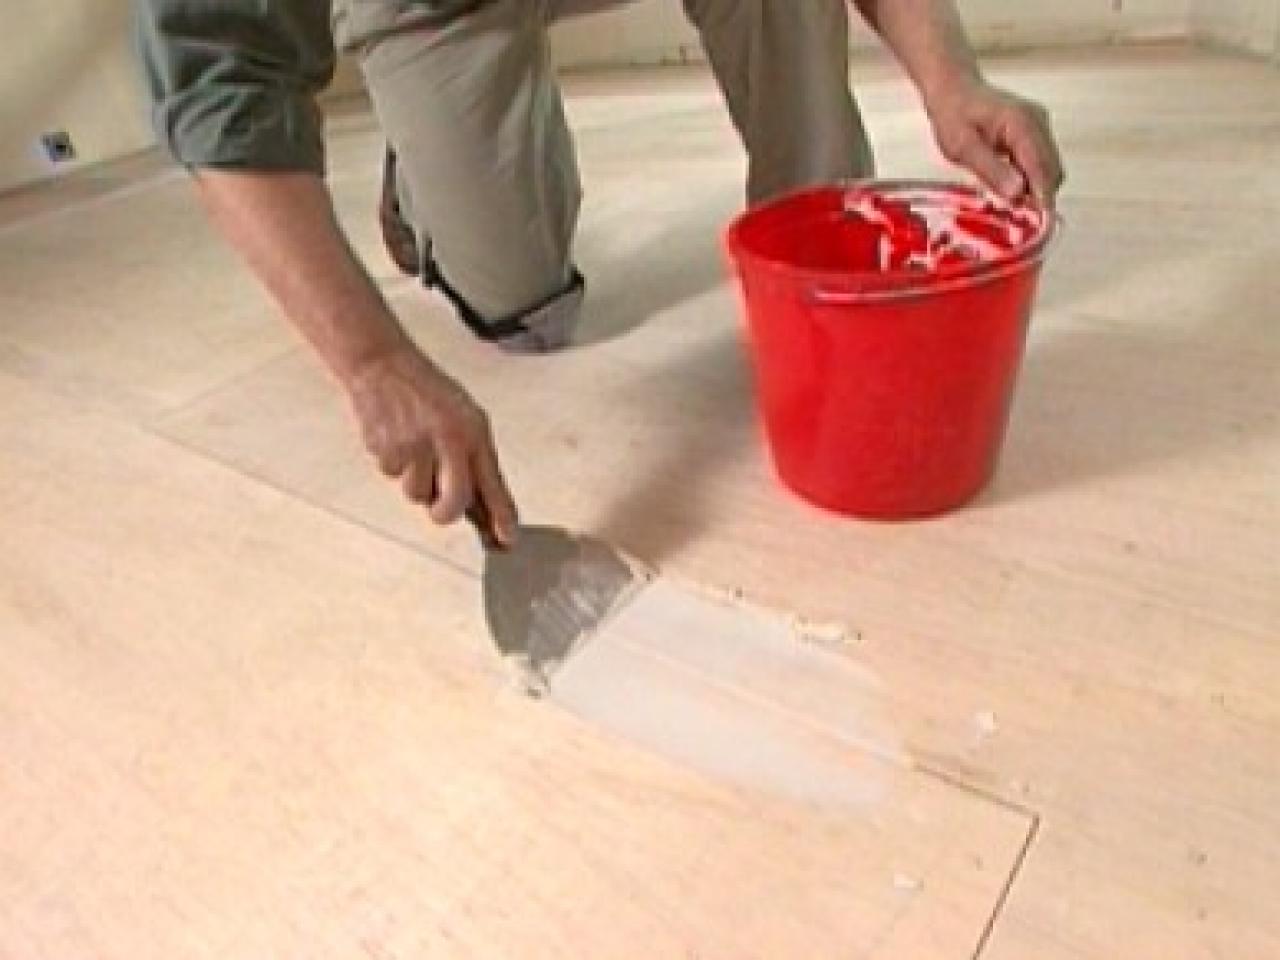
Apply adhesive to the subfloor using a notched trowel, following the manufacturer’s recommendations for the type and amount of adhesive. Work in small sections to prevent the adhesive from drying out before you can lay the cork flooring. Spread the adhesive evenly to ensure proper bonding.
Laying the Cork Flooring
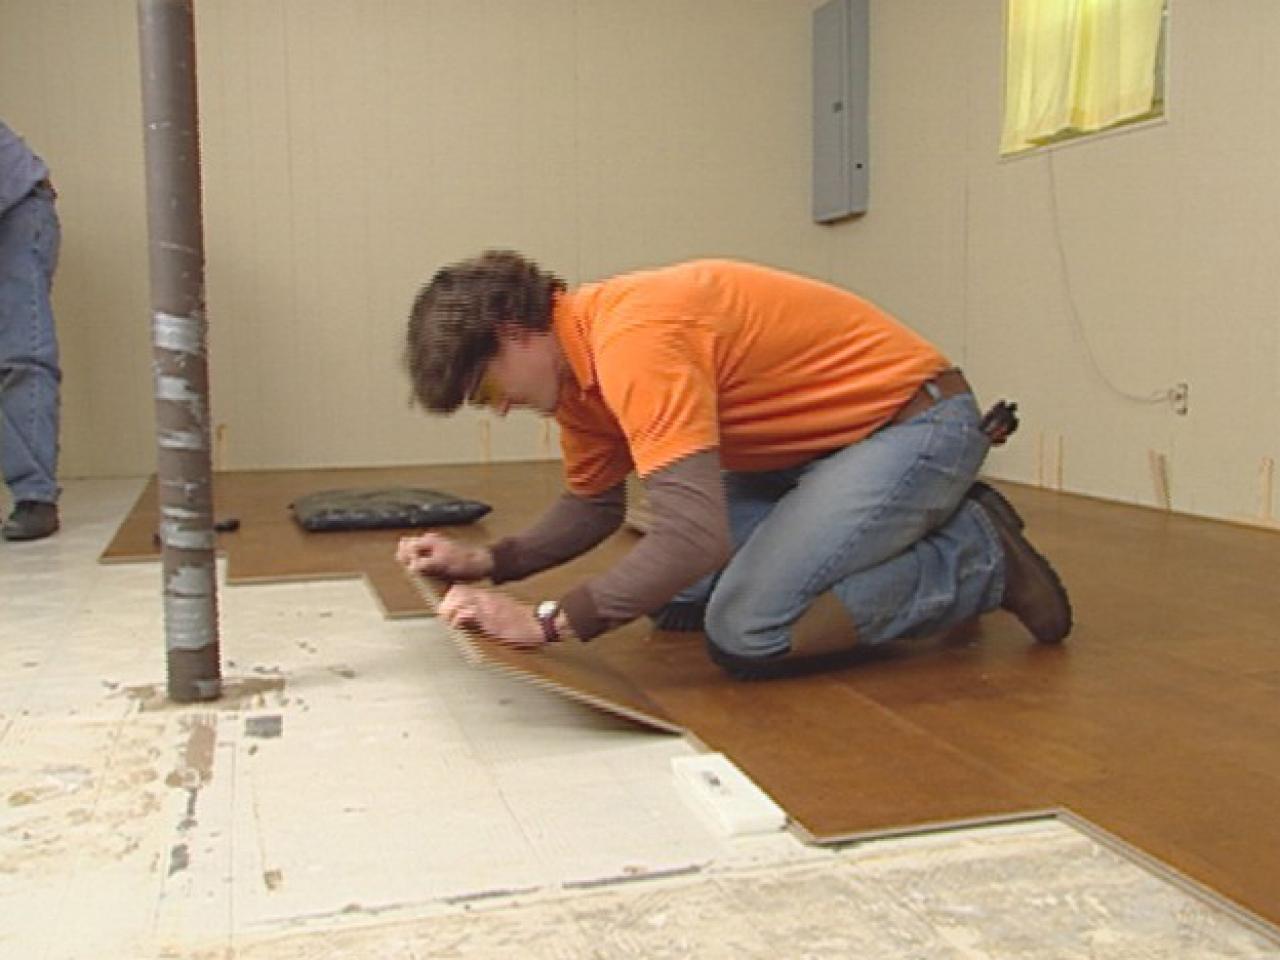
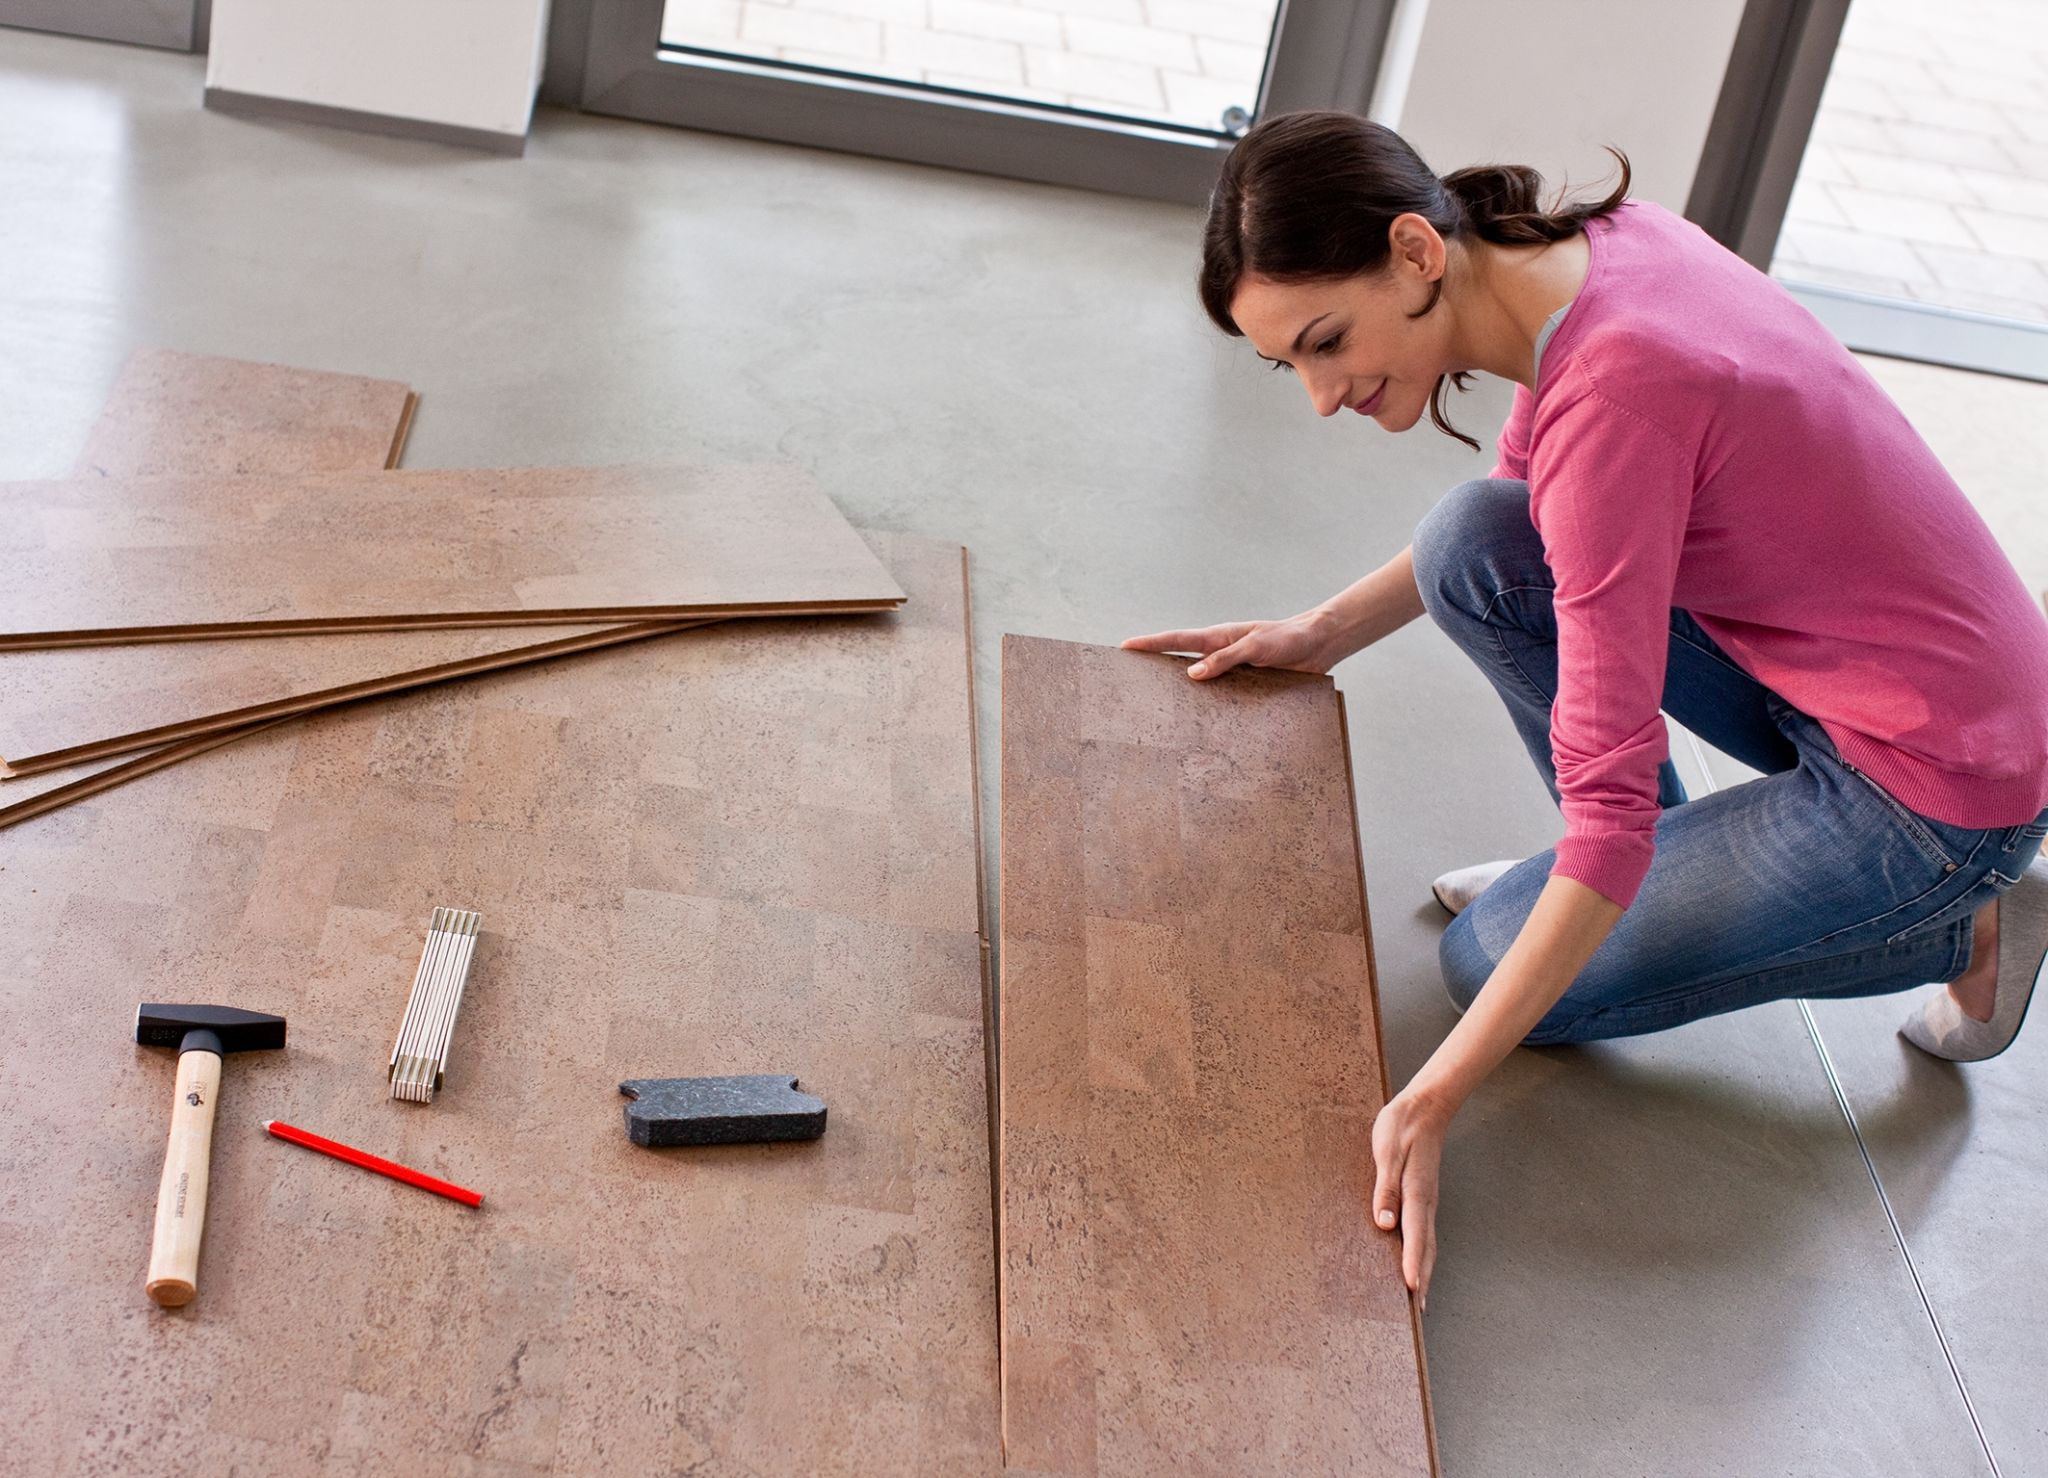
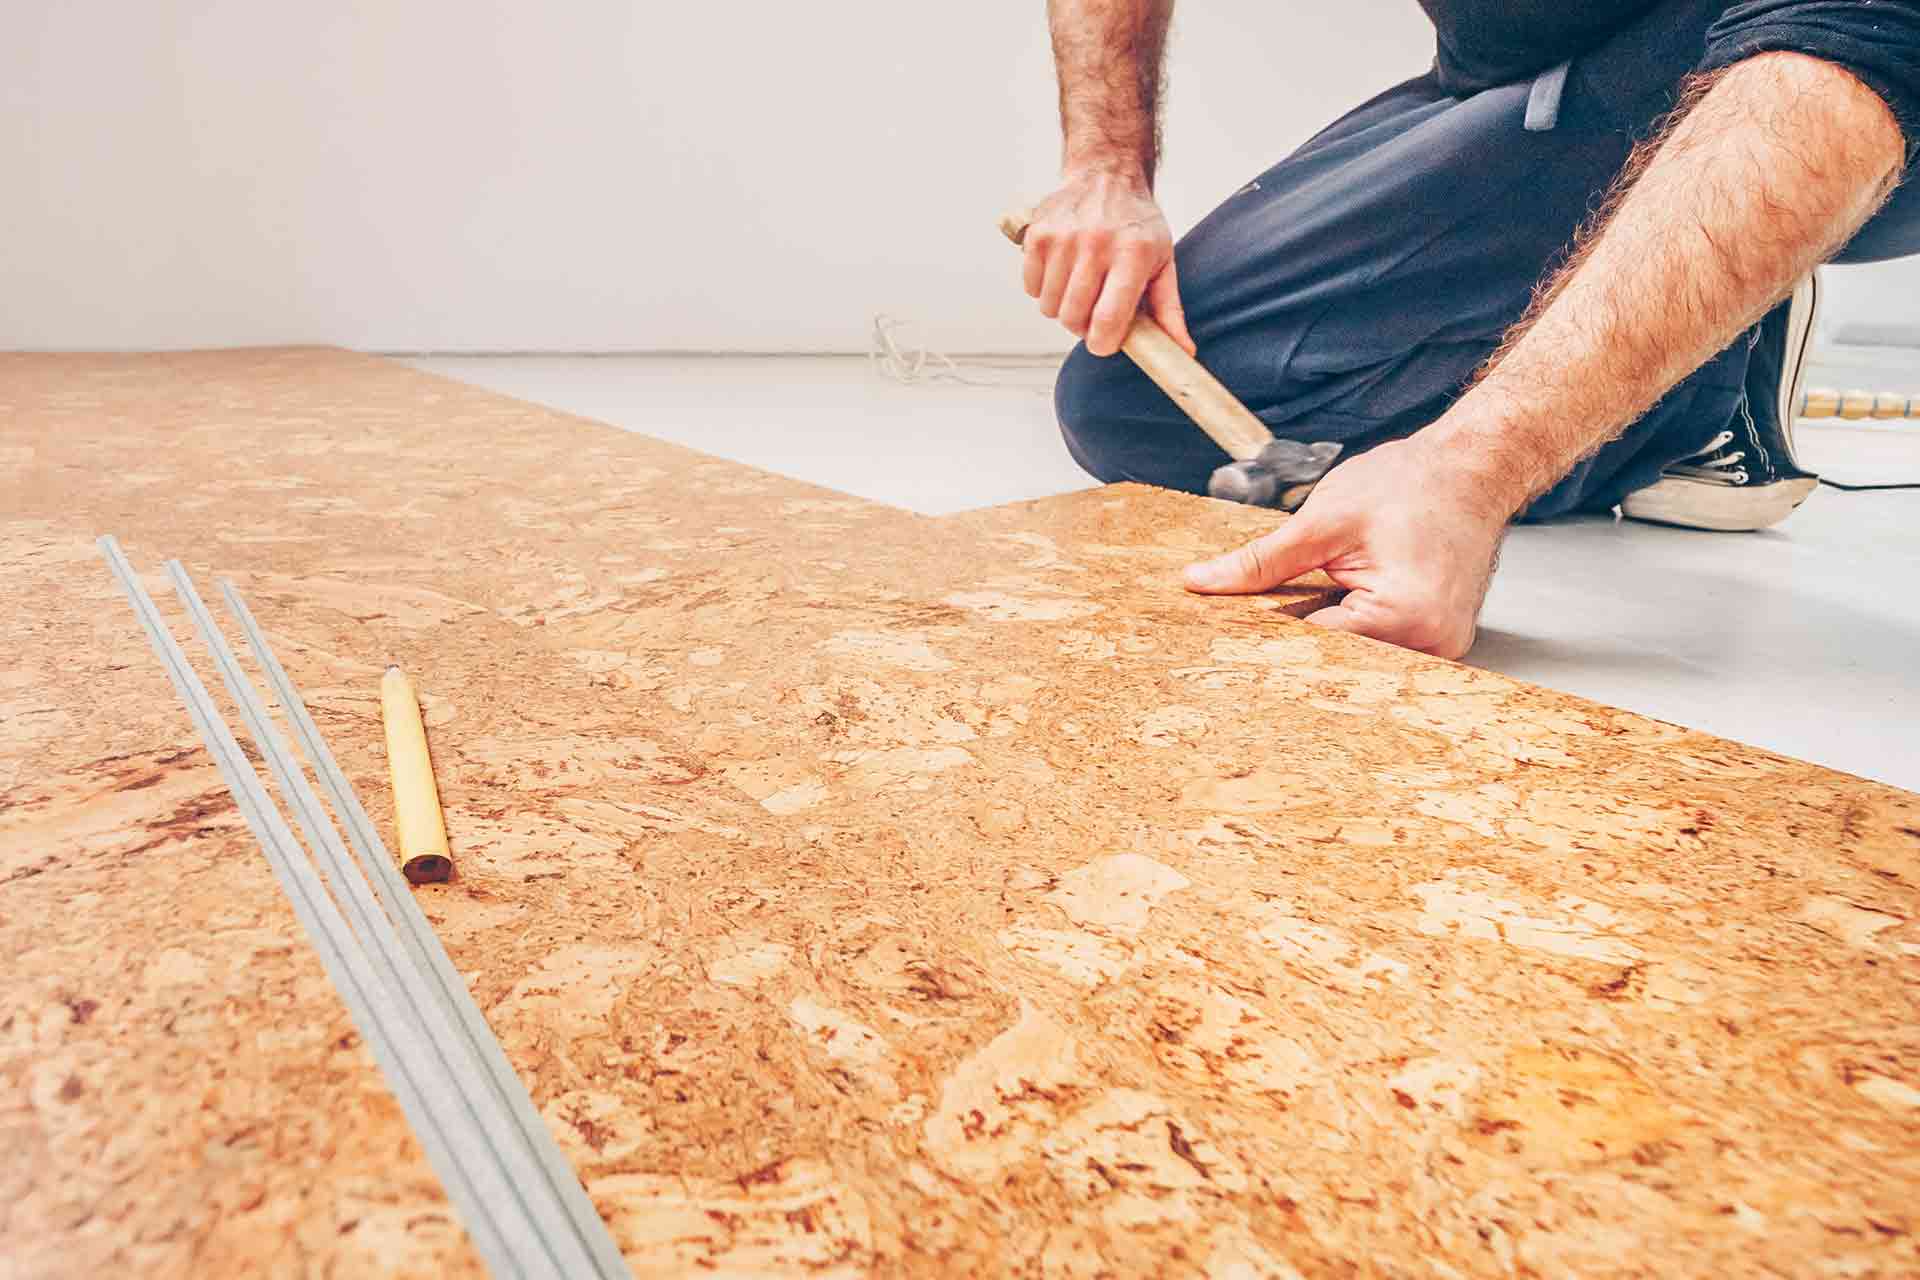
Begin laying the cork tiles or planks from the center of the room, working your way towards the edges. Press each tile or plank firmly into the adhesive, ensuring there are no gaps or uneven edges. Use spacers along the walls to maintain an expansion gap, allowing for natural expansion and contraction.
Rolling the Floor
Once all the cork flooring is in place, use a floor roller to press the tiles or planks firmly into the adhesive. This ensures a strong bond and removes any air bubbles. Roll the floor in multiple directions to achieve even pressure distribution.
Post-Installation Care and Maintenance
Allowing the Adhesive to Cure
After installation, allow the adhesive to cure according to the manufacturer’s instructions. Avoid walking on the floor or placing heavy furniture on it during this time to ensure a strong bond. Curing times can vary, so refer to the adhesive product for specific guidelines.
Cleaning the Floor
Regular cleaning is essential to maintain the beauty and longevity of your cork flooring. Sweep or vacuum the floor regularly to remove dirt and debris. Use a damp mop with a mild, pH-neutral cleaner to clean the surface. Avoid using excessive water, as it can damage the cork.
Protecting the Floor
Protect your cork flooring from scratches and dents by using felt pads under furniture legs and placing doormats at entryways. Avoid dragging heavy furniture or sharp objects across the floor. Additionally, consider using area rugs in high-traffic areas to minimize wear and tear.
Addressing Spills and Stains
Promptly clean up spills to prevent moisture from penetrating the cork. Blot spills with a soft cloth and use a damp cloth to wipe away any residue. For stubborn stains, use a gentle cleaner specifically designed for cork flooring. Avoid using harsh chemicals or abrasive cleaning tools.
Periodic Maintenance
In addition to regular cleaning, periodic maintenance is necessary to keep your cork flooring in top condition. Reapply a protective finish every few years, as recommended by the manufacturer. This helps maintain the floor’s appearance and provides an additional layer of protection against wear and tear.
Repairing Damaged Areas
If your cork flooring becomes damaged, it is possible to repair individual tiles or planks without replacing the entire floor. Carefully remove the damaged piece and replace it with a new one, using the same adhesive and installation techniques. This allows you to maintain the overall look and integrity of your flooring.
Common Mistakes to Avoid
Skipping Moisture Testing
One of the most common mistakes when installing cork flooring on concrete is skipping moisture testing. Failing to check the moisture levels in the concrete can lead to significant issues, such as warping, mold growth, and adhesive failure. Always conduct a moisture test before installation to ensure a successful outcome.
Not Acclimating the Flooring
Another common mistake is not allowing the cork flooring to acclimate to the room’s temperature and humidity. Skipping this step can result in expansion or contraction after installation, leading to gaps or buckling. Ensure the flooring acclimates for at least 48 hours before installation.
Using the Wrong Adhesive
Using the wrong adhesive can compromise the installation and performance of your cork flooring. It’s essential to choose an adhesive specifically designed for cork flooring and compatible with concrete subfloors. Follow the manufacturer’s recommendations for the best results.
Failing to Level the Subfloor
An uneven subfloor can cause numerous issues during and after installation. Failing to level the concrete surface can result in gaps, uneven edges, and poor adhesion. Always use a leveling compound to create a smooth, flat surface before installing cork flooring.
Neglecting the Expansion Gap
Neglecting to leave an expansion gap around the perimeter of the room is a common mistake. Cork flooring naturally expands and contracts with changes in temperature and humidity. Without an expansion gap, the flooring can buckle or develop gaps. Use spacers to maintain the proper gap during installation.
Improper Cleaning and Maintenance
Improper cleaning and maintenance can shorten the lifespan of your cork flooring. Using harsh chemicals, excessive water, or abrasive tools can damage the cork and its finish. Stick to gentle, pH-neutral cleaners and avoid excessive moisture to keep your flooring looking its best.
Can cork flooring be installed directly on concrete?
Yes, cork flooring can be installed directly on concrete, provided the subfloor is properly prepared. This includes assessing the condition of the concrete, cleaning the surface, leveling the subfloor, and conducting moisture testing. Applying a moisture barrier and underlayment is also recommended for optimal results.
How do I test the moisture level in the concrete subfloor?
You can test the moisture level in the concrete subfloor using a moisture meter or a calcium chloride test. A moisture meter provides a quick and easy way to measure the moisture content, while a calcium chloride test involves placing a test kit on the concrete surface to measure moisture emission over time.
What type of adhesive should I use for cork flooring on concrete?
It’s essential to use an adhesive specifically designed for cork flooring and compatible with concrete subfloors. Look for adhesives recommended by the cork flooring manufacturer, as they will provide the best bonding and performance. Follow the adhesive product’s instructions for application and curing times.
How do I maintain and clean cork flooring?
Maintain and clean cork flooring by sweeping or vacuuming regularly to remove dirt and debris. Use a damp mop with a mild, pH-neutral cleaner to clean the surface. Avoid excessive water and harsh chemicals. Additionally, protect the floor from scratches by using felt pads under furniture legs and placing doormats at entryways.
Can I install cork flooring in high-moisture areas, such as bathrooms?
While cork flooring can be installed in bathrooms, it’s important to take extra precautions to protect it from moisture. Apply a waterproof sealant to the surface and ensure the subfloor has a moisture barrier. Promptly clean up spills and avoid excessive water exposure to maintain the integrity of the cork flooring.
How long does cork flooring last?
With proper installation, maintenance, and care, cork flooring can last for several decades. Its natural durability and resilience make it a long-lasting flooring option. Periodic maintenance, such as reapplying a protective finish, will help preserve the appearance and performance of the cork flooring over time.
Cork Flooring Installation
Related Posts:
