I first discovered glue down cork flooring when helping a friend renovate her yoga studio, and I’ve been impressed with its performance ever since. Unlike floating cork floors that click together, glue down cork tiles create a permanent, seamless surface that feels solid underfoot. The installation process requires more precision but delivers exceptional results. After using glue down cork in several projects, I’ve learned its unique advantages and how to get the best performance from this eco-friendly material. Whether you’re considering it for a kitchen, basement, or commercial space, glue down cork offers benefits that other flooring types can’t match.
Why Glue Down Cork Stands Out
Glue down cork flooring provides superior stability compared to floating options. In my sunroom installation, where temperature fluctuations are significant, the glued tiles haven’t developed any gaps or movement like some floating floors might. The direct bond to the subfloor creates a monolithic feel that’s particularly noticeable in high-traffic areas. I’ve noticed this stability makes the floor quieter too – there’s no hollow sound when walking across it.
The moisture resistance of properly installed glue down cork surprised me. Using the right adhesive creates a moisture barrier that protects the subfloor. In my basement project, where humidity is a concern, the glued cork has performed better than laminate or engineered wood alternatives might have. The tiles expand and contract as a single unit rather than individually, preventing edge lifting or moisture infiltration between planks.
Durability is another advantage I’ve observed. The glue bond prevents the individual wear that can happen with floating floors where edges may fray over time. My kitchen’s glue down cork has withstood years of chair scooting and dropped utensils without showing damage at the seams. For commercial spaces or homes with pets, this installation method extends the floor’s lifespan significantly.
Preparing for Installation
Proper subfloor preparation makes all the difference with glue down cork. I learned this the hard way when rushing a bathroom project and later dealing with adhesive failure. Now I always ensure the subfloor is clean, dry, and completely level. For concrete slabs, moisture testing is crucial – I use plastic sheet testing for at least 24 hours to check for vapor emission. Any cracks or unevenness should be filled and sanded smooth.
The adhesive selection matters just as much as surface prep. I’ve had best results with solvent-based cork adhesives rather than water-based alternatives. They provide stronger bonds and better moisture protection, though ventilation during application is important. Testing adhesive spread rates on scrap material helps achieve the ideal thickness – too little won’t bond properly, while too much can ooze between tiles.
Acclimating the cork tiles is a step some overlook, but I’ve found it essential. I leave tiles in the room for at least 48 hours before installation, stacked with spacers between boxes for air circulation. This prevents post-installation dimensional changes that could affect the bond. Taking time with preparation ensures the finished floor performs as intended for years.
The Glue Down Installation Process
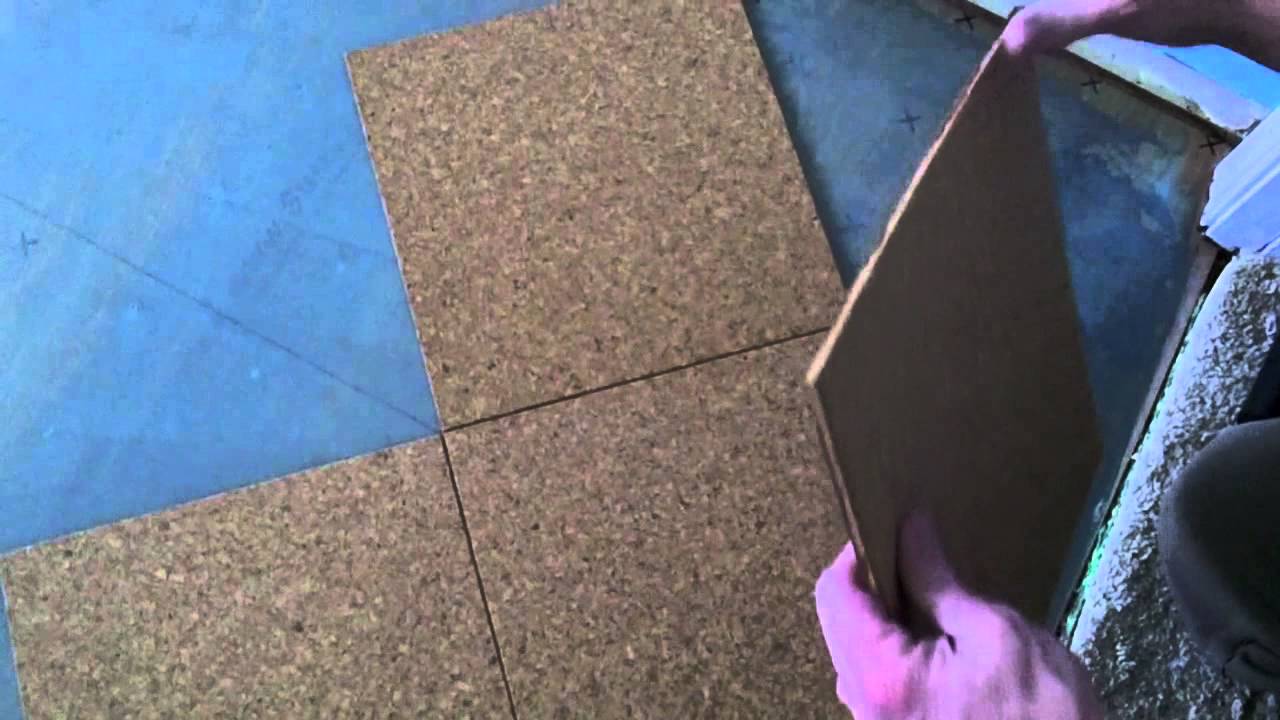
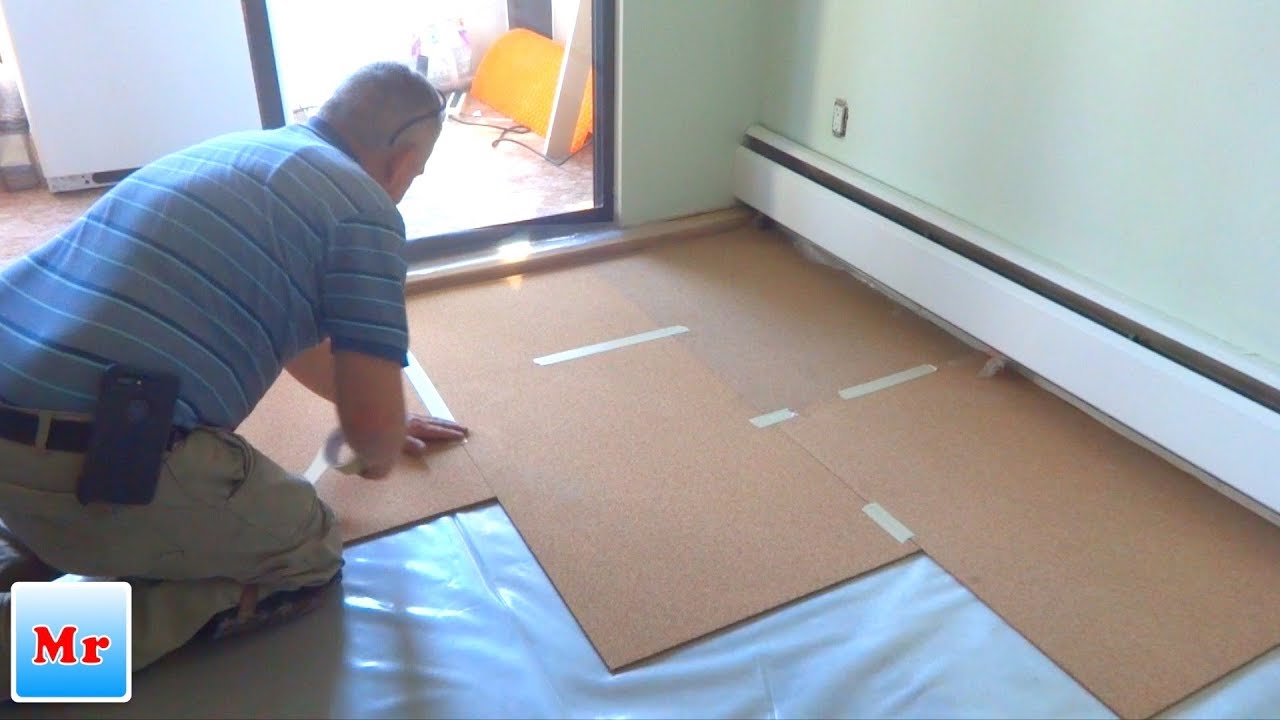
Starting with a well-planned layout prevents awkward cuts at visible areas. I begin by finding the room’s center and dry-laying tiles to ensure balanced borders. Using chalk lines keeps rows straight, especially important because cork’s natural variations can make alignment challenging. For my living room project, this planning phase took nearly as long as the actual installation but resulted in a professional-looking layout.
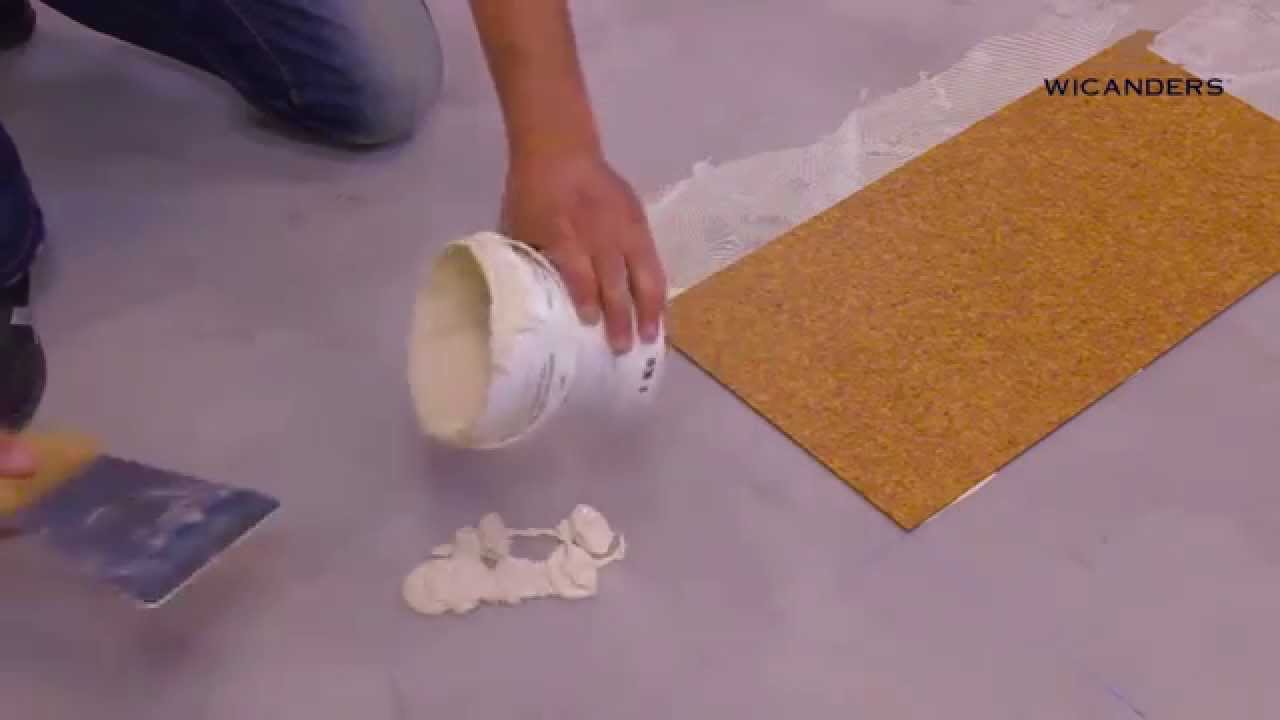
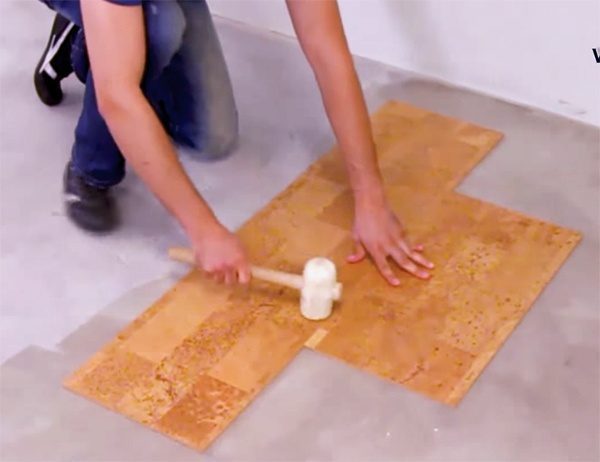
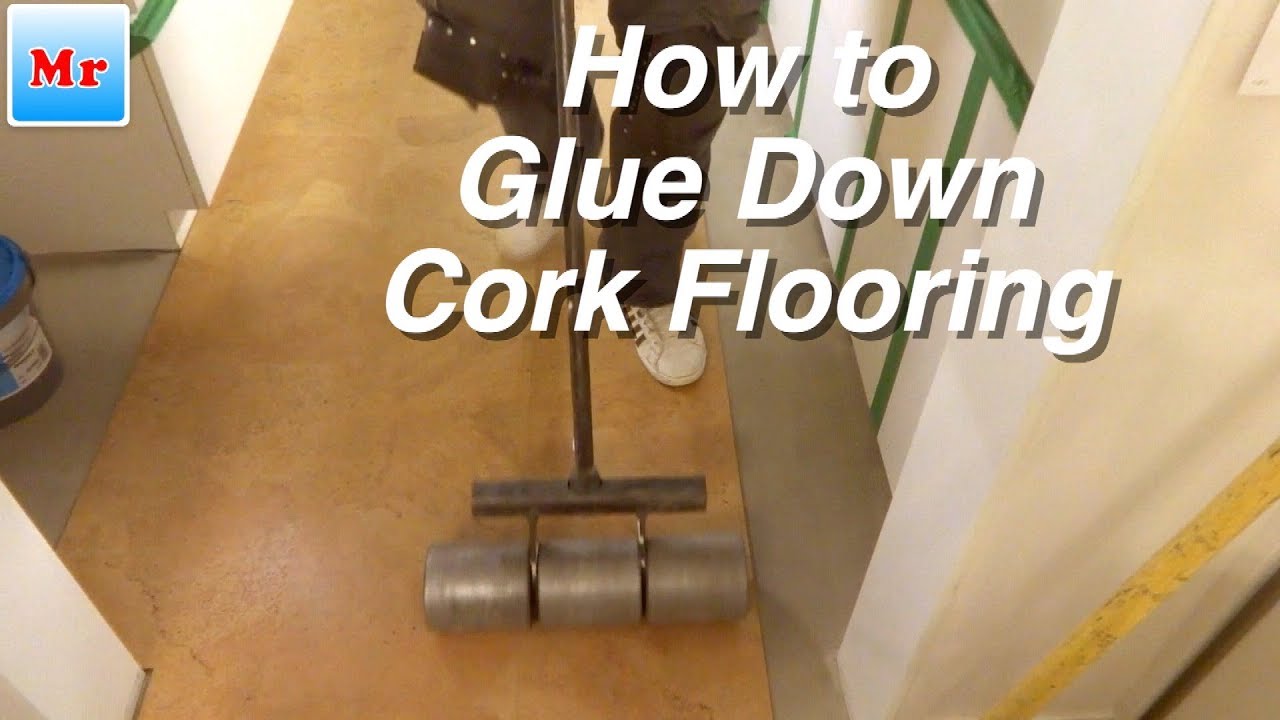
Applying adhesive requires a careful approach. I use a notched trowel sized for the specific adhesive, spreading only as much as I can cover in 30 minutes. The adhesive should tack up slightly before placing tiles – when it doesn’t transfer to a finger touch but still feels sticky. Pressing each tile firmly into place, I check for complete contact by tapping for hollow sounds. A 100-pound roller ensures proper bonding across the entire surface.
Managing the working time is crucial. I install tiles in manageable sections, being careful not to step on uncured areas. Any adhesive that seeps between tiles must be cleaned immediately with the recommended solvent. For my kitchen, I worked in quadrants over two days, protecting finished areas with cardboard. This methodical approach prevents installation errors that could compromise the floor’s integrity.
Design Flexibility with Glue Down Cork
Glue down cork offers creative possibilities beyond standard tile layouts. I’ve created borders and inlays by combining different cork colors and patterns. In a client’s office, we installed a darker cork border with a field of lighter tiles, achieving a custom look without complicated cutting. The glue down method makes these designs more stable than floating alternatives would be.
The ability to mix tile sizes adds another design dimension. Combining large 12×24 inch tiles with smaller accent pieces creates visual interest. For a music room project, I arranged tiles in a staggered brick pattern using two sizes, which helped disguise the space’s irregular angles. Glue down installation maintains these precise alignments better than floating floors that might shift slightly over time.
Finishing options further customize the look. While many glue down cork tiles come prefinished, I’ve had success applying site-finished sealers for unified protection. Water-based polyurethane enhances the cork’s natural variations while providing durable protection. In a sunroom, I used a matte sealer that reduced glare while maintaining the cork’s warm appearance. These finishing choices make each installation unique.
Maintenance and Long-Term Care
Glue down cork’s maintenance is simpler than I initially expected. Daily sweeping with a soft broom removes abrasive particles, and occasional damp mopping with a pH-neutral cleaner keeps the surface fresh. I avoid steam mops, as the heat and moisture can damage the adhesive bond over time. Spills wipe up easily thanks to the seamless surface – no worrying about liquid seeping between planks.
Protective measures extend the floor’s life significantly. I use felt pads under all furniture legs and place mats at entryways to catch debris. In high-traffic areas, area rugs reduce wear patterns. Every few years, I apply a fresh coat of water-based polyurethane to high-use zones. This maintenance routine has kept my five-year-old floors looking nearly new with minimal effort.
Repairs are straightforward with glue down cork. Unlike floating floors where you might need to disassemble sections, damaged tiles can be carefully cut out and replaced. I keep extra tiles from each installation for this purpose. Using a heat gun softens the adhesive for removal, and fresh adhesive bonds the replacement tile seamlessly. This repairability makes glue down cork a practical long-term flooring solution.
Cost Comparison with Other Flooring Types
The initial cost of glue down cork flooring often surprises people. While more expensive than vinyl plank or laminate, it’s typically less than hardwood or high-end tile. My kitchen installation cost about 20% more than floating cork would have, but the long-term benefits justified the difference. The labor-intensive installation does increase project costs compared to click-together options.
Long-term savings become apparent over time. Unlike carpet that needs replacement or hardwood that requires refinishing, my glue down cork floors maintain their appearance with basic care. The insulation properties reduce energy costs too – I noticed my heating bills decreased slightly after installation. For commercial spaces, the durability means fewer replacements and lower lifetime costs.
Resale value is harder to quantify but worth considering. While not as universally recognized as hardwood, quality cork flooring impresses environmentally conscious buyers. My realtor mentioned the unique character and comfort of my cork floors as selling points. The combination of practicality and sustainability makes glue down cork a smart investment for many homes.
How does glue down cork handle moisture compared to floating cork?
Glue down cork performs better in moist environments when properly installed. The continuous adhesive layer creates a moisture barrier that floating floors can’t match. In my basement installation, the glued tiles have resisted humidity that might cause floating planks to warp. However, glue down cork still isn’t suitable for constantly wet areas – bathroom installations require careful sealing at edges and fixtures.
The key is using moisture-resistant adhesive and ensuring complete coverage. I recommend urethane-based adhesives for areas with moisture concerns. While glue down cork handles occasional spills well, prolonged standing water can damage any cork floor. Proper installation and maintenance make it suitable for kitchens, basements, and other areas where floating cork might be risky.
Can glue down cork be installed over existing flooring?
Glue down cork can be installed over many existing floors if conditions are right. I’ve successfully installed it over vinyl, ceramic tile, and even wood subfloors after proper preparation. The existing floor must be firmly attached, completely level, and free of wax or polish. For tile floors, grout lines need filling to create a smooth surface. I always check manufacturer guidelines for specific requirements.
Some existing floors make poor substrates. Carpet must be removed, and any flooring with moisture issues should be addressed first. In my projects, I prefer removing old flooring when possible to ensure the best bond. The added height from layering floors can also cause transitions issues at doorways. A professional assessment helps determine if installation over existing flooring is advisable for your situation.
Is glue down cork comfortable to stand on for long periods?
The comfort factor is what first drew me to cork flooring. Glue down cork provides exceptional underfoot comfort, even better than floating versions in my experience. The direct bond to the subfloor eliminates any slight movement or give that floating floors have, creating a more supportive surface. I’ve stood for hours in my kitchen without the foot fatigue I’d get with tile or concrete.
The cushioning effect comes from cork’s natural cellular structure, which compresses slightly under pressure then rebounds. This makes it ideal for spaces where people stand frequently – kitchens, workshops, or retail environments. The thermal insulation adds comfort too, staying warmer in winter than many hard surfaces. For comfort combined with durability, glue down cork is hard to beat.
How long does glue down cork flooring last?
With proper installation and care, glue down cork flooring can last 25-40 years. My oldest installation is twelve years old and shows minimal wear in high-traffic areas. The glue down method extends lifespan by preventing edge wear and movement that can damage floating floors. Commercial installations I’ve seen with heavy use still look good after 15+ years with periodic recoating.
The finish type affects longevity. Prefinished tiles with aluminum oxide coatings last longer than site-finished options. In homes, refinishing every 10-15 years can renew the surface. Unlike materials that need complete replacement when worn, cork can often be sanded and refinished, making it one of the more durable sustainable flooring choices available.

Can glue down cork be used with radiant heating systems?
Glue down cork works well with radiant heat, which I’ve used in two bathroom installations. The direct contact with the subfloor allows efficient heat transfer, while cork’s insulating properties prevent heat loss downward. I recommend keeping the temperature moderate – no higher than 85°F at the floor surface – to prevent adhesive degradation over time.
The key is using a compatible adhesive rated for heated floors. Some water-based adhesives may fail under constant heating cycles. I always consult the adhesive manufacturer for radiant heat specifications. The cork’s thickness matters too – thinner tiles (4-6mm) transfer heat more effectively than thicker options. Properly installed, glue down cork makes an excellent radiant floor covering.
Does glue down cork require expansion gaps?
Glue down cork needs smaller expansion gaps than floating floors, but some space is still necessary. I typically leave 1/4-inch gaps at walls and fixed objects, which are covered by baseboards or trim. Unlike floating floors that need gaps all around, glue down cork only requires perimeter spacing since it expands as a unified surface.
In large areas or environments with significant humidity swings, I incorporate additional control joints. A client’s great room installation included transition strips every 30 feet to accommodate movement. These techniques prevent buckling while maintaining the floor’s seamless appearance. Following manufacturer guidelines for your specific climate ensures proper gap sizing.

Cork Underlayment For Hardwood Floors – Houses & Apartments For Rent

Glue for Cork Flooring – Flooring Tips
Wicanders Cork Flooring Prices – Flooring Ideas
Related Posts: