Finishing Cork Flooring

HARO Cork floor CORKETT Lagos Nature permaDur finish 527377 Cork Flooring – elsesun.com/ideas

Cork flooring #diyflooring Flooring, Cork flooring, House flooring

The Cork Flooring Specialists in Ireland – Natura Cork Flooring

Wicanders Cork Essence Floating Cork Flooring – Originals Accent
Cork flooring reviews – pros and cons, manufacturers and more

Cork Flooring Images – Homipet Cork flooring, Home, Bedroom flooring

CORK FLOOR FINISHING FLOORMAVEN.COM KJF

How to Lay a Cork Floor Cork flooring, Cork flooring kitchen, Flooring

Cork Board Floors – Are They Right For Your Home? Everything Simple
Cork Flooring can be a very green option. kurk, lekker zacht aan de voeten Cork flooring

CORK FLOORING An Architect Explains ARCHITECTURE IDEAS
Related Posts:
- Glue Down Cork Flooring
- Cork Flooring for Exercise Room
- What Are The Benefits Of Cork Flooring
- Cork Flooring in Laundry Room
- Scandia Plank Cork Flooring
- Cork Floors That Look Like Hardwood
- How To Paint Cork Flooring
- Cork Flooring Renovation
- Cork Flooring Interior Design
- Natural Cork Flooring Ideas
Cork flooring has become an increasingly popular flooring option over the last few years for many homeowners. Not only is it attractive and durable, but it’s also environmentally friendly. On top of that, cork flooring has the added benefit of being easy to maintain. However, when it comes to finishing cork flooring, it’s important to understand the specific methods and techniques involved in order to guarantee a quality job.
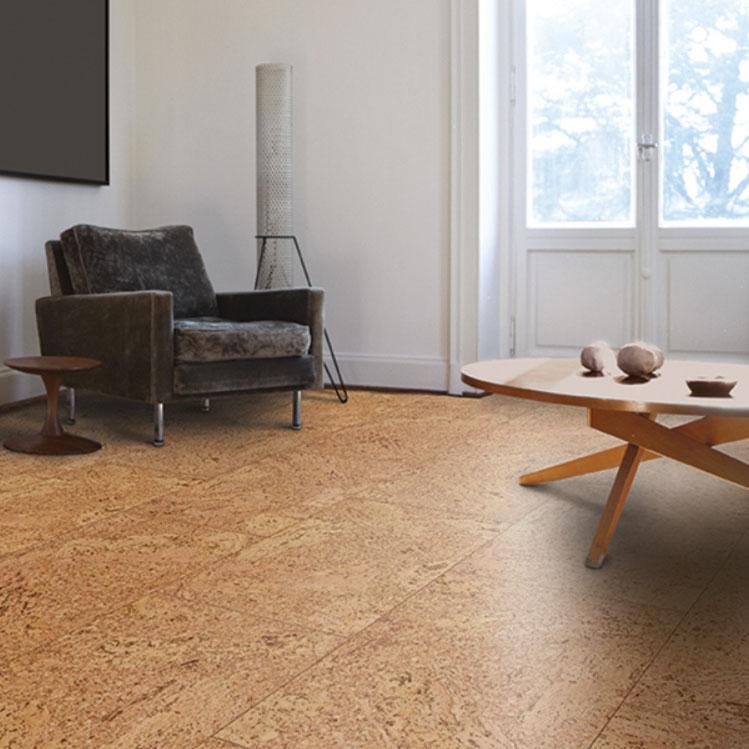
## Benefits Of Cork Flooring
Cork flooring comes with numerous advantages that make it a great choice for any living area. The material is highly often and resilient, making it ideal for homes with pets and children. It also boasts exceptional insulation qualities that help keep a room warm in the winter and cool in the summer. In addition, cork flooring is made primarily of natural ingredients, making it an environmentally friendly option for your home. Finally, since cork floors are easy to clean, they require minimal maintenance and can last for decades with proper care.
## Preparing The Cork Floor For Finishing
Before you finish your cork floor, you’ll need to prepare the surface properly. Start by removing any existing stains or dirt using a vacuum cleaner or damp mop. Then use a fine-grit sandpaper to lightly sand down any rough spots or scratches on the surface of the cork. Once the surface is prepped and dry, you can move onto the finishing process.
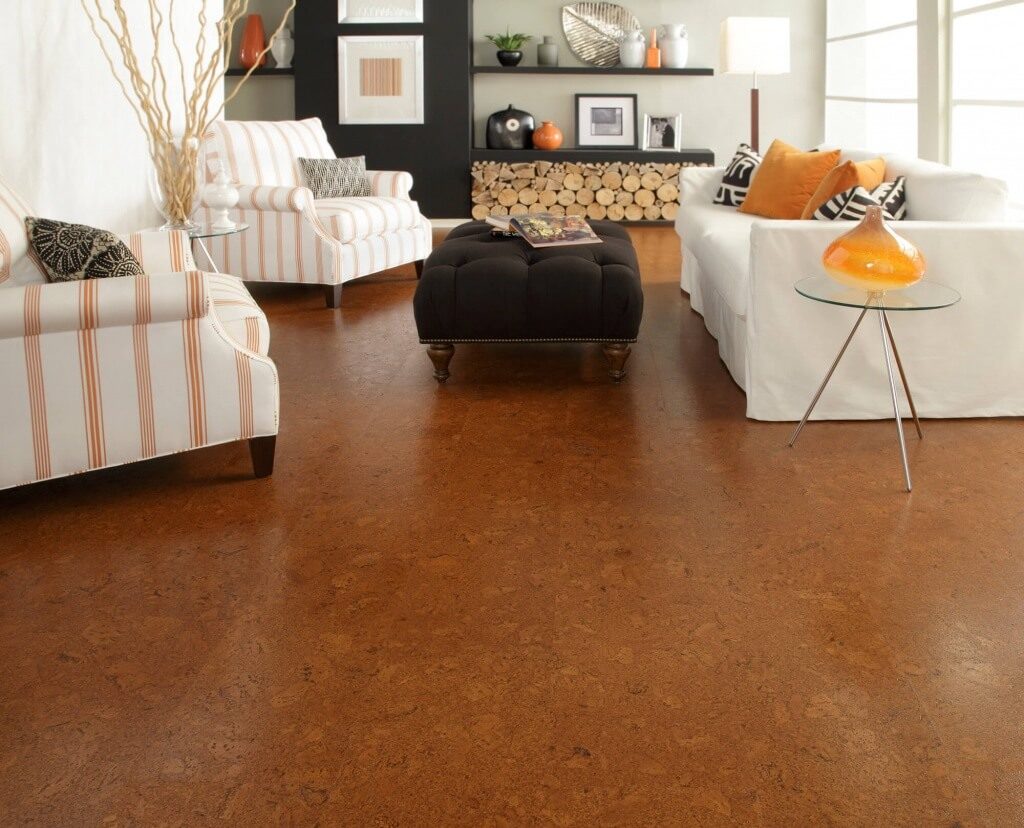
## Finishing Cork Flooring With An Oil Finish
One popular method for finishing cork flooring is with an oil-based sealant or finish. This type of finish adds an extra layer of protection and enhances the natural colors of the cork while allowing it to retain its unique properties. Once you’ve applied the sealant, wait a minimum of 8 hours before adding any further treatments or coatings.
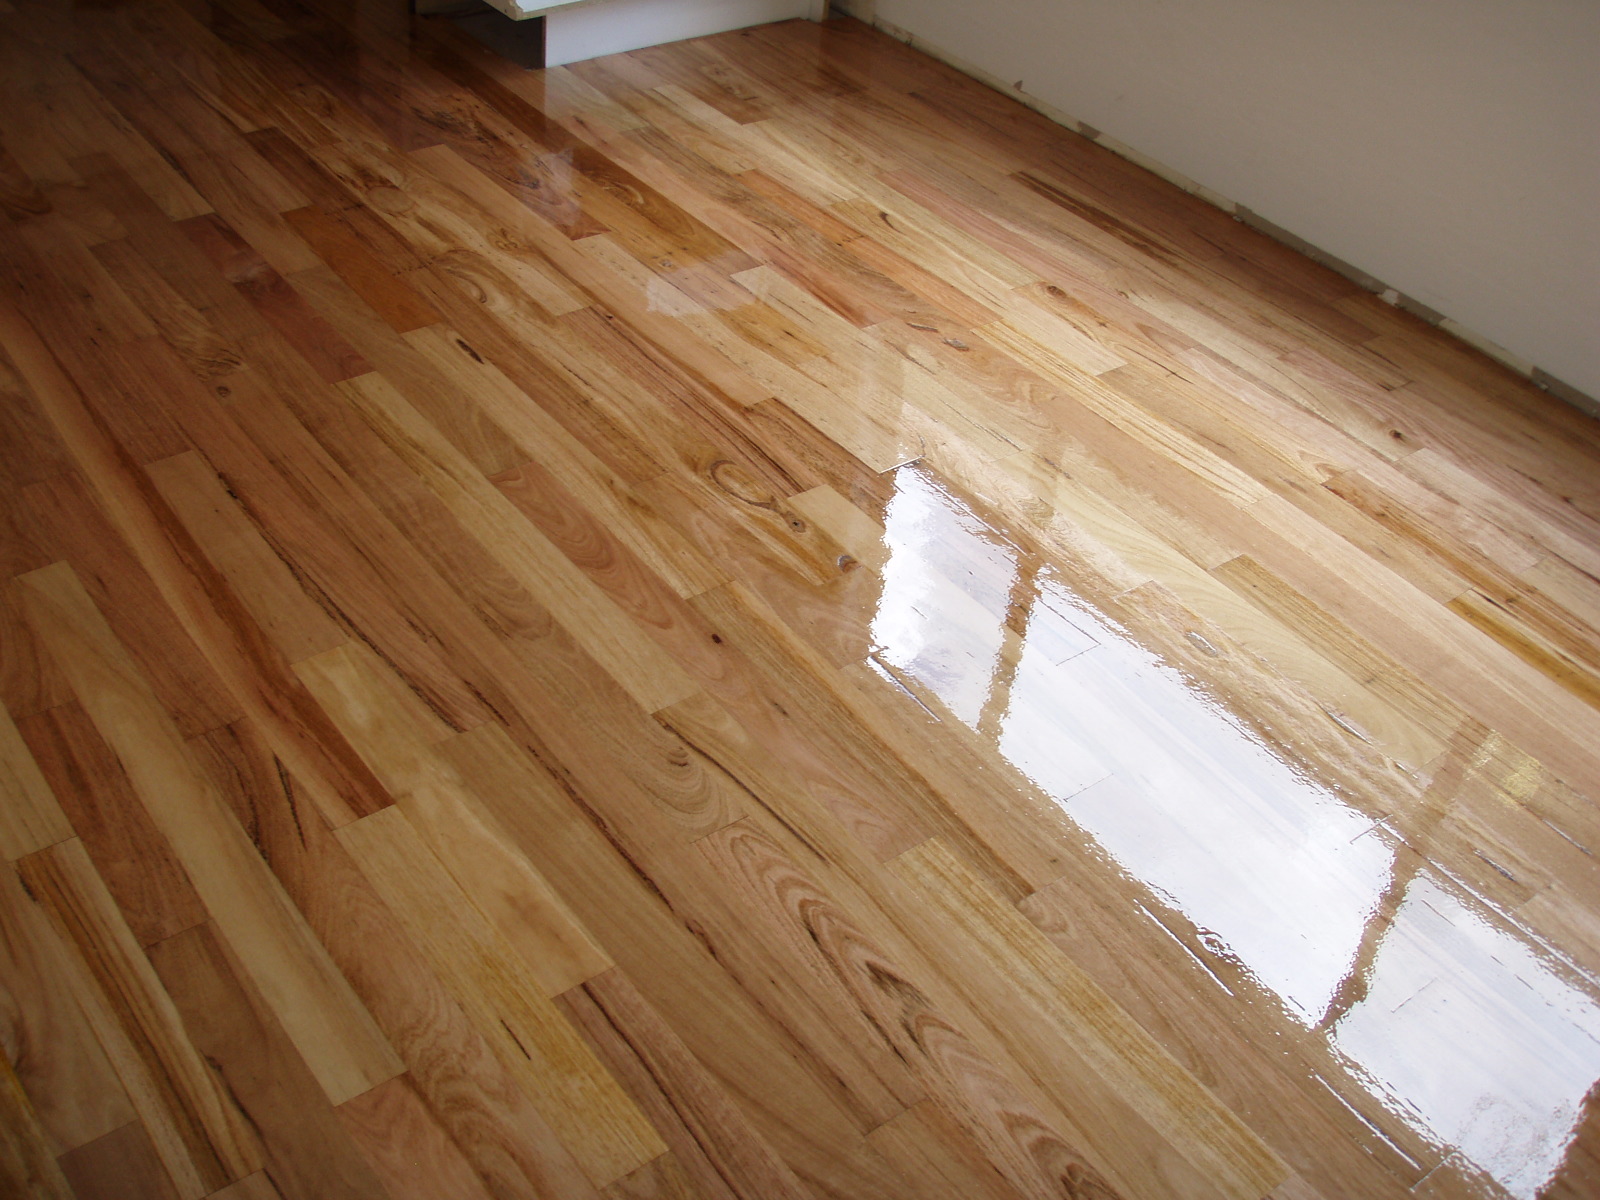
## Applying A Polyurethane Coating To Your Cork Floor
For extra durability, some homeowners choose to apply a polyurethane coating after applying an oil finish. Polyurethane coatings provide an additional layer of protection but can also increase the shine and give your cork floor a glossy appearance if desired. Before adding this type of coating, make sure the area is well-ventilated and wear a dust mask and protective goggles throughout the process.
## Tips On Finishing Cork Flooring
When finishing your cork floor, there are certain steps you should take to ensure a quality job:
– Clean your cork floor before applying any type of finish using a vacuum or damp mop.
– Make sure any scratches or blemishes are removed using a fine-grit sandpaper prior to finishing.
– If applying an oil finish, use a lint-free cloth for best results and wait 8 hours before adding any further treatments or coatings
– When applying a polyurethane coating, ensure that the area is well-ventilated and wear protective gear such as goggles and a dust mask throughout the process.
Finishing your cork flooring correctly can help extend its lifespan while ensuring its beauty is best preserved over time. By following these steps and tips, you can guarantee a high-quality finish that will make your cork floor look beautiful for years to come.
What tools are needed to install cork flooring?
Tools needed to install cork flooring include: a measuring tape, utility knife, circular saw, tapping block, hammer, spacers, safety glasses, dust mask, and ear plugs. Additionally, special adhesives or glue may be required depending on the type of cork flooring being installed. It’s important to read the manufacturer’s instructions for installation carefully beforehand.What type of saw is required to install cork flooring?
A jigsaw or circular saw is the best tool for cutting cork flooring. However any saw that is available and able to make the necessary cuts can be used. Make sure you use a sharp blade when making your cuts as dull blades can tear the cork, making it harder to install.What tools do you need to install cork flooring?
Tools needed to install cork flooring include: flooring saw, jigsaw, utility knife, hammer, pry bar, screwdriver, measuring tape, chalk line, and level. Additionally, any adhesives or fasteners required for the specific type of cork flooring should also be procured. It’s important to follow the manufacturer’s instructions carefully when installing cork flooring.What type of cutting tools are needed for cork flooring installation?
Cork flooring installation typically requires a utility knife, a circular saw, a jigsaw or drill with a hole saw, and some type of router. You will also need a rubber mallet to gently tap the planks into place. Additionally, you might want to have a variety of measuring tools on hand for blueprinting and determining plank lengths.What are the steps for installing cork flooring?
1. Prepare the Subfloor: Before installing cork flooring, the subfloor must be free from debris and thoroughly cleaned. Any necessary repairs should also be made.2. Acclimate the Floor: Place unopened boxes of cork flooring in the room for 48 hours prior to installation so that it can get used to the temperature and humidity in the room.
3. Inspect Each Plank: Prior to installation, it is important to inspect each plank of cork flooring for any defects or damage that may have occurred during delivery or storage. Discard any planks that show signs of damage.
4. Start at the Corner: Begin laying the cork planks from the corner of the room and work your way outward. Make sure to use spacers around the edges of the room so that there is an even space between the wall and the cork flooring.
5. Install Adhesive: If necessary, use an adhesive to secure each plank in place as you go. When using an adhesive, allow plenty of drying time (at least 72 hours) before walking on or furniture back into the room.
6. Seal and Finish: Once all planks have been installed, apply a sealant or finish to help protect them from damage and moisture. Follow all manufacturer instructions when choosing and applying the sealant/finish.