Fixing Grout On Tile Floors

The Grout Medic Tile repair, Shower tile, Diy plumbing

How to Repair Grout That’s Cracking (DIY) Family Handyman
Cool How To Repair Grout In Shower Floor Tiles Ideas – Rawax

Fixing A Tile Grout Is Surprisingly Quite Simple, You Can DIY! – Best House Design

Ceramic Floor Tile Grout Repair: How to Keep Your Flooring Looking Like New – eDrums

Repair Cracked Grout – YouTube Grout repair, Tile grout, Repair

Repairing Grout Between Your Tiles Is Easy To DIY

How to Repair Grout That’s Cracking (DIY) Family Handyman
Fix Cracked & Missing Tile Grout In A Few Easy Steps! Hometalk
Cool How To Repair Grout In Shower Floor Tiles Ideas – Rawax

How To Grout A Bathroom Floor – Flooring Tips
Related Posts:
- Cuban Tile Floors
- Easy Way To Grout Tile Floor
- Types Of Marble Tile Flooring
- Slate Tile Floor
- Classic Bathroom Tile Floors
- Tile Floor Color Ideas
- Wet Mops For Tile Floors
- Staining Saltillo Tile Floors
- Terrazzo Tile Floor Outdoor
- Tile Flooring For Screened Porch
Tile floors are a popular and attractive choice for many homes, and they are relatively low-maintenance. However, when grout starts to crack or discolor, it can seem like a daunting task to fix. Many homeowners fear that they will have to rip out their entire tile floor and start over, but that is not the case. With the right tools and techniques, fixing grout on tile floors can be a relatively easy task that only requires a few hours of your time. Read on for a comprehensive guide on how to fix grout on tile floors without having to replace the entire floor.
## What causes grout damage?
Grout damage can occur for a variety of reasons, including water seepage, poor installation, and everyday wear and tear. If you notice any discoloration or cracking in your grout, it’s important to address it as soon as possible before the issue gets worse. If left unchecked, the grout can continue to deteriorate and cause structural damage to your tiles and even your flooring underneath.
## How to repair grout on tile floors
To repair grout on tile floors, you’ll need to gather the right tools and materials first. You’ll need a putty knife, a utility knife, a damp cloth, a vacuum cleaner with a hose attachment, sealant, and grout powder or premixed grout. Once you have all the necessary items together it’s time to get started.
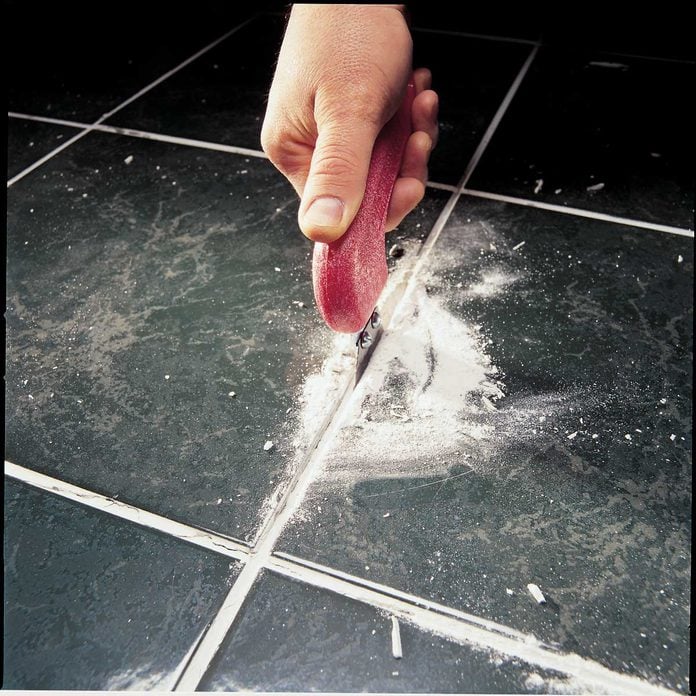
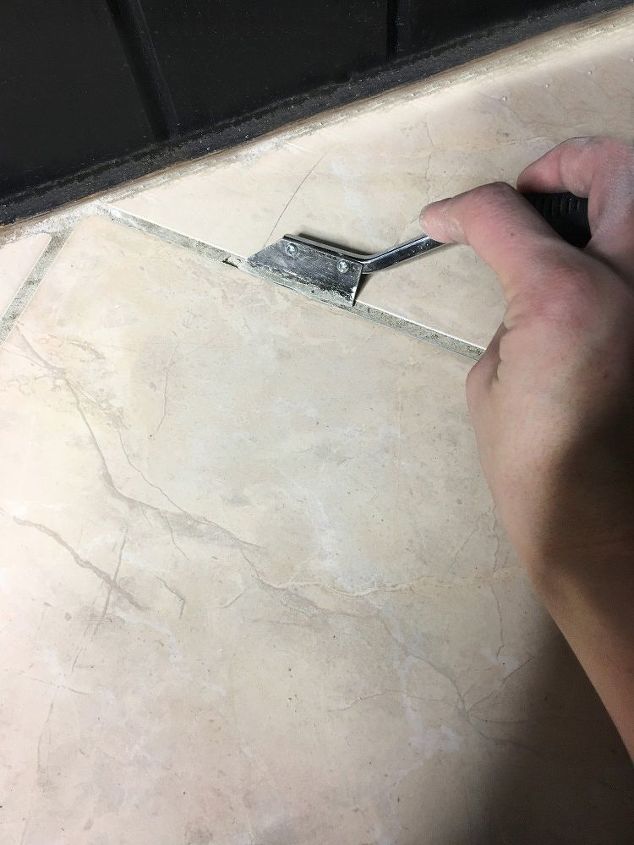
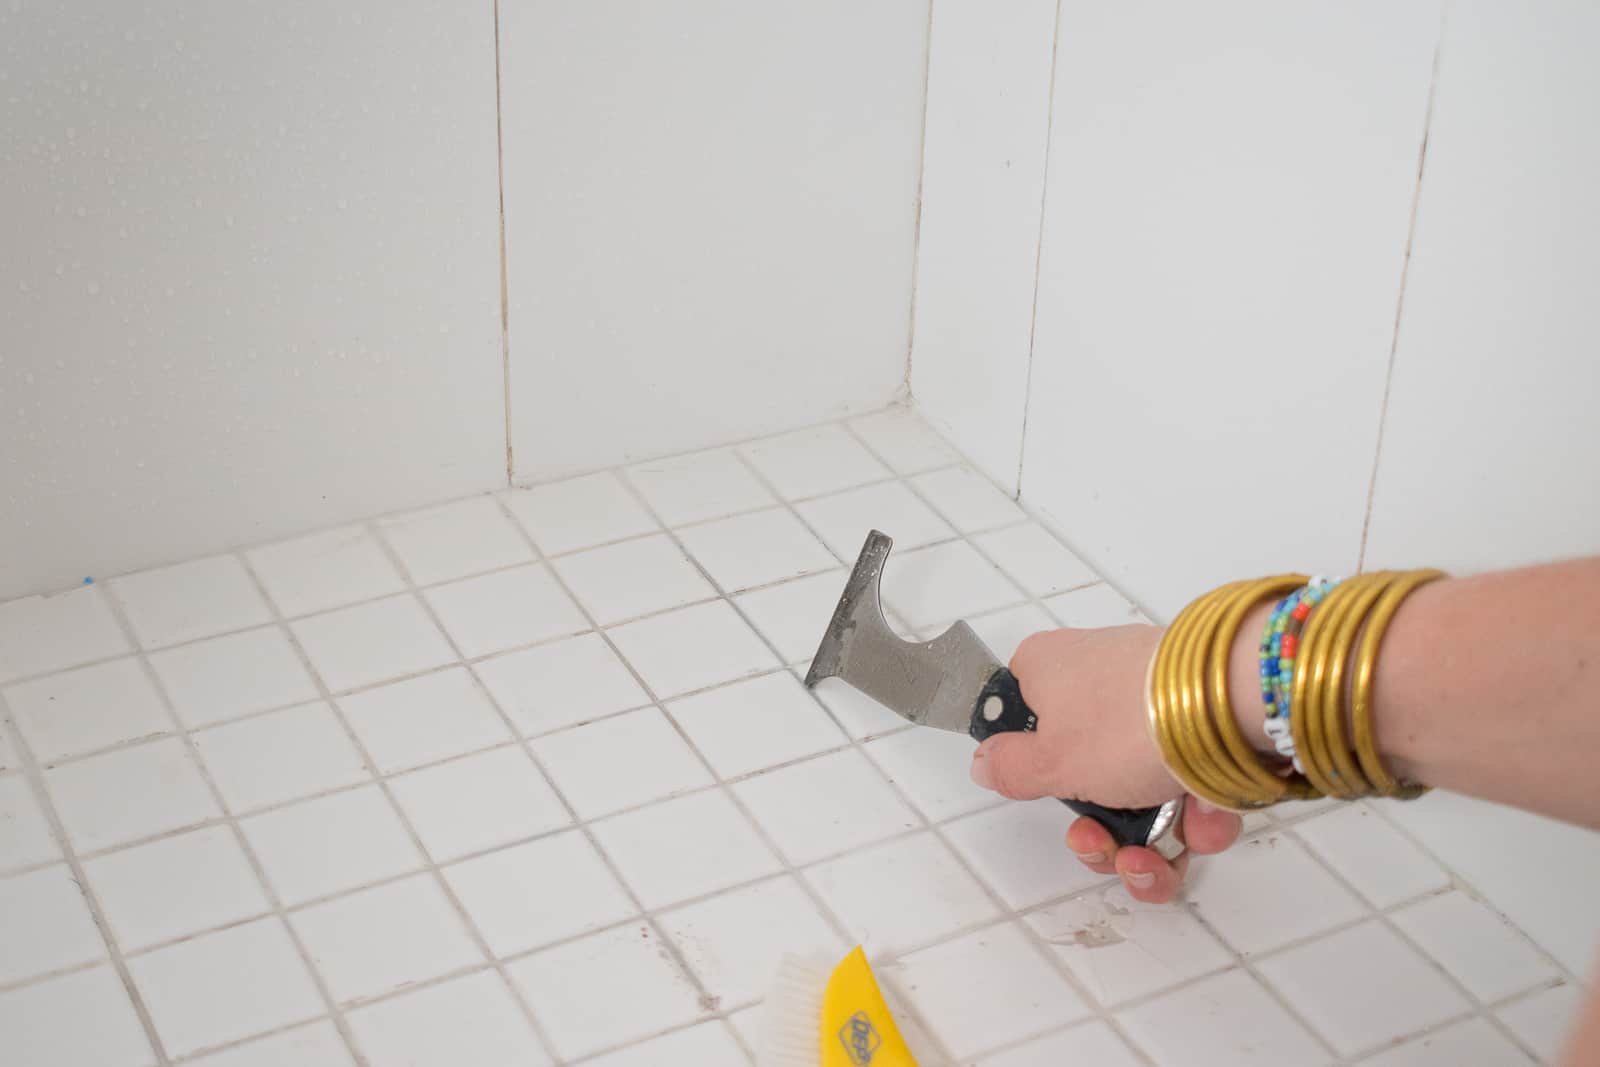
### Step 1: Remove old grout
Using the putty knife, carefully remove any cracked or damaged grout from between your tiles. Be gentle when doing this so you don’t damage any of the tiles in the process. Once all of the old grout has been removed, use the vacuum cleaner with a hose attachment to suck up any remaining dust or debris.
### Step 2: Clean the area
Once all of the old grout has been removed, take a damp cloth and wipe down the area to make sure it’s completely clean before applying new grout. This step is essential for ensuring that the new grout adheres properly and won’t crack or crumble shortly after it’s applied.
### Step 3: Apply sealant
Once you have made sure that the area is clean and dry it’s time to apply sealant along the edges of your tiles so that moisture doesn’t seep in and cause further damage. Make sure you cover all of the areas where new grout will be applied with sealant so that it stays in place for years to come.
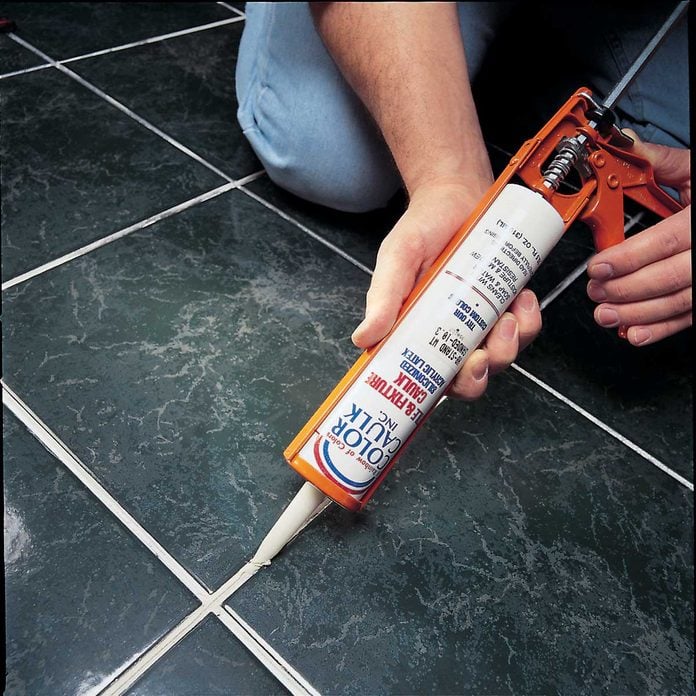
### Step 4: Mix grout powder
Finally, mix your grout powder according to its instructions – either by using premixed grout or mixing it yourself with water – until it forms a paste-like consistency. Once you have achieved this consistency it’s time to apply your new grout in between your tiles. Make sure you fill all of the gaps evenly so that your floor looks uniform when completed.
### Step 5: Allow time to dry
Once you have applied your new grout it’s important to allow ample drying time before walking on it or using any furniture that may come into contact with it. Depending on the type of grout you used and humidity levels in your home, this could take anywhere from 24-48 hours so make sure you plan accordingly.
## Final Thoughts
Fixing grout on tile floors doesn’t have to be an overwhelming task – as long as you have the right tools and materials at hand. By following these five simple steps you can quickly repair any cracked or discolored grout without having to replace your entire floor. With just a few hours of work, you can get your tile floors looking like new again!