Hardwood Flooring Spline

Flooring & Tiles Hardwood Spline 10-Pack Flooring Splines Natural Wood Grain Finish Floor

Chicago Hardwood Red Oak Hardwood Flooring Spline / Slip Tongue 1/4 x 1/2 Inch Linear Foot

Laying a hardwood floor and making a spline – YouTube

How To Install Hardwood Floor Borders – Part 1

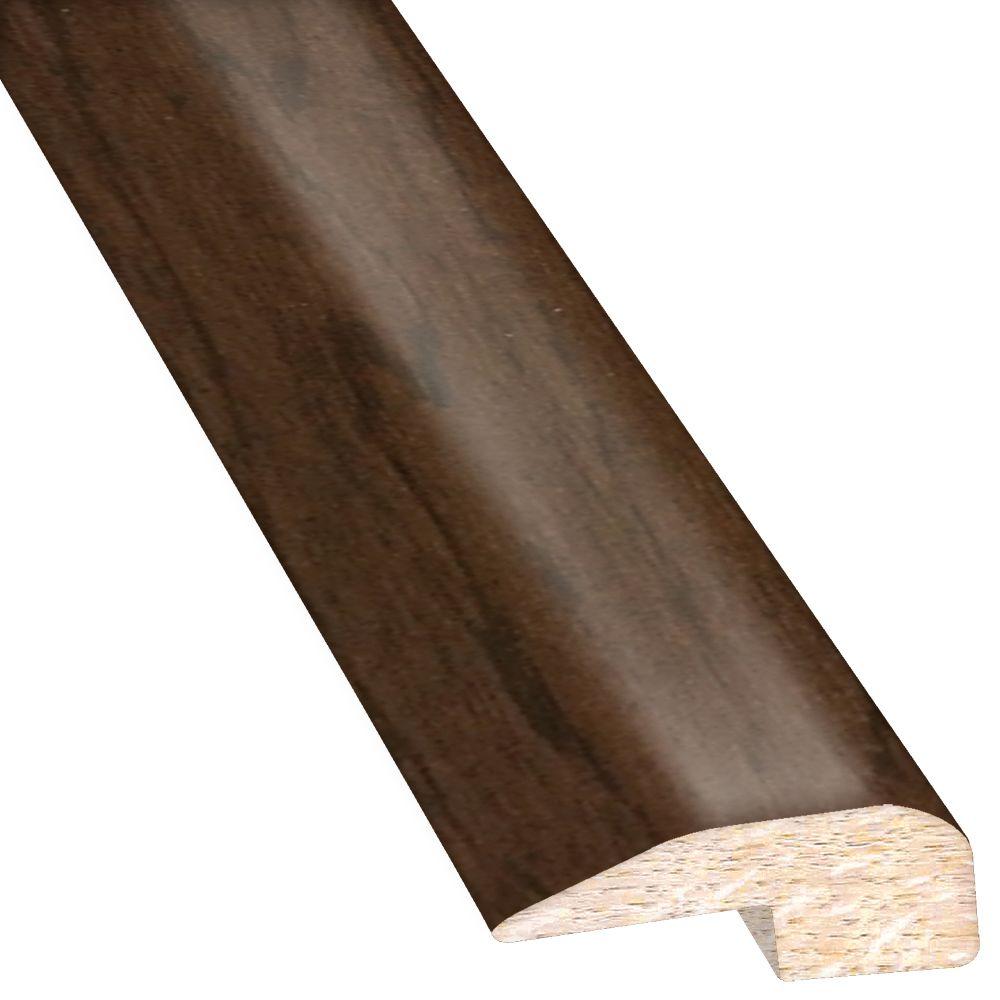
3/4" Solid Oak Spline (per Linear Foot) – Schillings

Hardwood Spline – What You Need to Know

Slip Tongue Splines for Hardwood 3/4"Floor Nailing 10 Pcs Length 1 ft Pack 10 Ft Home
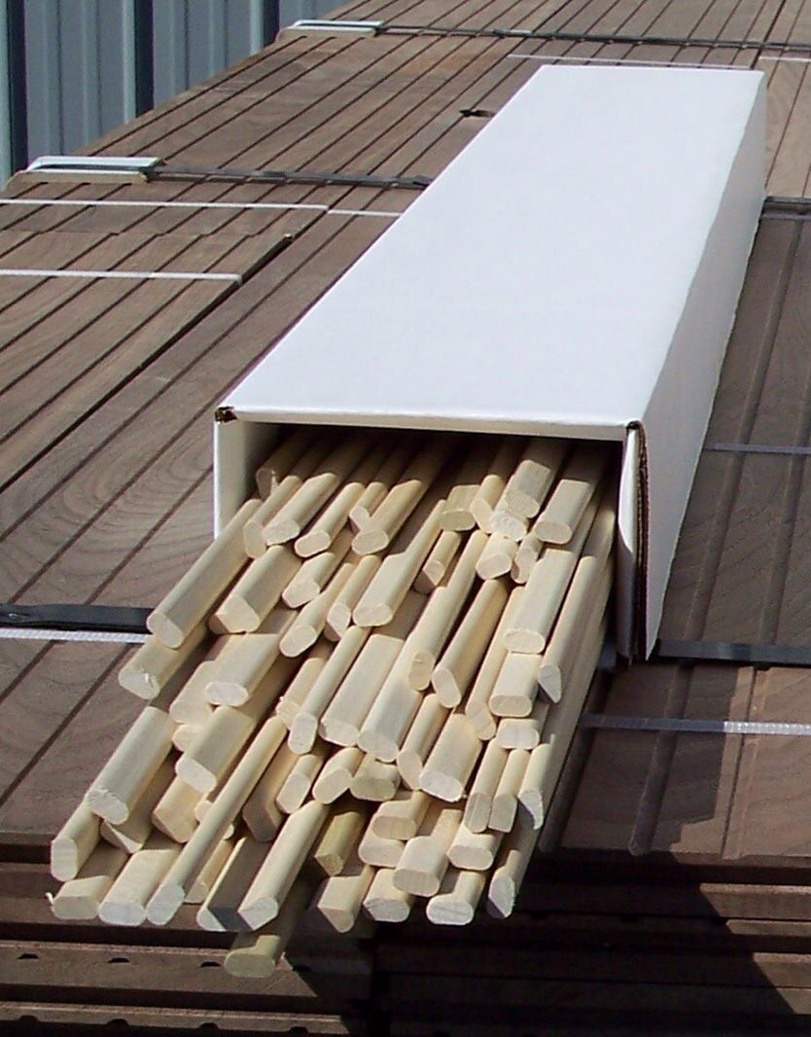
1/4 in. Thick x 1/2 in. Wide x 42 in. Length Hardwood Spline (10-Pack) – 0149942 – 204589662
Wood Flooring Spline (Slip Tongue) 1/4 in x 7/16 in – 50 ft Bundle

CReeves Makes DIY Hardwood Flooring Turnaround Splines ep013 – YouTube

Spline Slip Tongue Wood Floor Tongue Unique Wood Floors

Related Posts:
- Hardwood Floor Cleaning Tips
- Hardwood Floor Decorating Ideas
- Hardwood Floor In A Kitchen
- Engineered Hardwood Flooring
- Rustic Oak Hardwood Flooring
- Parquet Hardwood Flooring
- Hardwood Floor Duster
- Homemade Hardwood Flooring
- Hardwood Floor Stain Colors
- Hardwood Floor Repair DIY
Everything You Need to Know About Hardwood Flooring Spline
Hardwood flooring spline is an essential installation component for any type of hardwood flooring. Spline is typically used to join two pieces of hardwood flooring together, eliminating gaps and creating a stronger bond. It is also used to create transitions from one type of flooring to another. Knowing when and how to use splines correctly can save you time and money, as well as help you achieve the best possible result for your hardwood flooring installation.
## What is Spline?
Spline is a thin strip of wood or plastic that is positioned over two pieces of hardwood flooring when they are joined together. It serves a few distinct purposes: it eliminates the gap between the boards, provides a stronger bond, and prevents cracking by allowing for the natural expansion and contraction of the wood over time. Most people select a spline that matches the color of their hardwood flooring, but there are other options available as well.
## How Does Spline Help with Hardwood Flooring Installation?
When installing hardwood flooring, splines provide a few important benefits:
* They provide a sleek finished look by eliminating the gap between two pieces of hardwood flooring when they are put together. This is especially important when preparing a smooth transition from one type of flooring to another.
* Splines strengthen the joint between two pieces of hardwood, effectively locking them in place. This prevents them from shifting over time due to normal environmental conditions.
* Splines also act as an expansion joint for the wood, allowing it to expand and contract without damaging the integrity of the joint. As long as the spline is inserted correctly, it should be able to handle normal swelling and shrinking without issue.
## Types of Hardwood Flooring Splines
There are a few different types of splines available for hardwood flooring installations:
* Wood splines – These splines are typically made from oak or maple and come in a variety of sizes and shapes. They match the color of your hardwood flooring and blend in nicely with the rest of the design. Wood splines are more expensive than other options, but they are also compact and easy to use.
* Plastic splines – Plastic splines are typically favored for unfinished floors since they hide any minor imperfections while still providing a tight joint seal. They are less expensive than wood splines, but not as strong or long-lasting.
* Aluminum Splines – Aluminum splines are ideal for commercial settings since they are extremely durable and resistant to wear and tear. They can also be painted or stained to match your hardwood flooring and come in different sizes depending on your needs.
## How to Install Hardwood Flooring Splines
Installing hardwood flooring spline is not as difficult as it sounds; all you need is some basic hand tools and patience. Here are the steps for installing wood or plastic splines:
1. Cut a piece of spline to fit along the length of the gap between the two pieces of hardwood flooring. Cut it slightly larger than necessary so it fills out any minor gaps or imperfections along the edge.
2. Insert one end of the spline into one board, then tap it firmly with a mallet or hammer until it is flush with the surface of the board. Do this on both pieces of hardwood so that both ends of the spline meet up in the middle.
3. Using either a saw or knife, carefully cut off any excess material from both sides so that there only remains a thin line connecting both ends together. Be careful not to cut too deeply or unevenly – you might end up damaging your boards!
4. Make sure that both ends are securely fastened together with no gaps in between, then repeat these steps for all other joints in your flooring installation until you finish all planned transitions.
## Benefits and Drawbacks of Installing Hardwood Flooring Splines
Installing hardwood flooring spline offers several advantages: it creates a seamless finish with no visible gaps between boards; it strengthens joints; and it allows for natural expansion and contraction without causing damage to them in the process. However , splines can be difficult to install correctly and may require the help of a professional if you don’t have the necessary tools or experience. Additionally, splines require regular maintenance in order to remain effective, so they may not be ideal for very busy households.
What types of tools are needed for hardwood flooring spline installation?
Tools needed for hardwood flooring spline installation include a circular saw, jigsaw, drill and bit set, coping saw, hammer, chisel, rubber mallet, tack hammer, miter saw, pull bar, spacers, and of course a good quality spline.What is the purpose of installing a hardwood floor spline?
A hardwood floor spline is a thin strip of wood that is used to join two pieces of flooring together. It is installed in the space between the two pieces of wood and is used to bridge the gap. The spline helps to create a tight seam between the two pieces of wood and also strengthens the joint. It also allows for natural expansion and contraction of both pieces of wood without causing damage.What are the benefits of installing a hardwood floor spline?
1. Increased Stability: Installing a hardwood floor spline adds increased stability to the plank flooring by connecting the planks at their ends instead of their sides. This eliminates the risk of each plank moving independently of each other, preventing gaps and other issues from occurring.2. Improved Aesthetics: Hardwood floor splines offer an aesthetically pleasing finish, which can enhance the beauty of any room in your home. Splines are available in a range of different finishes, including stained and unfinished wood as well as other more decorative options.
3. Easy Installation: Installing a hardwood floor spline is a relatively straightforward process that most DIY-ers can handle with minimal effort. Splines are available ready-made for a quick and easy installation process, or can be cut down to size by a professional for an even more secure fit.
4. Durability: When installed properly, hardwood floor splines are incredibly durable and will last for many years. Splines provide a strong connection between each plank, making them ideal for areas subject to heavy foot-traffic.