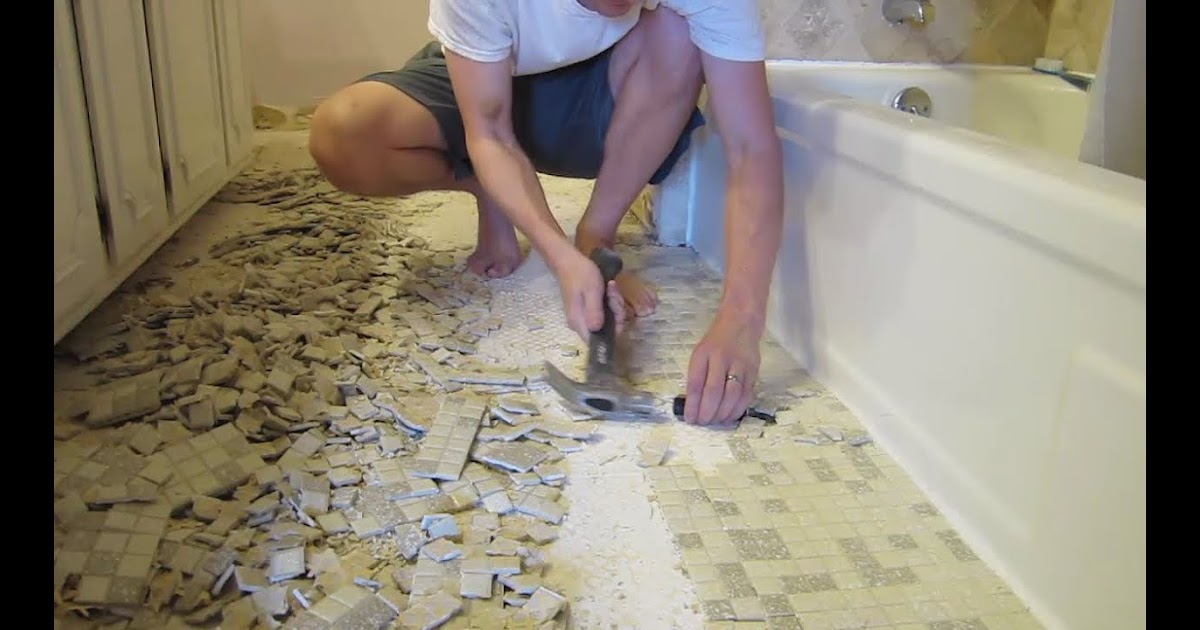
How To Demo A Bathroom Tile Floor

How To Demo A Bathroom (Removing Tile Floor Tips) Best bathroom designs, Tile floor, Concrete

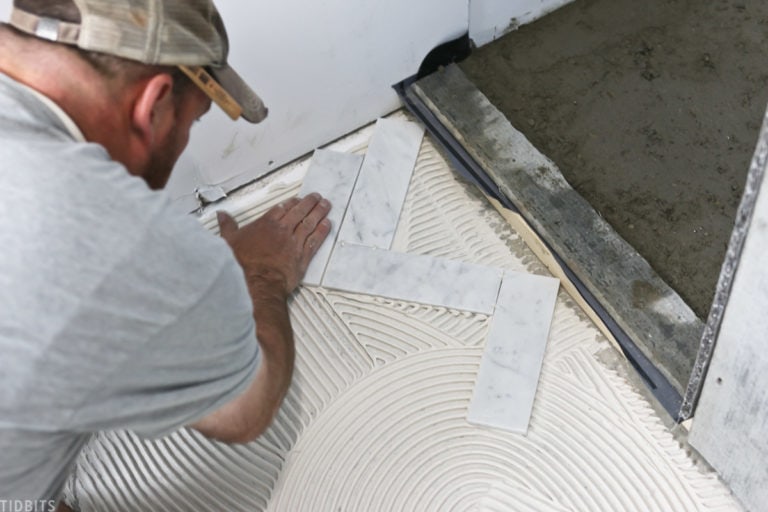
Master Bathroom Progress Installing Marble Tile and Trim – Tidbits
How To Demo A Bathroom (Removing Tile Floor Tips) Tile removal, Tile floor, Diy projects bathroom

How to Demo a Bathroom (Master Bath Remodel!) – Making Manzanita Tile removal, Tile floor, Diy

How To Demo A Bathroom Tile Floor / 26 great ideas and pictures of Bathroom floor tile but
How To Demo A Bathroom (Removing Tile Floor Tips)
How To Demo A Bathroom (Removing Tile Floor Tips) Diy projects bathroom, Tile floor, Tile removal

How To Remove Old Tile In Bathroom – Bathroom Poster
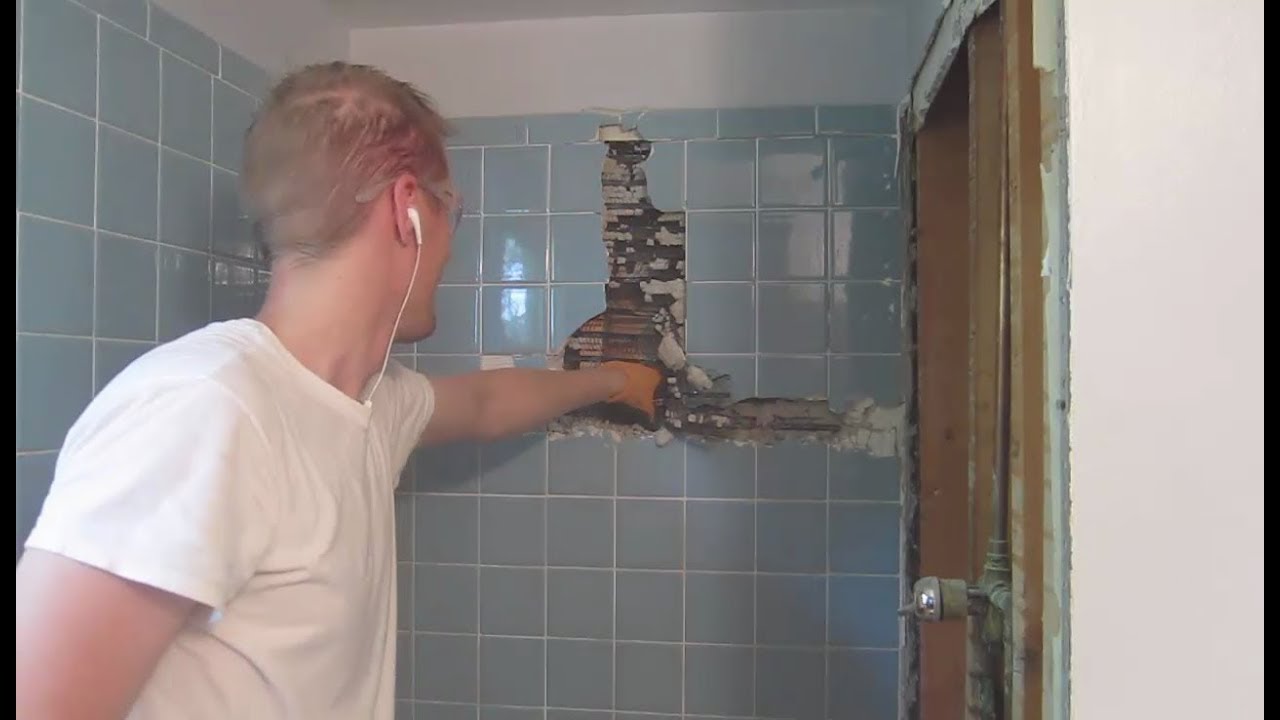
How to Remove Tile Like a Pro -Bathroom Demo Day – Phase I Tile removal, Bathroom tile diy

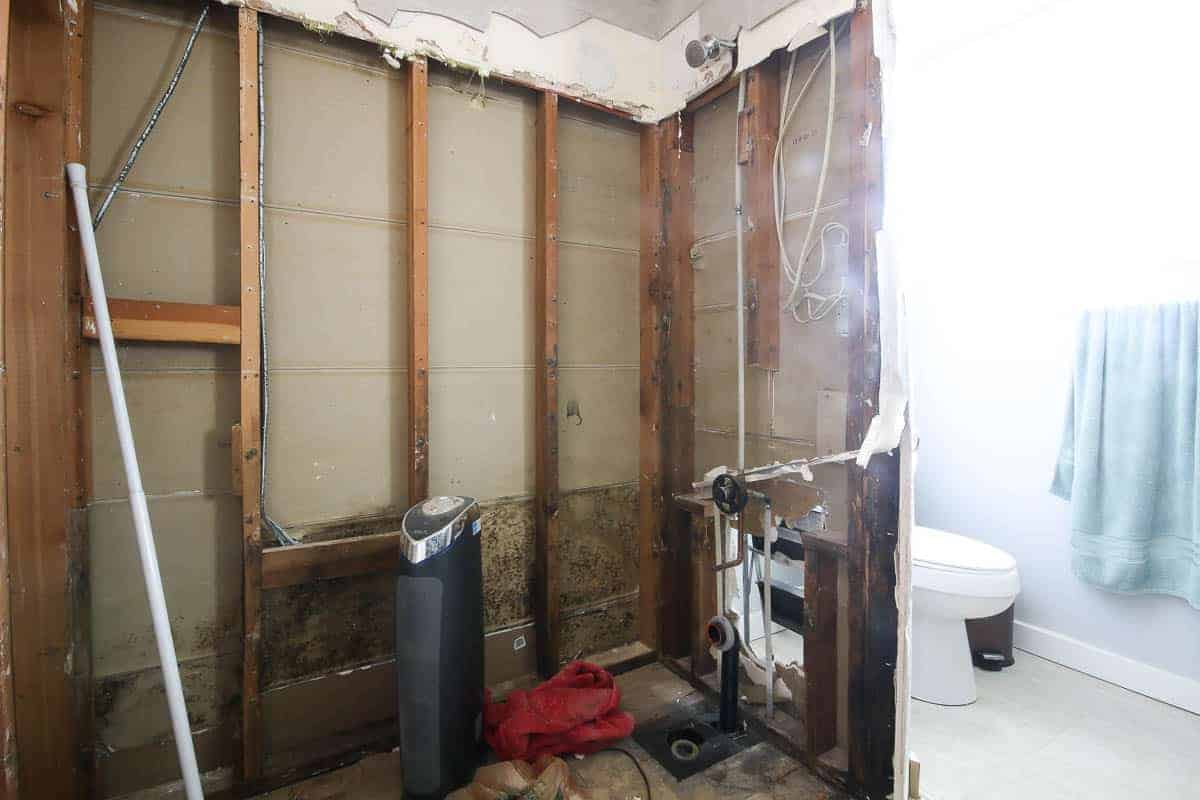
Night Owl Renovation: Second Bath Demo: Floor and Wall Tile
No Demo Reno – Bathroom Bathroom redecorating, Bathroom vanity designs, Bathroom trends

Related Posts:
- Cuban Tile Floors
- Easy Way To Grout Tile Floor
- Types Of Marble Tile Flooring
- Slate Tile Floor
- Classic Bathroom Tile Floors
- Tile Floor Color Ideas
- Wet Mops For Tile Floors
- Staining Saltillo Tile Floors
- Terrazzo Tile Floor Outdoor
- Tile Flooring For Screened Porch
As homeowners and homeowners-to-be look to renovate their living space, one of the most popular upgrades is installing a new bathroom tile floor. Not only is it a relatively simple job that can be completed in as little as one day, but it also brings a modern style and added value to a home.
In this guide, we’ll walk you through the steps of demonstrating a bathroom tile floor and answer some of the most common questions about the process. With the right amount of preparation and a few helpful tips, you’ll be well on your way to a beautiful new tile floor in no time.
What You’ll Need for Demonstrating a Bathroom Tile Floor
Before you get started with your bathroom tile demonstration, there are some tools and materials that you’ll need to have on hand. In addition to the tiles themselves, you’ll also need:
– A tile saw
– A drill
– Grout
– Trowel
– A rubber mallet
– A level
– Sandpaper
– Grout sealer
Step 1: Prepare the Subfloor
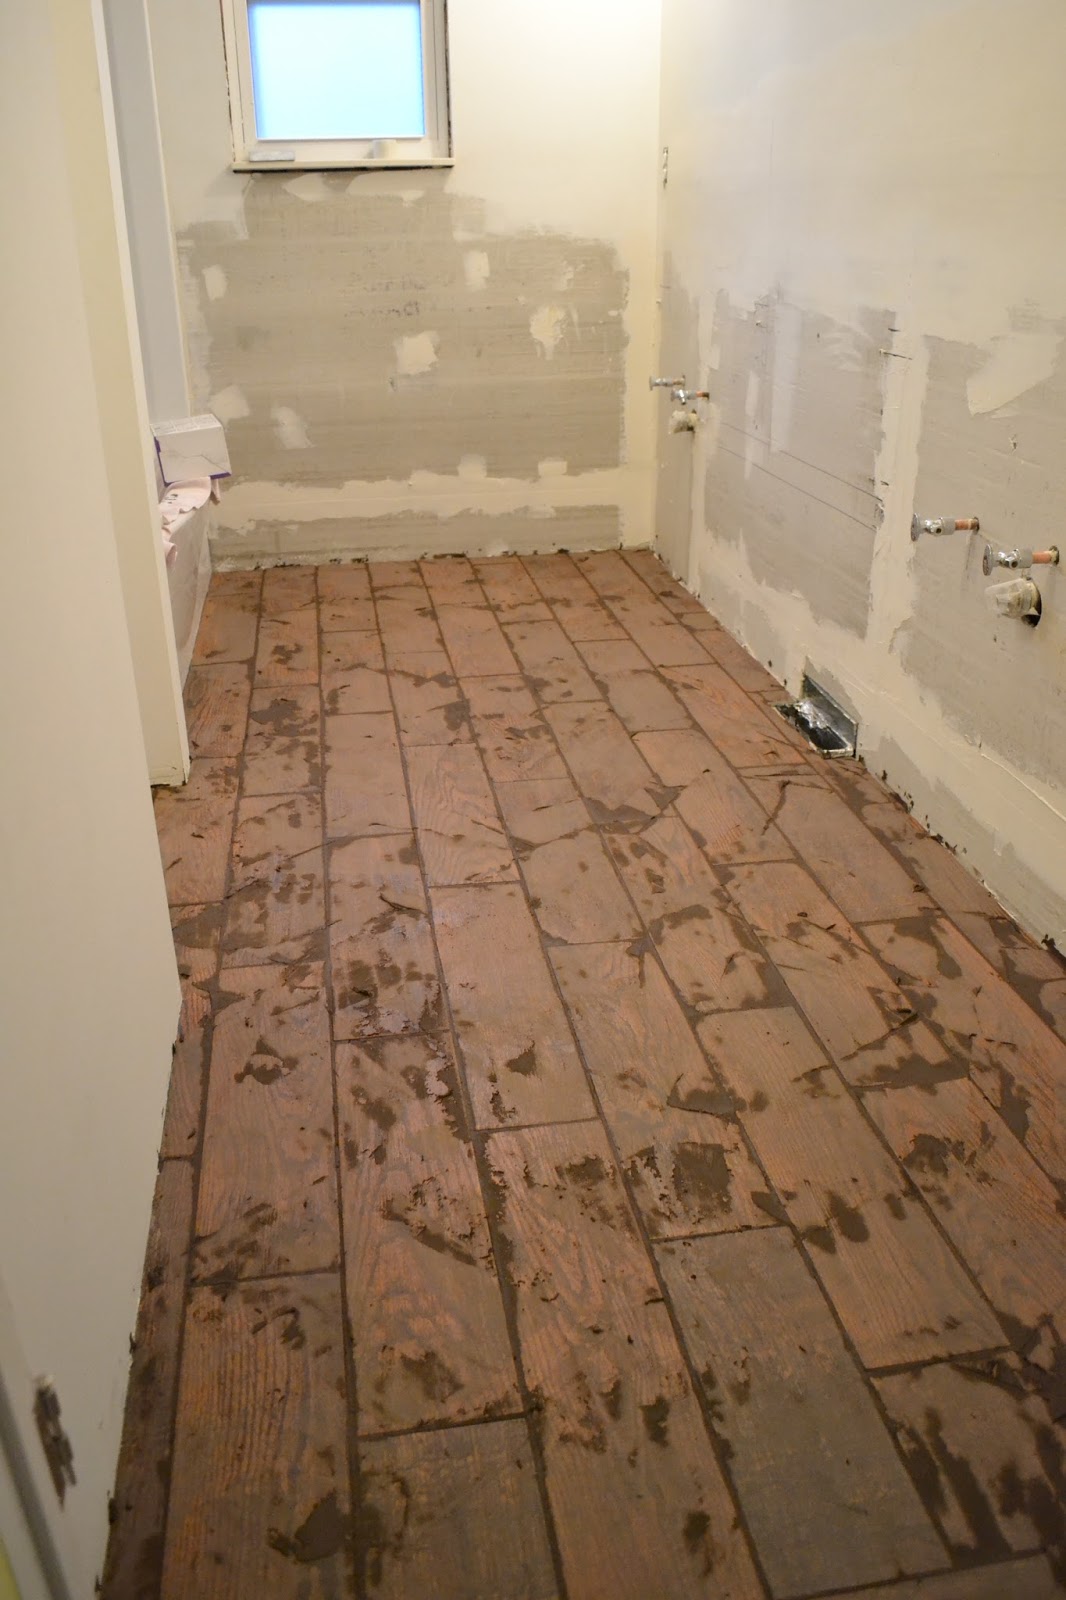
The first step in demonstrating a bathroom tile floor is to prepare the subfloor. Start by removing any existing flooring, such as carpet or linoleum, using either a pry bar or scraper. Be sure to wear gloves and safety goggles to protect yourself from any sharp objects and debris. Once the old flooring has been removed, use sandpaper to smooth out any rough edges or spots, then sweep away any dust or dirt. Finally, check for any cracks or holes in the subfloor that may need to be repaired before proceeding with the demonstration.
Step 2: Measure and Cut the Tiles
Once you have a clean subfloor prepared for tiling, it’s time to begin measuring and cutting the tiles. Start by laying out all of your tiles on the ground according to your desired pattern. Then, measure each tile and make any necessary cuts with your tile saw. It’s important that all of your tiles are cut with precise measurements to ensure they fit together properly when laid down. If you’re unsure of how to measure or cut your tiles correctly, consult with a professional tiler for assistance.
Step 3: Lay Down the Tiles
Now that all of your tiles are cut and ready to go, it’s time to begin laying them down on the subfloor. Start in one corner of the room and work your way out towards the opposite corner. Use a rubber mallet to tap each tile into place and check for levelness with a level periodically throughout the process. If you find any tiles that don’t fit together exactly as planned, use spacers between them to create even grout lines when finished.
Step 4: Apply Grout
Once all of your tiles are laid down in place, it’s time to apply grout between them. Begin by mixing together grout according to package instructions in a large bucket. Then, use a trowel to spread an even layer of grout onto each tile joint. Make sure that all of your grout joints are filled evenly and that no excess grout is left on top of any tiles. Allow the grout to dry overnight before proceeding with the next step.
Step 5: Seal Your Tiles
The last step in demonstrating your bathroom tile floor is sealing it with grout sealer. This will help protect your new tile floor from dirt and moisture while also making it easier to clean in the future. Start by applying a thin layer of sealer onto each grout line, then use a clean cloth to wipe away any excess sealer from the tiles themselves. Allow the sealer to dry completely before walking on or cleaning your new tile floor.
Conclusion
Demonstrating a bathroom tile floor is relatively easy with just a few tools and some preparation beforehand. Whether you’re looking for an upgrade in style or added value for resale purposes, installing new tile in your bathroom can be done quickly and cost-effectively at home with just a few simple steps. With this guide in hand, you’re now ready to get started on transforming your home with beautiful new tile floors today!