How To Do Hardwood Flooring Yourself (2)
10 Popular How to Install Engineered Hardwood Floors Yourself Unique Flooring Ideas (2)
Do It Yourself Flooring: Easy DIY or Leave It to the Pros – Interior Design Inspiration (2)
Do It Yourself Hardwood Flooring : Hardwood Floor Sanding: Do It Yourself Tips The Family (2)

7 Do-It-Yourself Hardwood Flooring Nightmares to Avoid (2)

Easiest 5 DIY Flooring Solutions: Learn to Install Flooring On Your Own – Flooring Inc (2)
How do I Install Hardwood Floors? (with pictures) (2)

Diy Hardwood Floor (2)

Take a Challenge By Installing Hardwood Flooring Yourself – Quality Floors 4 Less (2)
Flooring Options for Your Home Maple Leaf Flooring (2)

Five Reasons Why Hardwood Floor Refinishing Isn’t a DIY Project (2)

How to Install Hardwood Floors Hardwood floors, Installing hardwood floors, Diy hardwood floors (2)

Related Posts:
- Hardwood Floor Cleaning Tips
- Hardwood Floor Decorating Ideas
- Hardwood Floor In A Kitchen
- Engineered Hardwood Flooring
- Rustic Oak Hardwood Flooring
- Parquet Hardwood Flooring
- Hardwood Floor Duster
- Homemade Hardwood Flooring
- Hardwood Floor Stain Colors
- Hardwood Floor Repair DIY
If you’re looking to update your home with a sleek and modern look, hardwood flooring is an excellent option. Hardwood flooring provides a unique and timeless beauty that can’t be replicated with other materials. Plus, hardwood floors are strong and durable enough to withstand wear and tear over the years. While having a professional install your hardwood floors can be expensive, you can save money by doing it yourself. Installing hardwood flooring yourself is a big project, but it’s one that any motivated homeowner can do.
Step-by-Step Guide to DIY Hardwood Flooring
Before you start your DIY hardwood floor installation project, you’ll need to measure the area and purchase the right supplies. Once you have all the materials you need, you’ll be ready to get started on installing the wood floors yourself. Here’s a step-by-step guide on how to install hardwood floors yourself:
Step 1: Remove Existing Flooring
The first step in DIY hardwood floor installation is to remove any existing flooring material. This includes carpeting, tile, laminate, or vinyl. Use a pry bar or crowbar to pull up the existing flooring material and discard it properly. If you’re installing over concrete, make sure to sweep away any debris or dust that remains after removing the old flooring material.
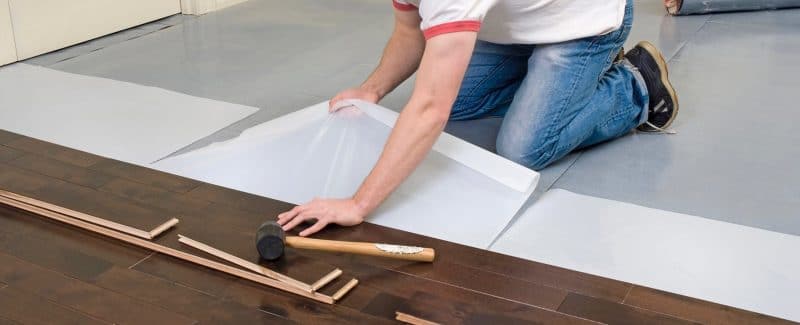
Step 2: Prepare Subfloor
Once you’ve removed the existing flooring material, you’ll need to prepare the subfloor for the new hardwood floors. If you’re installing over concrete, use a concrete leveler to fill in any low spots or cracks. If you’re installing over plywood or OSB, use a roto-zip tool to cut away any high spots or dips. Make sure the subfloor is level before beginning the installation process.
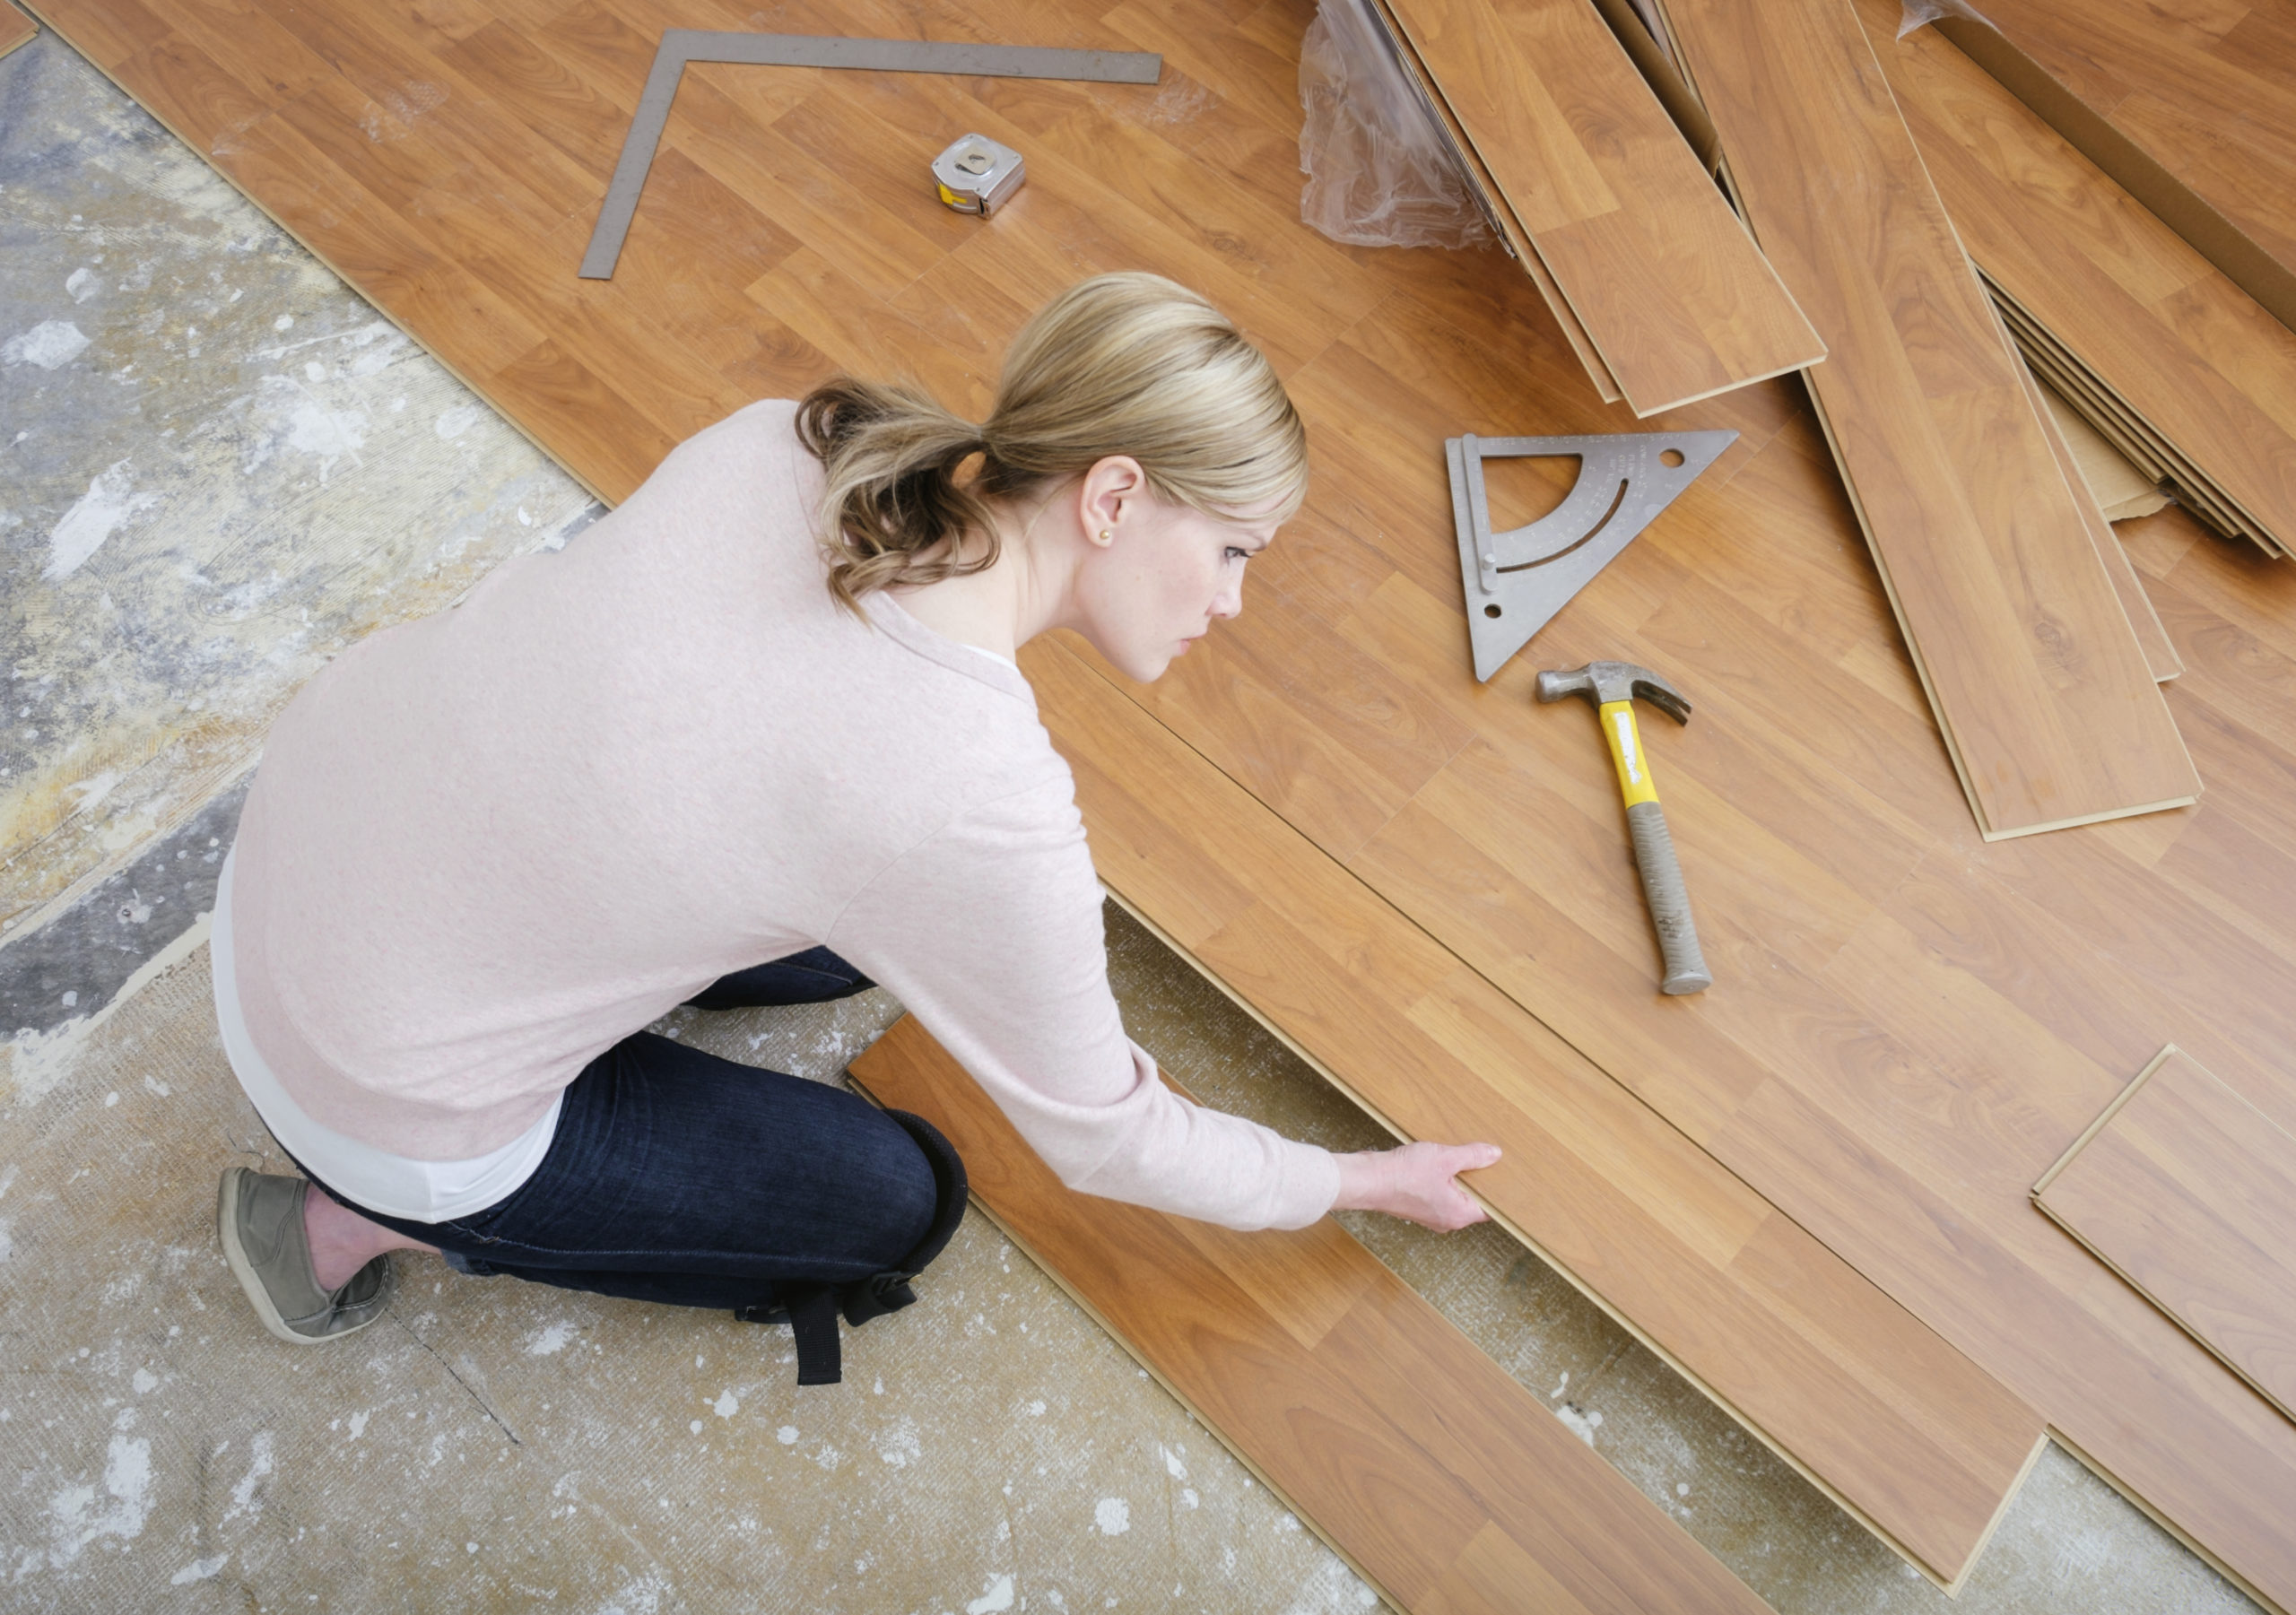
Step 3: Lay Out Floorboards
Once you’ve prepared the subfloor, it’s time to lay out the floorboards. Start by measuring the room and marking off where each row of boards should go with a pencil or chalk line. Make sure to leave at least 1/4 inch of space between each board for expansion and contraction due to temperature and humidity changes.
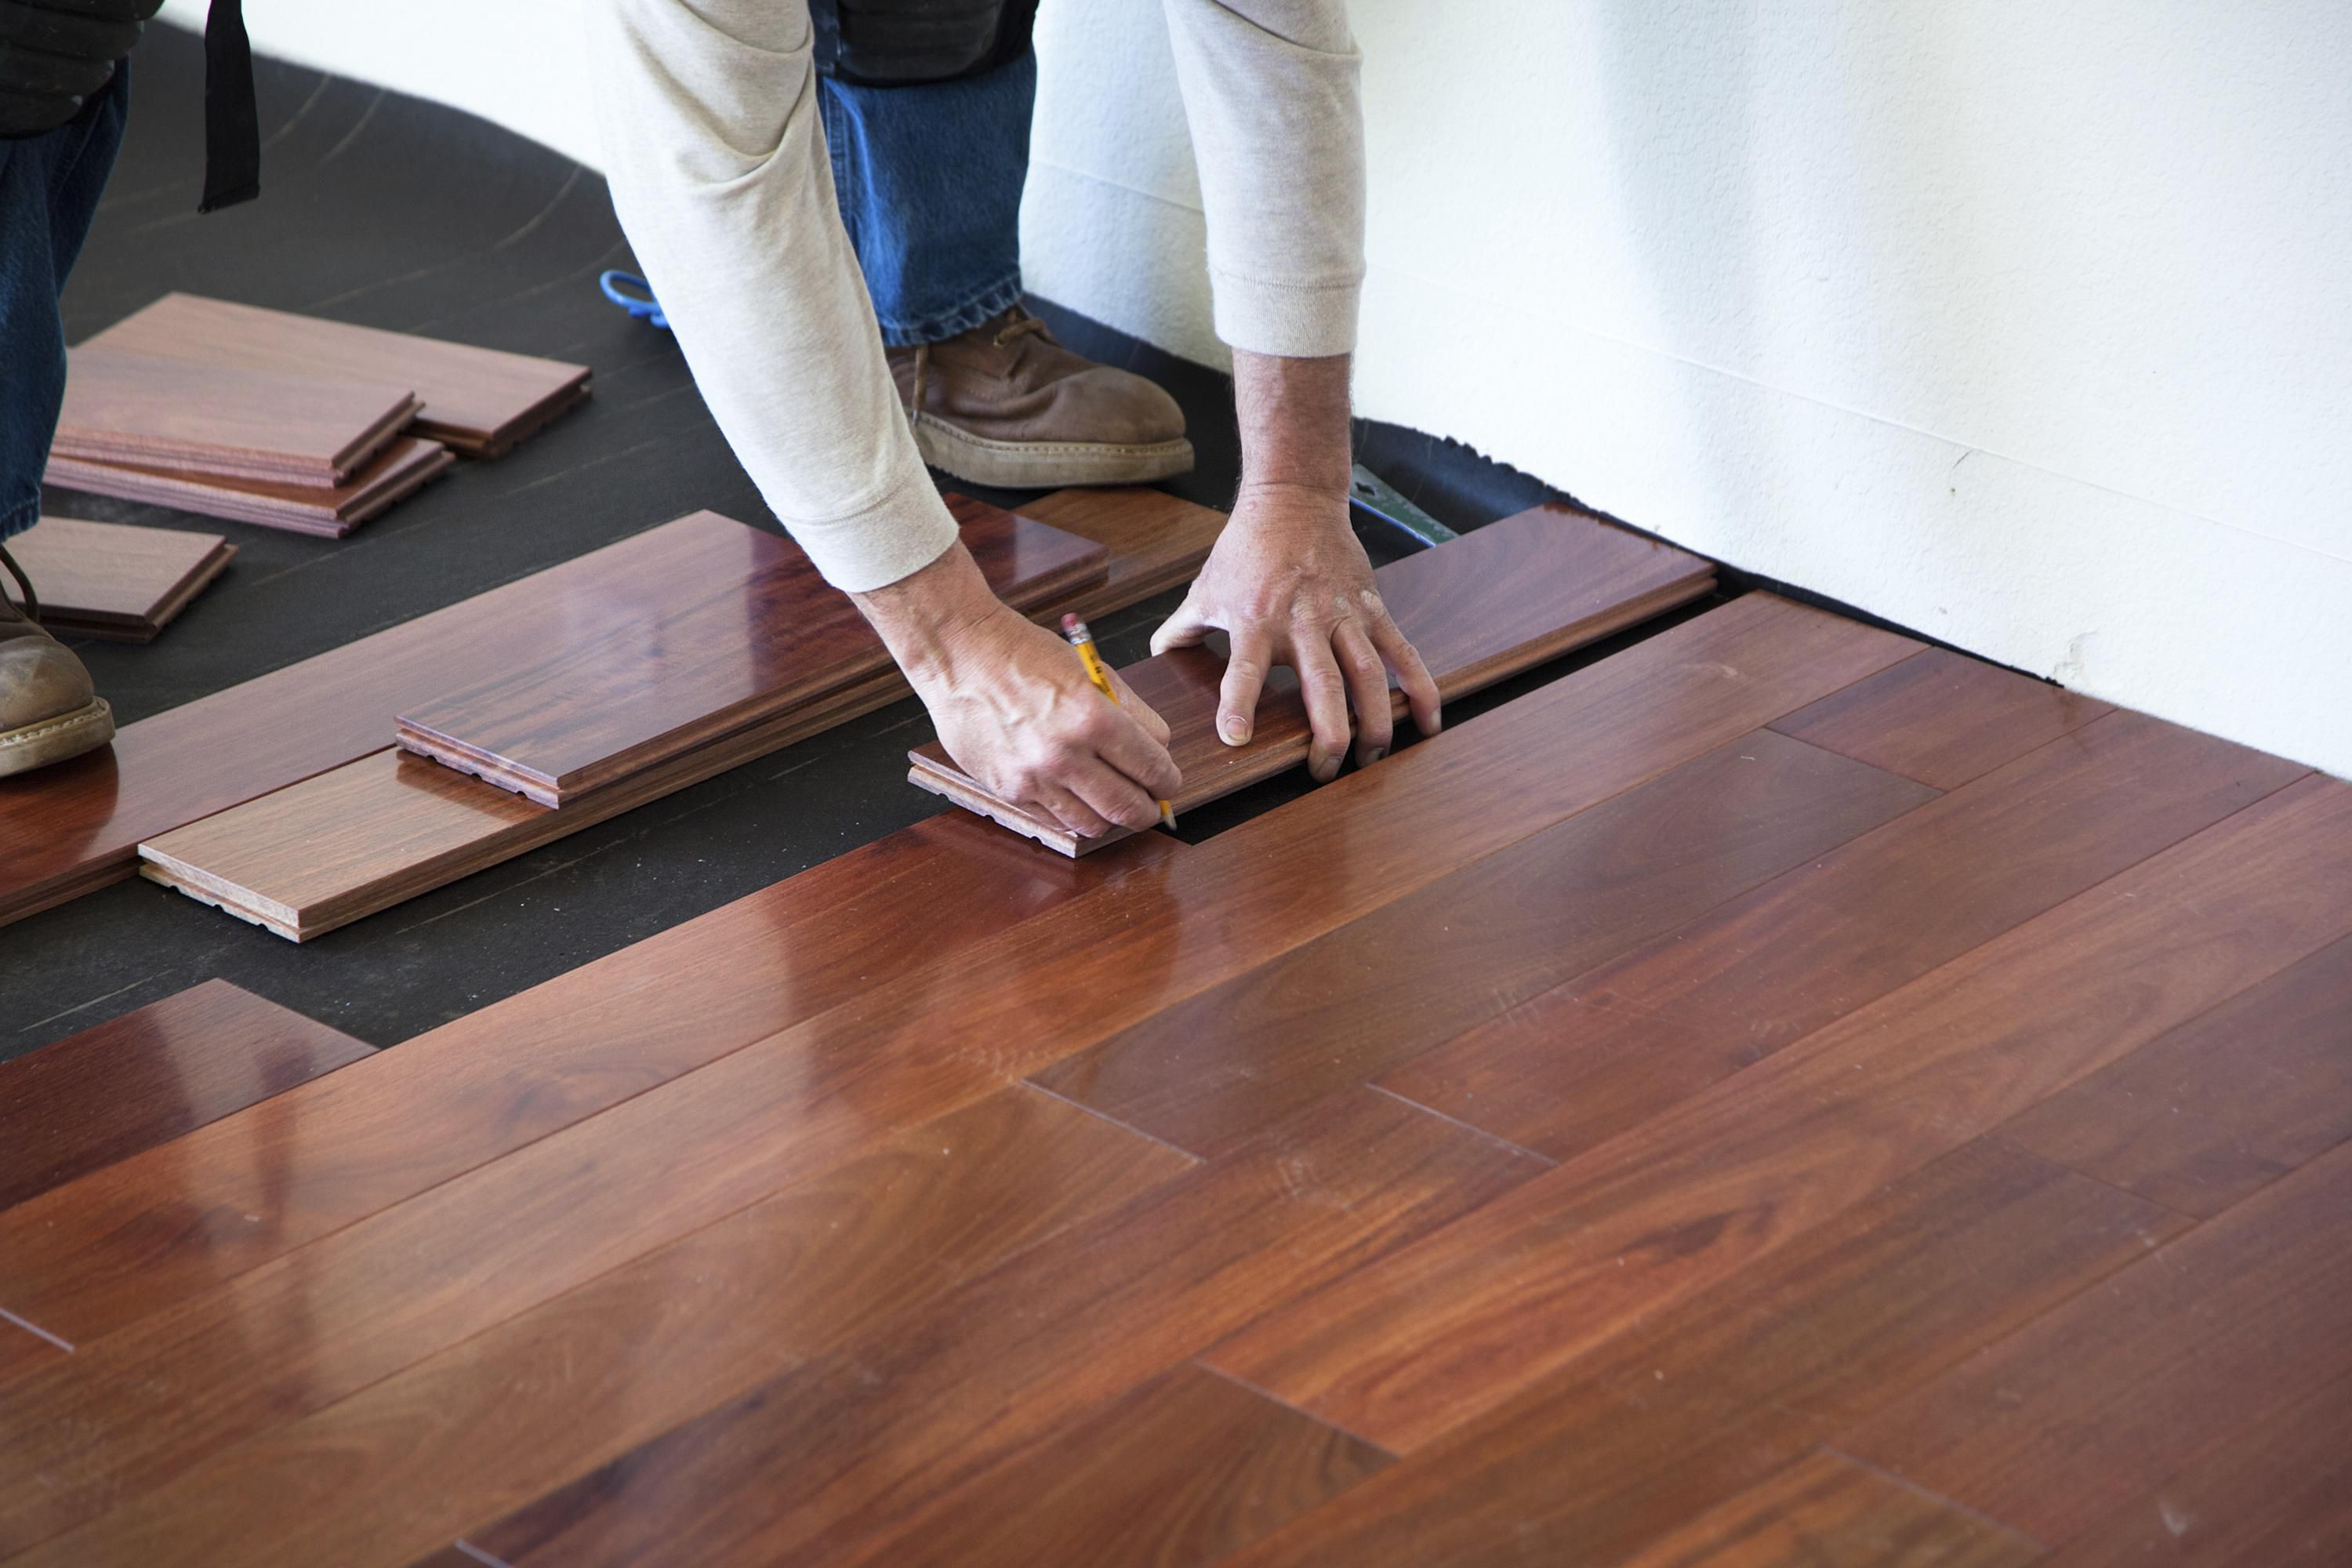
Step 4: Install Floorboards
Now it’s time to start installing the boards. Begin by laying down one row of boards along your chalk line and use a nail gun to secure them in place. Use 2-inch nails along all four sides of each board for maximum stability. Make sure each board is perfectly aligned before securing them in place with nails. Once all of the boards are installed in one row, move on to the next row until the entire floor is covered with boards.
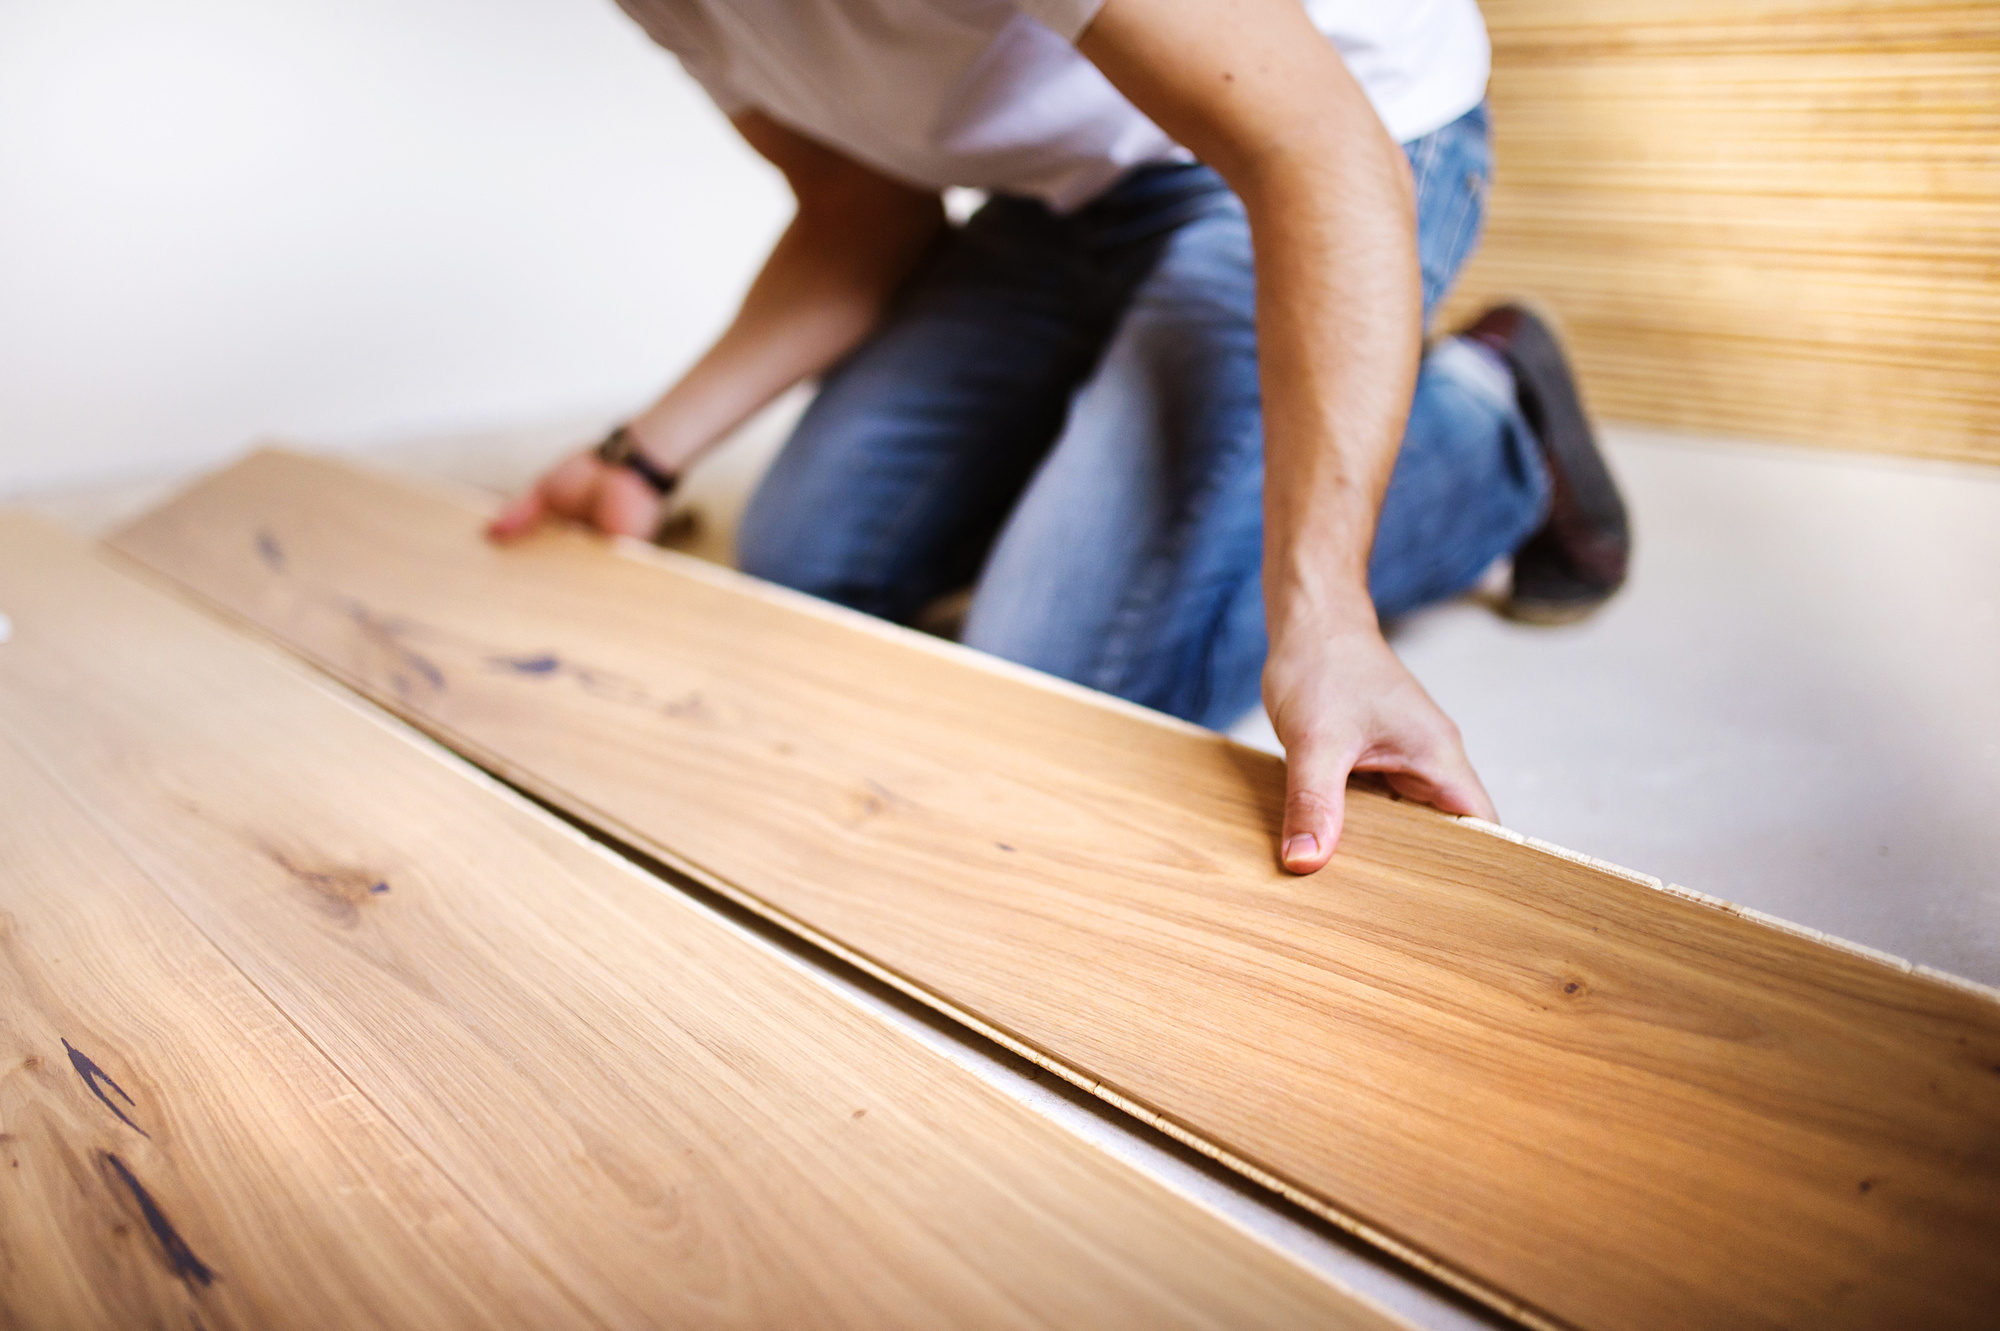
Step 5: Secure Boards Together
Once all of the boards have been installed in each row, use a tongue-and-groove router bit to secure them together at their sides and ends. This will ensure that none of the boards come apart due to expansion or contraction from temperature or humidity changes. Make sure each board is properly secured before moving on to the next one.
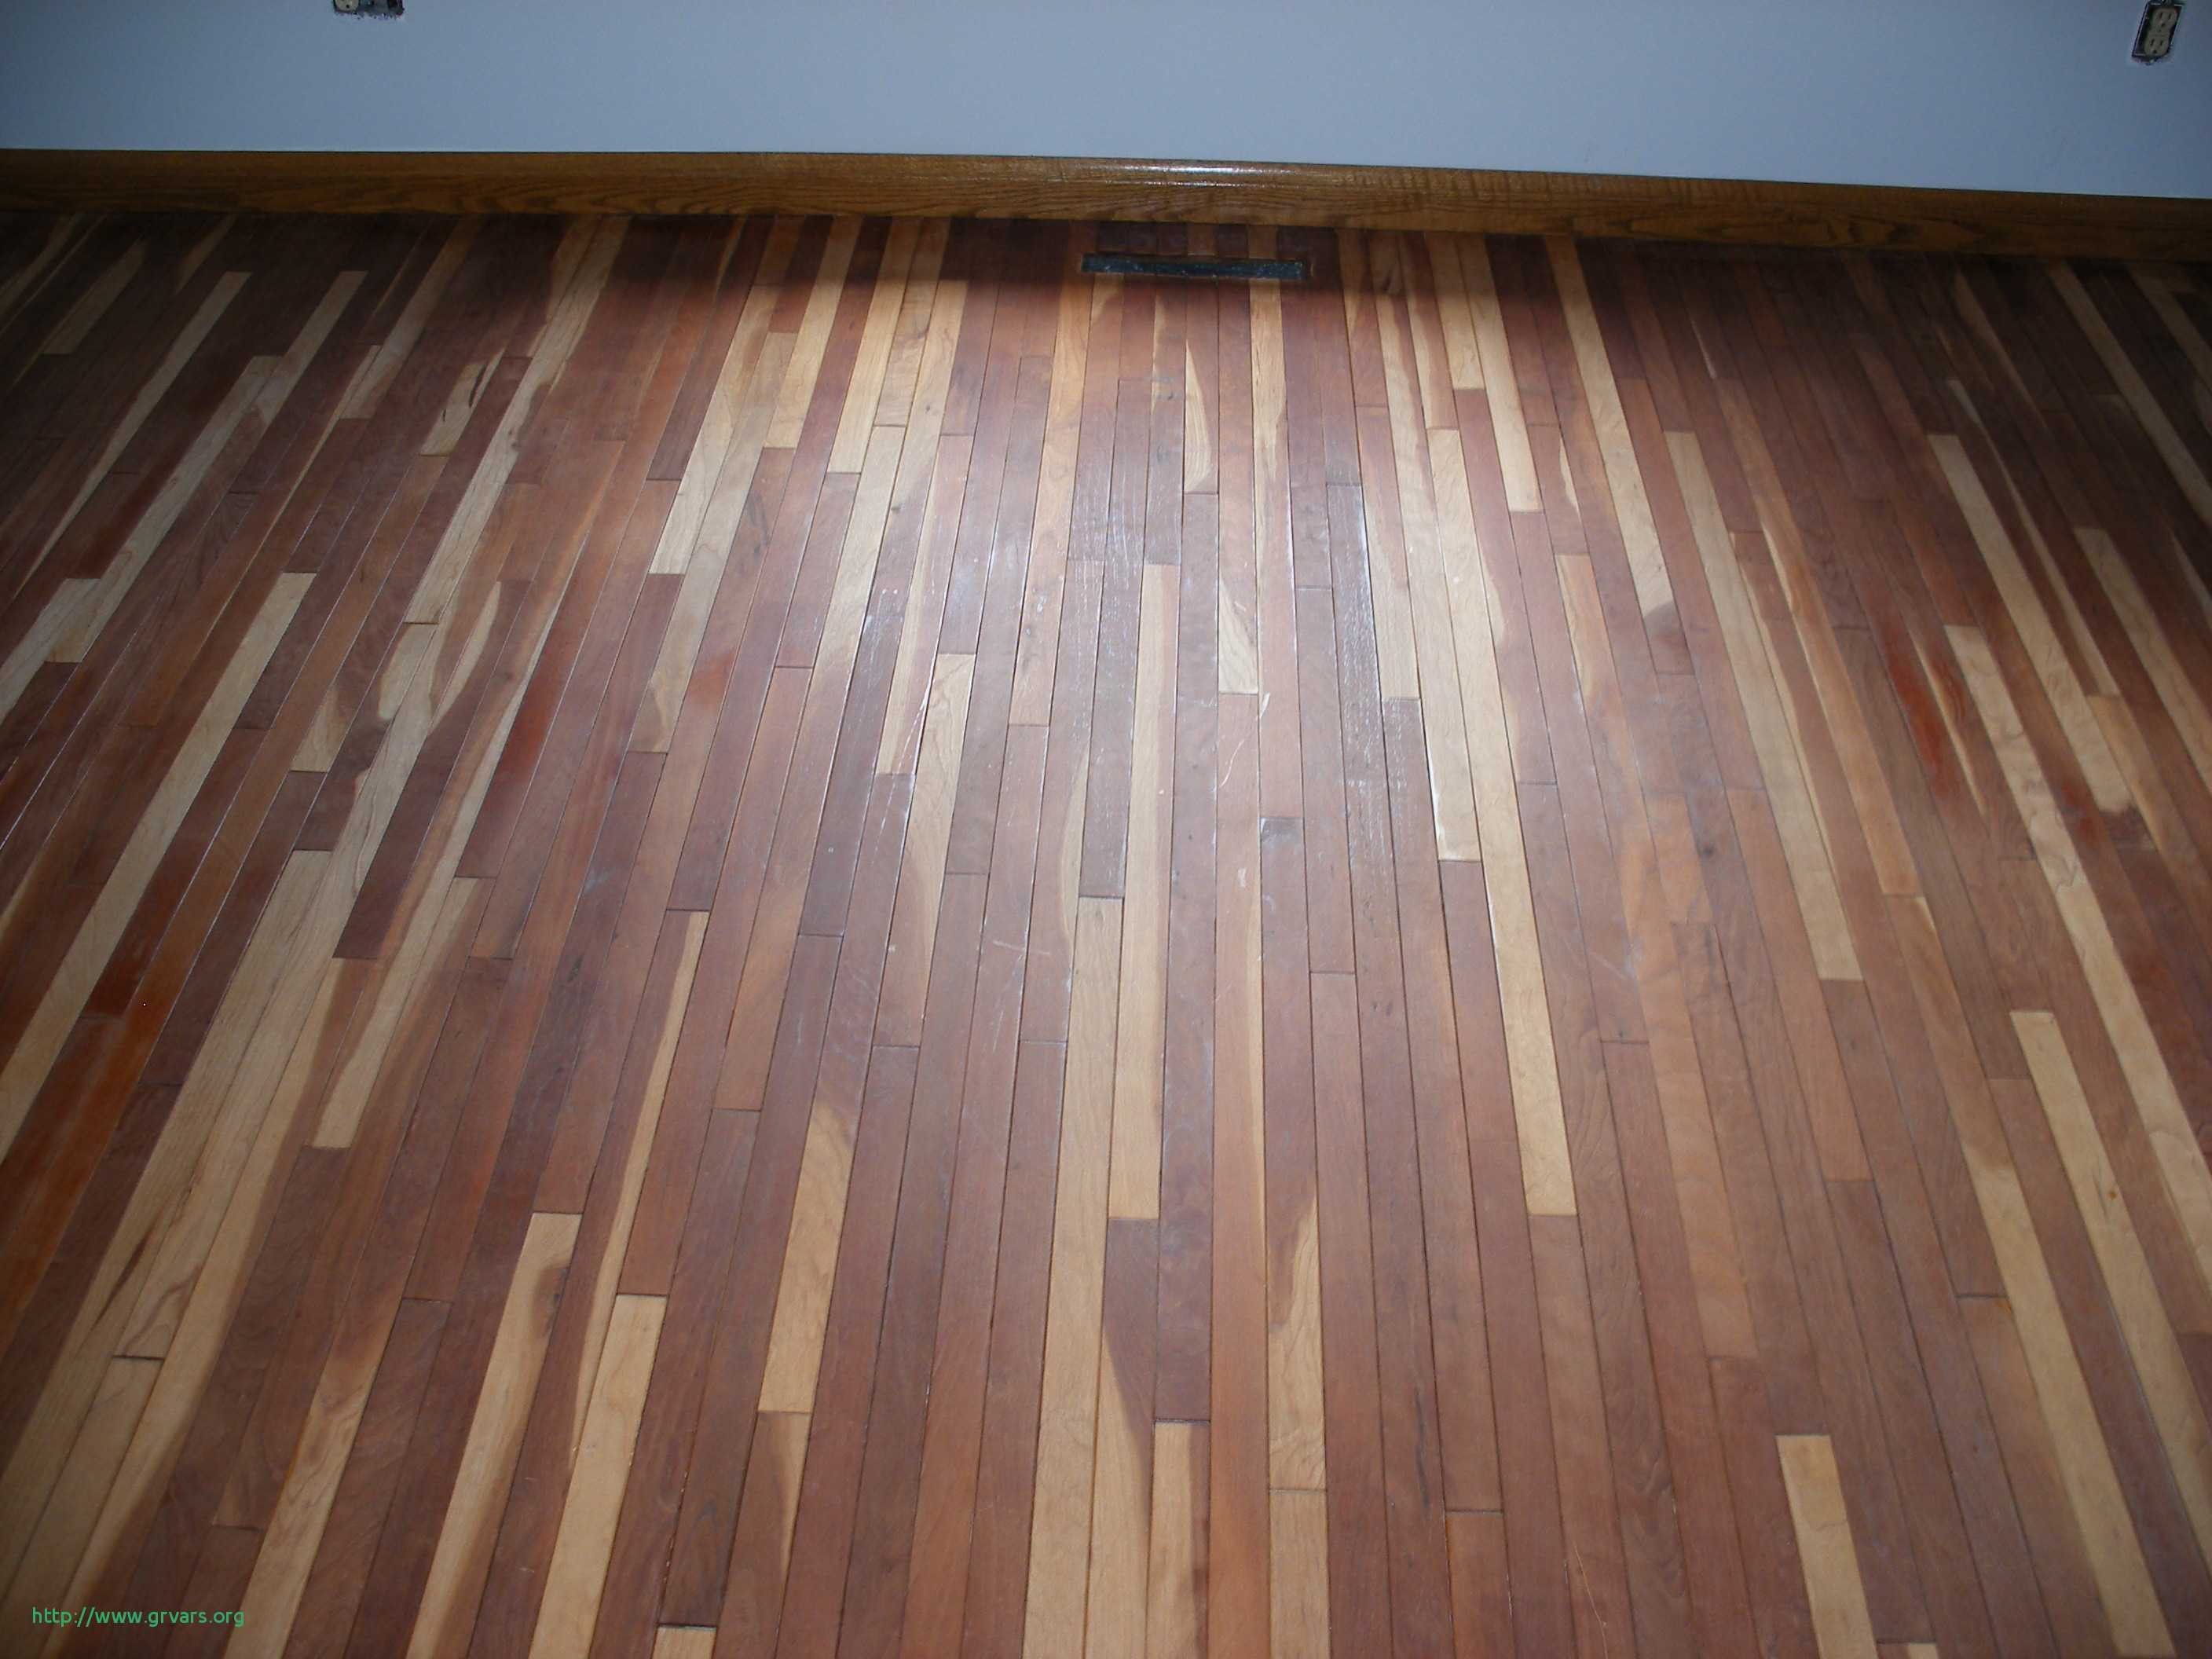
Step 6: Seal Boards With Finish
After all of the boards have been installed and secured together, it’s time to seal them with finish. Use a polyurethane finish designed specifically for hardwood floors and follow all manufacturer directions carefully. This will help protect your hardwood floors from scratches and spills while also adding luster and shine to them over time.
Installing hardwood floors yourself can be a big project, but it’s one that any motivated homeowner can do with patience and attention to detail. By following the steps outlined above, you can save money on installation costs while also giving your home an updated and modern look with beautiful new hardwood floors.