How To Install Click Vinyl Tile Flooring
How to Install Vinyl Flooring Vinyl Planks BuildDirect
How To Install Vinyl Plank Flooring ? – Home Pictures Easy Tips

How to Install Vinyl Plank Flooring – YouTube
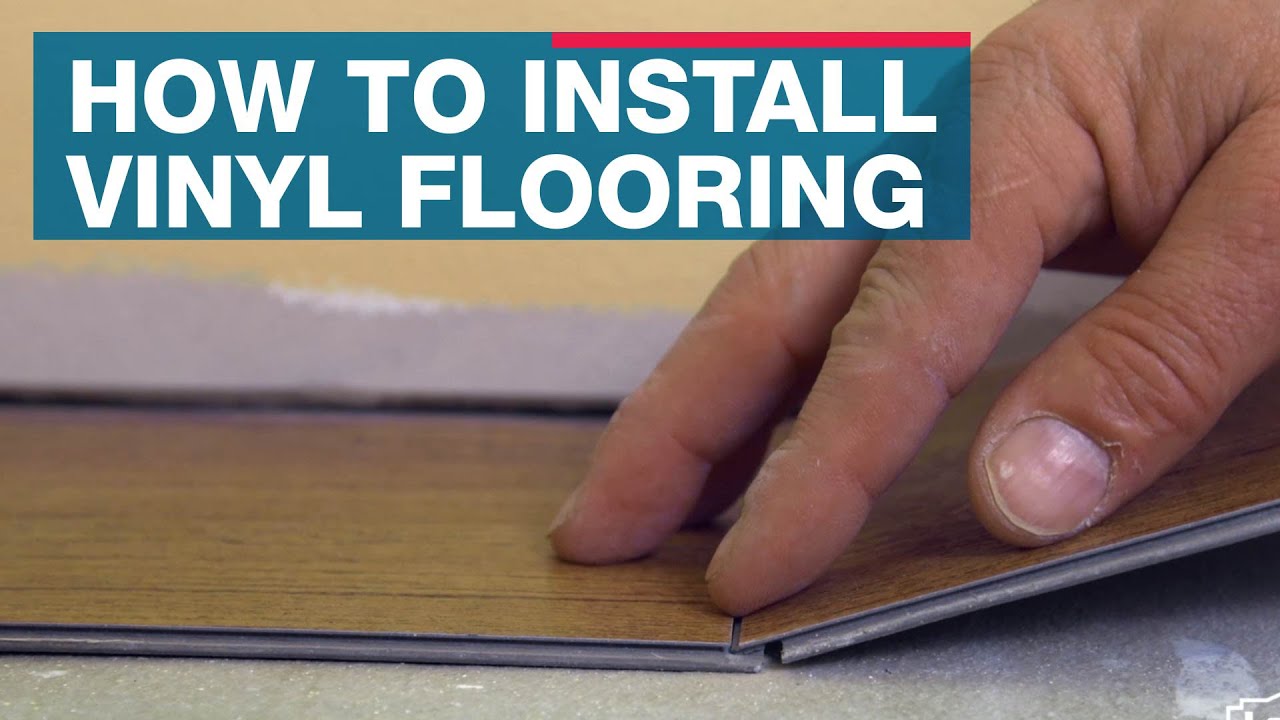
How To Install Vinyl Plank Flooring – YouTube

How To Install Vinyl Plank Flooring – YouTube Luxury

How To Lay A Floor Using Vinyl Flooring – how to remove old vinyl floor glue

How To Install Luxury Vinyl Plank Flooring – Bower Power #luxurylivingroom Installing vinyl

Installing Vinyl Flooring Over Ceramic Tile – Quietly Positive

Can You Put Vinyl Flooring Over Tile? Tilen.space

How to Install Vinyl Plank Flooring Quick and Simple – THE REVIEW GUIDE
3 – Installation – Legacy Luxury Vinyl Tiles & Planks – Click flooring – YouTube
Related Posts:
- Cuban Tile Floors
- Easy Way To Grout Tile Floor
- Types Of Marble Tile Flooring
- Slate Tile Floor
- Classic Bathroom Tile Floors
- Tile Floor Color Ideas
- Wet Mops For Tile Floors
- Staining Saltillo Tile Floors
- Terrazzo Tile Floor Outdoor
- Tile Flooring For Screened Porch
# How To Install Click Vinyl Tile Flooring
Vinyl floors are a popular choice for homeowners because they are durable and easy to clean. Click vinyl tile flooring is an even more appealing option, as it mimics the look of real tile without the hassle of grout or messy adhesives. Installing click vinyl tile is a relatively easy DIY project that any homeowner can tackle in just a few hours. Read on to learn how to install click vinyl tile flooring and give your home an updated look.
## Gather Materials and Tools Needed for Installation
Before beginning the installation process, make sure you have all of the necessary supplies. You will need: click vinyl tiles, tile spacers, utility knife, measuring tape, straight edge, adhesive (if required), hammer and chisel (for removing existing flooring), and a mop.
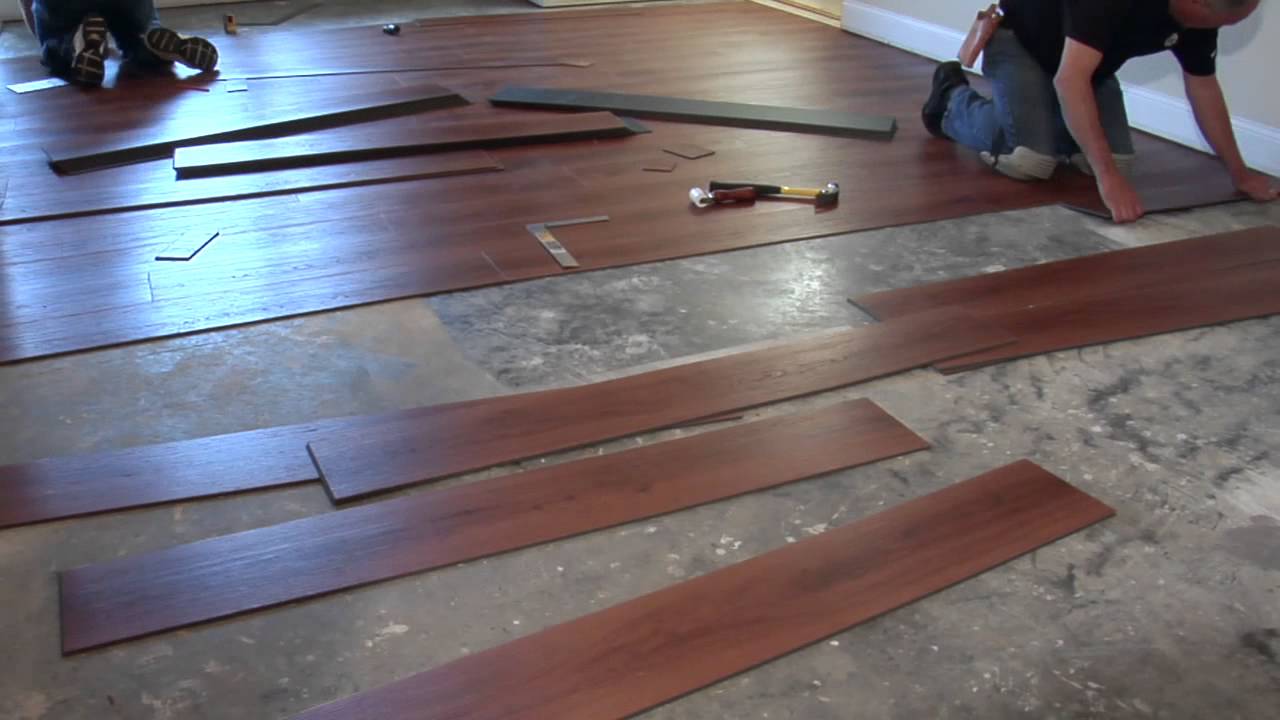
## Prepare the Subfloor and Remove Existing Flooring (if necessary)
Before installing click vinyl tile flooring, it is important to make sure that the subfloor is in good condition. If there are any large gaps or holes in the subfloor, use wood putty or mortar to fill them in before proceeding with installation. If you are installing over an existing floor such as linoleum or hardwood, use a hammer and chisel to carefully remove it. Make sure to wear safety glasses and a dust mask while doing so.
## Measure and Cut Tiles As Necessary
Once you have prepared the subfloor, it’s time to begin laying the tiles. Start by measuring the room and cutting tiles as needed to fit against walls or around obstacles. Use a straight edge and utility knife to ensure that cuts are straight and accurate.
## Apply Adhesive (if Necessary)
If your click vinyl tiles require adhesive, apply it evenly across the subfloor using a notched trowel. Make sure to read the manufacturer’s instructions for your specific type of adhesive before beginning this step.
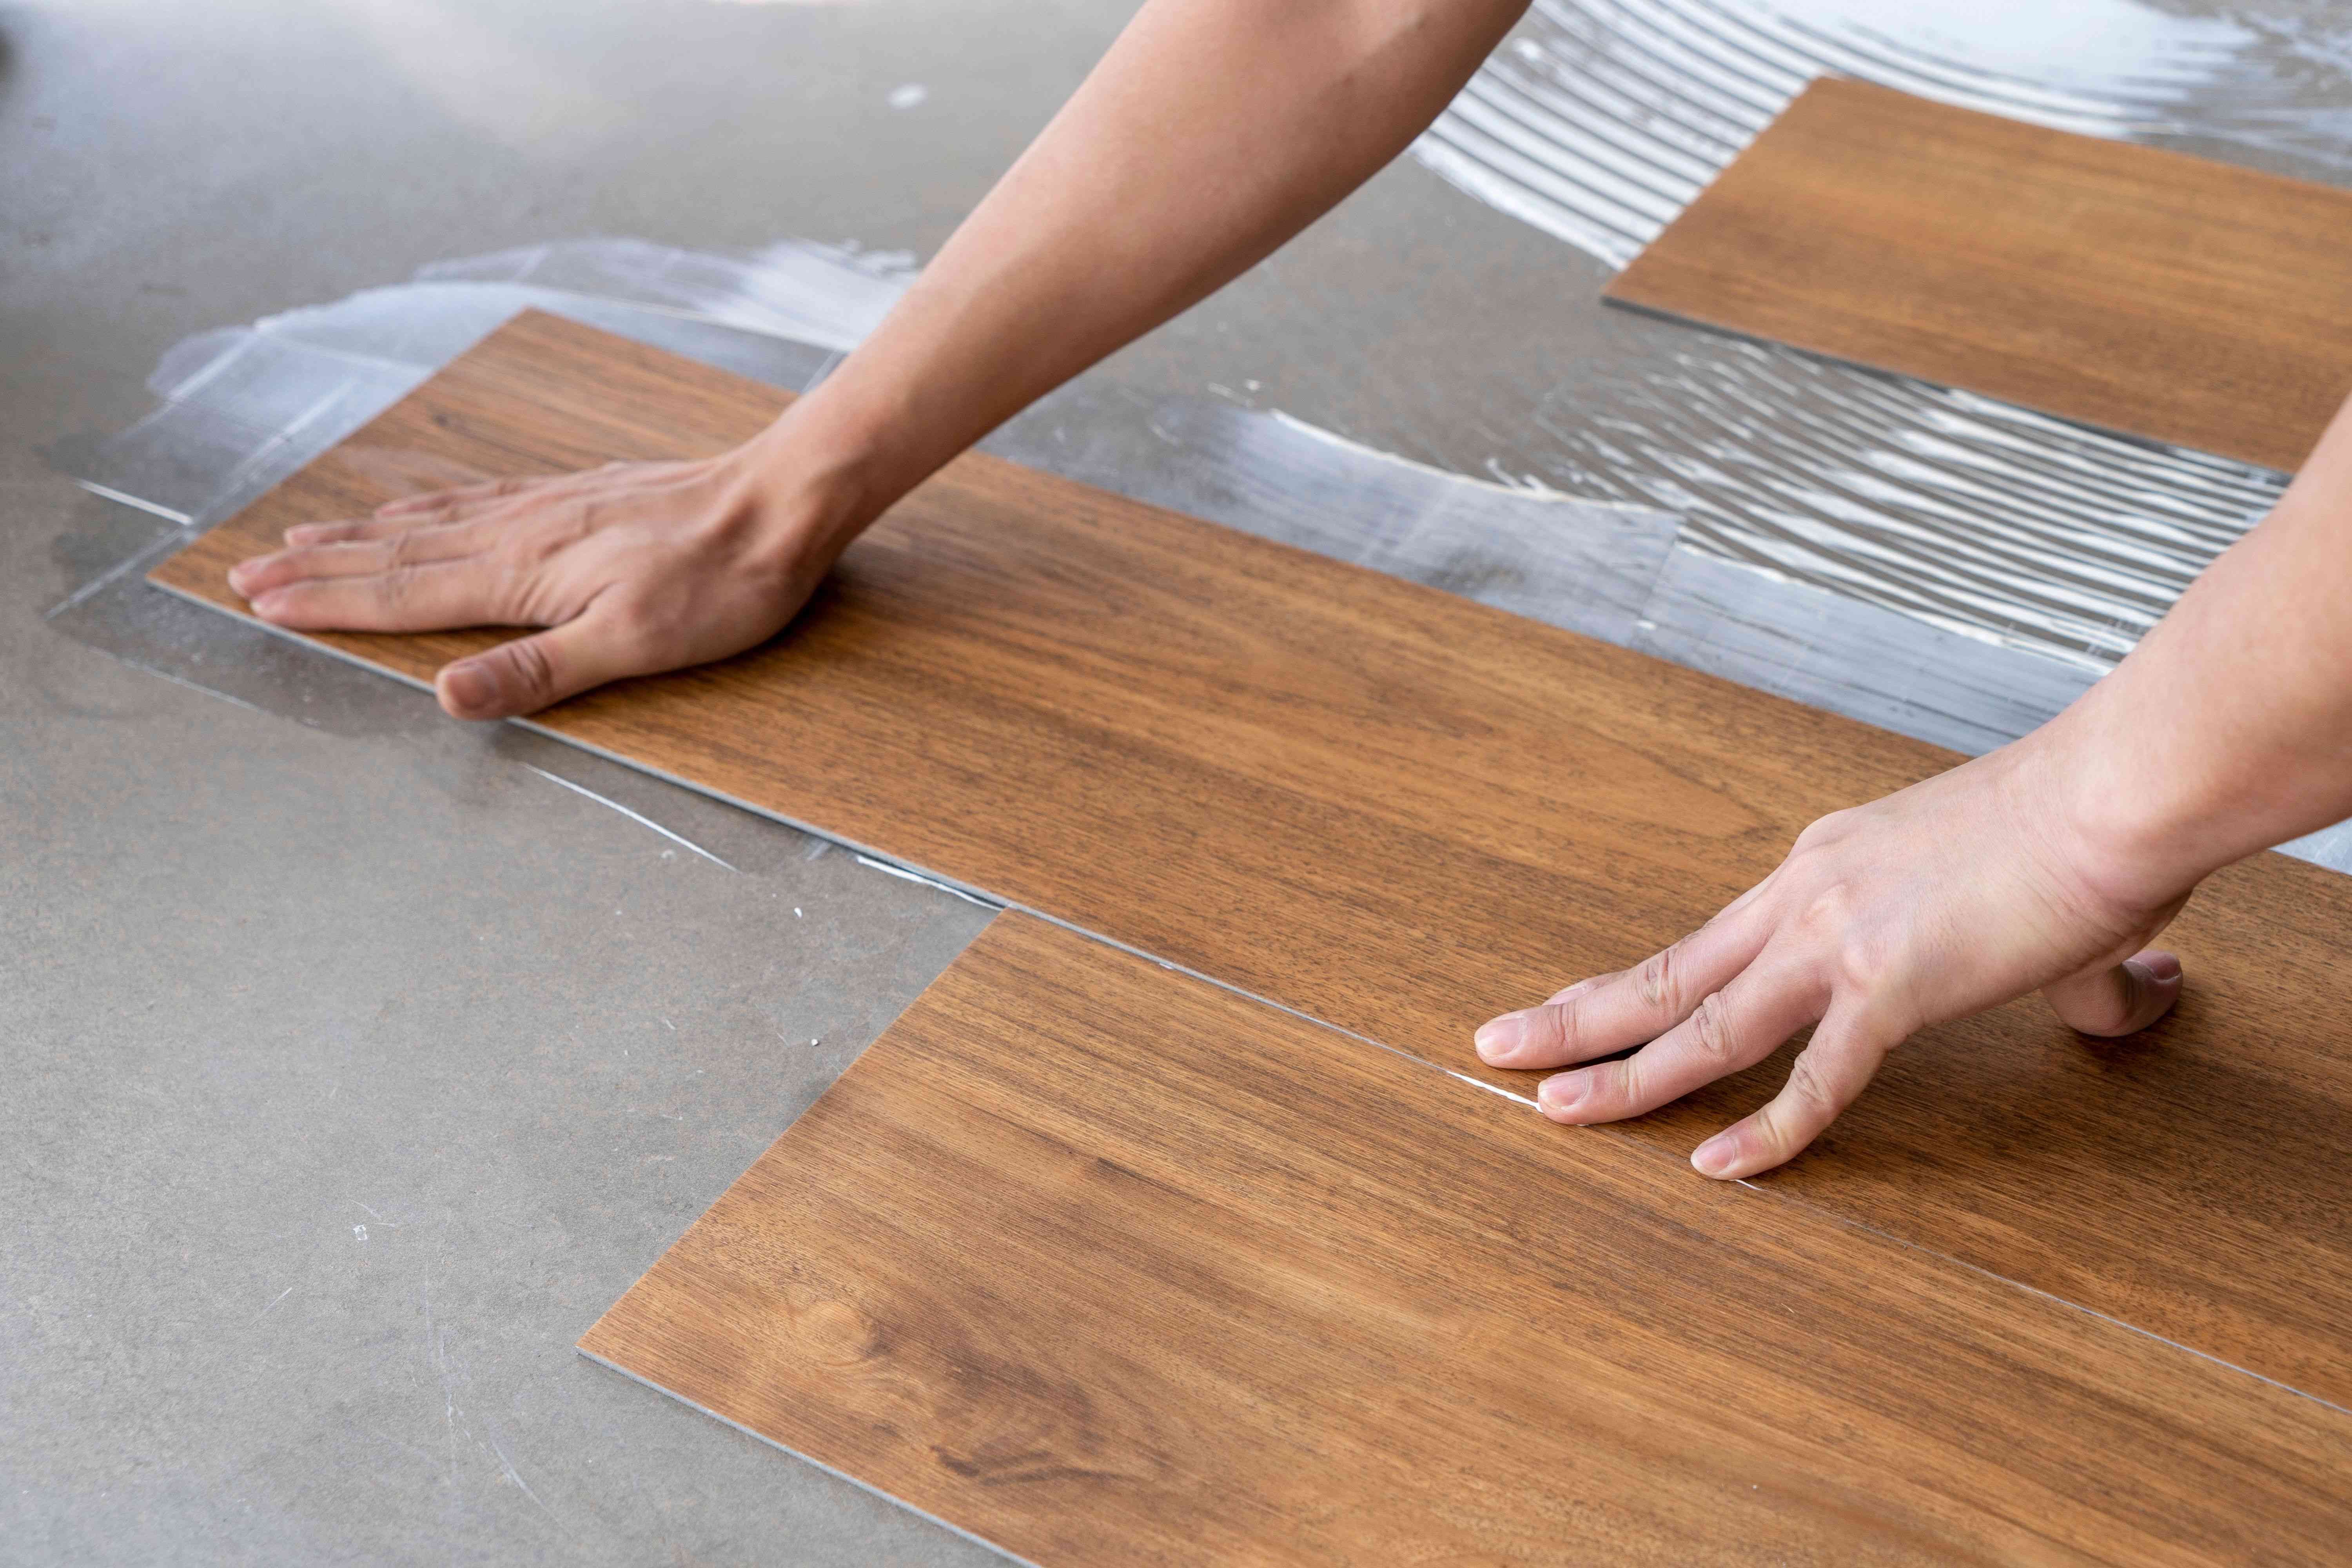
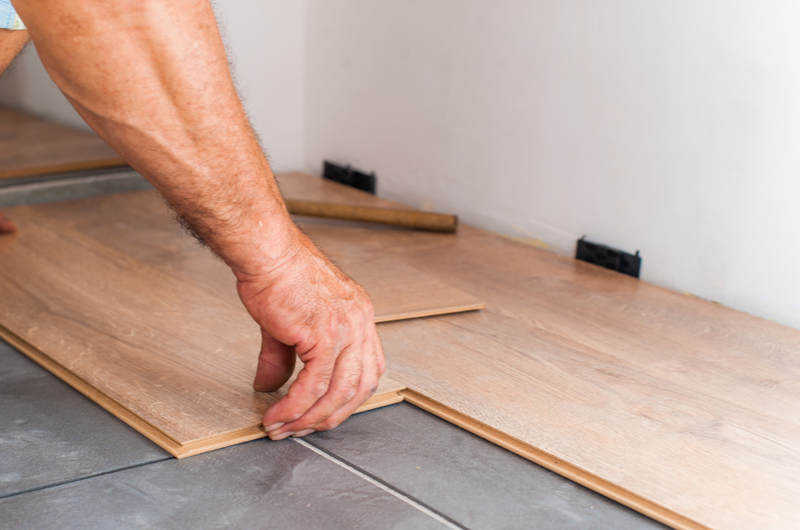
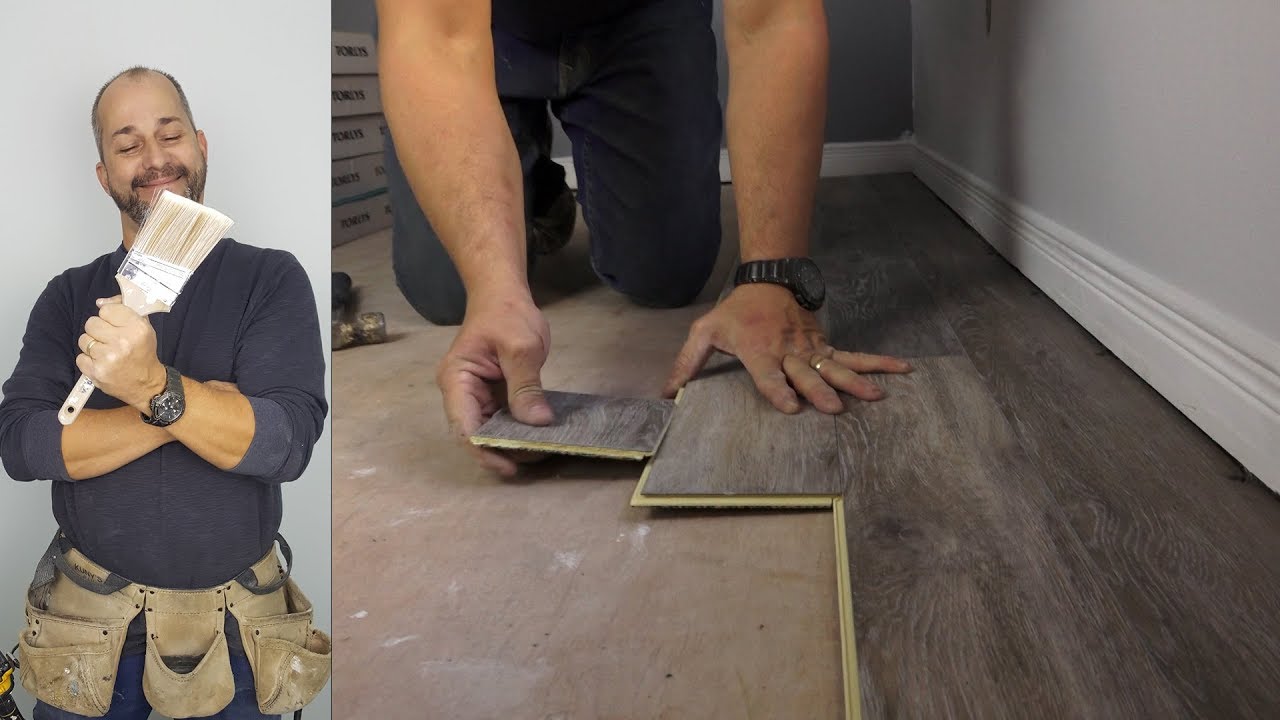
## Lay Tiles To Complete The Floor
Once you have cut and applied adhesive as necessary, start laying down the tiles from one corner of the room towards the opposite wall. To ensure accuracy, use tile spacers between each tile to create even grout lines. Once all of the tiles have been laid, allow them to set according to manufacturer’s instructions before walking on them.
## Clean Up and Enjoy Your New Click Vinyl Tile Floor
Once your new floor has had time to set up completely, it’s time to clean up! Gently sweep away any debris left over from installation and mop the floor with a mild detergent solution. That’s it! You now have a beautiful new click vinyl tile floor that will look great for years to come!
What tools are needed to install click vinyl tile flooring?
Tools needed to install click vinyl tile flooring include a utility knife, straight edge, tape measure, rubber mallet, and rubber tapping block. Additionally, a miter saw may be needed to cut tiles to fit the area. For adhesive installation, it may also be necessary to have a trowel or roller.