How to Install Floating Cork Floor
How To Install A Floating Cork Floor Young House Love Cork flooring, Flooring, Young house love

How To Install A Floating Cork Floor Young House Love Cork flooring, Young house love, Flooring

How to Install a Floating Cork Floor how-tos DIY

How To Install A Floating Cork Floor Young House Love in 2020 Cork flooring, Flooring

How To Install A Floating Cork Floor Young House Love Cork flooring, Young house love

How To Install Cork Floor Forna Floating Flooring – ICork Floor
How To Install A Floating Cork Floor Young House Love
How to Install a Floating Cork Floor how-tos DIY

How to Install a Floating Cork Floor how-tos DIY
Cork Floating Floor Prep Install Cancork Floor Inc.
Cork Flooring: Kitchen Cork flooring, Flooring, Repair

Related Posts:
- Glue Down Cork Flooring
- Cork Flooring for Exercise Room
- What Are The Benefits Of Cork Flooring
- Cork Flooring in Laundry Room
- Scandia Plank Cork Flooring
- Cork Floors That Look Like Hardwood
- How To Paint Cork Flooring
- Cork Flooring Renovation
- Cork Flooring Interior Design
- Natural Cork Flooring Ideas
How to Install Floating Cork Floor: A Step-by-Step Guide
Floating cork flooring is a great option for those looking to bring a modern, environmentally friendly aesthetic to their home. Cork flooring is extremely durable and easy to maintain, making it a great choice for areas of high traffic or for busy family homes. The installation process is relatively simple, and with the right tools and materials, you can have your floating cork floor ready to go in no time. This guide will walk you through the steps of how to install a floating cork floor.
Tools and Materials Needed
Before you begin the installation process, make sure you have all the necessary tools and materials. You will need a saw, hammer, drill, measuring tape, screws, adhesive, and of course the cork flooring. Additionally, you may want to invest in an underlayment to increase the insulation of your floor and reduce noise.
Preparing the Room
Before you can begin installing the cork flooring, you must first prepare the room for installation. Start by removing any existing flooring or debris from the room. Once cleared, use a level to make sure that the room is even before laying down the cork floor. If there are any dips or irregularities in the surface, use plywood to even out the area and create a level surface.
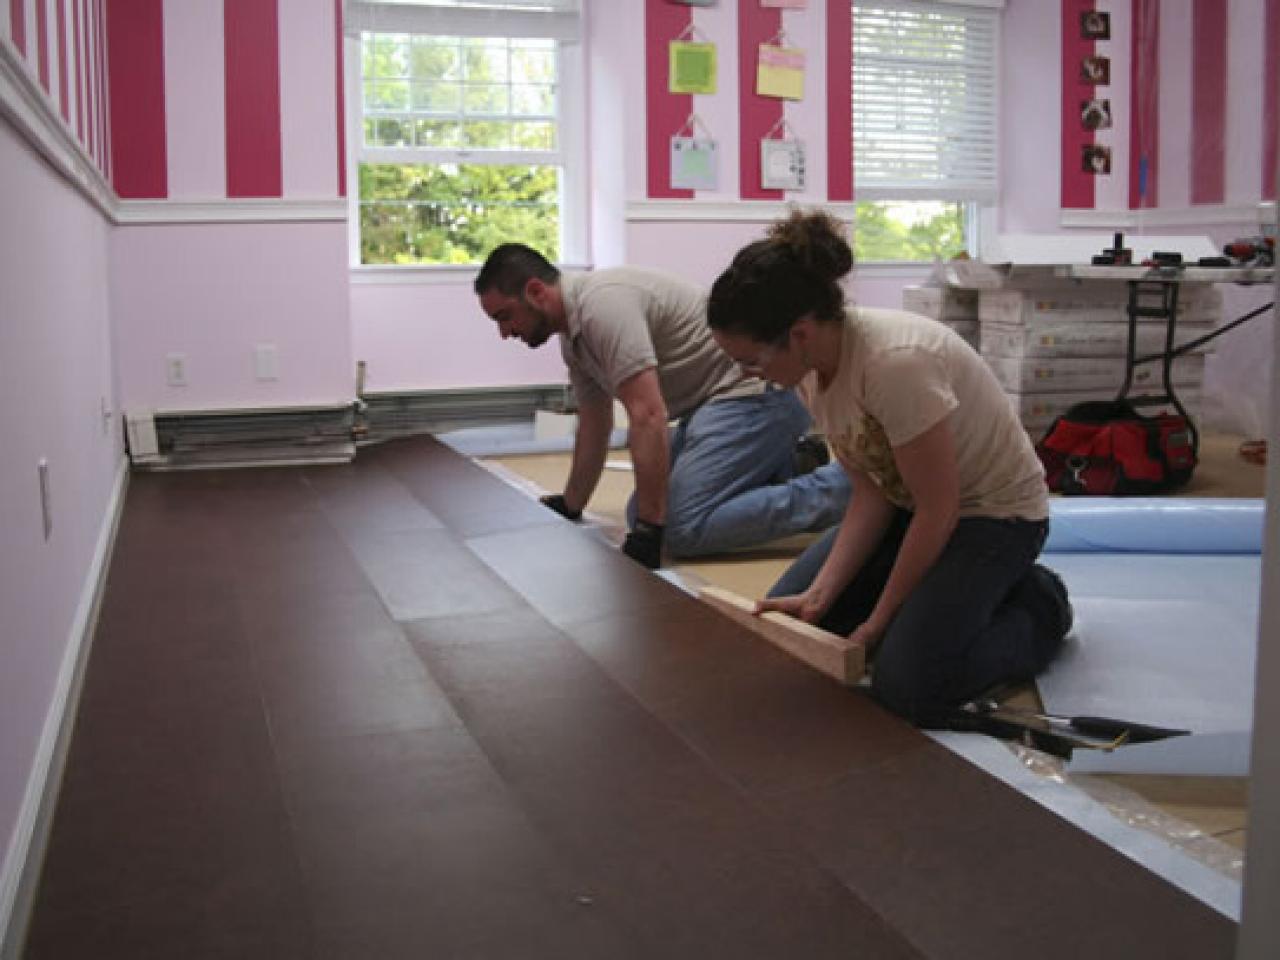
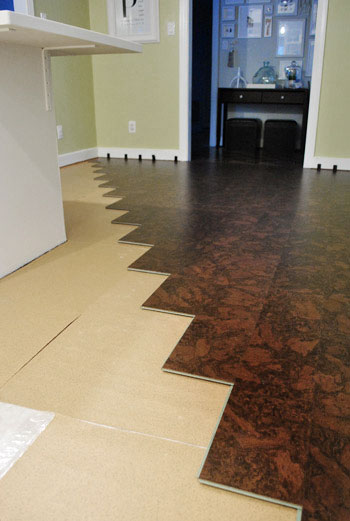
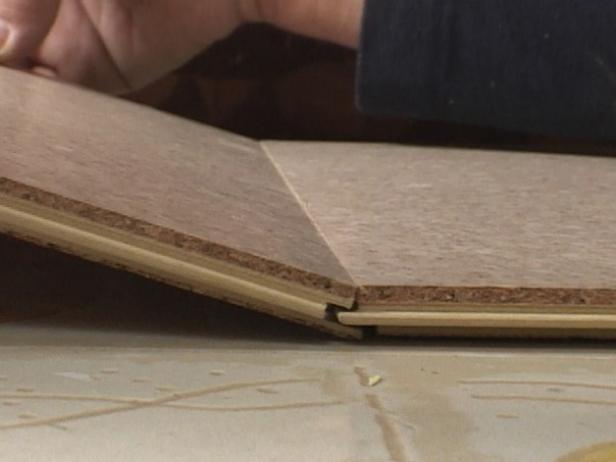
Laying Down Cork Flooring
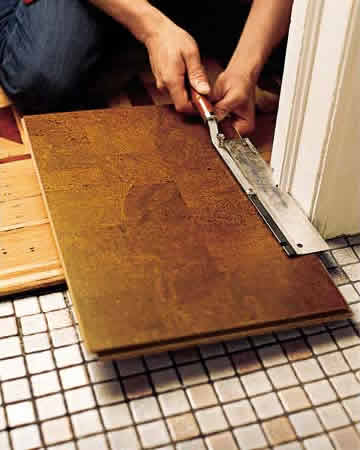
Now that your room has been properly prepared, it’s time to start laying down your cork flooring. Begin by laying down a few pieces of cork side by side and use a measuring tape to ensure they fit together properly. If there is any overlap, use a saw to cut off any excess material. To ensure your floor can handle foot traffic, it’s also important to use screws and adhesive in each corner of each piece of cork flooring.
Adding Underlayment (Optional)
If you choose to add an underlayment to your floating cork floor, make sure it is laid out first before adding any additional layers of cork flooring. This will provide additional insulation for your home and reduce noise levels. Use an adhesive or nails to fasten each piece of underlayment together and create one flat surface before continuing with the installation process.
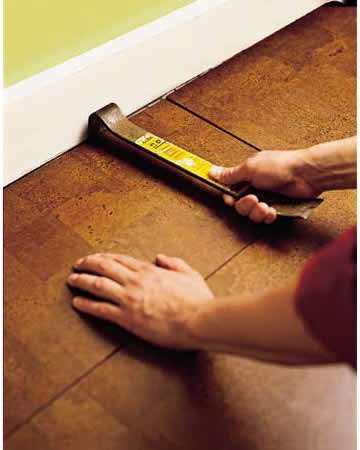
Finishing Up
Once all pieces of cork flooring are installed, use a hammer or drill to secure them together if necessary. Additionally, use caulk or adhesive along the edges of each piece of cork flooring to ensure they stay securely in place. Finally, clean up any dust created during installation and enjoy your newly installed floating cork floor!
Conclusion
Installing a floating cork floor can be a great way to add an eco-friendly aesthetic to your home while also increasing insulation and reducing noise levels. With the right tools and materials, this project can be completed in just a few hours! Just make sure that you properly prepare the room beforehand and take all necessary precautions when drilling or using adhesives. Following these steps will help ensure that your newly installed floating cork floor will last for years!