How To Lay Tile On A Concrete Basement Floor
:max_bytes(150000):strip_icc()/can-you-install-tile-directly-on-concrete-1822600-04-458f7bb6c78348c1835cf8054ef36553.jpg)
How To Lay Tile Over Concrete Basement Floor – Flooring Site

Pin on Bathrooms

Laying Ceramic Tile On Cement Floor – Tutorial Pics

laying vinyl plank flooring Vinyl plank flooring basement, Vinyl sheet flooring, Vinyl plank

How to Lay Stick Down Vinyl Tiles on Concrete Floors : Flooring Help Vinyl tiles, Laying vinyl

How To Lay Tile Over Concrete Basement Floor – Flooring Site

How to tile a concrete floor Flooring, Diy kitchen flooring, Tile floor diy

How Long Does It Take to Tile a Floor? Hunker How to lay tile, Ceramic floor tile, Concrete

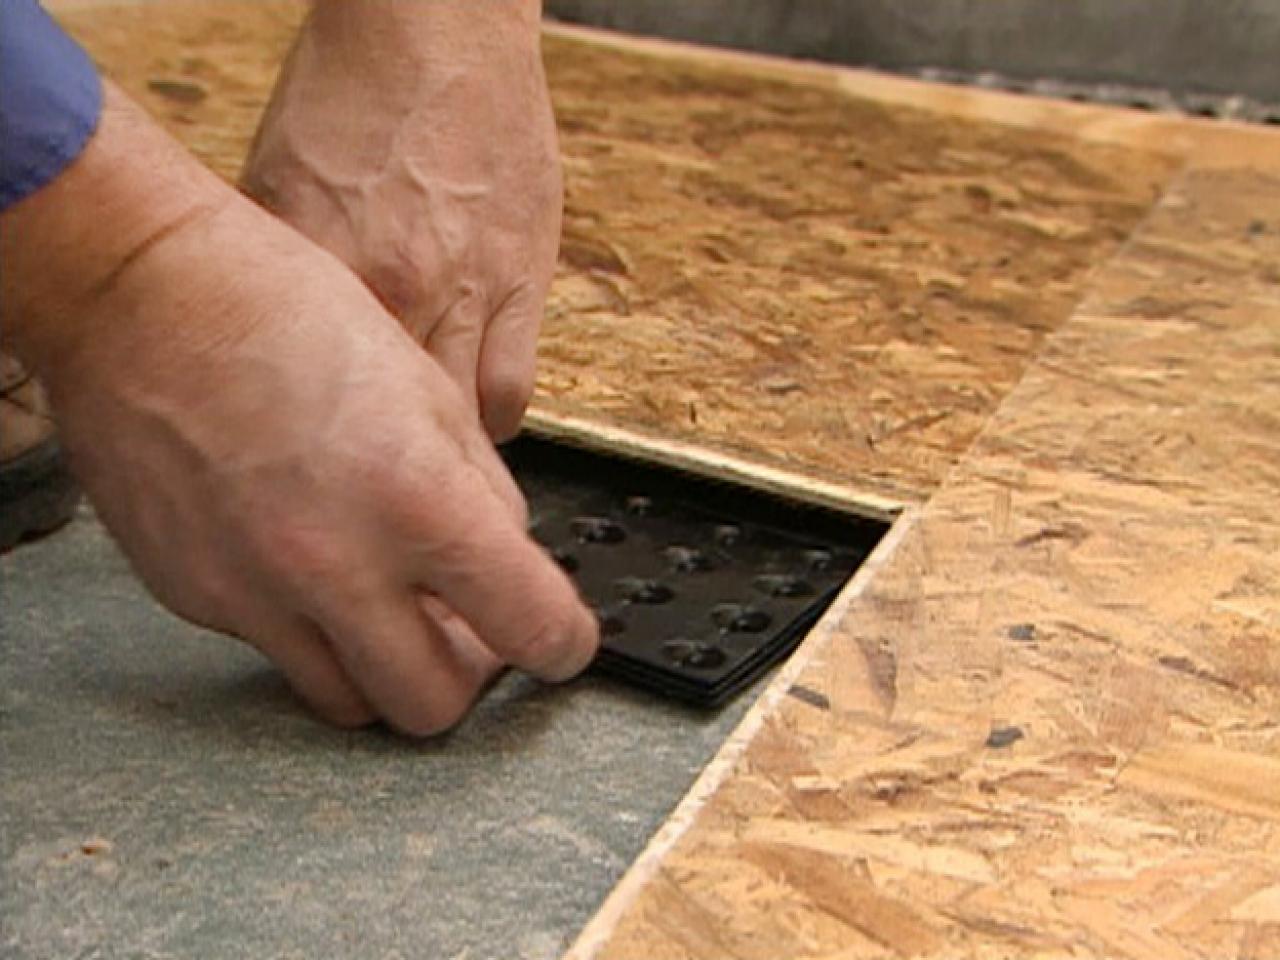
Subfloor Options for Basements HGTV
How To Lay Tile Over Concrete Basement Floor – Flooring Site
How To Lay Tile On Concrete Basement Floor – Laying Ceramic Tile Over Concrete Basement Floor

Related Posts:
- Basement Flooring Ideas
- Basement Floor Heaving Repair
- Basement Flooring Options DIY
- Fixing Basement Floor
- Repainting Basement Floor
- Walkout Basement Flooring
- Brick Basement Flooring
- Budget Basement Flooring
- Waterproofing Your Basement Floor
- Laminate Basement Flooring
How to Install Tile on a Basement Concrete Floor
Tile installation can be a tricky process, especially when it comes to basement concrete floors. Basements can have moisture issues and uneven surfaces, and if not prepared correctly, the tile can crack or pop off over time. This guide will provide the essential steps for properly installing tile on a basement concrete floor.
Preparing the Subfloor
Before installing any type of tile on a basement concrete floor, it is essential to properly prepare the subfloor. The concrete must be dry and free of any debris or dirt. Any cracks or holes in the floor should be filled with a concrete patching compound. Once the cracks are filled, check for any uneven surfaces and level them out with a self-leveling compound. This will help ensure that the tile is installed correctly and evenly without any bumps or dips in the floor.
Applying Thinset Mortar
Once the subfloor is ready, it is time to apply the thinset mortar. This type of mortar is designed specifically for tile installation and will help ensure that the tile is securely adhered to the concrete. Start by mixing enough thinset mortar for the area being tiled according to the manufacturer’s instructions. Then spread the thinset using a trowel and make sure it is evenly distributed. Make sure to press firmly into all of the corners and edges of the area being tiled.
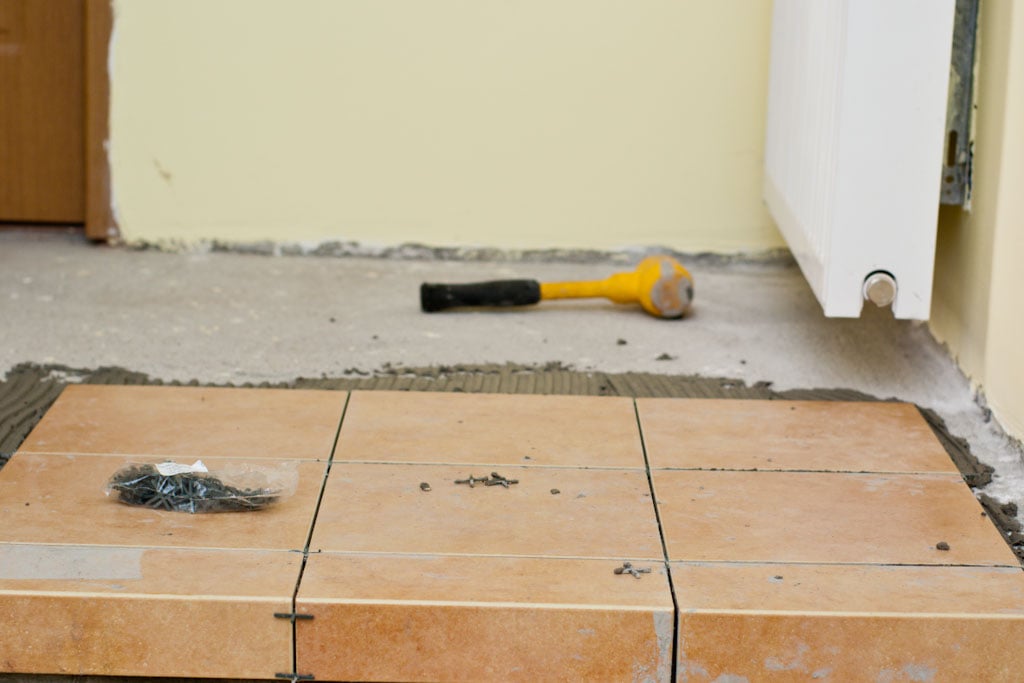
Laying the Tile
Now that the thinset mortar has been applied, it is time to start laying down the tile. Start in one corner of the room and work your way outward in a grid-like pattern. Place each tile into the mortar and press firmly to ensure that it sticks correctly. If you are using tiles with grout lines, make sure that they are even by using spacers. Continue this process until all of the tiles have been laid down.
Grouting & Sealing
Once all of the tiles have been laid down, it is time to grout and seal them. Start by mixing up enough grout for the area according to manufacturer’s instructions. Then spread it onto the floor using a grout float, making sure that it gets into all of the grout lines between tiles. Wipe off any excess grout with a damp sponge and let it dry for 24 hours before applying a sealer. Once dry, apply two coats of sealer with a brush or roller, making sure to cover all exposed surfaces of the tiles.
Finishing Touches
The last step in this process is to add any finishing touches you would like such as trim pieces or edging around the perimeter of your tile installation. These pieces help create a finished look around your tiles and can also help protect them from potential moisture damage. Once these pieces are installed, your new tile installation should be complete!
Installing tile on a basement concrete floor can be a tricky process but with these steps, you should have no trouble getting a beautiful new floor in no time at all! With proper preparation, thinset application, tile placement, grouting, sealing, and finishing touches, you can create an attractive and durable tile installation that will last for years to come!