Lowering A Basement Floor DIY

Basement Floor Lowering Keystone Waterproofing & Restoration

Basement Floor Lowering Keystone Waterproofing & Restoration

Lowering the basement floor – The Dreamhouse Project

Basement Floor Lowering Keystone Waterproofing & Restoration

When it comes to underpinning a basement, also called basement lowering, the advantage is that

How Much Does Lowering a Basement Floor Cost in 2022? Checkatrade
Lowering Basement Floor – Toronto Basement Underpinng Contractor & Basement Lowering : I

Cost Of Lowering Basement Floor – Builder Explain – The Home Hacks DIY
Lowering a Basement Floor – Images 9-14 JLC Online

Basement Lowering – Riccio Excavating

Lowering Basement Floor – Toronto Basement Underpinng Contractor & Basement Lowering : I

Related Posts:
- Basement Flooring Ideas
- Basement Floor Heaving Repair
- Basement Flooring Options DIY
- Fixing Basement Floor
- Repainting Basement Floor
- Walkout Basement Flooring
- Brick Basement Flooring
- Budget Basement Flooring
- Waterproofing Your Basement Floor
- Laminate Basement Flooring
Do you want to lower your basement floor DIY? It can be a challenging task, but with the right knowledge it’s possible. In this article, we’ll discuss how to lower a basement floor step-by-step. We’ll cover the materials needed, the tools you’ll need, and the overall process from start to finish. Whether you’re looking to reduce the height of your basement or create a more comfortable living space, these tips and tricks will help you get the job done right.
### What You’ll Need
Before you start lowering your basement floor DIY, there are certain materials and tools you’ll need to complete the job. Here’s a list of the items you should have on hand:
* Shovel
* Dust mask
* Safety goggles
* Work gloves
* Hammer
* Electric saw
* Chisel
* Measuring tape
* Level
* Bolts, screws, nails, and other hardware as needed
* Concrete sealant
* Cement mix
* Wooden boards or plywood for formwork
Once you have all of these items ready, you can begin preparing the area and completing the project.
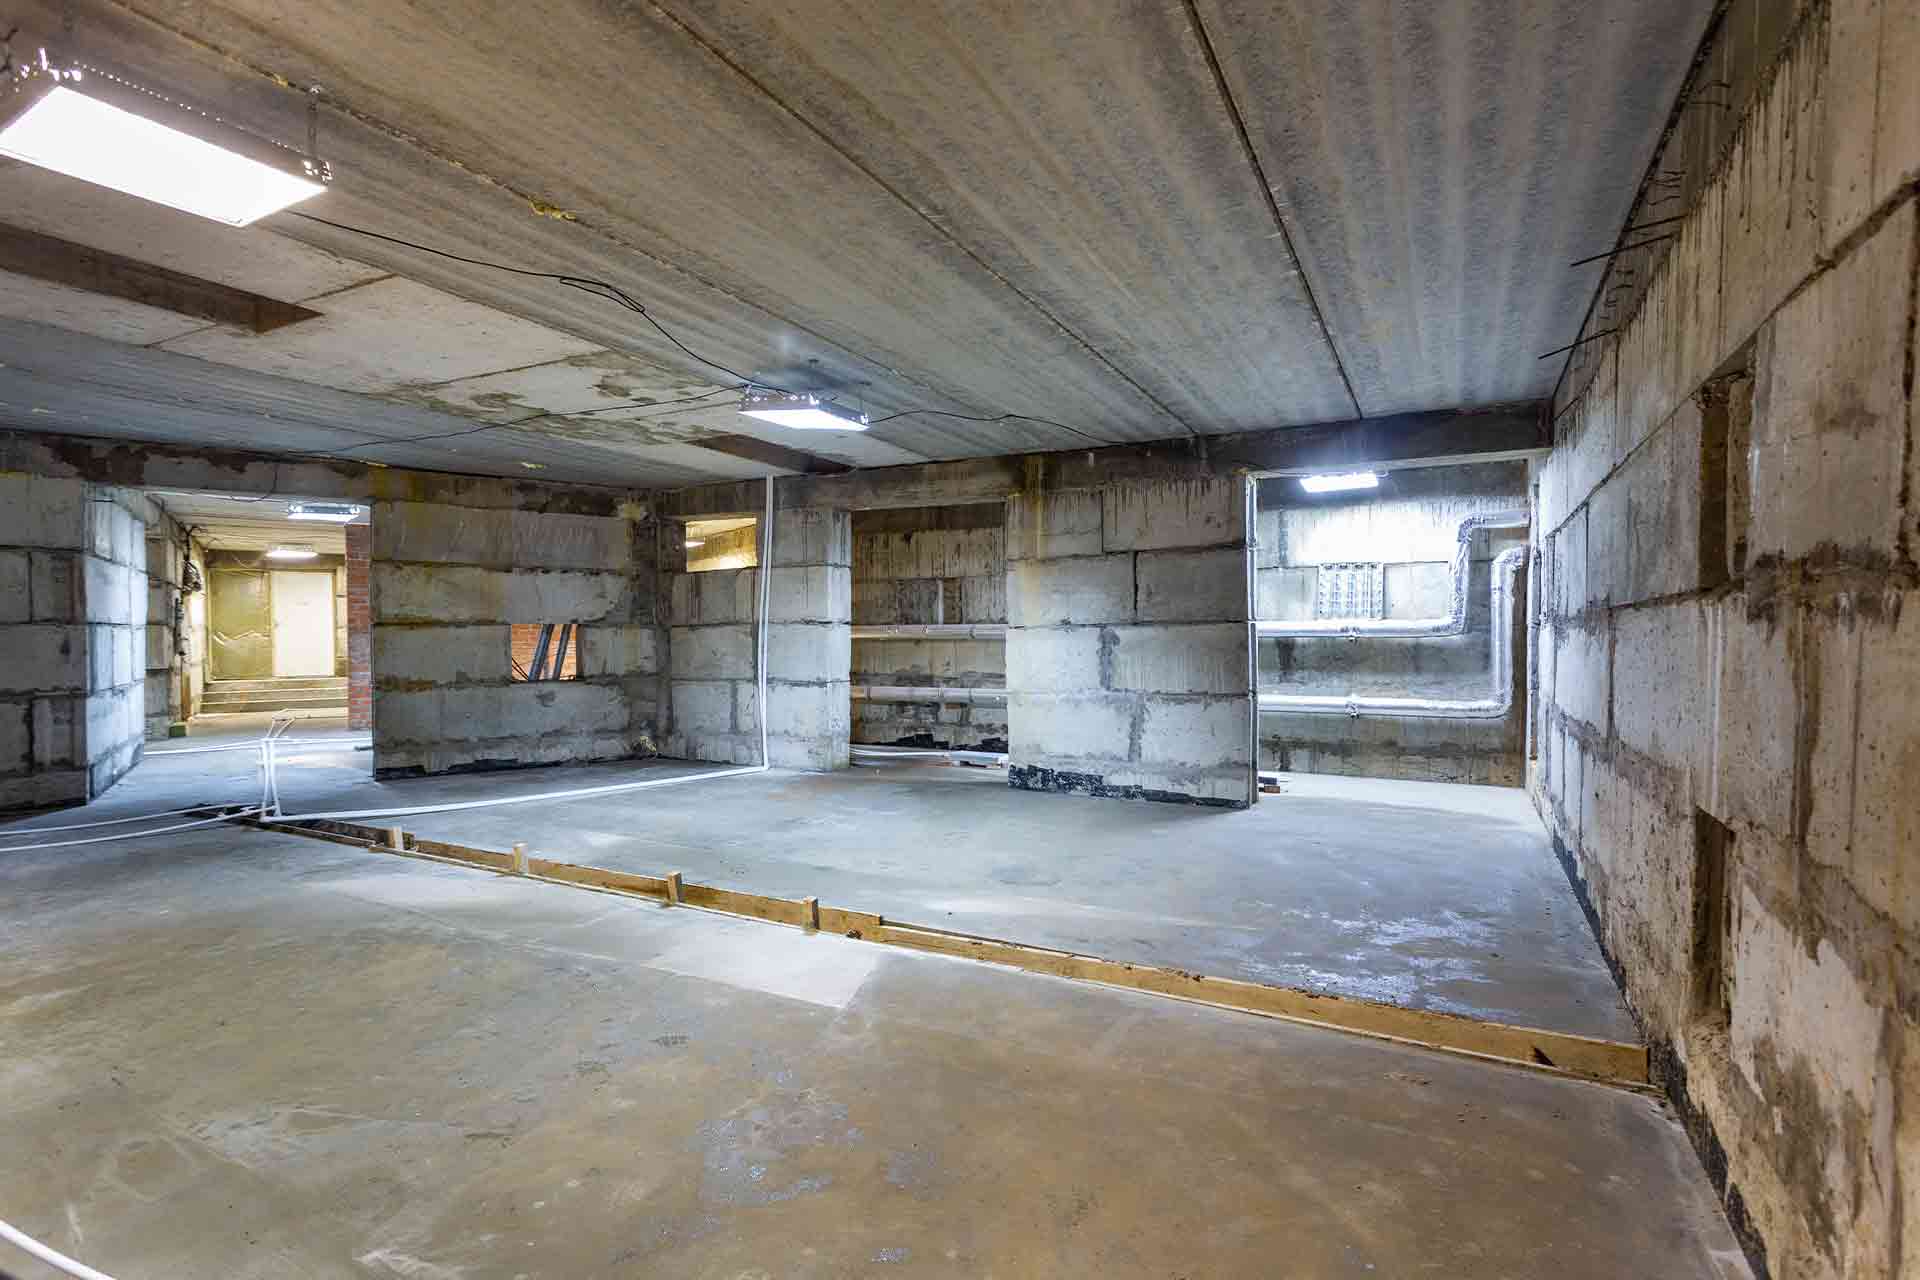
### Preparing The Area For Lowering The Floor DIY
The first step is to prepare the area for the project. To do this, make sure there is enough room to work comfortably and safely. Clear out any items that may be in the way such as furniture or boxes. Make sure there are no electrical wires or outlets in the way before starting your project. Turn off any power sources that may be in the vicinity before beginning your work.
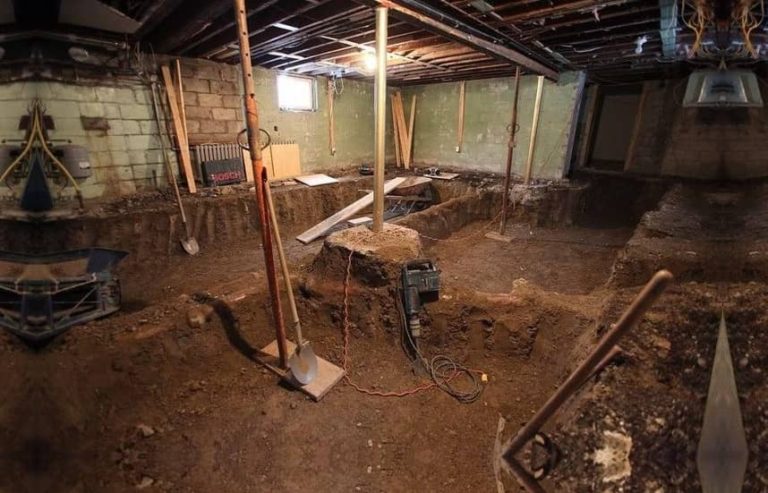
Once you have cleared out the area, it’s time to start removing any existing concrete flooring that is already in place. Use a shovel and chisel to break apart the existing concrete flooring. Be sure to wear your safety goggles, dust mask, and gloves during this process as dust particles will be created during demolition. Once all of the old concrete has been removed, dispose of it properly according to local regulations.
### Installing The New Floor DIY
Now that you have removed any existing concrete flooring, it’s time to install the new floor. Start by using a level to make sure the ground is even, then use wooden boards or plywood for formwork. This will help create a sturdy base for your new concrete flooring. Secure the formwork using bolts or screws if needed. Make sure it is level before continuing with your project.
Once your formwork is secured and level, it’s time to mix up some cement mix according to package instructions and pour it into the formwork. Use a trowel or float tool to spread it out evenly within the formwork. Allow it to set for several hours before continuing with your project. Once dry, use a hammer and chisel to break apart any excess pieces that may have hardened in difficult areas and remove them from the area.
### Sealing Your New Floor DIY
Once you have finished breaking apart any excess pieces of cement mix that may have hardened during installation, it’s time to seal your new floor DIY. This will help protect it from water damage and other potential issues down the road. Use a concrete sealant according to package instructions and ensure that all areas are covered completely. Allow it to dry overnight before walking on or using your newly lowered basement floor DIY!
### Final Thoughts On Lowering A Basement Floor DIY
Lowering a basement floor DIY can be a daunting task but with proper research and preparation it doesn’t have to be! Gather all necessary materials and tools beforehand so you’re ready when it comes time to begin working on your project. Follow all safety guidelines while working and take your time when installing the new floor so everything is done properly and correctly. With these tips in mind, you’re sure to have success when lowering your basement floor DIY!