How To Layout Hardwood Flooring In Multiple Rooms

How To Layout Hardwood Flooring In Multiple Rooms? – Tidy Floor

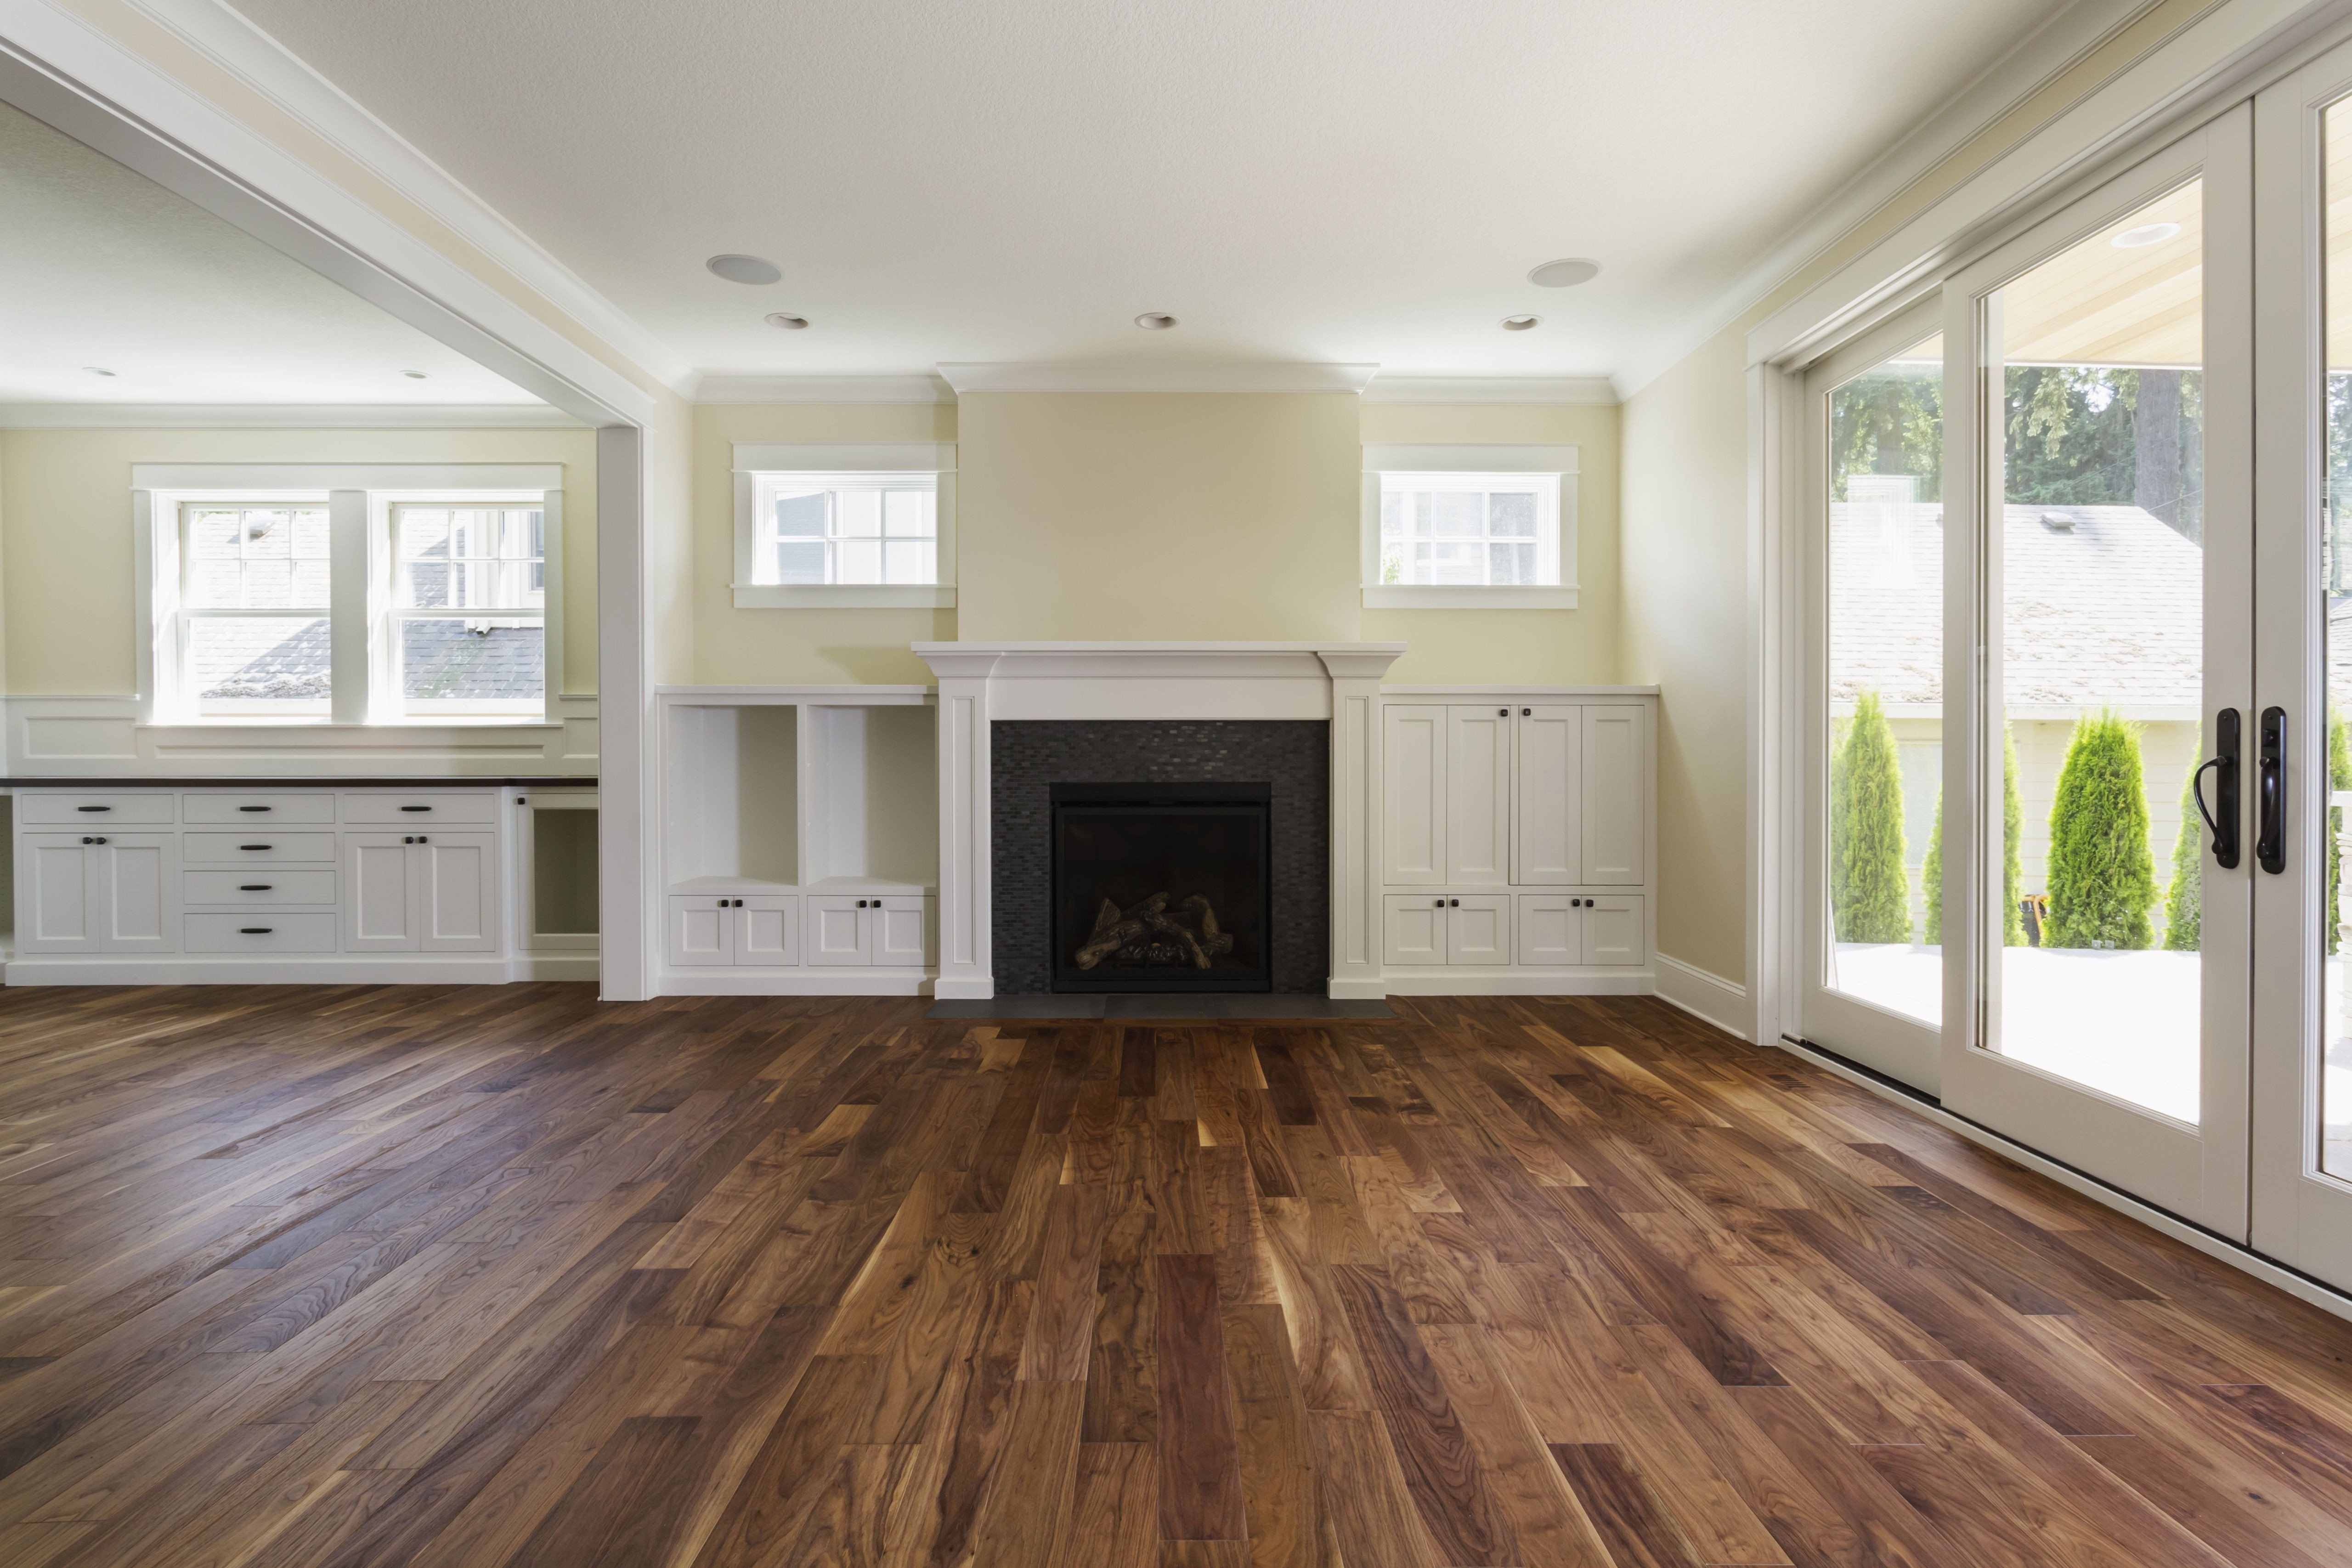
20+ Best Ideas To Update Your Floor Design Wooden floors living room, Living room wood floor

Épinglé sur Home Ideas

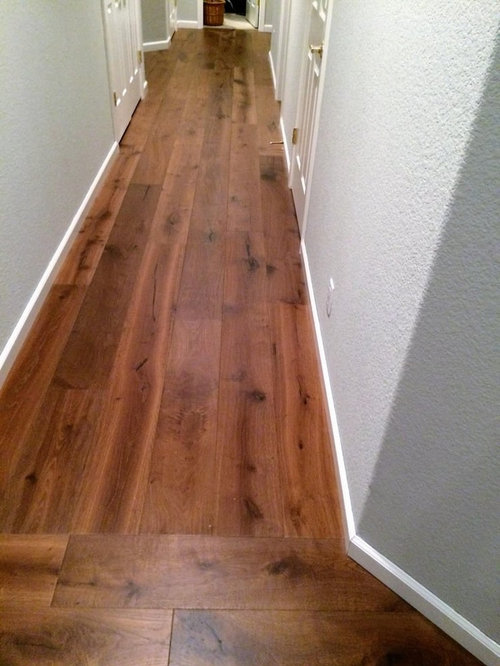
Image result for pictures of two different hardwood floors in home Wood floor design, Wood

Pin on parquet
![]()
How to Lay Laminate Flooring in Multiple Rooms – Toolsadvisorpro
Laminate Flooring Joining Rooms – Flooring Site

Which Way To Run Hardwood Flooring – Kneelpost
27 attractive Best Hardwood Floor Options Unique Flooring Ideas
Hardwood Flooring Multiple Rooms Floor Roma

Good idea for adding hard to match hardwoods For the Home Transition flooring, Home, Living

Related Posts:
- Hardwood Floor Cleaning Tips
- Hardwood Floor Decorating Ideas
- Hardwood Floor In A Kitchen
- Engineered Hardwood Flooring
- Rustic Oak Hardwood Flooring
- Parquet Hardwood Flooring
- Hardwood Floor Duster
- Homemade Hardwood Flooring
- Hardwood Floor Stain Colors
- Hardwood Floor Repair DIY
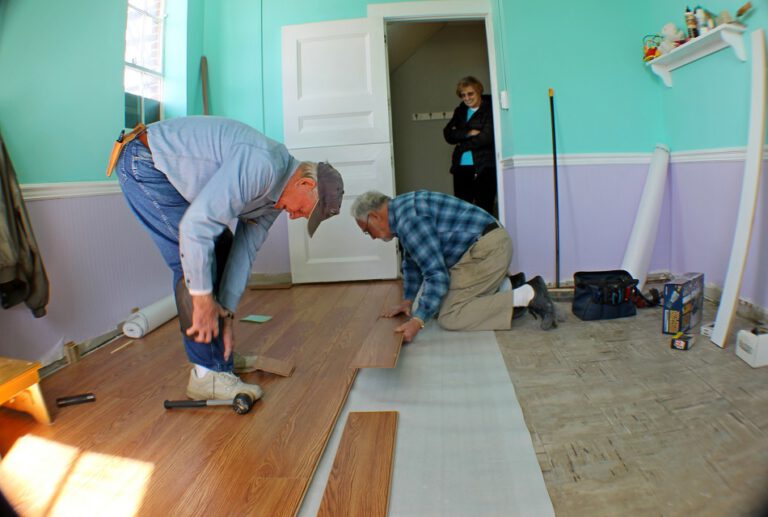
Installing hardwood flooring can be a challenging task, but doing it in multiple rooms adds an extra layer of difficulty. Many homeowners find themselves confused as to how to create a cohesive look when installing hardwood floors across various spaces. Fortunately, there are some tips and tricks to making your flooring look great no matter the shape or size of the rooms.
Tips for Laying Out Hardwood Floor Across Multiple Rooms
Whether you’re laying out hardwood floor in two different rooms or throughout the house, there are some important tips to keep in mind. Consider these ideas when installing hardwood flooring in multiple rooms.
1. Start with the Largest Room
When laying out hardwood floor in multiple rooms, it is important to start with the largest room. This will serve as your base and determine the direction that your installation will go in. When laying out hardwood floor across multiple rooms, make sure you start with the longest walls and work your way from there. This will ensure that any breaks across spaces are consistent with each other.
2. Determine the Flow
Once you’ve determined which room is the largest, it’s time to determine how you will be laying out hardwood floors across multiple rooms. You need to decide which room will be connected first and whether the floor plan should flow from one room to another. Consider the layout of your furniture and what would look best when transitioning from one room to another, especially if there are doorways and stairs in between each space.
3. Choose Direction
When laying out hardwood floor in multiple rooms, it’s important to choose a direction for planks or tiles before installation starts. This will help ensure a consistent look throughout the house and make planning for transitions easier when going from room to room. The direction of planks should be chosen based on natural light entering the house, a particular style you’re aiming for, or which direction looks best with the existing home layout.
4. Transitions and Mouldings
When installing hardwood flooring across multiple rooms, it is important to think about how doorways and stairs will transition between spaces. Investing in mouldings like T-moulding strips between adjacent flooring can help create a seamless look when going from one room to another. Choosing mouldings that match the colour of your hardwood floors help create cohesion throughout each space and give your home a polished finish.
5. Assess Room Size
For smaller rooms like closets or bathrooms that don’t fit a full length of hardwood floors, it may be best to switch out regular planks for engineered vinyl planks (EVP). These types of planks are perfect for small spaces because they snap together quickly and help create transitions between larger-sized boards in adjacent spaces. Regular wood planks can also be used in small spaces, but they may require additional cutting or trimming down to fit the correct measurements for those specific areas.
Conclusion
Installing hardwood flooring across multiple rooms can be a daunting task but following these tips can help make it much easier! Start with the largest room, determine the flow, choose your direction, use transitions and mouldings where necessary, and assess each room size before getting started. With these tips, you’ll be able to lay out hardwood floors throughout multiple rooms without any issues!
What type of glue is used to install hardwood flooring in multiple rooms?
Most hardwood flooring professional installers use a combination of wood glue and construction adhesive to install hardwood floors in multiple rooms. Wood glue is used between the planks and provides a strong bond to keep the pieces together. Additionally, construction adhesive can be used along the perimeter of the room to provide extra stability and help reduce any movement between planks due to temperature changes.What types of glues can be used to install hardwood flooring between different rooms?
Two types of adhesives that are frequently used to install hardwood flooring between different rooms are urethane adhesives and acrylic latex adhesives. Urethane adhesives are commonly used for solid hardwood flooring, while acrylic latex adhesives are often used for engineered hardwood flooring. Both types of adhesive can be applied with a trowel or roller. In addition, some types of parquet flooring may require a tongue-and-groove adhesive to join the pieces together.What types of glues can be used to secure hardwood flooring to a subfloor?
1. Urethane adhesive2. Construction adhesive
3. Acrylic adhesive
4. Nail-down glues
5. Solvent-based glue
Urethane adhesive and construction adhesive are the most common glues used to secure hardwood flooring to a subfloor. Urethane glue is used when installing both engineered and solid hardwood flooring, while construction adhesive is mostly used for solid flooring installations. Acrylic adhesive is best for engineered wood, while nail-down glues and solvent-based glues are used for both types of flooring.
What does it mean to “float” hardwood flooring?
Floating hardwood flooring means that the flooring is not attached to the subfloor. Instead, it is simply laid over a cushion-type underlayment, and is held together and stabilized by the tongue and groove system. This type of installation is popular because it is quick, easy, and does not require the use of nails or glue. Additionally, floating hardwood flooring can be easily removed and re-installed in another location.What is the process for floating hardwood flooring?
1. Prepare the sub-floor – Make sure the sub-floor is clean and free of debris, and check to see if it is level.2. Lay down the underlayment – Lay down a foam underlayment to absorb moisture, reduce noise, and provide insulation.
3. Install the first plank – Place the first plank along the longest wall in the room, starting with the tongue side against the wall.
4. Add glue to the subsequent planks – Apply an adhesive to the groove of each subsequent plank before connecting it to the previous one.
5. Connect remaining planks – Connect remaining planks by hand, making sure that all edges fit snugly against each other.
6. Install molding along walls – The molding should be placed directly against the floor to ensure a tight fit.
7. Finishing touches – Vacuum, sweep, and mop the floor to get rid of any sawdust or debris left behind from installation.