How To Remove Grout Haze From Tile Floors

How to Remove Grout Haze: 4 Ways to Make Your Tiles Shine – Tool Digest
How to Remove Grout Haze from Tiles Easily – YouTube
Steps involved in removing a hardened grout haze. Grout cleaner, Cleaning hacks, How to remove

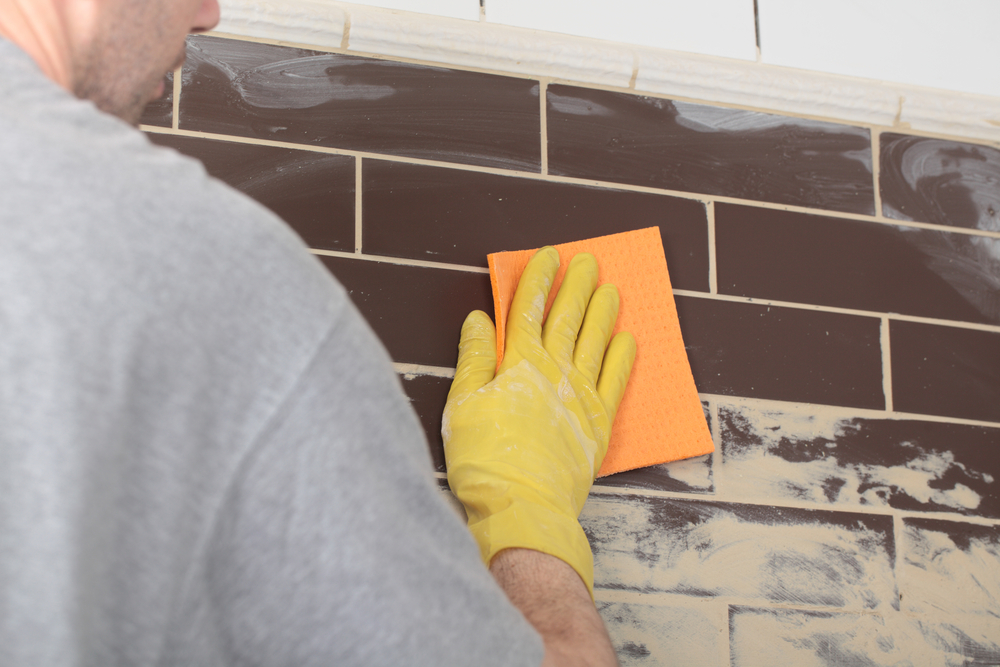
A Cool Hack For Removing Grout Haze How to remove grout, Clean tile grout, Grout

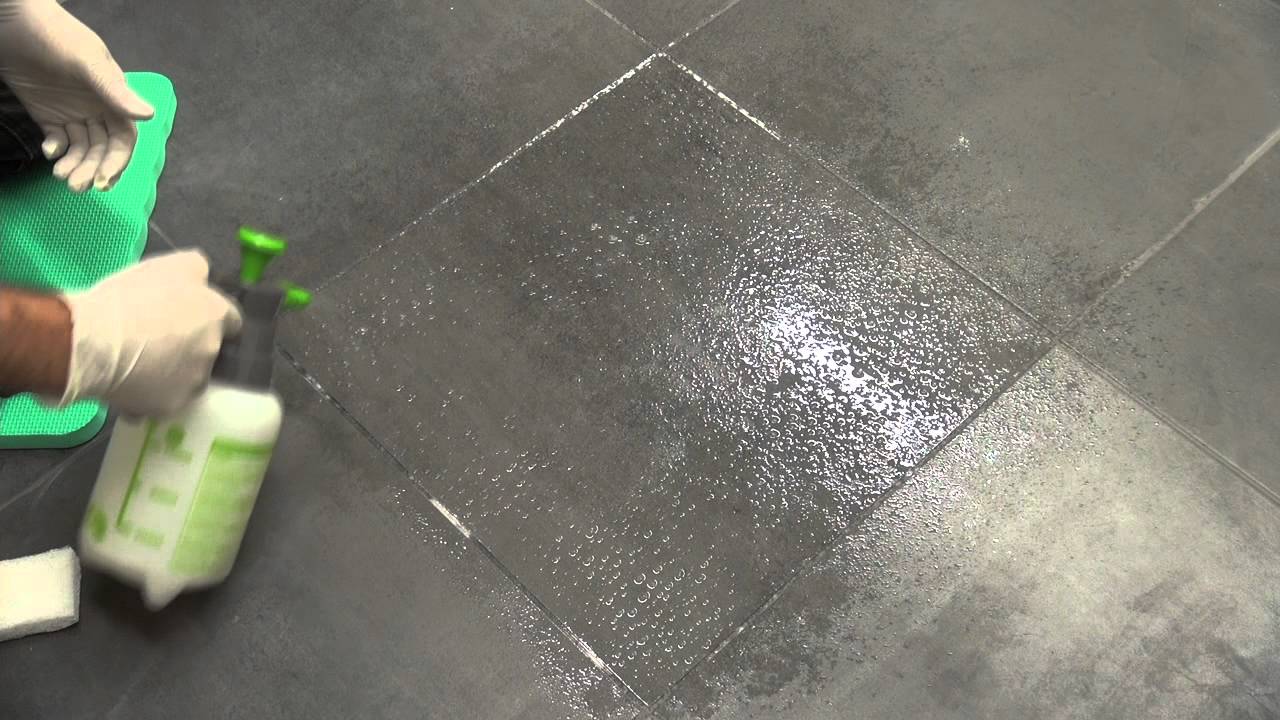
Grout Haze Remover – Use this product! It really works – YouTube Grout cleaner, How to remove

How to Remove Cement Based Grout Haze

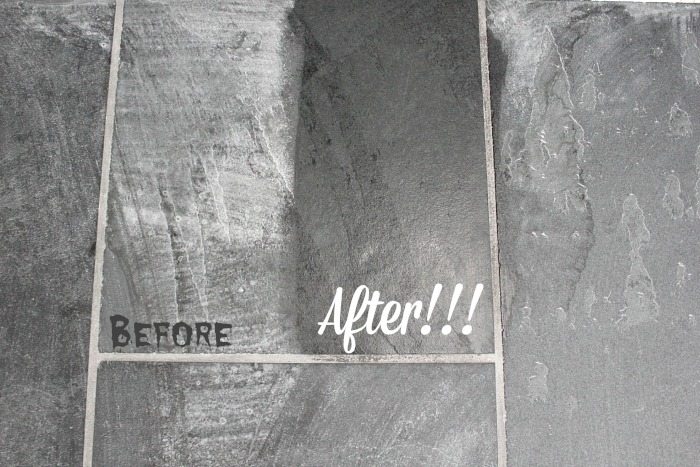
How to fix a botched tile job or deal with a cracked basement floor The Star
/https://www.thestar.com/content/dam/thestar/life/homes/2016/04/16/how-to-fix-a-botched-tile-job-or-deal-with-a-cracked-basement-floor/grout-haze.jpg)
Removing Grout Haze Left from Sandstone After Tiling – Stone Cleaning and Polishing Tips for

Removing Grout Haze Left from Sandstone After Tiling – Stone Cleaning and Polishing Tips for

How to Get Rid of Leftover Grout Haze Quickly and Easily! The Creek Line House
How to Remove Grout Haze and Seal Grout on Tile Ceramic floor tiles, Groutable vinyl tile

Related Posts:
- Cuban Tile Floors
- Easy Way To Grout Tile Floor
- Types Of Marble Tile Flooring
- Slate Tile Floor
- Classic Bathroom Tile Floors
- Tile Floor Color Ideas
- Wet Mops For Tile Floors
- Staining Saltillo Tile Floors
- Terrazzo Tile Floor Outdoor
- Tile Flooring For Screened Porch
When it comes to completing a tile installation, the finishing touches are just as important as any other steps. A key component of a successful tile job is removing the grout haze from the surface of the tile. Grout haze is a thin layer of residue that forms on the surface of a tile after grouting. This residue can be difficult to remove if not addressed quickly and properly. Fortunately, there are several effective methods to remove grout haze from tile floors.
## Understanding Grout Haze
Grout haze is a common issue when working with tiles, particularly when using cement-based grouts. This haze forms when some of the grout mix is not completely washed off the surface of the tile during the cleaning process. If left on the tile, the grout haze can create an uneven finish and affect the overall look of your project.
## Important Tips For Removing Grout Haze From Tile Floors
Before you begin removing grout haze from your tile floors, there are a few tips that you should keep in mind:
* Make sure that you have all the necessary tools and materials before you start. This includes gloves, protective eyewear, a bucket, cleaning solution, and a non-abrasive sponge.
* Have patience. Removing grout haze can take some time and should be done carefully to ensure an even finish.
* Test any cleaning solution on a small area of the floor before using it on larger surfaces. This will help you make sure that the product won’t damage your tiles or cause discoloration.
## Steps For Removing Grout Haze From Your Tile Floors
Removing grout haze from your tile floors doesn’t have to be a difficult process. Here are the steps you should follow:
1. Vacuum or sweep the entire area to remove any dirt and debris.
2. Prepare a cleaning solution in a bucket according to package instructions and use it to mop the entire floor.
3. Allow the solution to sit for 15 minutes before rinsing with clean water.
4. Use a non-abrasive sponge to rub off any remaining residue or haze from the tiles’ surfaces.
5. Rinse the area with clean water once again and allow it to dry completely before applying sealant or polish (if desired).
6. Inspect your work and make sure that all of the residue has been removed before moving on to other steps in your project.
## Additional Methods For Removing Grout Haze
In addition to using a cleaning solution and sponge, there are several other methods for removing grout haze from your tile floors:
* Use white vinegar and warm water in equal parts in a spray bottle and spray it directly onto the tiles’ surfaces before scrubbing with a non-abrasive sponge or cloth.
* Create a paste using baking soda and water and apply it directly onto the tiles’ surfaces before rubbing it off with a wet cloth or sponge.
* Use an acid-based cleaner such as muriatic acid diluted in water to scrub off any remaining residue or haze from your tiles’ surfaces (this should only be used as a last resort).
## Final Thoughts On Removing Grout Haze From Tile Floors
Removing grout haze from tile floors is an important step in completing any tiling project successfully. Following these steps and using these methods will help ensure that your tiles have an even finish and look their best for years to come!