Removing Tile Flooring
How to Remove a tile floor
How to Remove Tile Flooring Budget Dumpster

How To Remove Hardwood Floor Under Cabinets – flooring Designs

How to Remove Tile Floor – One Room Challenge Week 2 – Handmade Weekly

How to Remove a Tile Floor – The Only Guide You’ll Need FH Australia
How to Remove a Tile Floor how-tos DIY
How To Remove Hardwood Floor Under Cabinets – flooring Designs

How to Remove a Tile Floor – The Only Guide You’ll Need FH Australia
How to Remove Floor Tile – One Room Challenge Week 2 – Handmade Weekly

Pin on Home improvement projects

How to Remove Tile Flooring Budget Dumpster

Related Posts:
- Cuban Tile Floors
- Easy Way To Grout Tile Floor
- Types Of Marble Tile Flooring
- Slate Tile Floor
- Classic Bathroom Tile Floors
- Tile Floor Color Ideas
- Wet Mops For Tile Floors
- Staining Saltillo Tile Floors
- Terrazzo Tile Floor Outdoor
- Tile Flooring For Screened Porch
Replacing a tile floor with hardwood can add a classic, elegant look to any room. But it’s important to know what you’re getting into before taking on this type of project. In this article, we’ll cover everything you need to know about removing a tile floor and replacing it with hardwood.
Preparing to Replace Your Tile Floor With Hardwood
Before starting any floor-related project, it’s essential to make sure that the subfloor is in good condition. If your subfloor is made of wood, it should be free of rot or decay. If there are any weak spots, they should be repaired before moving forward. If the subfloor is concrete, it should be inspected for any large cracks or unevenness that could affect the installation of a hardwood floor.
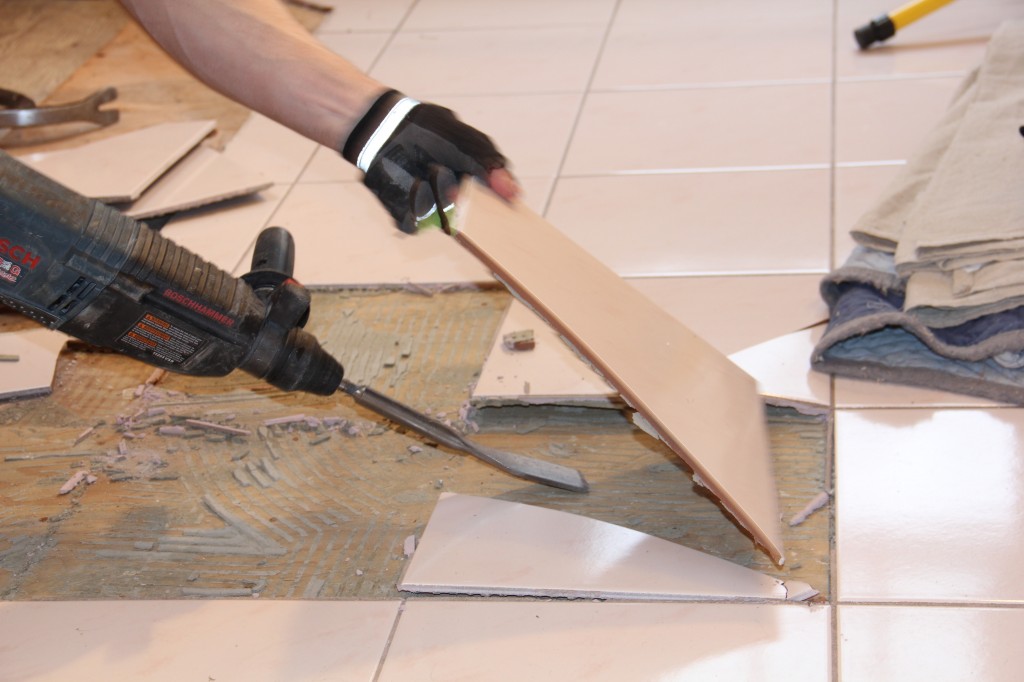
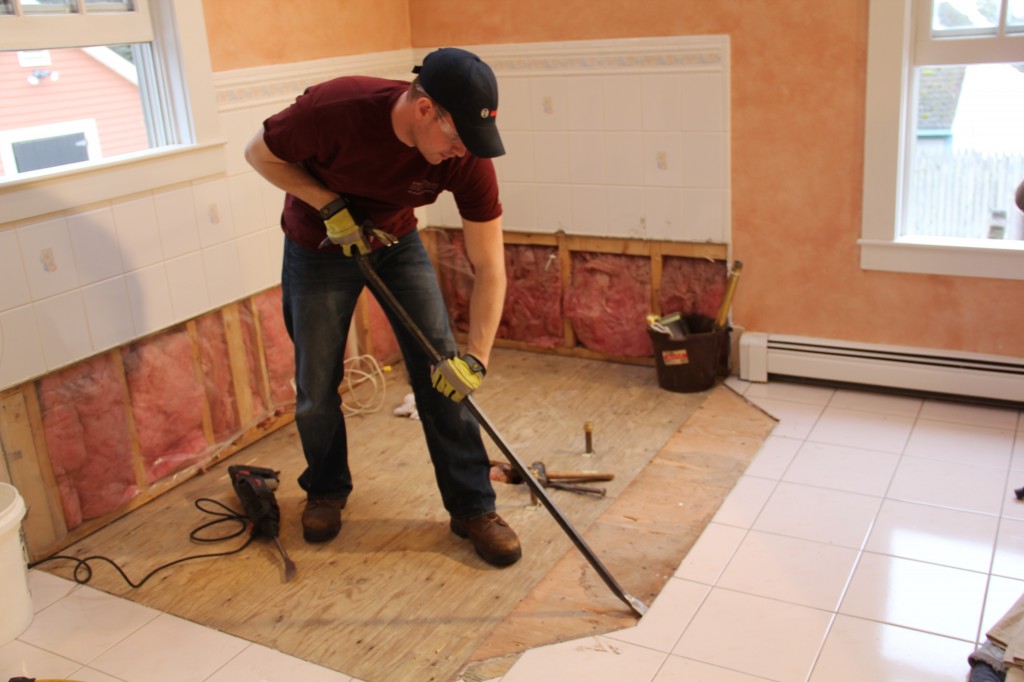
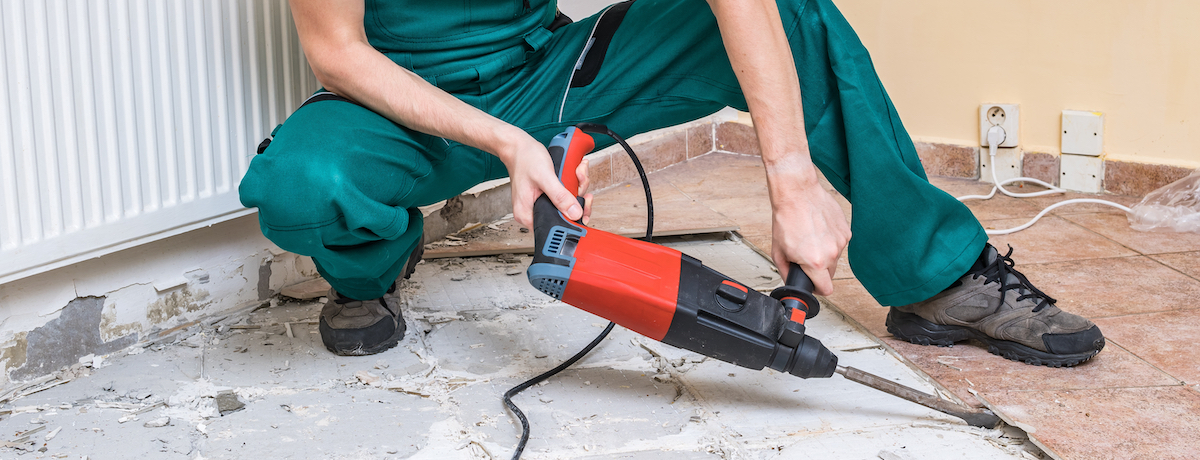
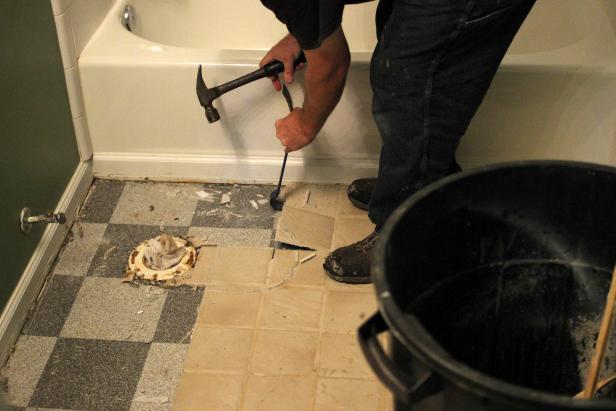
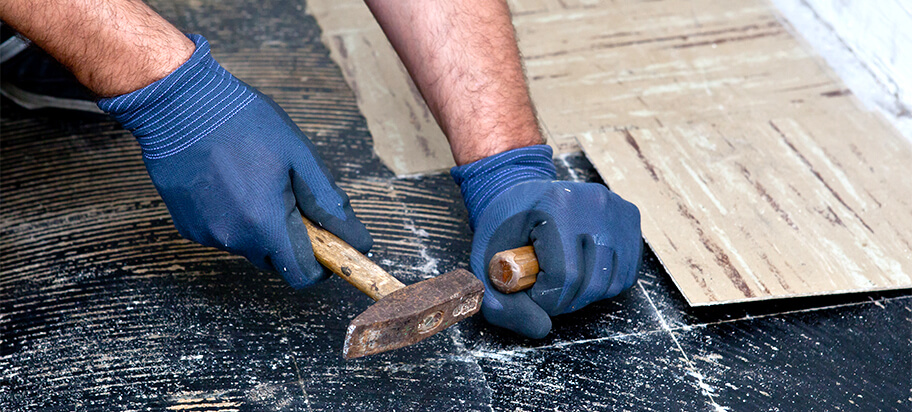
Removing Your Tile Floor
Removing a tile floor can be a messy and time-consuming process. Depending on the type of tile you have, you may need specialized tools and supplies to get the job done properly. Start by removing any baseboard or trim that is in place around the perimeter of the room. Then, use a hammer and chisel to break up the tiles into small pieces. Once all of the tiles have been removed, use a shop vacuum to collect all of the dust and debris from the floor.
Installing Underlayment for Hardwood Floors
Once the old tile has been removed, it’s time to install an underlayment on top of the subfloor. The underlayment will provide additional cushioning and support for your hardwood floor. It will also help minimize sound transmission and protect your floor from moisture damage. There are several options available when it comes to choosing an underlayment material. Depending on your budget and the type of hardwood you plan to install, you may want to consider foam, rubber, or cork underlayments.
Laying Your Hardwood Floor
Once your underlayment is in place, it’s time to start laying your hardwood flooring. Start from one corner of the room and work your way outward. Be sure to leave an expansion gap around the perimeter of the room that is at least 1/4 inch wide and 1/2 inch deep. Before nailing down each plank, check for level and adjust as necessary. Once all of your planks are in place, use a circular saw or jigsaw to cut around any pipes or other obstacles that may be present in the room.
Finishing Touches for Your Hardwood Floor
Once all of your planks have been laid down, it’s time to finish off your hardwood flooring project with some finishing touches. If you plan on adding baseboard or other trim around the perimeter of the room, this should be done after all of your planks have been laid down. You may also want to consider adding a sealant or wax finish to protect your hardwood floor from scratches and wear over time.
Conclusion
Replacing a tile floor with hardwood can add beauty and value to any home. By following the steps outlined in this article, you can successfully replace your old tile floor with hardwood without any major hiccups along the way. Make sure you take all necessary precautions when removing tile and installing an underlayment before laying down your new hardwood planks – this will ensure that your project turns out exactly how you envisioned it!