How To Replace Hardwood Flooring Boards

22 Stunning How to Replace Hardwood Floor Boards Unique Flooring Ideas

Remove and replace hardwood floor board Solid hardwood floors, Solid wood flooring, Hardwood

Replacing Damaged Floorboards Floorboards, Flooring, Hardwood

How to Replace Wood Floors in Your Home: The Complete Guide » Residence Style
A Guide on How You Can Patch a Wooden Floor Wood floor design, Hardwood floor repair, Wooden

REPLACING HARDWOOD FLOOR BOARDS

How to Repair Hardwood Plank Flooring Hardwood floors, Hardwood plank flooring, Installing

Lisa Mende Design: Refinish or Replace Hardwood Flooring – The Answer is Simple!
22 Stunning How to Replace Hardwood Floor Boards Unique Flooring Ideas
Bathroom hardwood floor repairresults DIY Home Improvement Forum

Hardwood Floor Repair: How to Replace Hardwood Floor Boards – Practical Whimsy Designs
Related Posts:
- Hardwood Floor Cleaning Tips
- Hardwood Floor Decorating Ideas
- Hardwood Floor In A Kitchen
- Engineered Hardwood Flooring
- Rustic Oak Hardwood Flooring
- Parquet Hardwood Flooring
- Hardwood Floor Duster
- Homemade Hardwood Flooring
- Hardwood Floor Stain Colors
- Hardwood Floor Repair DIY
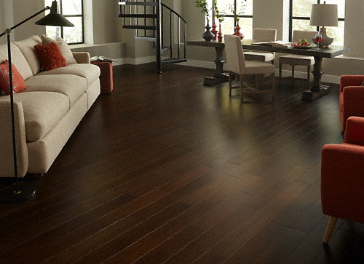
Hardwood flooring is an elegant, timeless choice for any home. With proper care and regular maintenance, hardwoods can last for years, providing a classic look to any room. But like all flooring, hardwood eventually needs to be replaced. In this article, we will discuss the steps you need to take when replacing hardwood boards in your home.
What You Need to Know Before Replacing Hardwood Flooring Boards
Before you begin replacing hardwood boards, it’s important to consider a few key factors. First, you need to make sure the new boards are the same size and shape as the old ones. If not, you may have difficulty fitting them into place. Additionally, you’ll want to make sure the new boards match the existing stain and color of your floor.
How to Remove Old Hardwood Flooring Boards
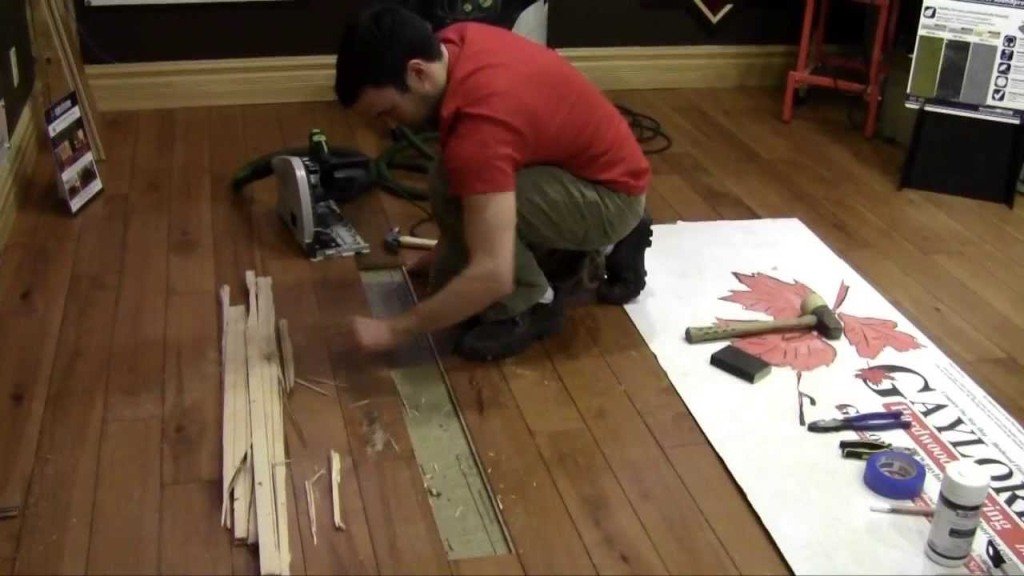
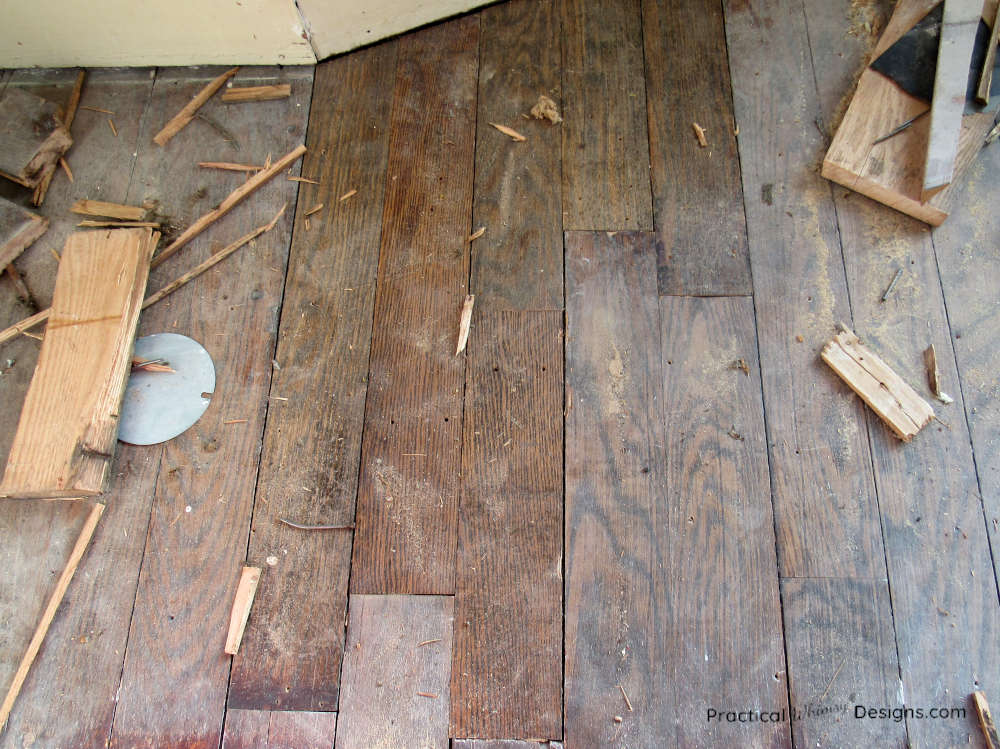
The first step in replacing hardwood boards is to remove the old ones. To do this, start by removing any nails or staples from the boards with a claw hammer or pry bar. Then, use a chisel or flat head screwdriver to separate the boards from each other. You can also use a saw if necessary. Once the boards are removed, you can discard them or save them for future use.
Preparing and Installing New Hardwood Flooring Boards
Once the old boards have been removed, it’s time to prepare and install the new ones. Start by sanding down the new boards to create a smooth surface. Be sure to wear protective gear such as goggles and a dust mask while sanding. Once the boards are sanded down, you can apply a wood sealant or finish of your choice. This will help protect the boards from scratches and wear over time.
Next, you’ll want to measure and cut the new boards so that they fit into place. Be sure to measure twice before cutting! Once your boards are cut, it’s time to install them. Start by laying down a layer of plywood subflooring over your existing floor. This will help provide extra support for your new flooring. Then, simply glue down the new boards onto the plywood subfloor and secure them with nails or screws if necessary.
Finishing Up
Once your new floor is installed, it’s time to finish up. Fill in any gaps between boards with wood putty or caulk and sand it down for a smooth finish. Finally, apply a wood sealant or finish of your choice for extra protection against scratches and wear.
Replacing hardwood flooring can be a daunting task but with a bit of patience and preparation, it can be done with ease! By following these steps, you’ll have beautiful hardwoods that will last for years to come!