How To Replace Vinyl Flooring In A Travel Trailer (1)

Installing a Wood Vinyl Floor in my Casita Travel Trailer – Mrs Padillys Travels in 2020

Rv Vinyl Floor Replacement – Flooring Ideas
Installing a Wood Vinyl Floor in my Casita Travel Trailer – Mrs Padillys Travels – @MrsPadilly

Ho to Replace RV Flooring Floor installation, Camper flooring, Flooring

Installing Wood Vinyl Flooring in my Casita Travel Trailer ~ Mrs. Padilly’s Travels
Installing Wood Vinyl Flooring in my Casita Travel Trailer – Mrs Padillys Travels

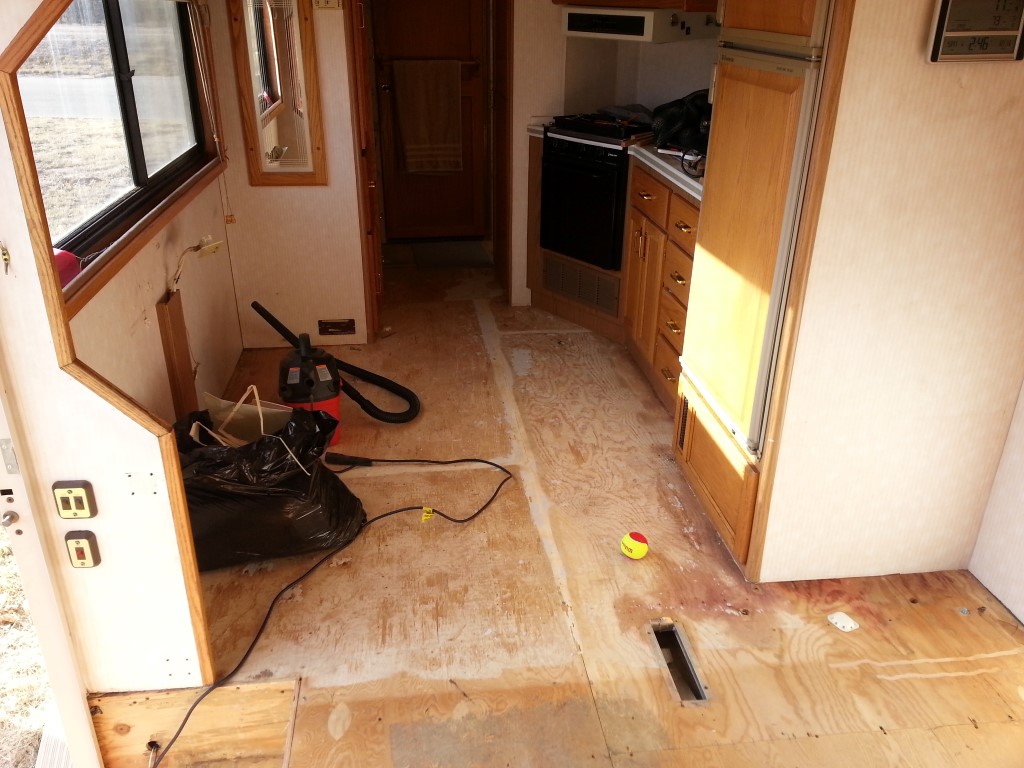
RV Flooring Replacement – JdFinley.com
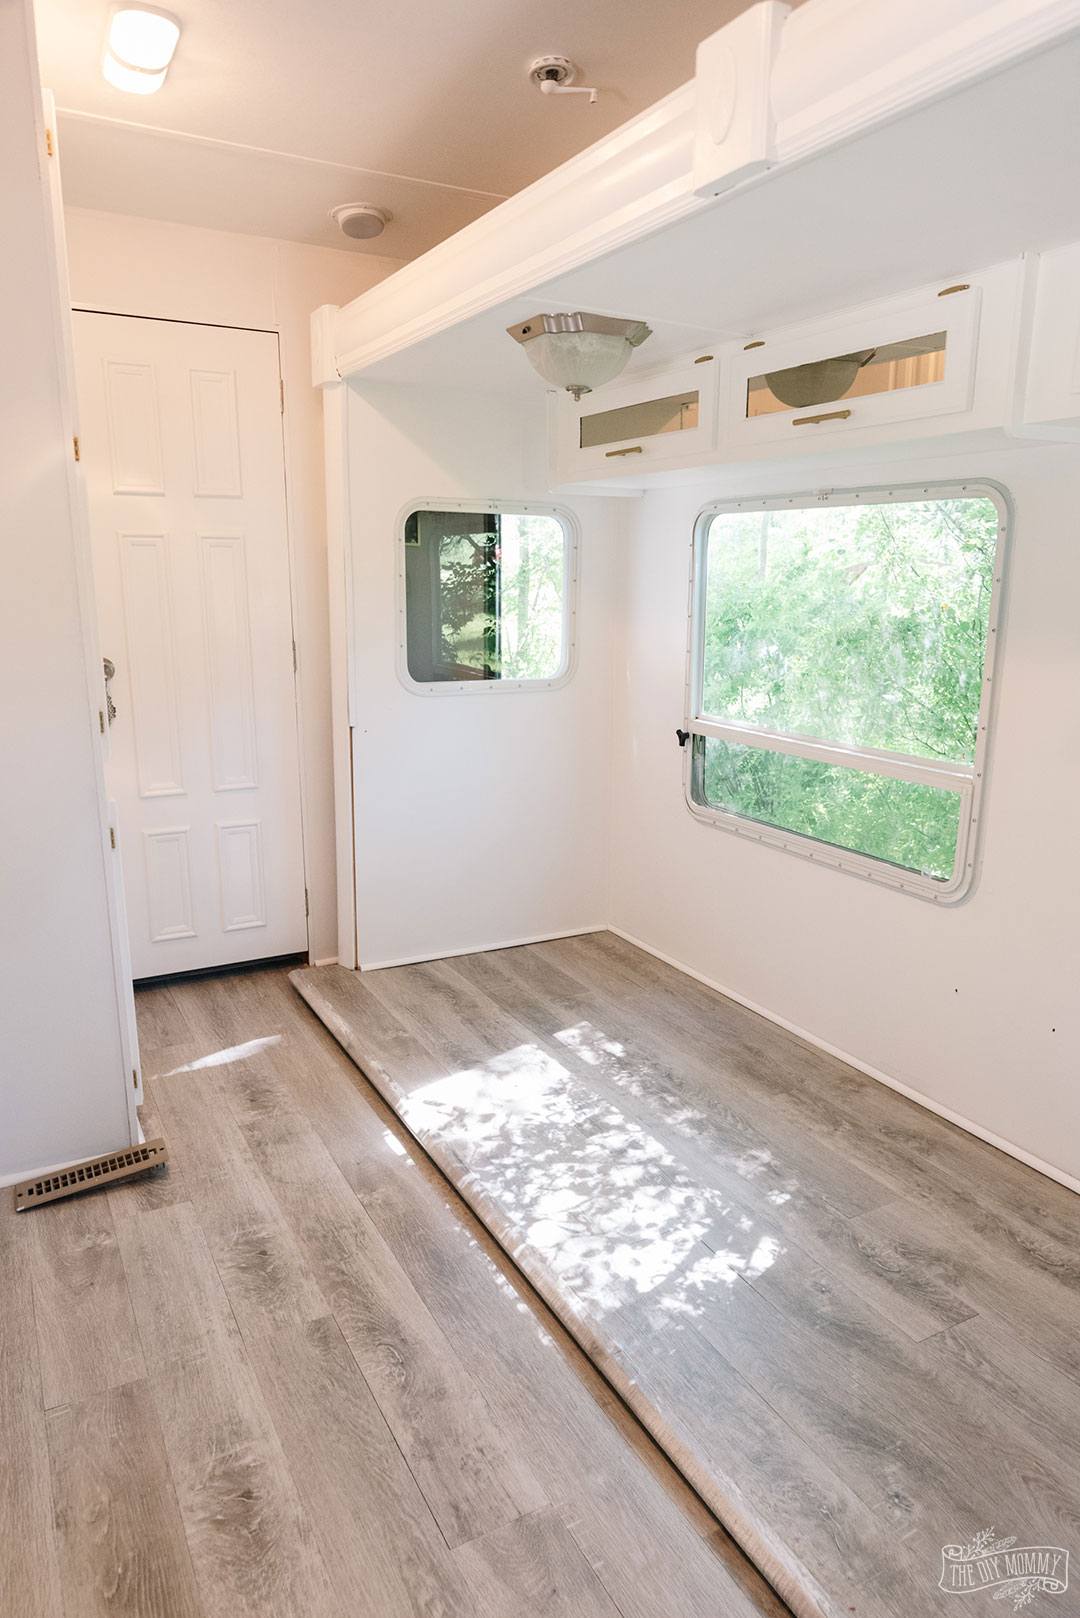
Install Vinyl Plank Flooring in an RV with a Pull Out Our DIY Camper 2.0 The DIY Mommy

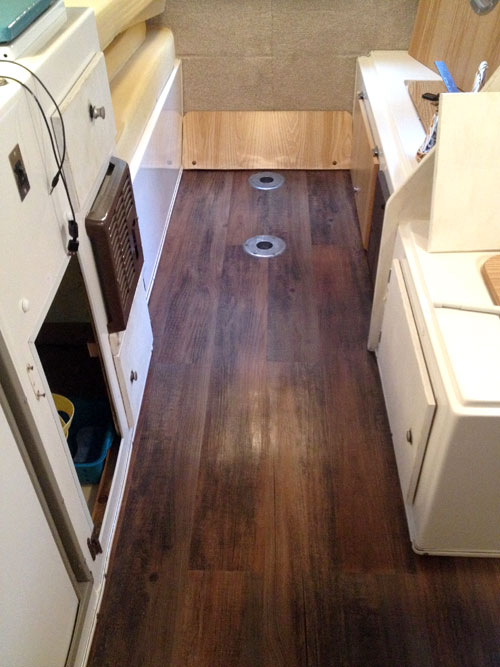
DIY RV Flooring with a Flush Slideout – Mortons on the Move
How To Install Vinyl Plank Flooring In A RV Camper flooring, Rv living, Remodeled campers

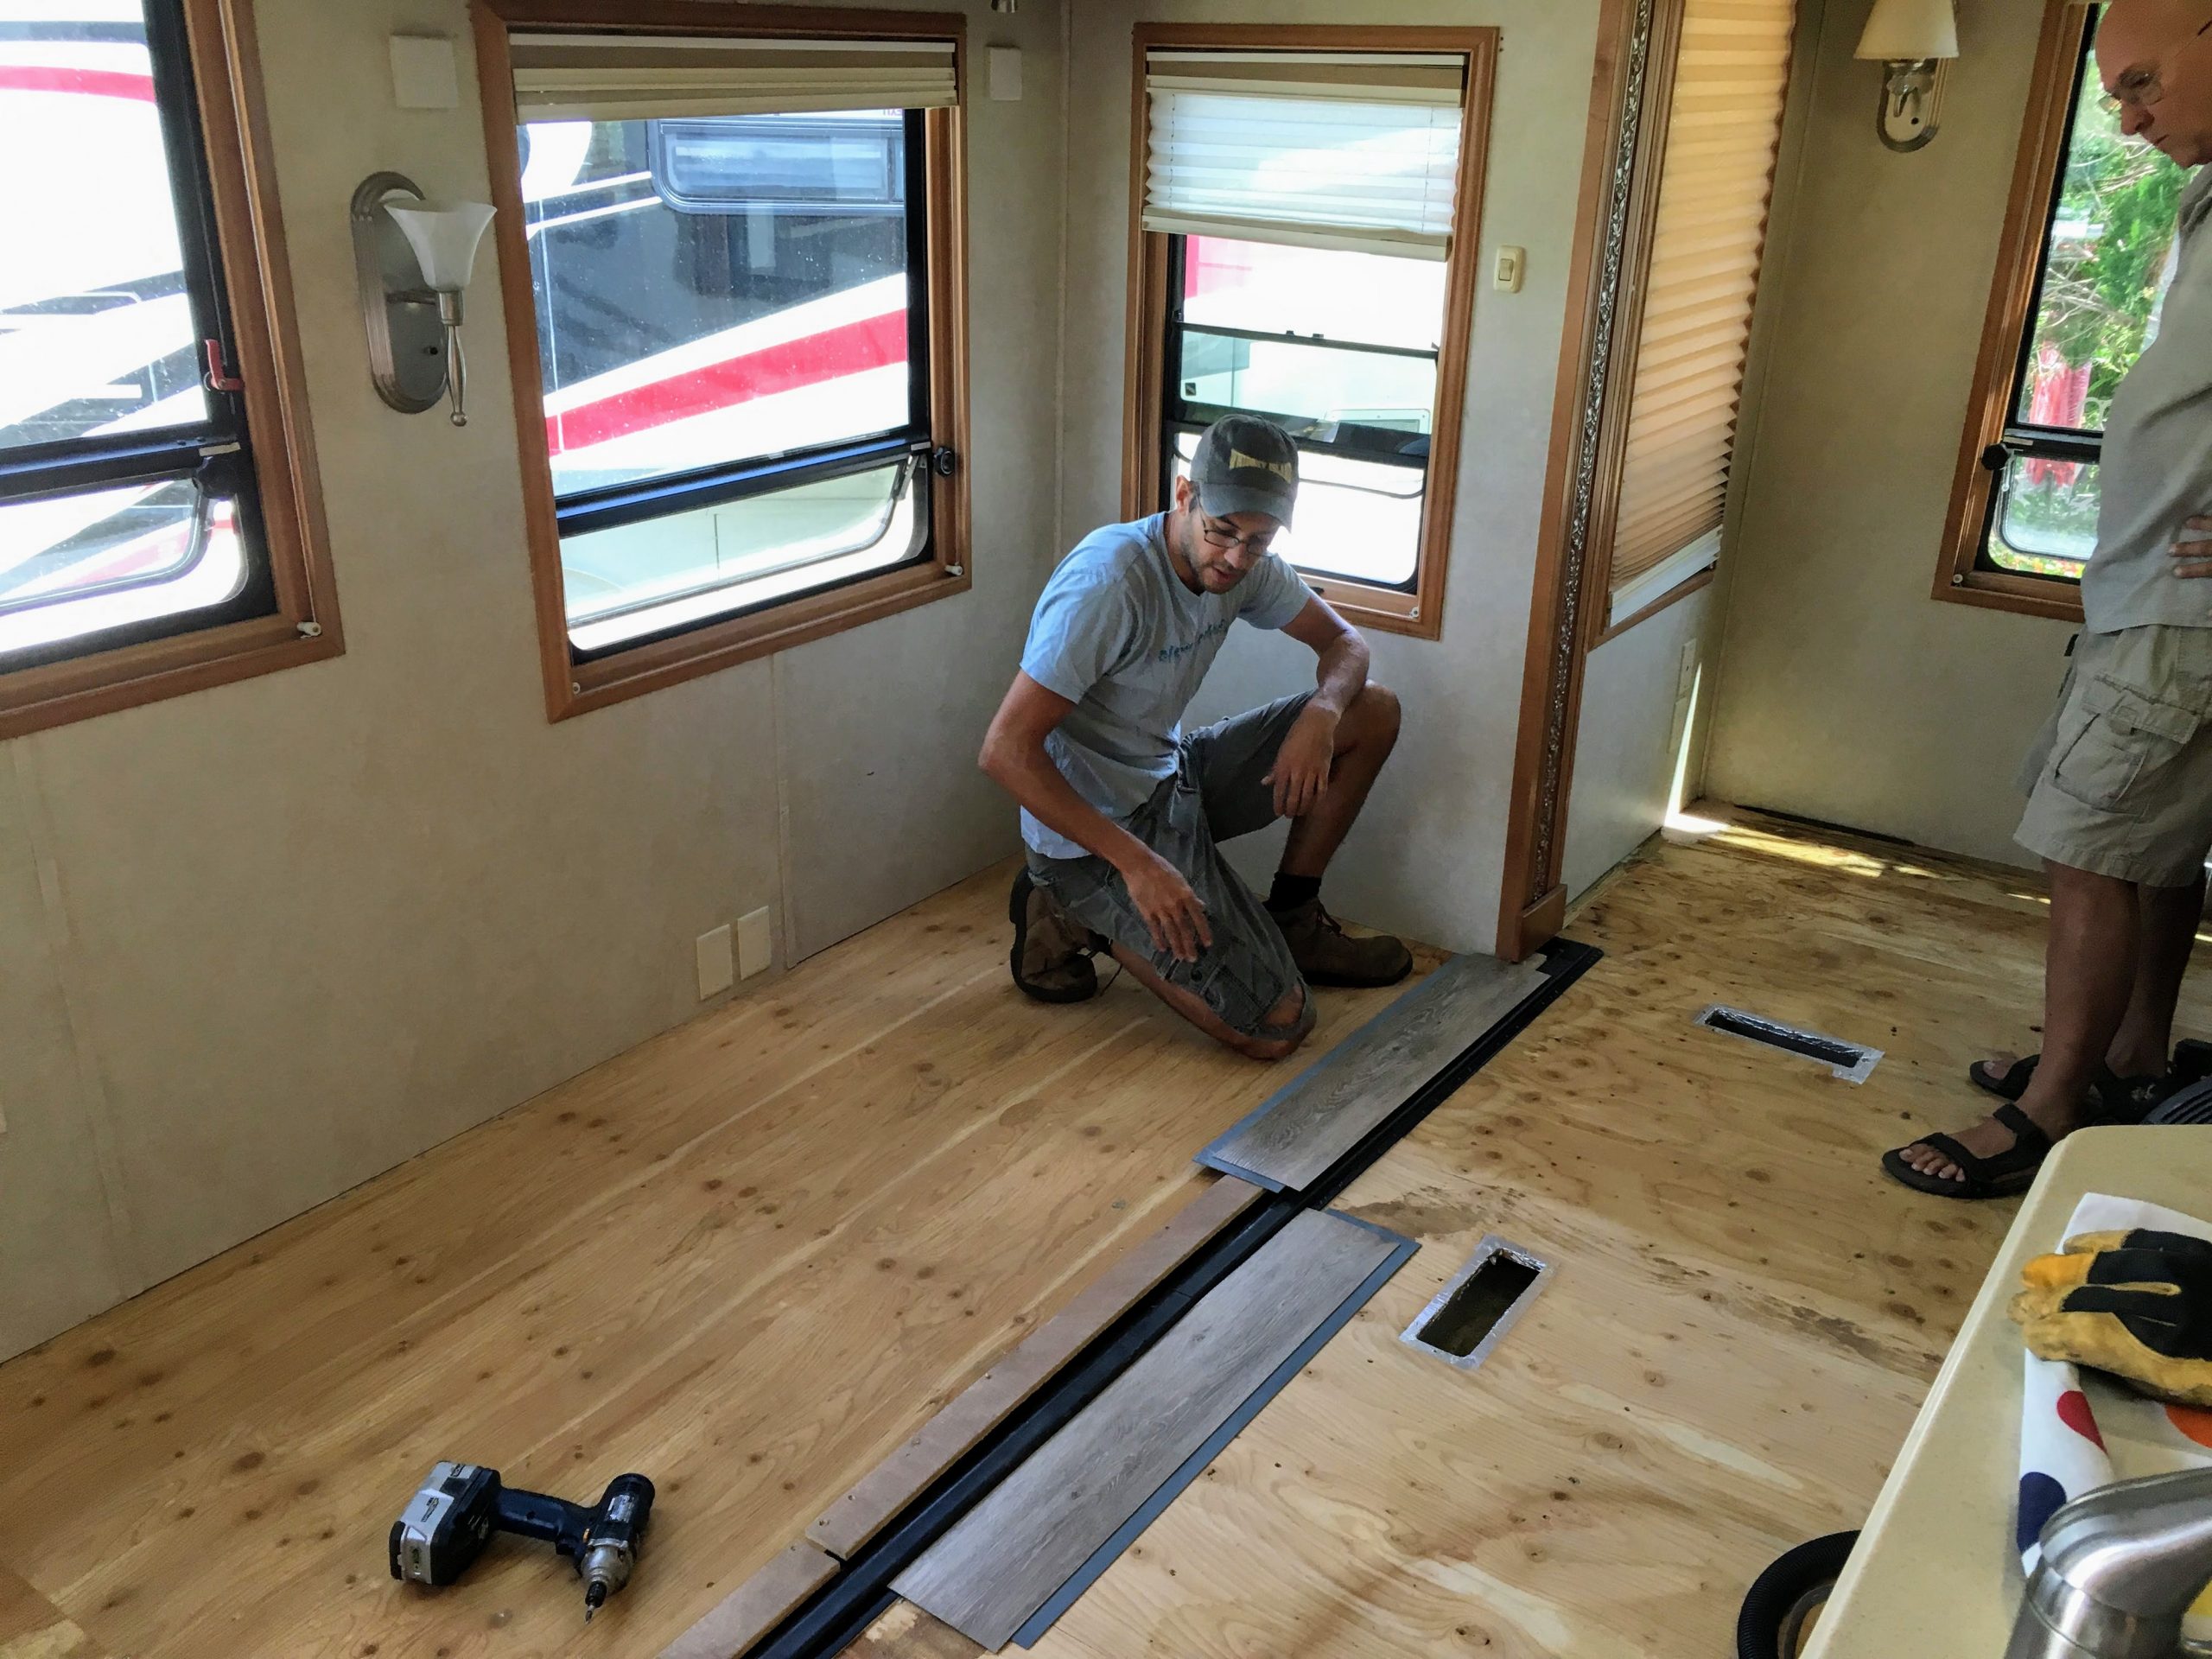
Tips to replace the flooring Inside an RV slide out/ Camper flooring, Remodeled campers

Related Posts:
- Pine Vinyl Flooring
- Vinyl Floor Laying DIY
- Cortex Vinyl Flooring
- Grey Slate Effect Vinyl Floor Tiles
- Dark Oak Vinyl Flooring
- Limestone Effect Vinyl Flooring
- Vinyl Floor With Border
- Adhesive For Vinyl Flooring To Concrete
- Teak Wood Vinyl Flooring
- Cheap Vinyl Flooring
Replacing vinyl flooring in a travel trailer can be a daunting task for many RV owners. It can be difficult to know where to begin, and the process can be time-consuming if not done correctly. Fortunately, replacing vinyl flooring in a travel trailer is not as difficult as it may seem. With some simple steps and the right materials, you can have your travel trailer looking great in no time!
## Selecting the Right Materials
When it comes to replacing vinyl flooring in a travel trailer, it’s important to select the right materials. Vinyl flooring is available in a variety of styles, patterns, and colors, so it’s important to choose a material that will suit your needs. Consider how much wear and tear the floor will see as well as how easy it will be to clean and maintain. You’ll also want to choose a vinyl that is resistant to water damage and fading over time.
## Preparing the Floor
Once you’ve selected the right materials, it’s time to prepare the floor for installation. First, make sure to remove any existing flooring and any debris from the space. Clean the surface thoroughly with a vacuum and scrub brush and make sure there is no dirt or grime left behind. If necessary, you may also need to sand down any rough spots or fill in any gaps with wood putty.
## Installing the Vinyl Flooring
Once your floor is properly prepared, you can begin installing the vinyl flooring. Start by laying out the vinyl on top of the floor and trimming it to fit appropriately. Make sure to overlap each piece of vinyl slightly so that it will lay flat against the surface of your travel trailer floor. Use a utility knife or scissors to cut out any extra pieces and make sure that all edges are properly sealed with adhesive. When all pieces are in place, use a roller or heavy object to press down on the vinyl and make sure it is properly adhered to the surface of your travel trailer floor.
## Finishing Touches
Finally, finish off your travel trailer’s new look by adding trim along the edges of your new vinyl flooring. You can choose from a variety of colors and styles to match your RV’s interior design scheme. Use a caulking gun filled with adhesive or sealant along the edges of each piece of trim for a secure fit. Once you’ve finished installing your trim, you’re ready to enjoy your newly renovated travel trailer!
Replacing vinyl flooring in a travel trailer doesn’t have to be a difficult task. With some simple steps and the right materials, you can easily transform your RV into one that looks brand new again. Just remember to select durable materials that are resistant to water damage and fading over time, prepare your floor for installation, install the vinyl properly, and add finishing touches such as trim along the edges for a secure fit!