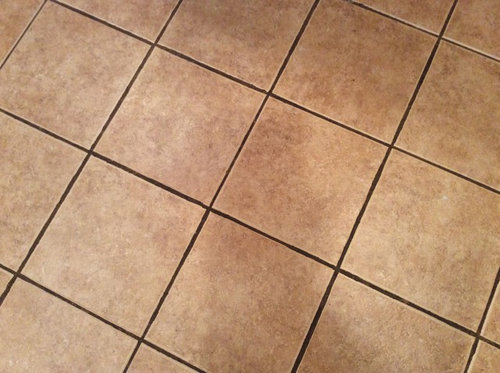
How To Refinish Ceramic Tile Floors

Tile Floor Resurfacing – Flooring Site

How to Refinish Ceramic Tile Paint ceramic tile, Diy tile, Ceramic tiles

Refinishing ceramic tile floor?
Tile Floor Refinishing and stripping services California Tile Restoration
No need to rip out old tile when you can have it refinished! #Tile #HomeRemodel #Kit… Refinish

resurface tile floor diy – Deepest Blogged Custom Image Library

Ceramic Tile Refinishing – Refinish Tile – Miracle Method Tile refinishing, Ceramic

Tile Floor Refinishing: How Do You Refinish Old Floor Tile?
Perfect How To Redo Tile Countertops Butcher Block Island Pros And Cons

Pin on Tile floor ideas for your home

Refinishing ceramic tile in my bathroom (before and after) – YouTube
Related Posts:
- Cuban Tile Floors
- Easy Way To Grout Tile Floor
- Types Of Marble Tile Flooring
- Slate Tile Floor
- Classic Bathroom Tile Floors
- Tile Floor Color Ideas
- Wet Mops For Tile Floors
- Staining Saltillo Tile Floors
- Terrazzo Tile Floor Outdoor
- Tile Flooring For Screened Porch
Ceramic tiles offer a durable flooring solution that can last for years with proper care and maintenance. However, when this flooring material becomes dull, scratched or damaged, it can detract from the look of your home. Refinishing your ceramic tile floors is an easy and effective way to restore them to their original beauty. Here’s a step-by-step guide to help you out.
Step 1: Prepare the Tile Floor
Before refinishing your ceramic tile floors, you must prepare them by cleaning and sealing the surface. To ensure your refinishing job is successful and that all dirt and dust are removed, use a professional-grade tile cleaner to scrub your floors clean. After cleaning, use a sealant designed for ceramic tiles to protect the surface and give you a smooth foundation on which to refinish.
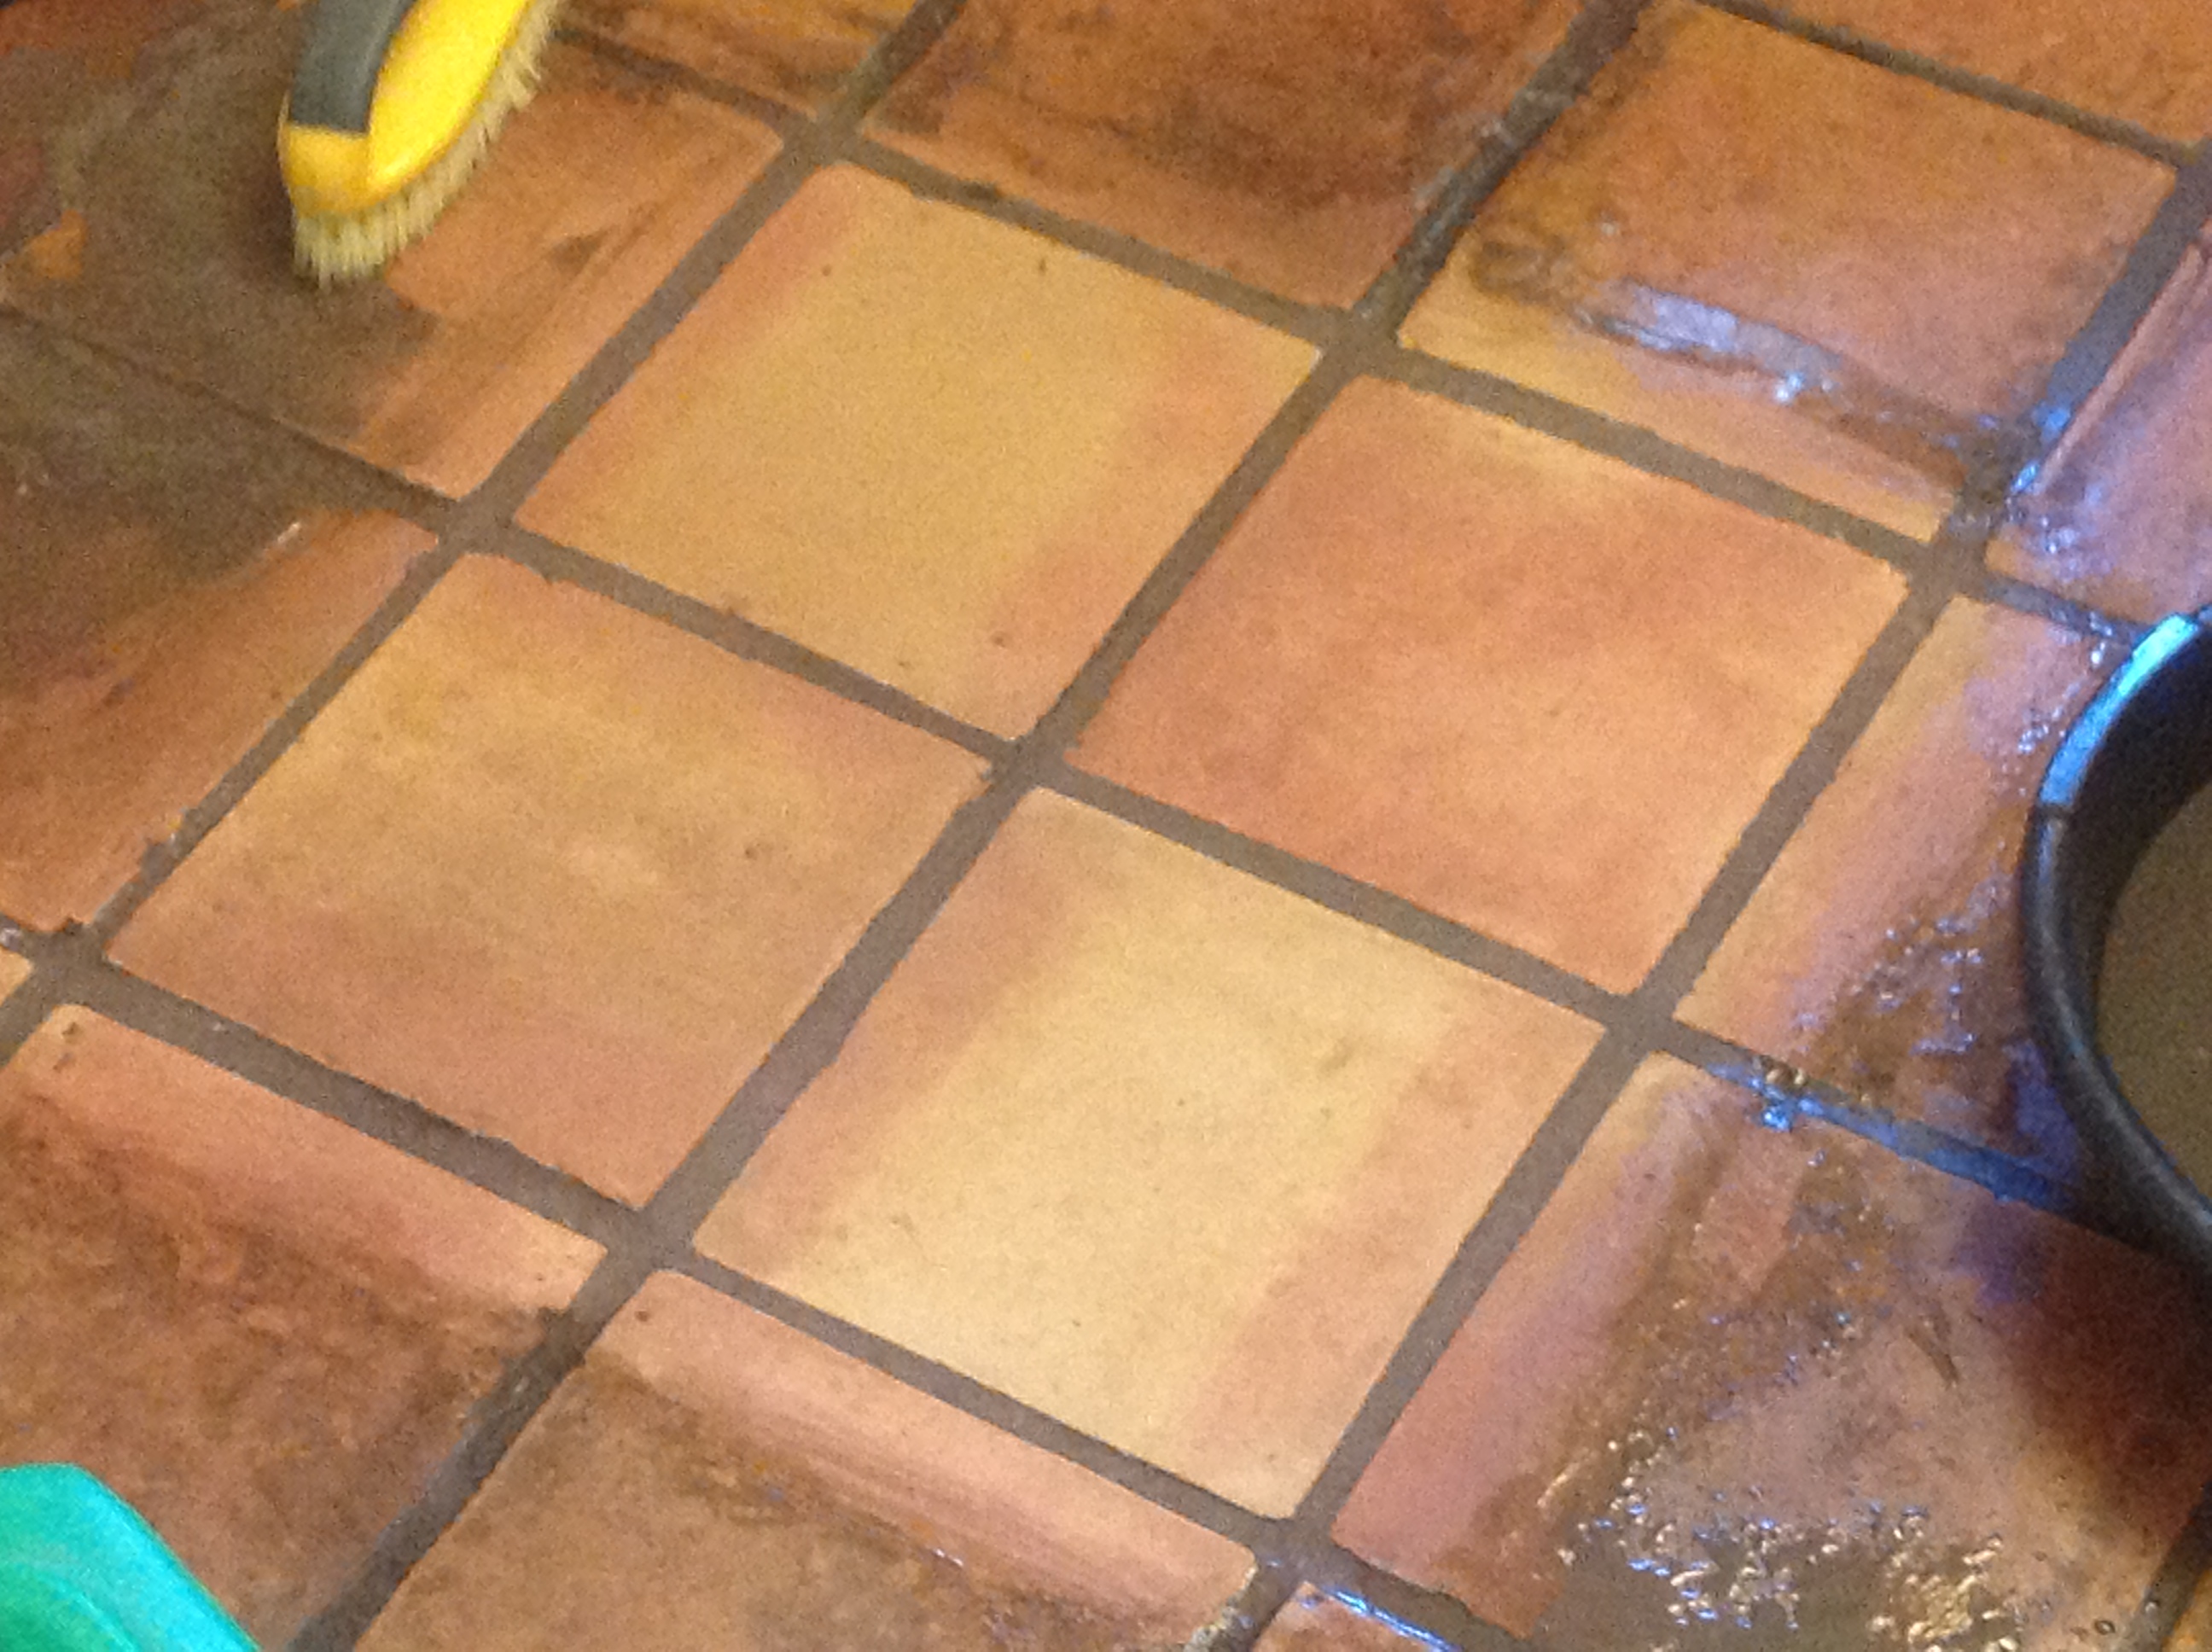
Step 2: Repair Damaged Tiles
If you find any damaged tiles within the area, you’ll need to replace them before beginning the refinishing process. You can either buy single replacement tiles or purchase an entire package from a home improvement store for larger jobs. Additionally, you’ll need to apply two-part epoxy to fill in cracks or chips in the tile or grout before you begin refinishing.
Step 3: Apply the Refinishing Compound
Once the surface is prepared, it’s time to apply the refinishing compound. You’ll want to make sure you purchase a compound specifically designed for ceramic tiles that will adhere well to the surface. Then, apply the compound following the manufacturer’s instructions in thin coats with a brush or roller. Allow each layer of compound to completely dry before applying the next one. Depending on how much damage your ceramic tile floor has sustained, it could take between two and four coats of compound to get the desired results.
Step 4: Polish the Tiles
Once all of the layers of compound are applied and dried completely, you should polish the tiles in order to get a shiny finish that looks brand new. You can use a power buffer with buffing pads intended for ceramic tile refinishing or simply use sandpaper and elbow grease instead. Keep in mind that this step could take some time depending on how large your project is and how dull your tiles were originally.
Step 5: Applying Last Finishing Touches
The final step for any tile refinishing job is to apply grout sealant and any other touches you wish to add like decorative accents or edge pieces. It’s also important to note that although ceramic floor tiles are presealed when sold, using additional sealant could increase their longevity even more—especially in areas where there is frequent foot traffic or moisture exposure.
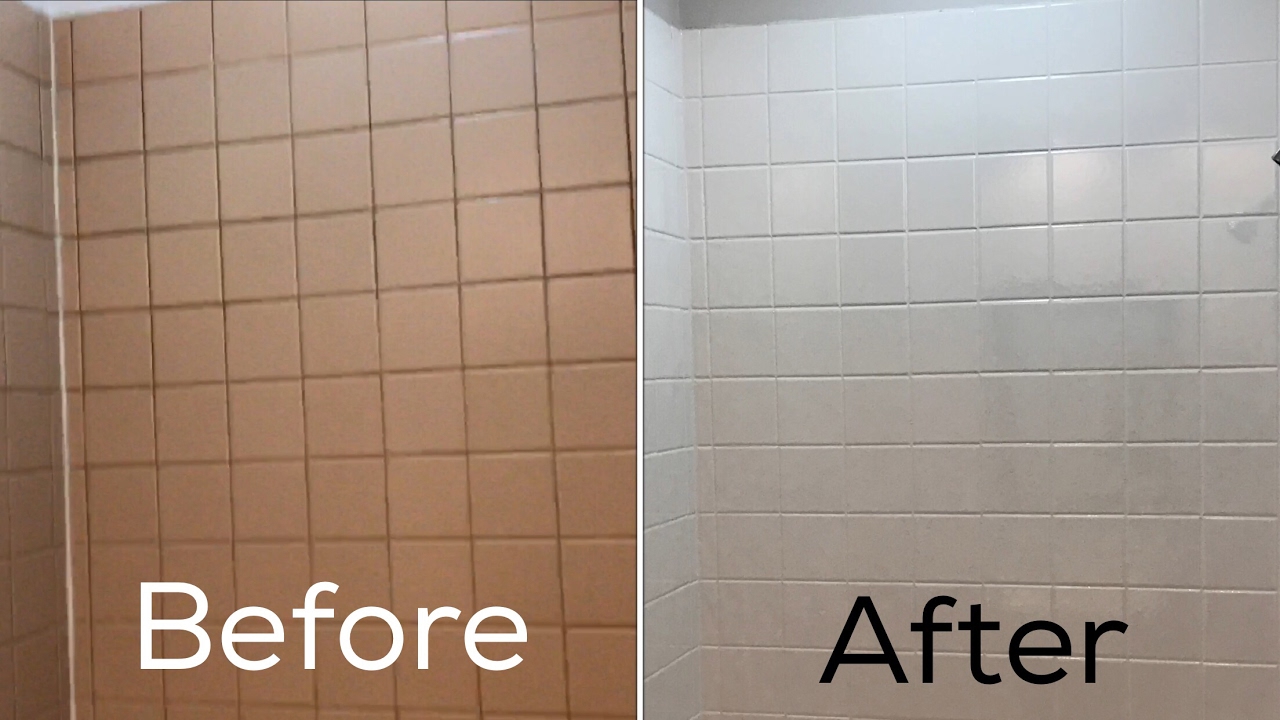
Refinishing your ceramic tile floors is time consuming but relatively simple if you follow these steps! In no time at all, your ceramic floors will be restored and looking like new!
What are the steps for sanding and refinishing ceramic tile floors?
1. Vacuum the floor to remove all loose dirt and debris.2. Use a strong floor cleaner to scrub away dirt and grime.
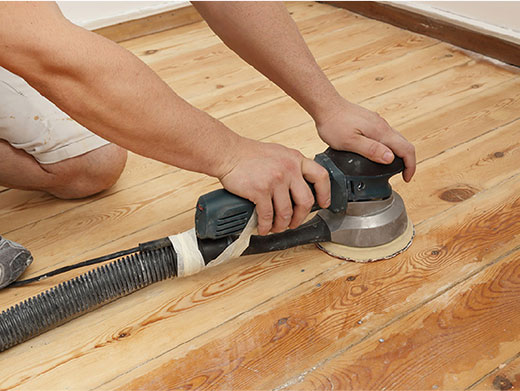
3. Sand the tiles with a heavy-duty sander or grinder, using a coarse-grit sandpaper.
4. Vacuum again to remove any remaining dust.
5. Take care of any chips or cracks by using a filler and drywall compound to repair them.
6. Rinse the tiles with clean water and use a sponge mop to remove any debris. Allow the tiles to dry completely before continuing.
7. Apply a sealant to protect the grout lines from stains and help to prevent future damage.
8. Apply two coats of tile floor finish, allowing them to dry completely in between coats.
9. Clean up any dust that may have accumulated during the refinishing process.