Home Improvements Installing Cork Flooring Tiles
How to Install Cork Flooring – (4 Tips and Guidelines For Your DIY Project)

Installing Cork Flooring Tiles – Cork Flooring Installation Site

Cork Flooring Installation Floor installation Advices, Cork flooring Materials, Tile installation

How to Lay a Cork Floor Flooring Installation, Cork flooring Installation, Sell my house

Natural Cork Flooring DIY
Evolution of Cork Flooring: From pushpins to fashion-forward design – Construction Canada Magazine
How to Install Cork Tile Flooring Cork tiles Installation, Flooring Advices, Tile floor Installation

Cork Installation Made Easy by FlooringInc Cork flooring Materials, Natural cork flooring Advices, Floor Installation

How Much Does Cork Flooring Installation Cost in 2022? Checkatrade Magazine
Cork Flooring Installation Tips and Strategies to Consider – Nyingma Volunteer Magazine

Installing Cork Flooring Tiles – Cork Flooring Installation Site
Related Posts:
- Glue Down Cork Flooring
- Cork Flooring for Exercise Room
- What Are The Benefits Of Cork Flooring
- Cork Flooring in Laundry Room
- Scandia Plank Cork Flooring
- Cork Floors That Look Like Hardwood
- How To Paint Cork Flooring
- Cork Flooring Renovation
- Cork Flooring Interior Design
- Natural Cork Flooring Ideas
Cork flooring is an attractive option for many homeowners who are looking to improve their home’s style and comfort. The natural material is very comfortable and quiet underfoot, making it a great option for any room in the house. Cork also has excellent insulation, meaning it will help keep your home warm and comfortable throughout the year. Additionally, cork flooring is very durable, being resistant to minor wear and tear over time.
Installing cork flooring is fairly easy, but it is important to know what you are doing before getting started. Here is a comprehensive guide to installing cork tiles in your home.
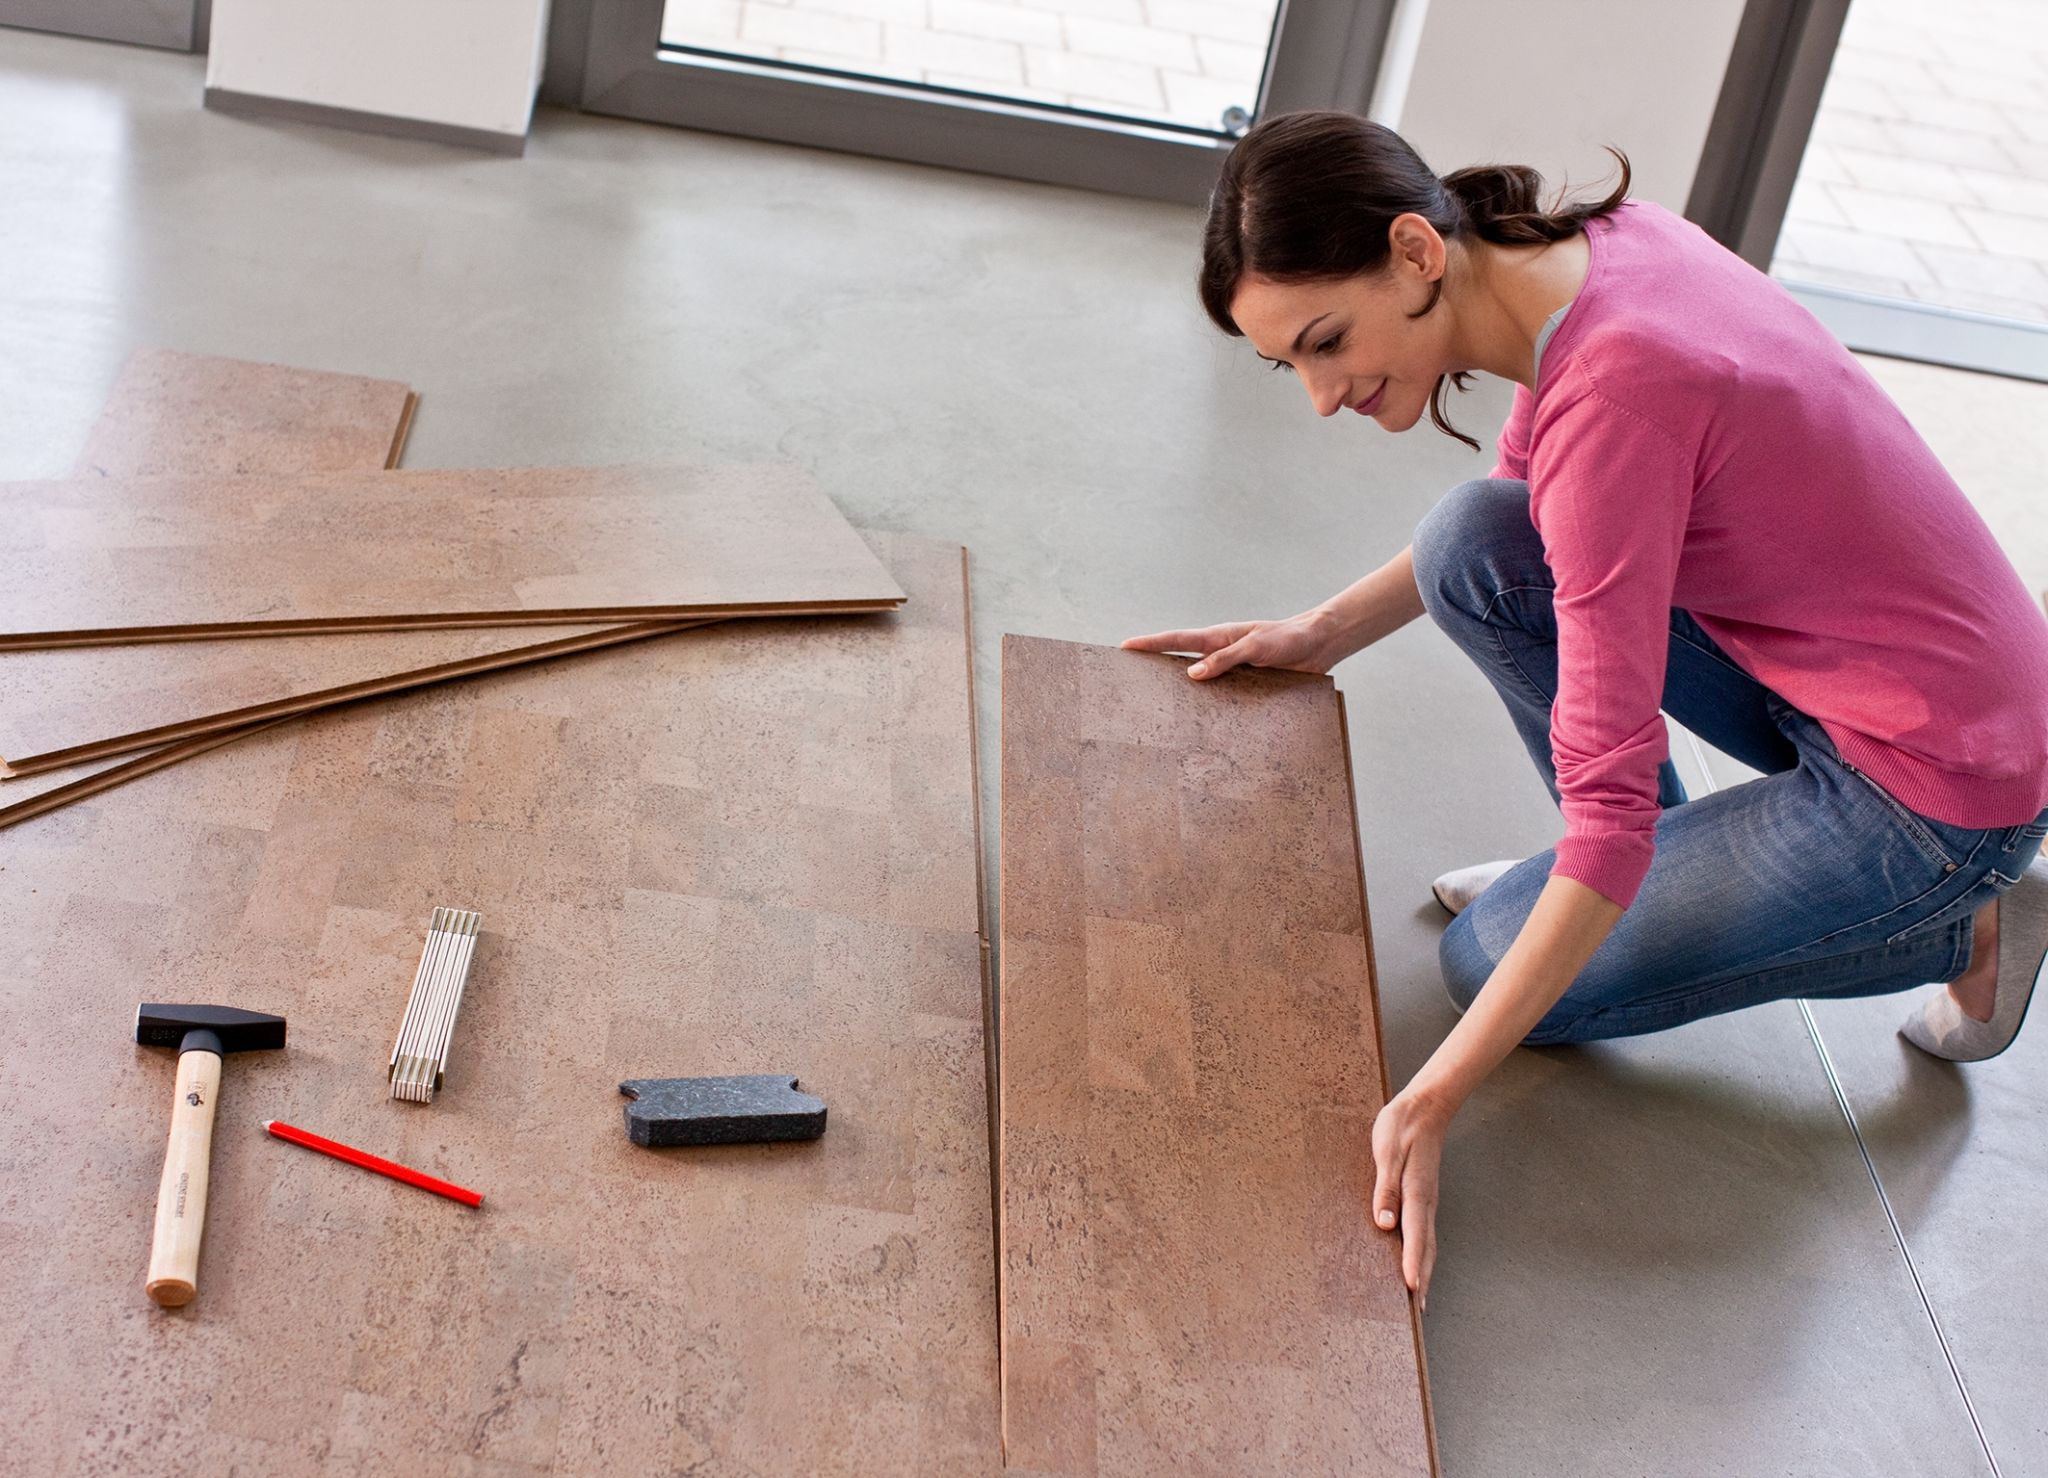
What You’ll Need
When it comes to installing cork tiles, there are certain tools that are going to make the job easier and more efficient. Here is a list of everything you will need:
• Measuring tape
• Level
• Utility knife
• Caulk gun
• Hammer
• Chalk line
• Tile spacers
• Carpenter’s square
• Cork tiles
• Thinset mortar
Preparing the Subfloor
Before you can start laying the cork tiles, you have to prepare the underlying subfloor. This involves making sure that the surface is clean and clear of any debris that might interfere with the installation process. You should also check that the surface is flat and even before beginning. If there are any dips or bumps, use a patching compound to level out the surface. Once you have finished preparing the subfloor, use a vacuum cleaner to pick up any remaining dust or debris.
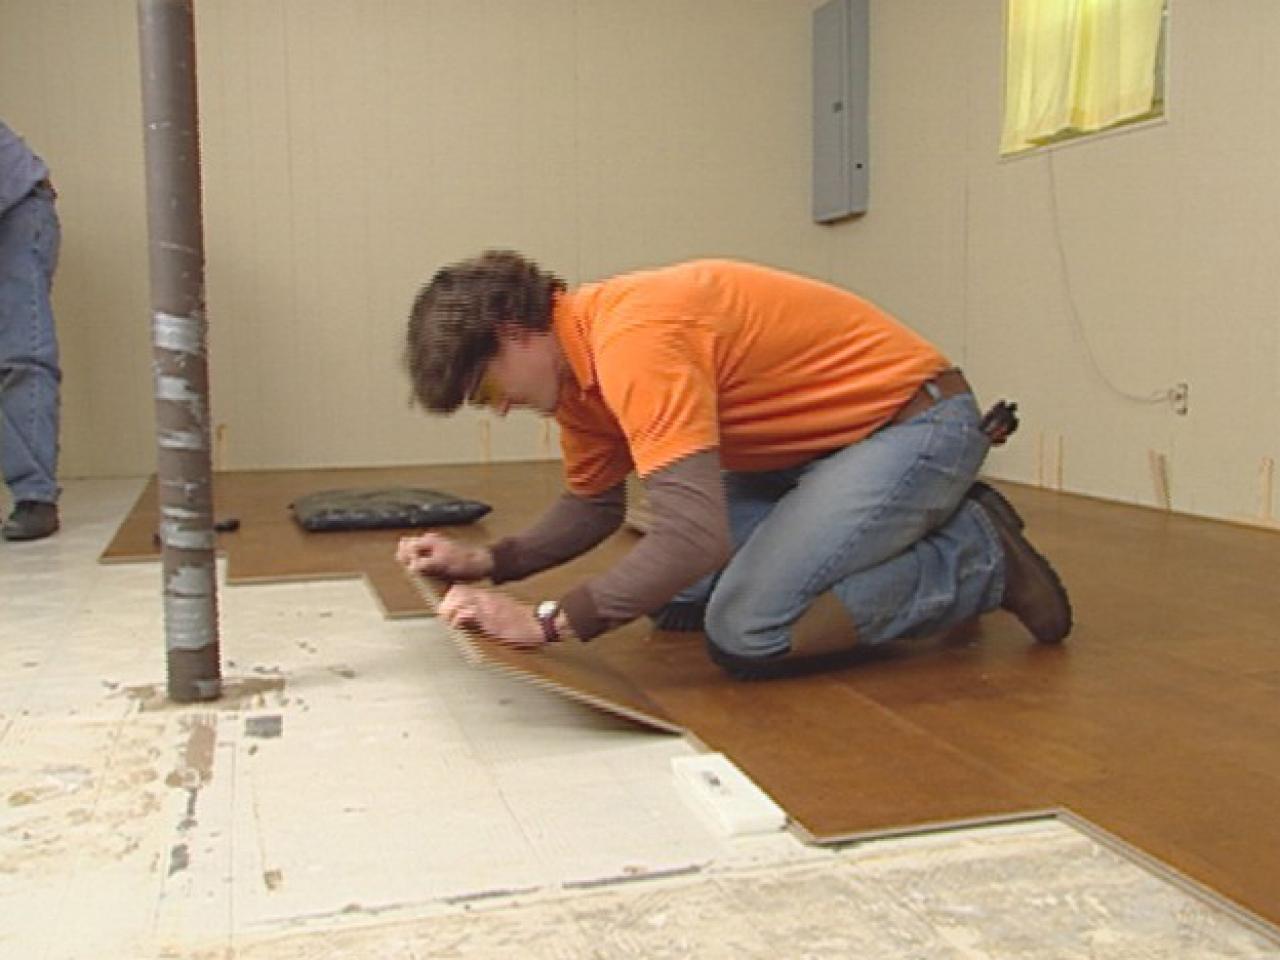
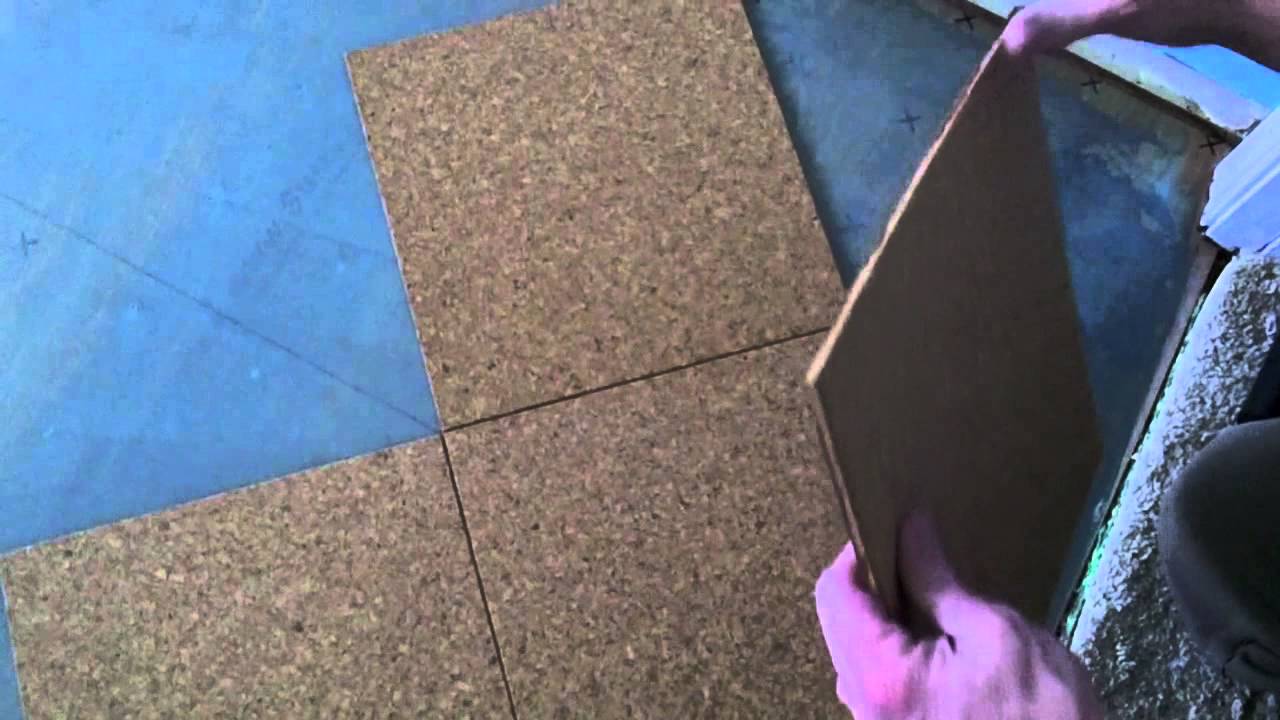
Lay Out the Tiles
Once you have finished prepping the subfloor, it’s time to start laying out the tiles. Using a measuring tape and a carpenter’s square, measure out the area where you want to lay out your tiles. If there is an odd shape or size, cut out individual pieces using a utility knife so they fit into place perfectly. Once you have measured out your area, use a chalk line to mark it up so that you have a clearly visible guide when laying out your tiles. Additionally, make sure to leave enough space at the edges for trim pieces or tile spacers (if needed).
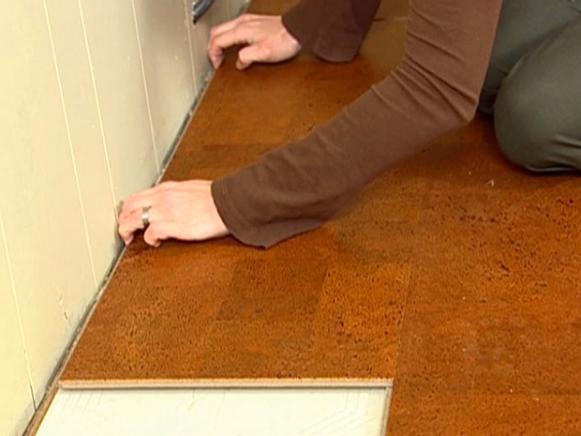
Applying Thinset Mortar and Laying Down Tiles
Once your area has been marked out and prepped, it’s time to apply the thinset mortar which will help keep your tiles in place once they are laid down. Start by applying a generous amount of thinset onto the subfloor using a trowel. Use just enough that it covers the entire area without creating an excess of mortar on top of your substrate. Once you have applied your mortar evenly on top of the substrate, begin placing your tiles one by one into position. Make sure to align them properly with each other and use a level tool to make sure they are even and secure before moving on. Once all of your tiles are laid down properly, use tile spacers at each edge to make sure they are securely in place.
Caulking Outer Edges and Letting It Cure
There may be gaps between your tiles once they are laid down due to minor irregularities in size or shape of tile pieces used in your project. Those irregularities should be taken care of by using caulk along each edge line where two tiles meet each other on adjacent edges. To do this, use a caulking gun and fill in all of those areas with caulk until those irregularities disappear completely. Finally, give the entire area some time to cure before walking on it or cleaning it up. You can also buy cork sealant from most home improvement stores if you wish to protect your floor even more from wear and tear over time.
Conclusion
Installing cork tile flooring is a relatively straightforward job that can be completed with minimal experience or background knowledge about home improvement work. By following this comprehensive guide and using high-quality materials for your project, you will be able to enjoy your new cork floors in no time!
What tools are needed for installing cork flooring tiles?
1. Measuring Tape2. Straight Edge
3. Chalk Line
4. Hammer
5. Utility Knife
6. Notched Trowel
7. Cork Adhesive
8. Paint Roller
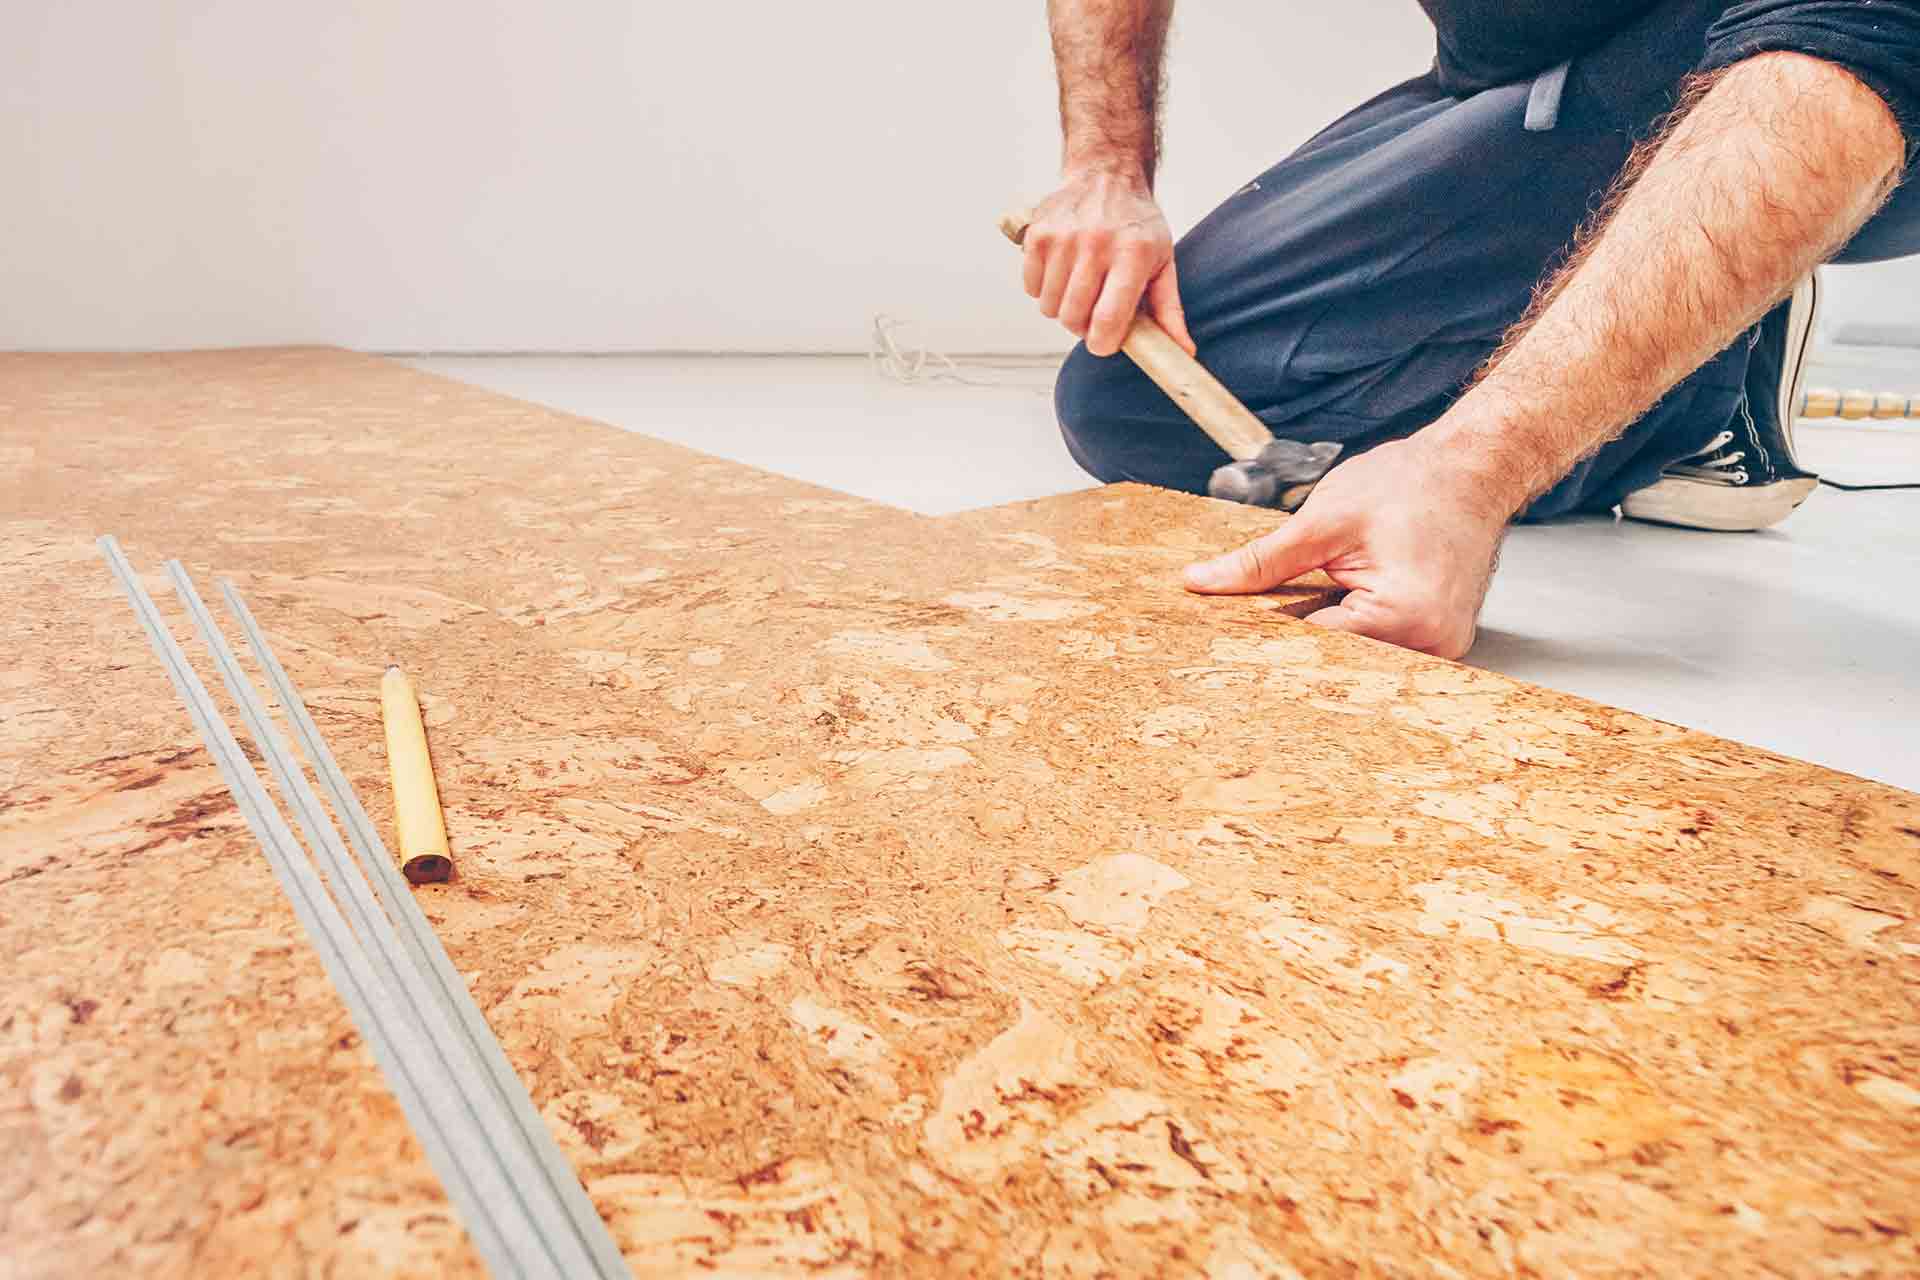
9. Rubber Mallet
10. Sealing Agent
11. Caulk Gun
12. Tile Spacers
13. Carpenter’s Square
14. Cork Tiles
15. Thinset Mortar