Leveling Concrete Floor With Plywood

How to Make Subfloor Leveling with Plywood and Concrete Self Leveling Compound
How To Level A Floor With Plywood

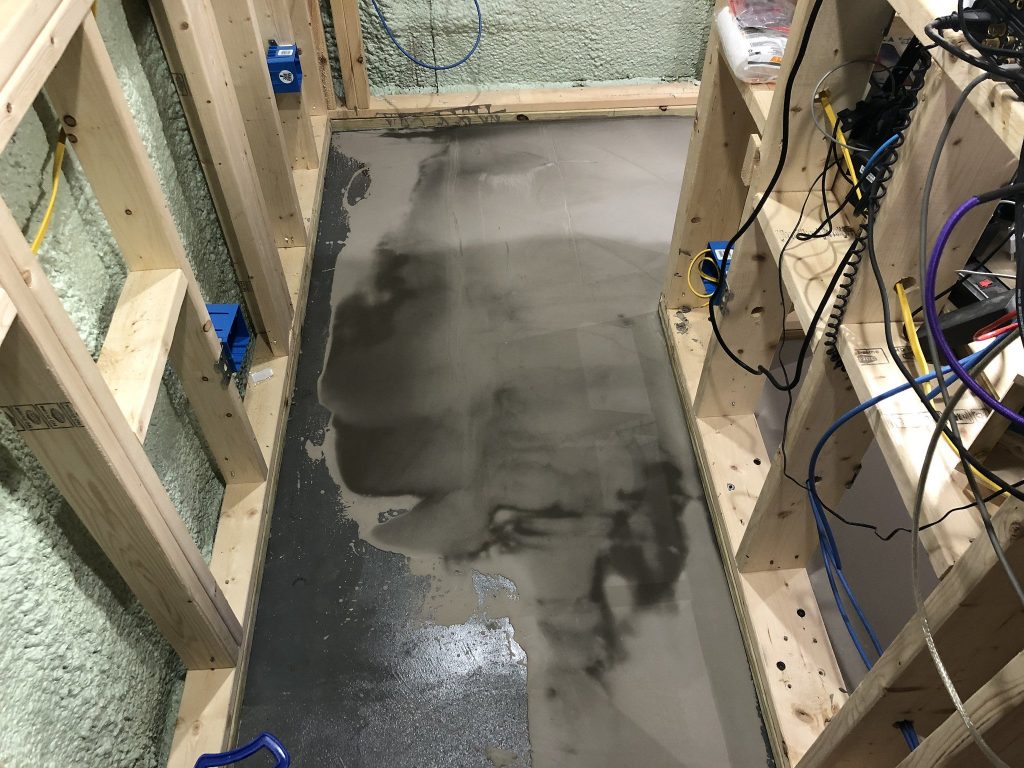
How to Install Self-leveling Concrete Over Plywood Sub-floor? Concrete floors, Plywood

How to Install Self-leveling Concrete Over Plywood Sub-floor? in 2020 Concrete floors

Leveling Concrete Floor With Plywood – Flooring Site
Leveling Concrete Floor With Plywood – Flooring Site

Self-Leveling Compound on Wood Subfloor ⋆ 🌲 ThePlywood.com
19 Fresh Leveling Uneven Concrete Basement Floor – basement tips
How to Install Self-Leveling Cement over Plywood Subfloors?
Covalt Floor Leveling Concrete Floor Resurfacing, Orange County

Floor leveling over wood subfloor Diy home repair, Diy home improvement, Basement remodeling

Related Posts:
- Outdoor Concrete Flooring Ideas
- Concrete Floor Polishing
- Interior Concrete Floor Paint Ideas
- Concrete Floor Epoxy Crack Filler
- Concrete Floor Basement Ideas
- Painting Concrete Floor With Epoxy
- Outdoor Concrete Floor Paint Ideas
- Concrete Floor Painting Tips
- Outdoor Concrete Floor Finishes
- Non Slip Concrete Floor
Laying a concrete floor is a difficult task, but one that is often necessary. Whether you are replacing an old floor or building out a new space, making sure that the concrete floor is level is essential for a successful final product. But how can you do this? Plywood can be used to easily level out a concrete floor and make sure that the final result is smooth and even. Here we will provide a step-by-step guide to leveling a concrete floor with plywood.
## Step 1: Preparing the Floor
The first step in leveling a concrete floor with plywood is to prepare the area. This means removing any furniture, decorations, or obstacles that may be in the way. It also means making sure that the surface is clean and free of debris. Any loose dirt or debris should be swept away before proceeding.
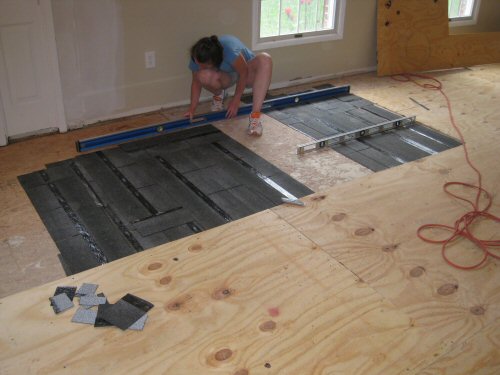
## Step 2: Measuring the Floor
Once the area is cleared, you will need to take measurements of the floor. If possible, you should use a long straightedge to measure the flatness of the surface. You should also use a level to measure any dips or rises in the floor. Make sure to take accurate measurements so that you know exactly how much plywood you will need for leveling.
## Step 3: Cutting the Plywood
Once you have taken your measurements, it’s time to cut the plywood. You will want to cut the plywood into pieces that are slightly larger than each section of floor that needs leveling. Make sure to leave enough space on each piece so that it can be secured into place. Once all of your pieces are cut, you can move onto the next step.
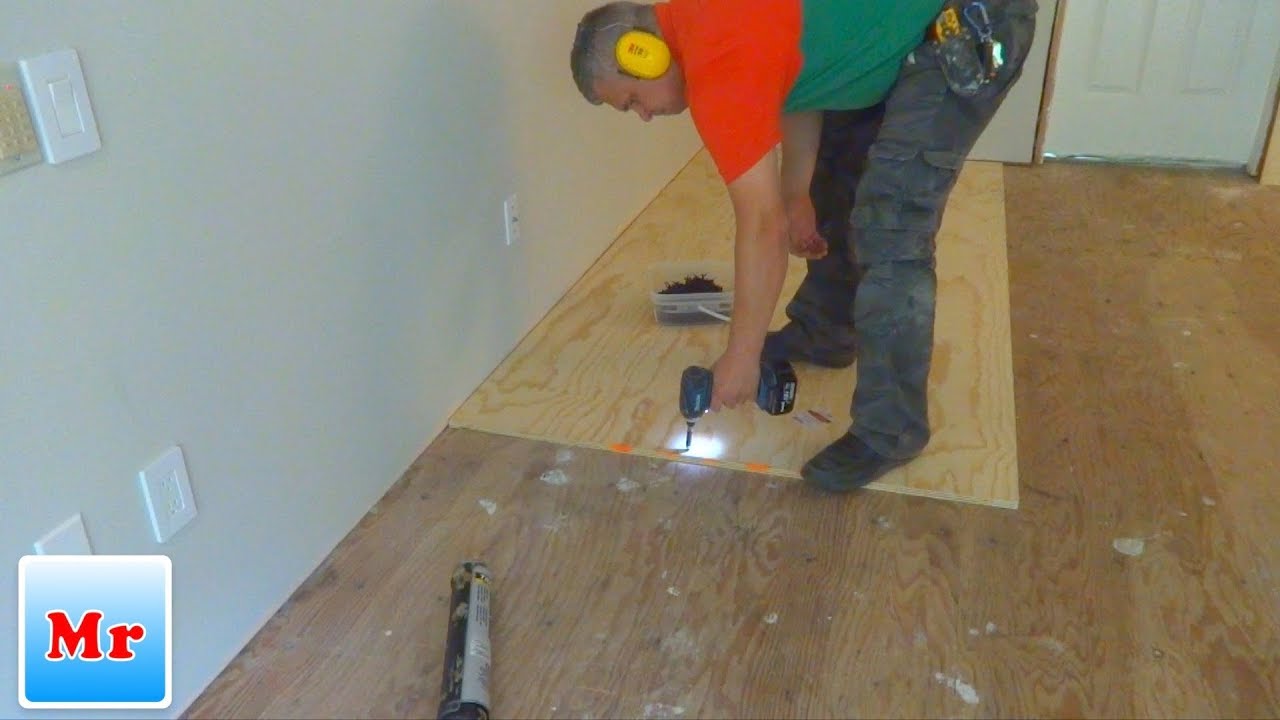
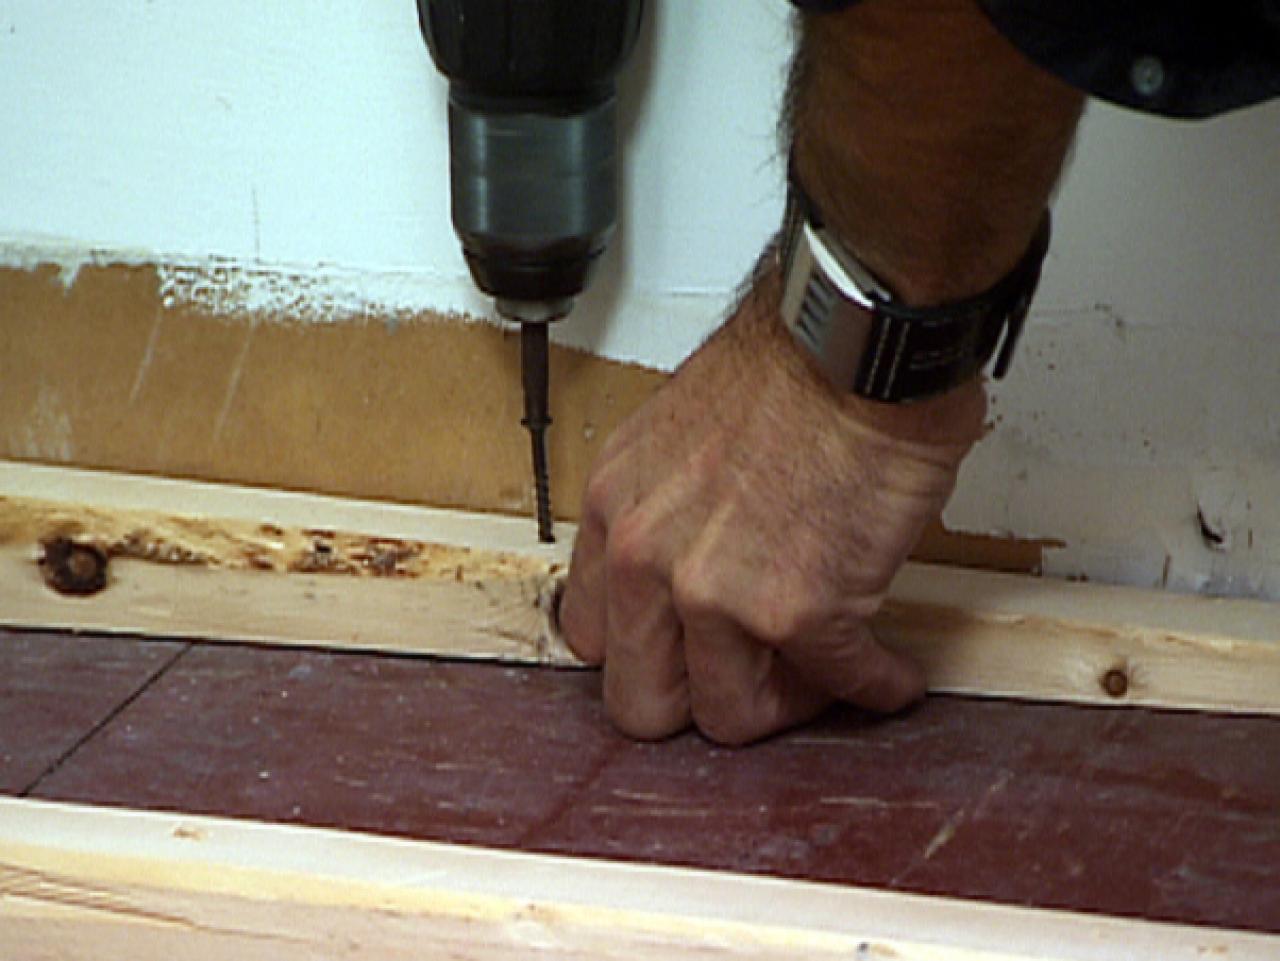
## Step 4: Securing the Plywood
Now it’s time to secure the plywood in place. You can either use construction adhesive or screws to secure each piece of plywood in place. Make sure to press down firmly on each piece so that it adheres properly and won’t come loose over time. If you are using screws, make sure to drill pilot holes first so that you don’t crack the plywood when screwing it in place.
## Step 5: Finishing Up
Once all of your pieces are securely in place, you can finish up by sanding down any rough edges. This will help ensure that there aren’t any sharp edges that could potentially cause injury or damage to anything placed on top of the plywood. After sanding, you can clean up any dust or debris and then paint or seal the plywood for added protection.
Leveling a concrete floor with plywood may seem like a difficult task, but following this step-by-step guide makes it easy and relatively straightforward. With some careful measuring and cutting, as well as proper securing, you can easily level out your concrete floor and make sure that it is even and smooth for whatever project you have planned next!