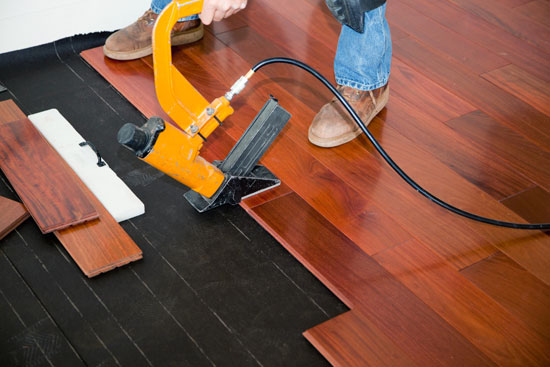
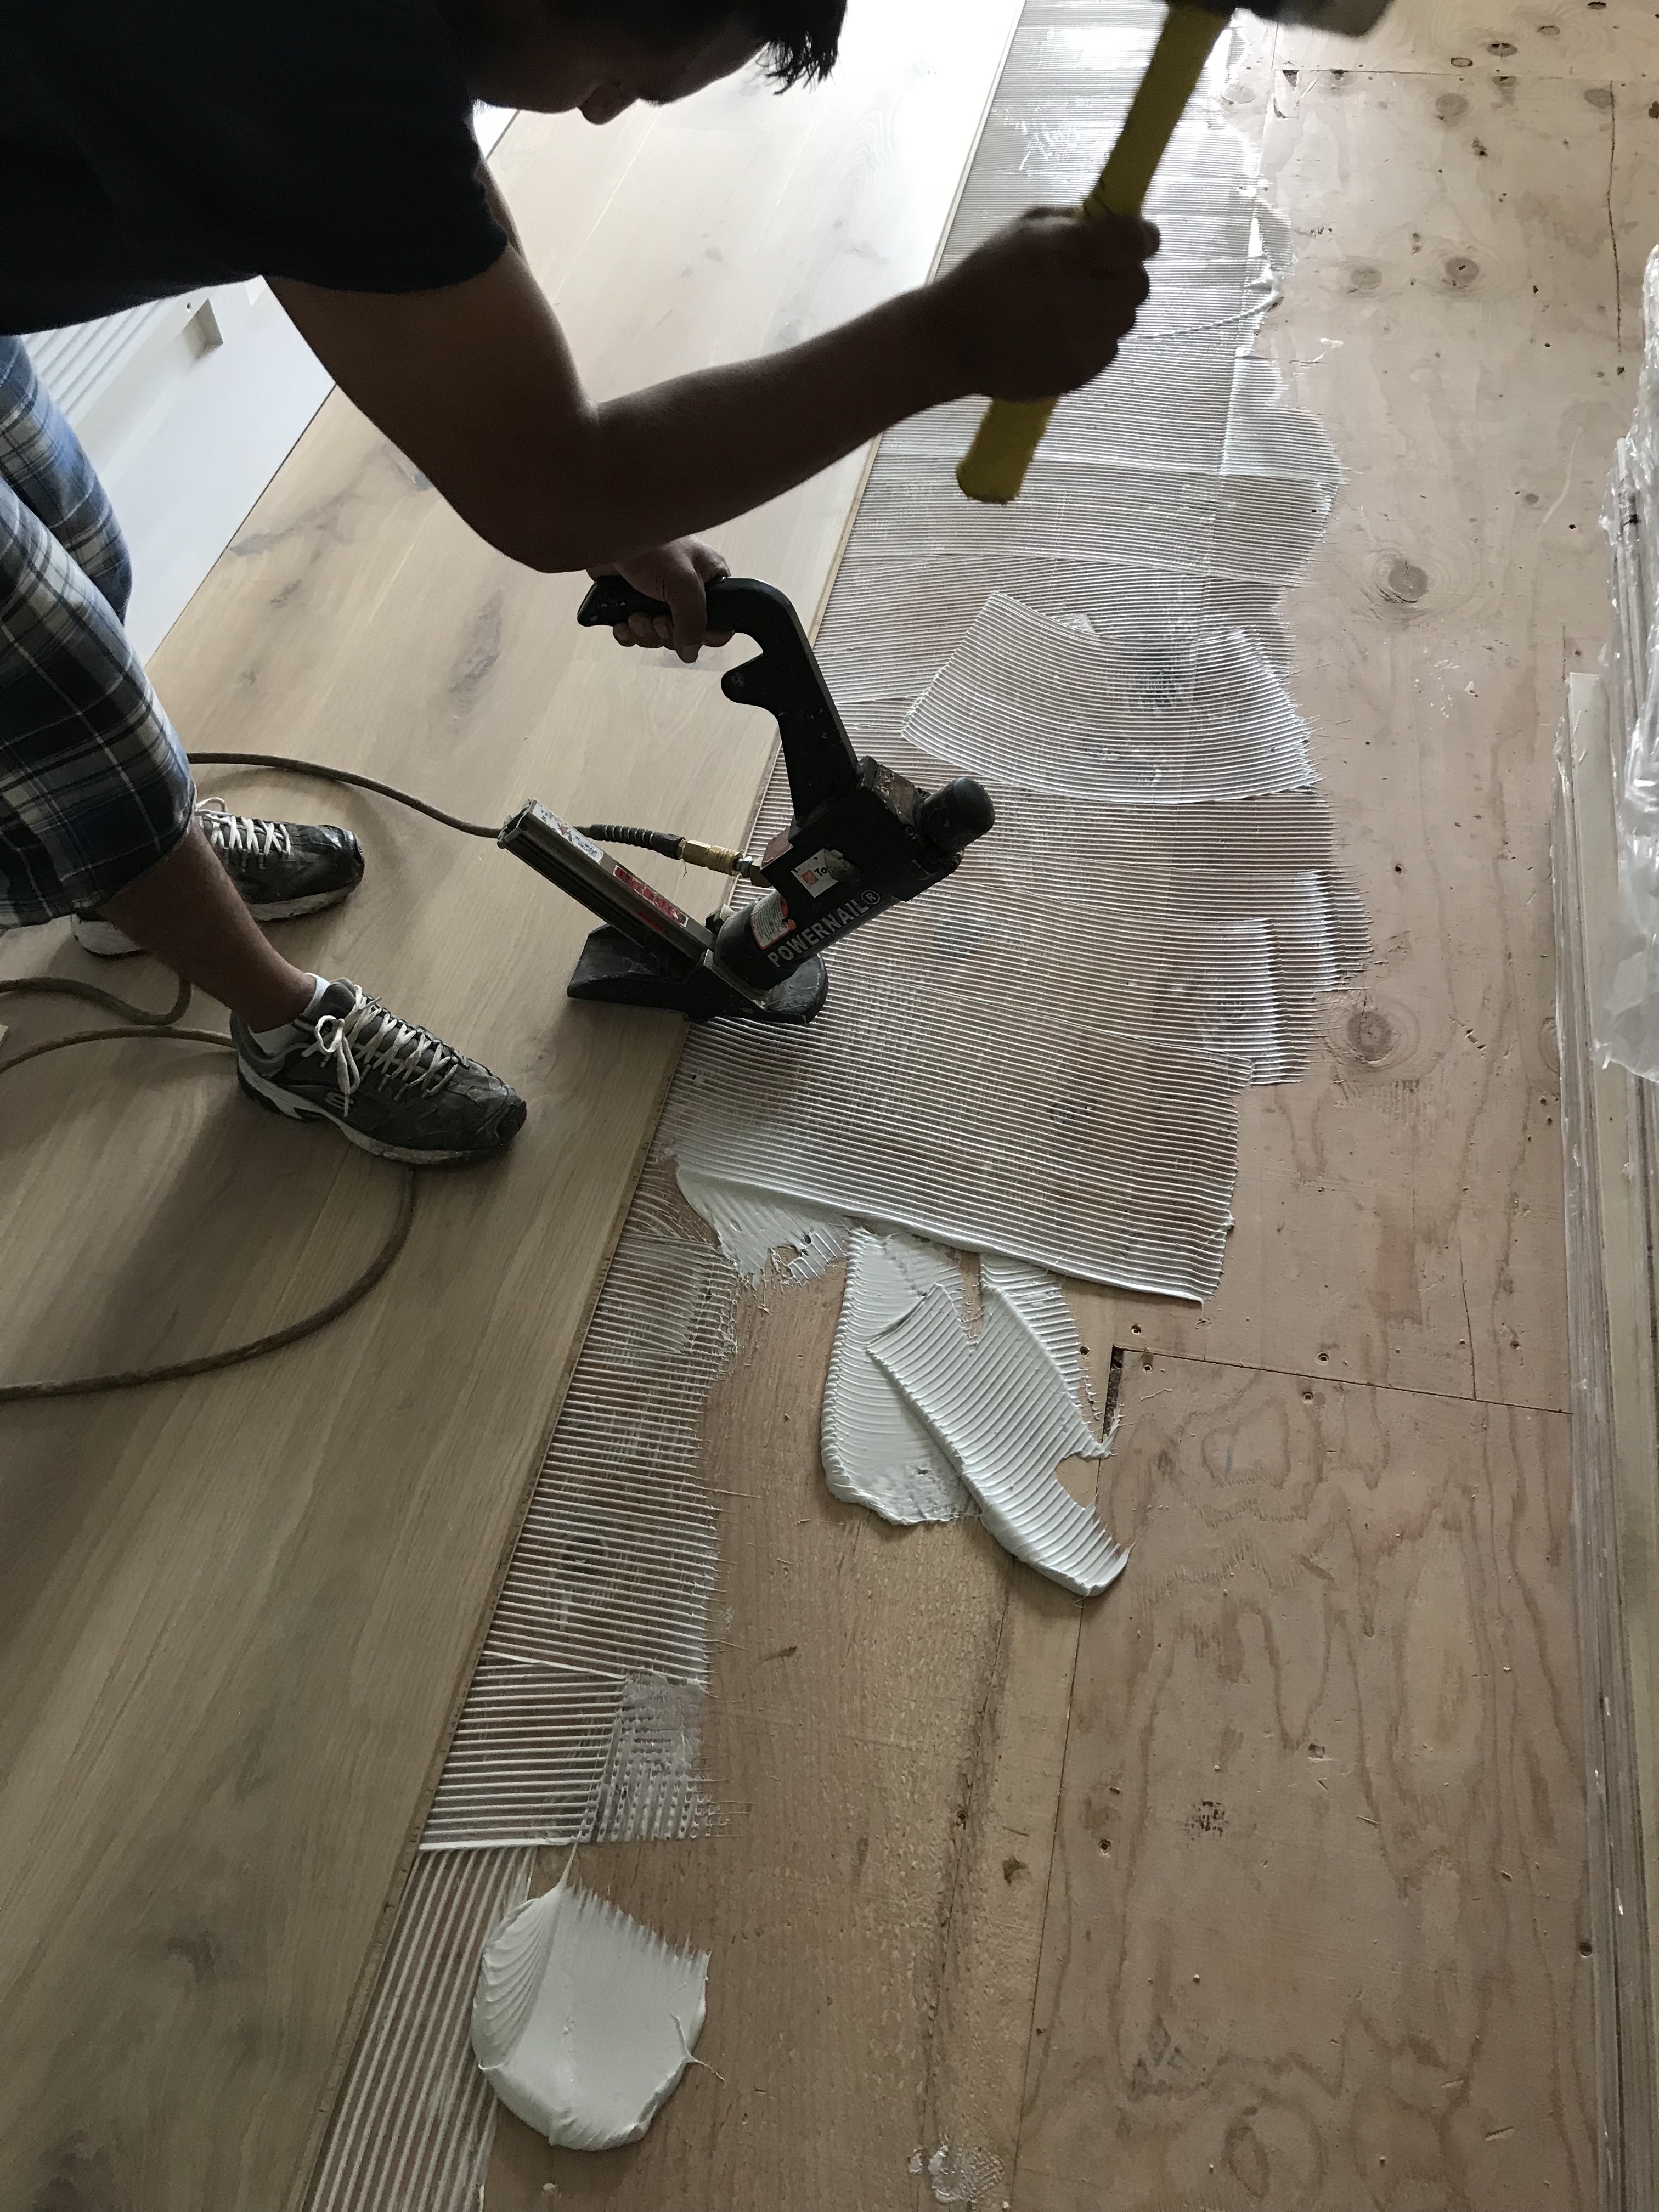
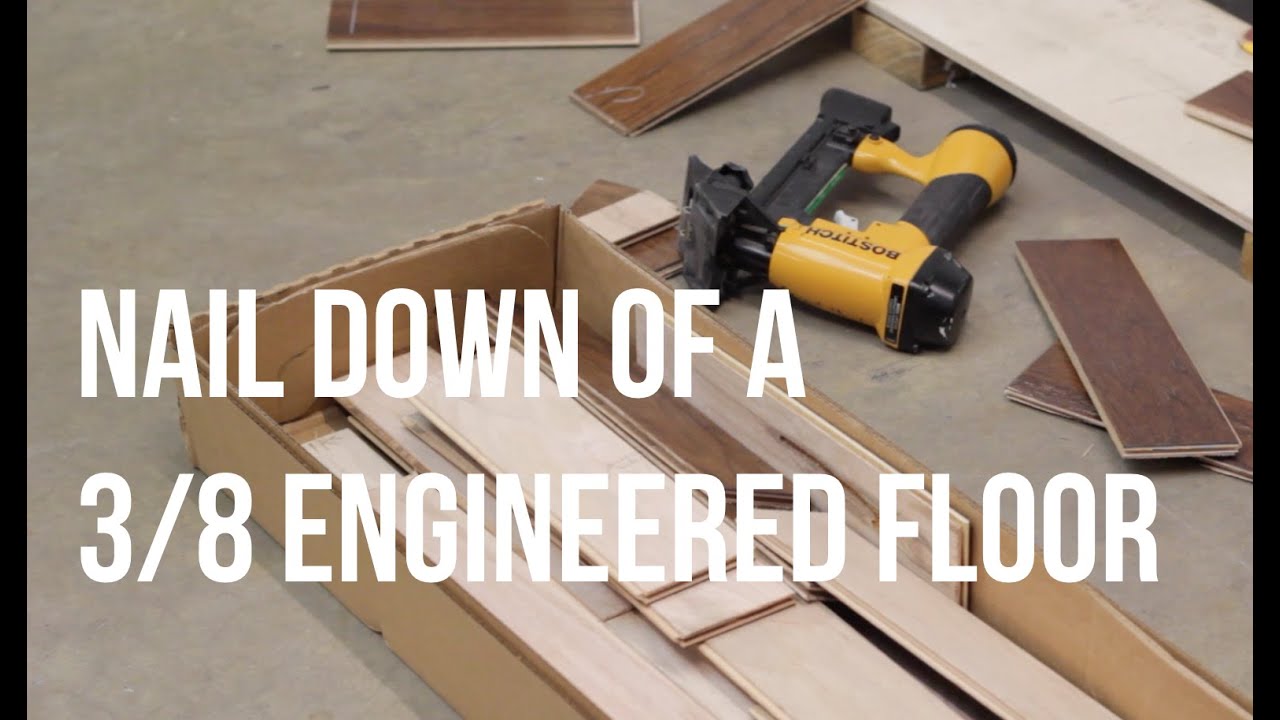
Nailing Down Engineered Hardwood Flooring

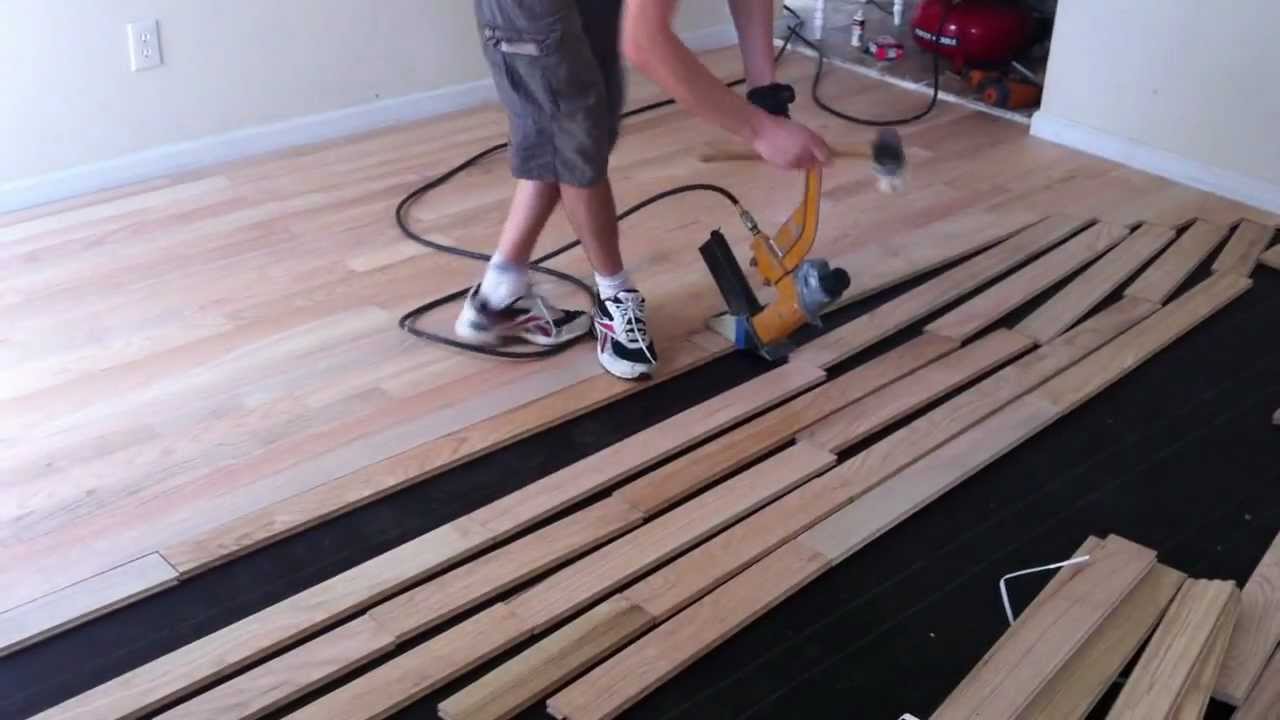
How to nail down engineered flooring over an OSB subfloor DIY NC Floor Guys – YouTube

About naildown, gluedown and floating hardwood flooring installation.

Nailing down a quality hardwood floor with OSB – Page 2 of 2 – Construction Canada
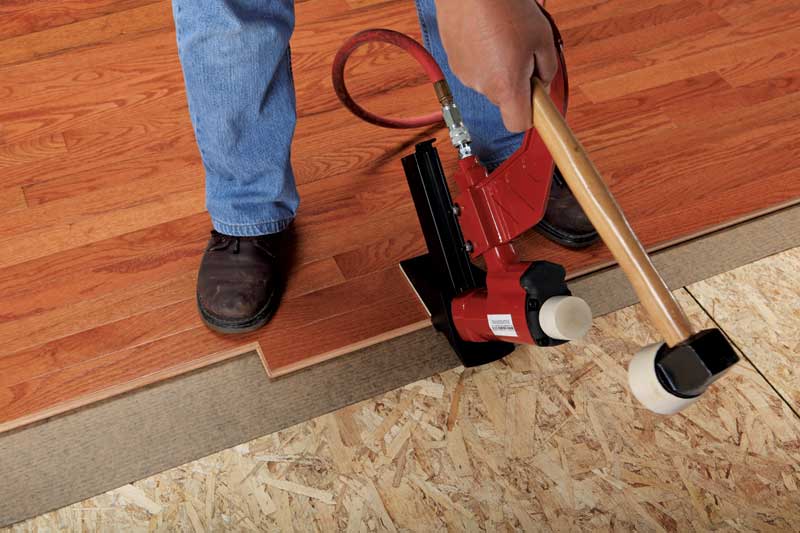
Best Practices for Nailing Down Engineered Flooring on Wood Subfloors
50+ Tools Needed For Laying Engineered Wood Flooring Images – engineered black wood floors

Nailing down a quality hardwood floor with OSB – Construction Canada
Hamptons New Wood Floor Installation & Replacement Suffolk County NY
How To Install Engineered Wood Flooring Nail Down – Flooring Site
How to Install Nail Down Hardwood Flooring – YouTube

How to install (nail down) unfinished hardwood floors – YouTube
Engineered Hardwood Flooring Installation: Tips and Common Mistakes 2014-03-05 Floor

Related Posts:
- Hardwood Floor Cleaning Tips
- Hardwood Floor Decorating Ideas
- Hardwood Floor In A Kitchen
- Engineered Hardwood Flooring
- Rustic Oak Hardwood Flooring
- Parquet Hardwood Flooring
- Hardwood Floor Duster
- Homemade Hardwood Flooring
- Hardwood Floor Stain Colors
- Hardwood Floor Repair DIY
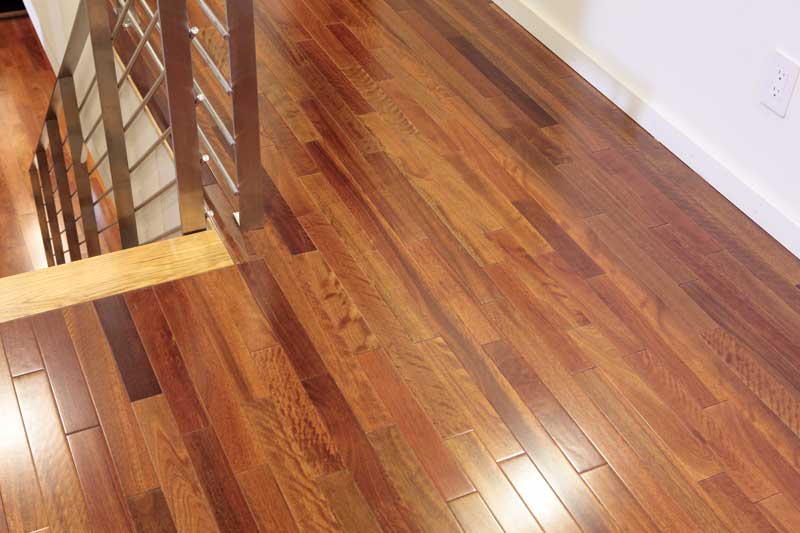
Hardwood flooring has long been a staple of many homes, providing a classic look and feel that adds style and value to any home. But for many, the cost and difficulty of installation can be a prohibitive factor. That’s why engineered hardwood flooring has become such an attractive option. By combining real wood, a base layer of plywood, and a finishing layer of hardwood, engineered hardwood flooring is both more affordable and easier to install than traditional hardwood flooring.
### Benefits Of Engineered Hardwood Flooring
Engineered hardwood flooring comes with several advantages that make it an attractive option for many homeowners. First and foremost, it’s much easier to install than traditional hardwood flooring; it can often be snapped together or glued in place without the use of nails or staples. Additionally, because it’s constructed with multiple layers of wood, engineered hardwood flooring is more resistant to warping and is less likely to be affected by moisture.
### Different Types Of Engineered Hardwood Flooring
When it comes to engineered hardwood flooring, there are several types to choose from, each with its own unique benefits. The most common type is the three-layer construction, which combines a base layer of plywood with a top layer of real hardwood. This type is stable and durable enough to stand up to everyday wear and tear.
Another type of engineered hardwood flooring is the two-layer construction, which uses only two layers of wood—a base layer of plywood topped with a layer of real wood veneer—which is then treated with stain and sealant. Although this type is less expensive than the three-layer construction, it isn’t as durable and should only be used in areas with low traffic.
Finally, there’s the single-layer construction, which features a single layer of real hardwood over a thin base of plywood. This type is typically the most expensive but also the most durable; it’s often used in areas such as walkways and bedrooms that won’t see much traffic or wear and tear.
### DIY Vs Professional Installation
Installing engineered hardwood flooring can be done by a do-it-yourselfer or a professional contractor. For those who choose to do it themselves, they should make sure they have all the necessary tools and supplies on hand before beginning the project. These may include safety glasses, hearing protection, knee pads, hammer, pry bar, circular saw, measuring tape, caulk gun, leveler, utility knife, wood glue, putty knife, sandpaper/sanding block, and nails/staples (depending on the type of installation). If someone doesn’t feel comfortable installing the engineered hardwood themselves or doesn’t have the time to do so properly, hiring a professional contractor may be the best option.
### Maintenance Of Engineered Hardwood Flooring
Like all types of wood flooring, proper care and maintenance are essential in ensuring that engineered hardwood floors last for years to come. Regular sweeping or vacuuming will remove dirt and dust from the surface that could otherwise scratch or dull the finish over time. It’s also important to avoid using harsh cleaning chemicals or abrasive cleaning pads as they can damage the finish.
For tougher stains or spills that require more than just sweeping or vacuuming, it’s best to use either a damp mop (if water won’t damage the finish) or specialized cleaning solutions specifically formulated for use on wood floors. When mopping or cleaning engineered hardwood floors with these products, be sure to follow the instructions carefully; using too much cleaning solution or letting it sit for too long may cause damage to the surface.
### Final Thoughts On Engineered Hardwood Flooring
Engineered hardwood flooring provides an affordable and easy-to-install alternative to traditional hardwood floors. With its multi-layered construction and durable finish, it’s both stylish and functional; plus its easy maintenance means that you can enjoy beautiful floors without needing extensive upkeep. Whether installed on your own or with help from a professional contractor, engineered hardwood flooring can bring lasting beauty into your home for years to come.
What type of saw is needed for installing engineered hardwood flooring?
A miter saw is typically used to cut engineered hardwood flooring.What tools are required to install engineered hardwood flooring?
Tools Required:– Tape Measure
– Circular Saw
– Hammer
– Mallet
– Chisel
– Pry Bar
– Drill and Bits
– Utility Knife
– Jigsaw
– Safety Glasses
– Ear Protection
– Knee Pads
– Nail Set
– Staple Gun
– Spacers (for Gaps)
– Leveler/Straight Edge
– Wood Glue
– Putty Knife
– Sandpaper/Sanding Block
– Caulk Gun
What type of saw is needed to install engineered hardwood flooring?
Typically a miter saw is used to install engineered hardwood flooring. It can be used to make precise cuts on the planks, which are necessary for a professional-looking installation.What tools are needed to install engineered hardwood flooring?
Tools needed to install engineered hardwood flooring include:– Tape measure
– Table saw
– Circular saw
– Hammer and nail set
– Laminate flooring spacers
– Chalk line
– Wood glue
– Underlayment
– Utility knife
– Hammer
– Laminate pull bar
– Vacuum cleaner
– Floor nailer (optional)
– Hearing protection
– Safety glasses
– Knee pads
– Sandpaper/sanding block , and nails/staples (depending on the type of installation).