Natco Home Vinyl Flooring Installation Instructions

Natco Vinyl Flooring Installation Instructions – Carpet Vidalondon
Natco Vinyl Flooring Installation Instructions – Carpet Vidalondon

Natco Vinyl Flooring Installation Instructions – Carpet Vidalondon
How to install vinyl flooring – Vinyl Floor installation guide #flooring #renovation #diy

Natco Vinyl Flooring Installation Instructions – Carpet Vidalondon

A Step-by-Step Guide To Installing Natco Home Vinyl Flooring kyinbridges.com

Natco Vinyl Flooring Installation Instructions – Flooring Ideas
Natco Vinyl Flooring Installation Instructions – Carpet Vidalondon

Natco Vinyl Flooring Installation Instructions – Carpet Vidalondon
How To Install Vinyl Plank Flooring ? – Home Pictures :: Easy Tips

Tarkett Laminate Flooring Installation Instructions – Flooring Ideas
Related Posts:
- Pine Vinyl Flooring
- Vinyl Floor Laying DIY
- Cortex Vinyl Flooring
- Grey Slate Effect Vinyl Floor Tiles
- Dark Oak Vinyl Flooring
- Limestone Effect Vinyl Flooring
- Vinyl Floor With Border
- Adhesive For Vinyl Flooring To Concrete
- Teak Wood Vinyl Flooring
- Cheap Vinyl Flooring
Installing vinyl flooring in your home can be an intimidating task, but with the right instructions and a little bit of patience, anyone can do it. To help make the process easier, Natco Home has put together these instructions for installing their vinyl flooring. These instructions should help even novice DIYers complete the installation successfully.
## Preparation
Before beginning any flooring installation, it’s important to properly prepare the area. Make sure to remove any existing flooring, underlayment and other debris. Also, make sure to level the subfloor before installation to ensure that the new floor will lay flat. If you’re not sure of how to level a subfloor, consult a professional.
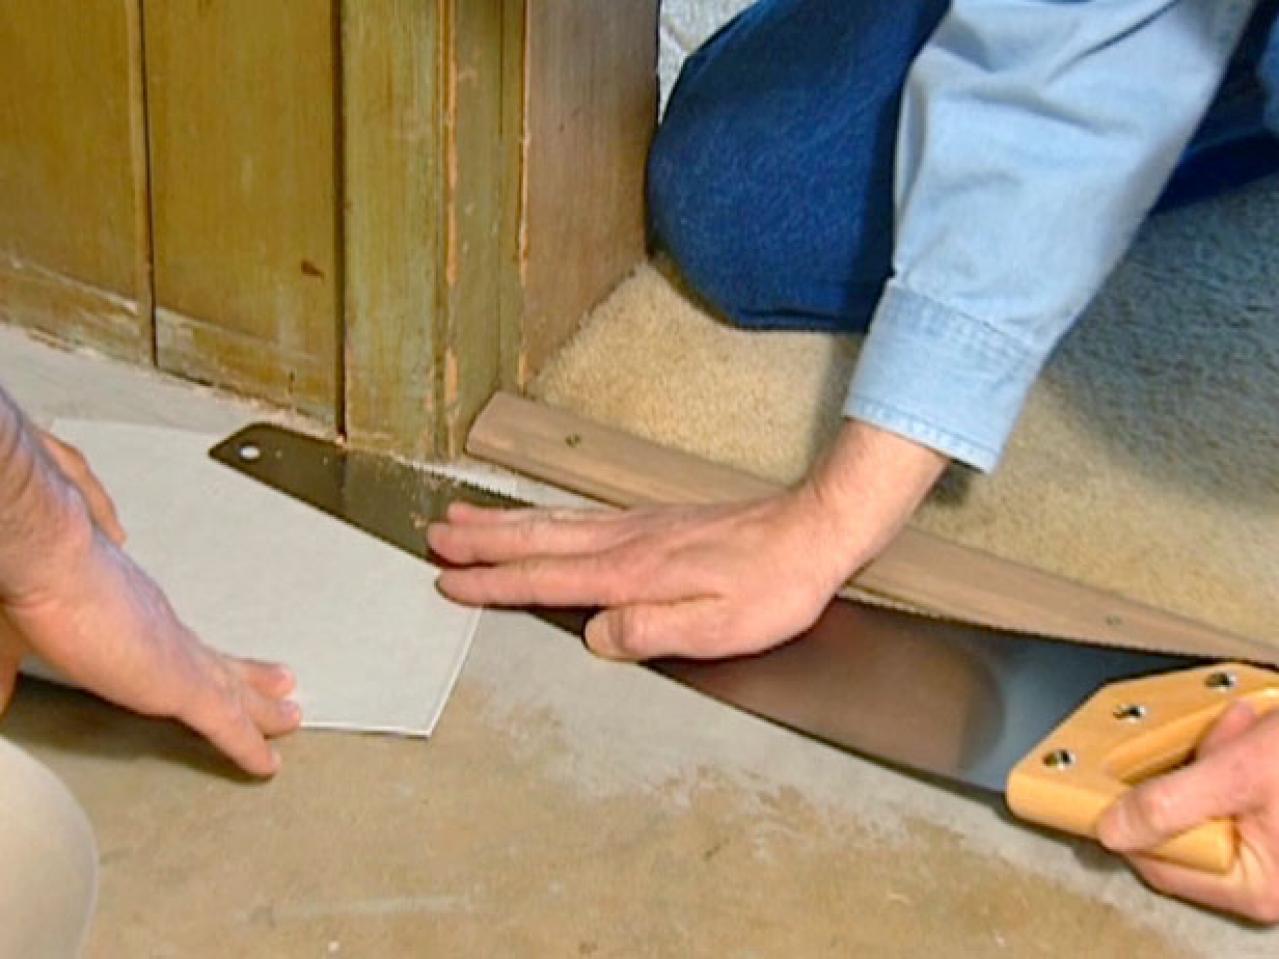
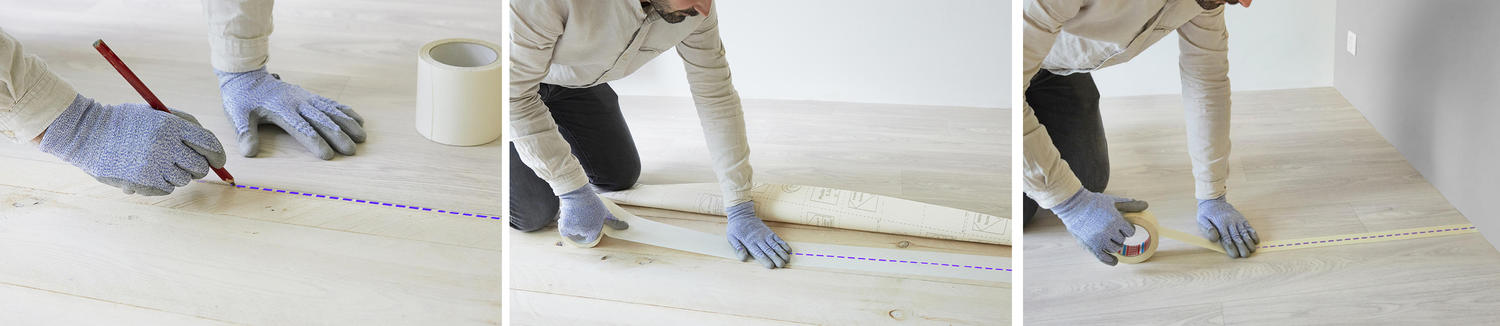
## Layout and Cutting
Once you’ve prepared the subfloor, you can begin laying out the vinyl planks. Start at one end of the room and work your way across. Make sure to leave a gap of 8-12mm around all edges and obstacles like door frames, closets and cabinets. You may need to cut some planks to fit around corners or tight spaces. Use a sharp utility knife for best results.
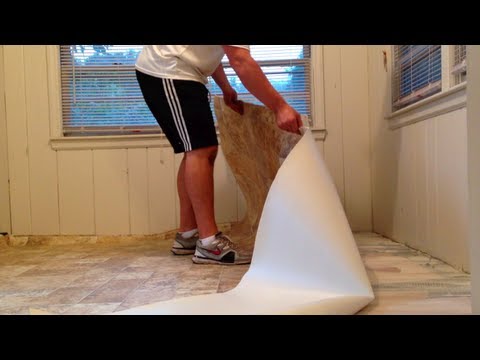
## Dry Fit
Once you’ve laid out all the planks and made any necessary cuts, it’s time for a dry fit. This is where you can check for any errors in cutting or placement before applying adhesive or clicking the planks together. It’s important to double check that all planks are laying flat and make any adjustments as needed.
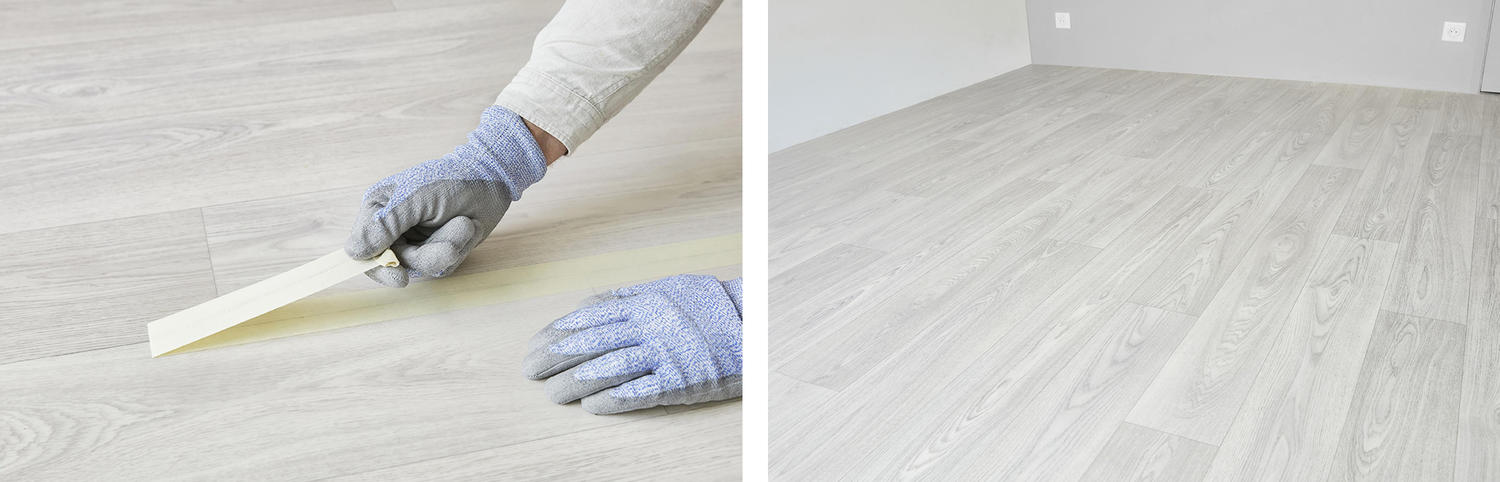
## Adhesive Application and Click System Installation
Most Natco Home vinyl flooring comes with an adhesive backing that should be applied directly to the subfloor. Peel the paper backing off of each plank and press them firmly into place on the subfloor. Once all planks are adhered, you can begin clicking them together using Natco Home’s click system installation technology. This system makes installation easy and secure by providing a tight fit between each plank.
## Finishing Touches
Once you’ve installed all of your planks, you can finish off the job with some finishing touches. Make sure to fill in any gaps around edges and obstacles with a vinyl sealant to ensure a watertight seal. You may also want to add transition pieces between rooms or thresholds for a more finished look. Lastly, clean up any excess adhesive or other debris from the floor before standing back to admire your work!
Installing vinyl flooring from Natco Home doesn’t have to be difficult. With these installation instructions as your guide, you’ll be able to complete your project with confidence knowing that you’ve done it right!