Raising Concrete Floor For Tile

Raising Concrete Floor For Tile – Flooring Ideas
How To Raise Concrete Floor Viewfloor.co
Raising Concrete Floor For Tile – Flooring Ideas
![]()
Raising Concrete Floor For Tile – Flooring Ideas

Raised Flooring: Your Solution for Commercial Flooring in a Humid Climate Carolina Flooring

Advantages and Disadvantages of Any Raised Tile Floor Qz Land
Focus on floors: raising floor levels quickly and easily – F Talk

Raising Concrete Floor For Tile – Flooring Ideas
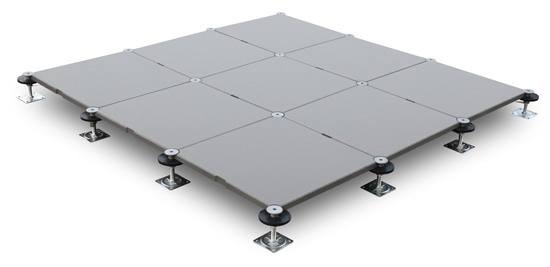
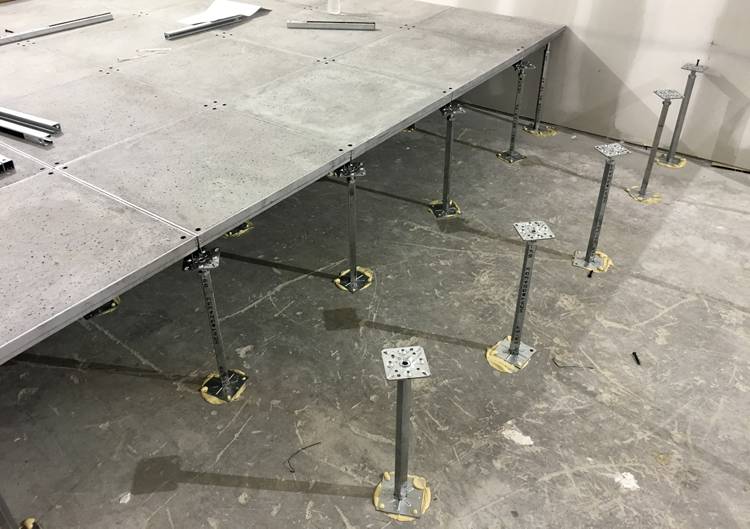
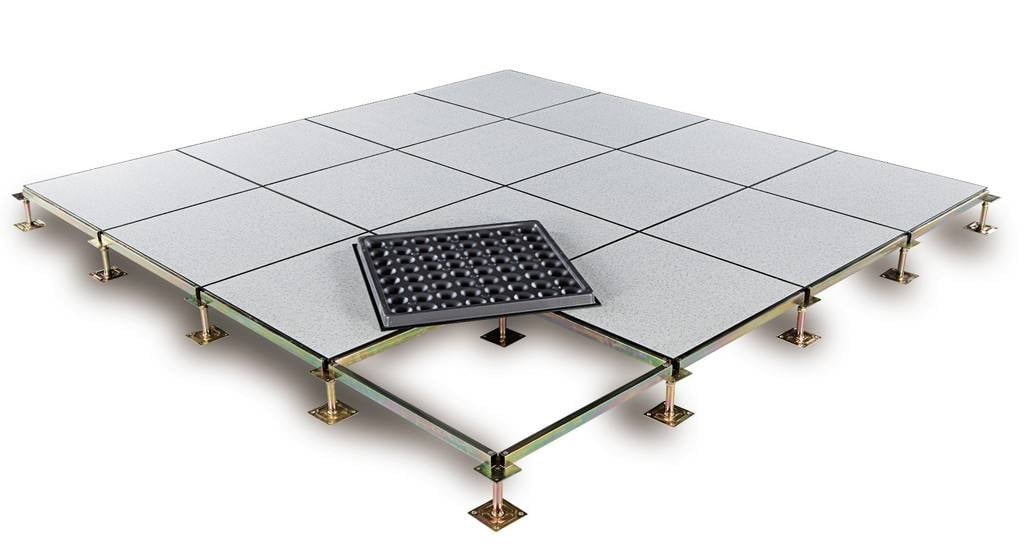
FS1000 Server Room Raised Floor Tiles Cementitious Antistatic Raised Floor Tile Systems

Concrete Slab Settlement: Causes, Solutions, Costs And More! – Architecture Design Diy

Raised Floor Specifications – Huiya Access Floor System Specifications & Performance
Related Posts:
- Outdoor Concrete Flooring Ideas
- Concrete Floor Polishing
- Interior Concrete Floor Paint Ideas
- Concrete Floor Epoxy Crack Filler
- Concrete Floor Basement Ideas
- Painting Concrete Floor With Epoxy
- Outdoor Concrete Floor Paint Ideas
- Concrete Floor Painting Tips
- Outdoor Concrete Floor Finishes
- Non Slip Concrete Floor
Raising Concrete Floor For Tile: A Comprehensive Guide to Leveling Your Surface
Introduction:
When it comes to installing tiles, having a level surface is crucial. However, not all concrete floors are perfectly flat and may require some adjustments before tile installation can begin. This article serves as a comprehensive guide to raising a concrete floor for tile, providing step-by-step instructions and valuable tips to ensure a smooth and successful project.
I. Evaluating the Existing Concrete Floor:
Before diving into the process of raising a concrete floor, it is essential to assess the condition of the existing surface. Look for any cracks, uneven areas, or low spots that may need additional attention. This evaluation will help determine the best course of action for leveling the floor.
FAQ: How do I determine if my concrete floor needs leveling?
Answer: One simple way to check is by placing a spirit level across different sections of your floor. If you notice significant differences in height or see gaps between the level and the surface, it’s likely that the floor needs leveling.
II. Preparing for the Project:
1. Clearing the Area:
Start by removing any furniture, rugs, or obstacles from the room where you’ll be working. This will provide ample space to carry out the necessary steps without any hindrances.
2. Safety Precautions:
Remember to wear protective gear such as gloves and safety goggles when working with concrete. Additionally, ensure proper ventilation in the room by opening windows or using fans.
III. Tools and Materials Needed:
1. Self-Leveling Underlayment:
Self-leveling underlayment is a popular choice for raising concrete floors because it offers ease of use and excellent leveling properties. It is available in powder form and can be mixed with water to create a flowing consistency.
2. Mixing Bucket and Drill:
A large mixing bucket and a powerful drill with a mixing attachment are essential for preparing the self-leveling underlayment mixture. They allow you to achieve a homogeneous blend without any lumps.
3. Trowel and Spreader:
A trowel is used for spreading and smoothing the self-leveling underlayment over the concrete floor. A spreader, which can be a large gauge rake or a specialized tool, helps distribute the mixture evenly.
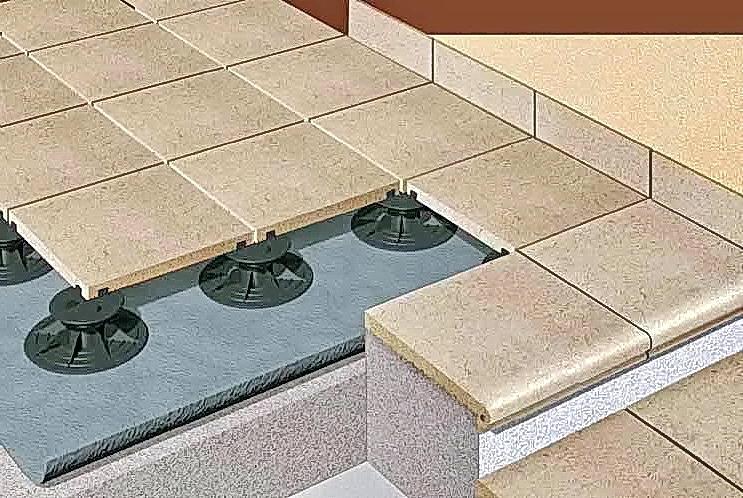
4. Leveling Tools:
Having various leveling tools such as a long spirit level, straightedge, and a laser level will ensure accurate leveling throughout the project.
5. Primers and Sealers:
Depending on the condition of your concrete floor, you may need to use primers or sealers to enhance adhesion between the existing surface and the self-leveling underlayment.
FAQ: Can I use regular concrete mix instead of a self-leveling underlayment?
Answer: While regular concrete mix can be used for small repairs, it is not recommended for raising an entire floor. Self-leveling underlayment offers better flowability, self-smoothing properties, and improved durability.
IV. Steps to Raise a Concrete Floor for Tile:
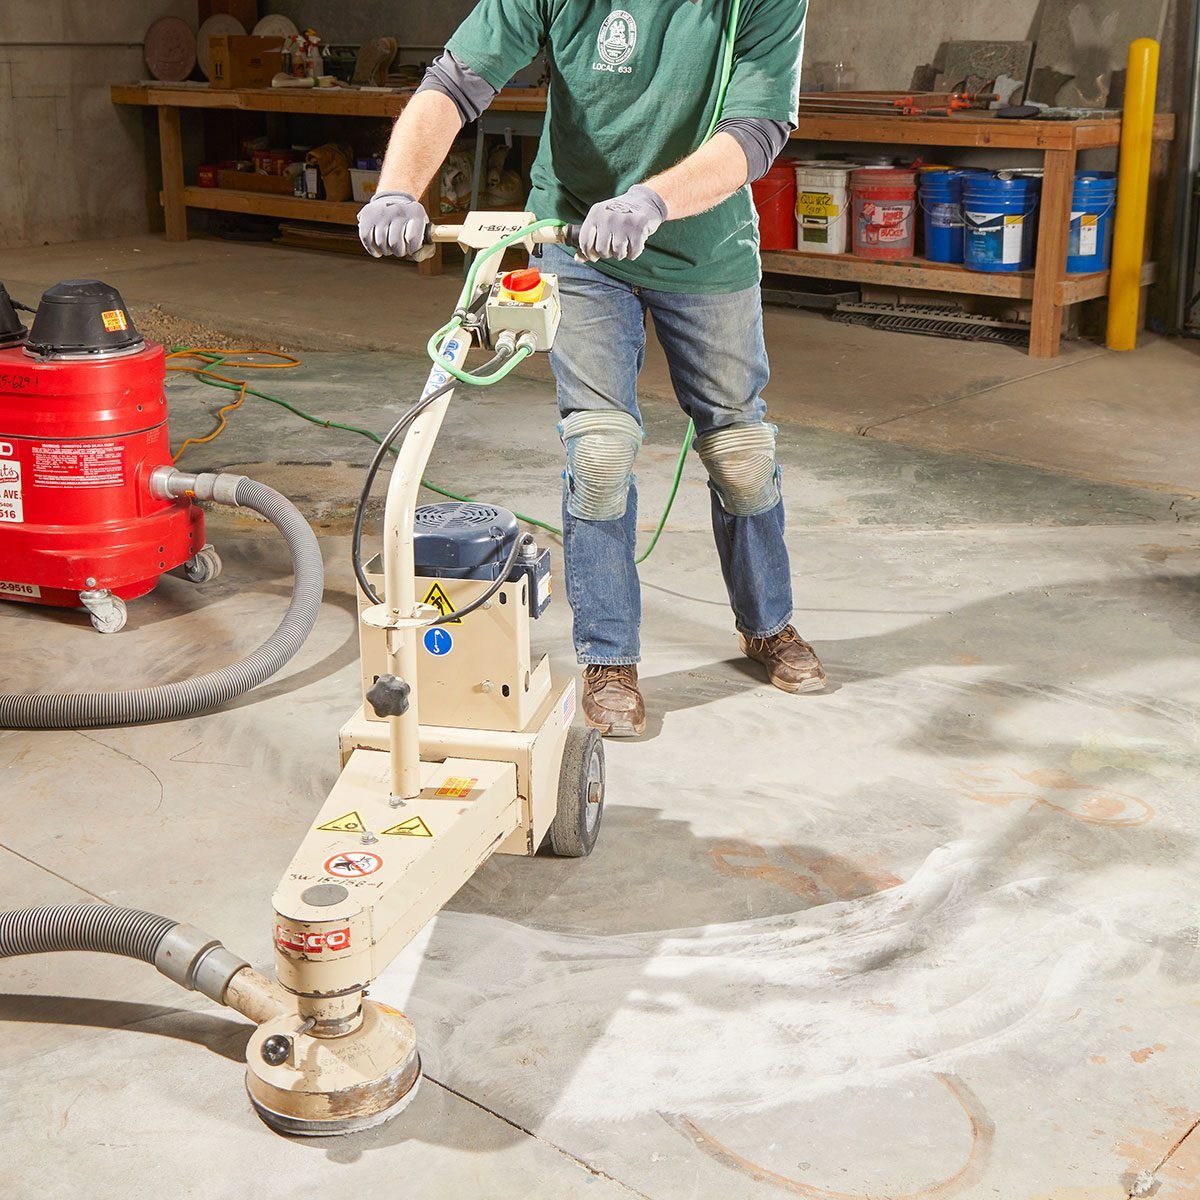
1. Cleaning the Concrete Surface:
Thoroughly clean the concrete floor by removing any dust, debris, or loose particles. Use a broom, vacuum cleaner, or pressure washer to ensure the surface is free from any contaminants that may compromise adhesion.
2. Repairing Cracks and Holes:
If there are any cracks or holes present in the concrete floor, they must be addressed before proceeding with the leveling process. Fill them with an appropriate concrete patching compound and allow enough time for it to cure.
3. Applying Primers (if necessary):
Certain self-leveling underlayment products require the application of primers to improve bonding. Read the manufacturer’s instructions carefully to determine if priming is required for your chosen product.
4. Mixing the Self-Leveling Underlayment:
Follow the manufacturer’s guidelines to prepare the self-leveling underlayment mixture. Typically, it involves pouring the prescribed amount of water into a mixing bucket and adding the powder gradually while stirring continuously with a drill.
5. Pouring and Spreading the Mixture:
Begin by pouring the self-leveling underlayment onto the highest point of the floor and let it flow naturally to the lower areas. Use a trowel to spread the mixture evenly and eliminate any high spots. Work quickly but carefully to ensure optimal leveling.
6. Smoothing and Leveling:
Once the self-leveling underlayment is spread across the entire floor, use a long spirit level, straightedge, or a Laser level to ensure that the surface is level. Smooth out any imperfections or high spots using the trowel or a specialized tool.
7. Drying and Curing:
Allow the self-leveling underlayment to dry and cure according to the manufacturer’s instructions. This typically takes about 24-48 hours, but it may vary depending on the product and environmental conditions.
8. Applying Sealers (if necessary):
Once the self-leveling underlayment is fully cured, you may choose to apply sealers to protect the surface and enhance its durability. Follow the manufacturer’s instructions for proper application.
9. Installing Tile:
After the self-leveling underlayment is completely dry and sealed (if desired), you can proceed with installing tiles on the leveled surface following standard tile installation practices.
10. Grouting and Finishing:
Once the tiles are installed, allow them to set according to the manufacturer’s instructions. Then, apply grout between the tiles and use a grout float to smooth and fill in any gaps. Follow the grout manufacturer’s instructions for drying and finishing the grout.
11. Cleaning and Maintenance:
After the grout has dried, clean the tiles thoroughly to remove any excess grout or residue. Follow proper cleaning and maintenance practices to ensure the longevity and durability of your newly raised concrete floor with tile.
12. Optional: Applying a Finish or Coating (if desired):
If you want to further enhance the appearance and protection of your tiled floor, you can apply a finish or coating. This could be a sealer, epoxy coating, or any other suitable product according to your preferences and needs. Make sure to follow the manufacturer’s instructions for proper application and drying/curing times.
Note: It is recommended to consult with a professional or experienced contractor for guidance and assistance throughout the process, especially if you are unfamiliar with self-leveling underlayment or tile installation. 13. Inspecting and Addressing any Issues:
After completing the entire process, thoroughly inspect the leveled floor and tile installation for any potential issues such as cracks, unevenness, or loose tiles. Address any problems promptly to ensure the longevity and stability of the floor.
14. Regular Maintenance:
Regularly inspect and maintain the tiled floor to prevent any damage or deterioration. This may include cleaning, resealing, and addressing any necessary repairs or replacements.
15. Seek Professional Assistance if Needed:
If you encounter any difficulties or are unsure about any aspect of the leveling process or tile installation, it is advisable to seek professional assistance. A knowledgeable contractor can provide guidance, expertise, and ensure the best possible outcome for your project.