Replacing Ceramic Tile Floor (Kitchen)

How to Remove Tile Floors – The Harper House Tile removal, Kitchen flooring, Cleaning painted

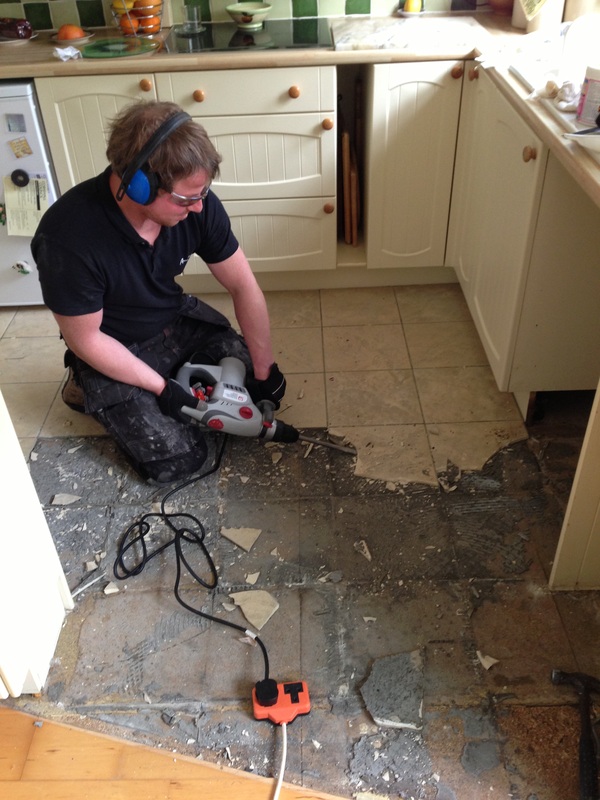
Removing ceramic floor tiles made easy – YouTube

Perfect-Fit Flooring Ltd Blog – Perfect-Fit Flooring Cornwall
Techniques Tile Kitchen Floor With Ceramic Tile – Install Floor Tiles Correctly By Standard
Pin by Michelle Martosella Hileman on intro to 3D Maya Scene Ref Ceramic floor, Ceramic floor

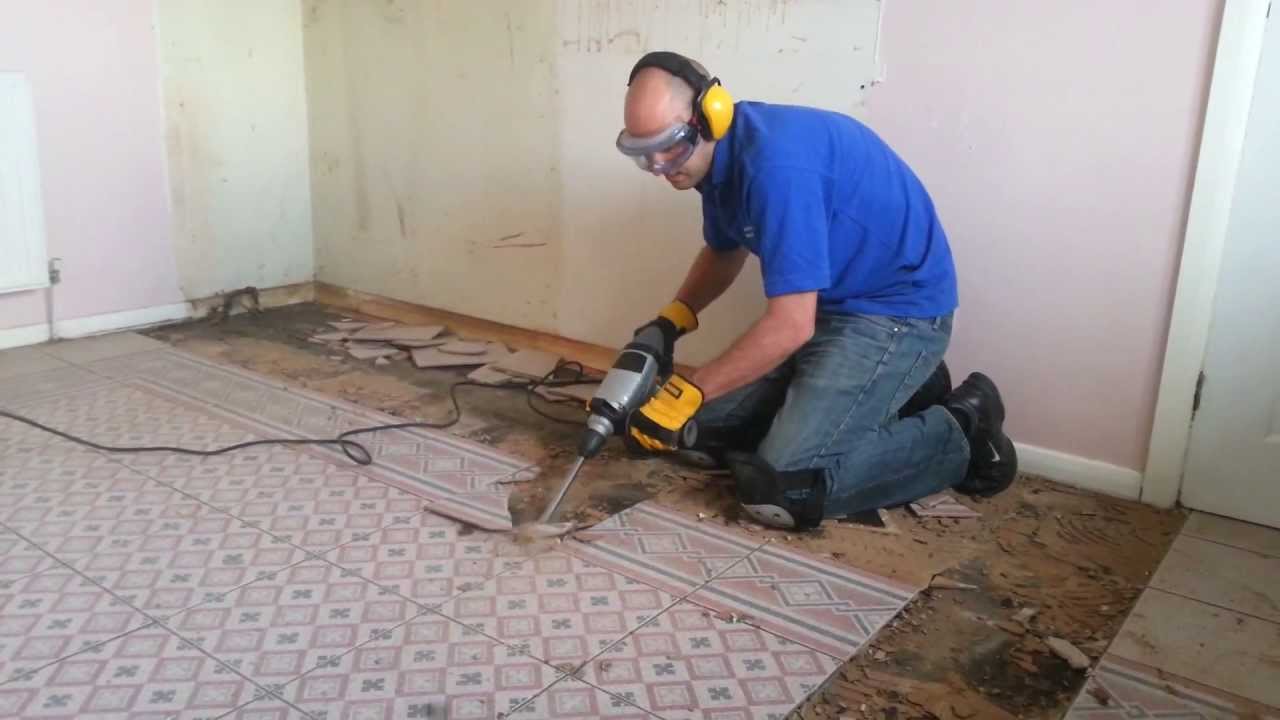
Titan SDS with a 80mm cranked tile chisel removing a kitchen floor (TTB278SDS/TTB279SDS) – YouTube
How to Install a Tile Floor In a Kitchen how-tos DIY
How to Replace Broken Ceramic Tile Tile repair, Ceramic floor tile, Ceramic tiles

How To Install Ceramic Tiles Kitchen – Install Tile Floor, Prepare & Lay Tile – YouTube

How to Replace a Cracked Floor Tile / DIY Projects – YouTube

Changing or removing your tile backsplash is a task that requires careful attention. Learn

Related Posts:
- Cuban Tile Floors
- Easy Way To Grout Tile Floor
- Types Of Marble Tile Flooring
- Slate Tile Floor
- Classic Bathroom Tile Floors
- Tile Floor Color Ideas
- Wet Mops For Tile Floors
- Staining Saltillo Tile Floors
- Terrazzo Tile Floor Outdoor
- Tile Flooring For Screened Porch
When it comes to updating your kitchen space, replacing ceramic tile flooring can be a great way to increase the value of your home while also giving the room an entirely new look. But, before you embark on this home improvement project, it’s important to understand the process and the steps you’ll need to take in order to ensure that the job is done right.
## Preparing for Your Ceramic Tile Floor Installation
It’s essential that you prepare for your ceramic tile floor installation before getting started. This preparation will help ensure that the job is completed efficiently and correctly. Start by assessing the condition of your existing flooring. You’ll need to determine if there is any damage or deterioration that needs to be addressed before starting. Additionally, you should also check to make sure that the subfloor is structurally sound and stable. If not, it may need to be replaced before the tile can be installed.
Once you’ve assessed the condition of your existing floor, you’ll need to select the type of ceramic tile that you want for your kitchen floor. There are many different options available, so take your time and choose a type that fits well with your overall design aesthetic. Once you’ve chosen the type of tile, measure the area so that you can buy enough material for the job.
## Installing Your Ceramic Tile Flooring
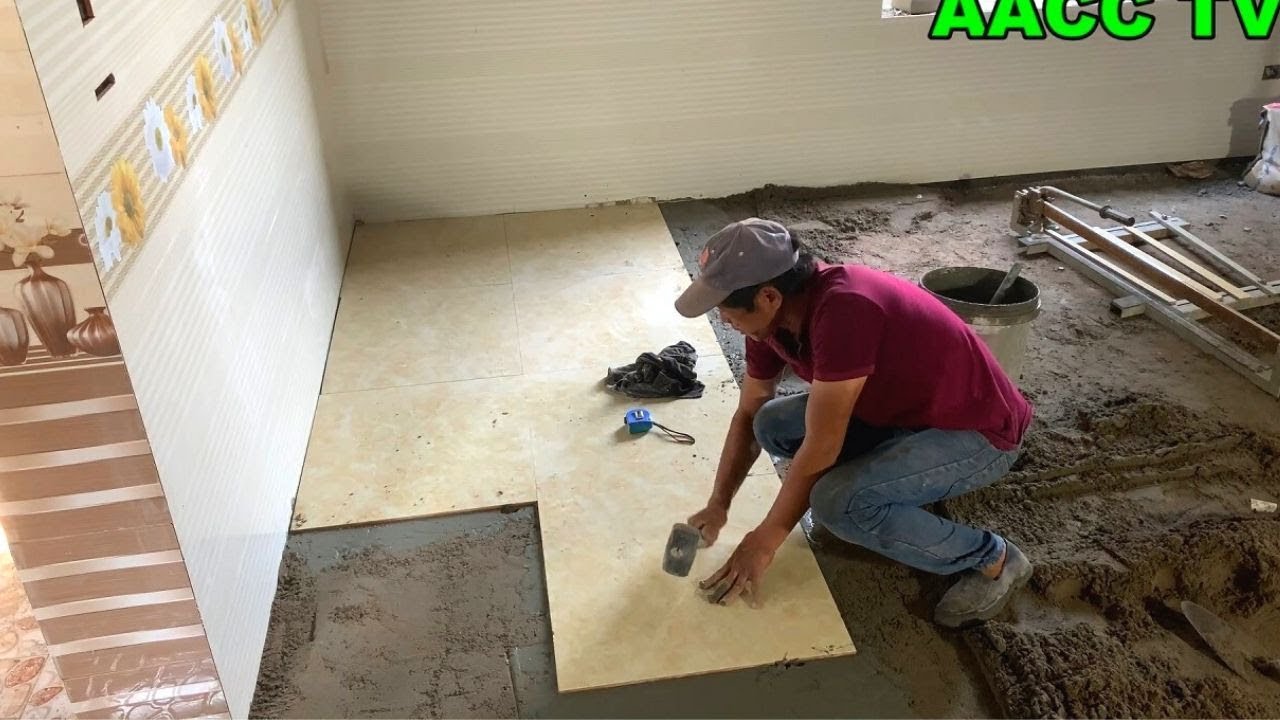
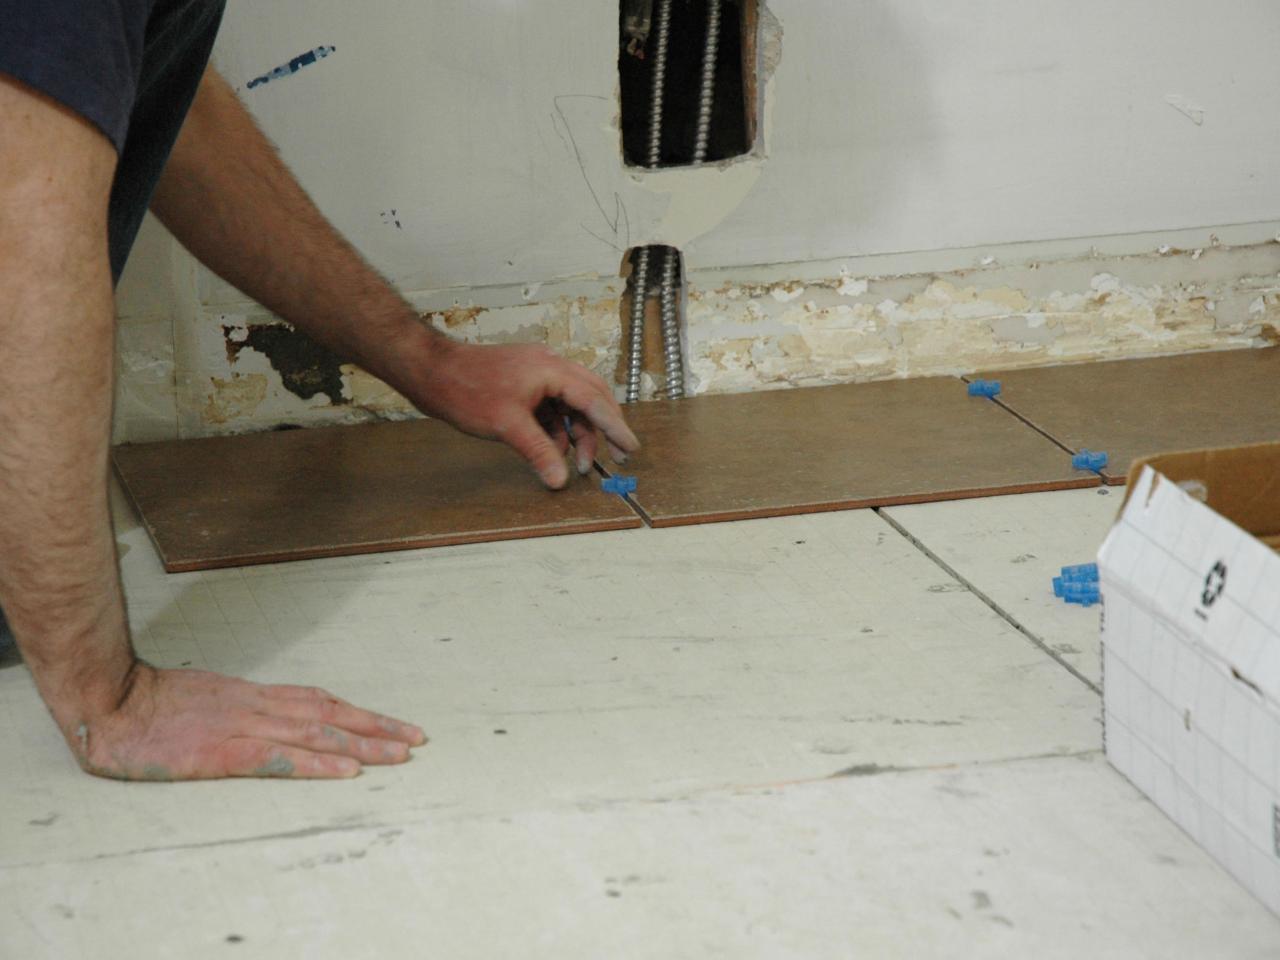
Now it’s time to begin installing your new ceramic tile flooring! Start by laying out a grid pattern with chalk lines or painter’s tape and make sure that it is even and level. Next, spread a layer of thin-set mortar onto the floor using a notched trowel and start placing your tiles into the mortar one at a time. Be sure to use spacers between each tile in order to maintain even spacing throughout the entire installation process.
Once all of the tiles have been laid out and secured in place, allow them to set overnight before grouting. Once they have set, remove any excess mortar or debris from around each tile using a wet sponge or cloth. Then, mix up a batch of grout according to package instructions and apply it with a rubber grout float across all of the tiles in a sweeping motion, making sure to press it firmly into all of the joints between each tile.
Allow the grout to set for approximately 10 minutes before wiping away any excess with a damp sponge. When finished, allow 24 hours for the grout to fully cure before walking on it or adding any furniture back into the space.
## Finishing Touches for Your New Ceramic Tile Floor
Now that your ceramic tile floor has been installed, there are just a few finishing touches that you should do in order to protect and preserve it for years to come. Start by sealing both the tile and grout with a high-quality sealant product in order to protect it from spills and other accidents. Additionally, be sure to mop your floors regularly with warm water and mild detergent in order to keep it looking its best at all times.
Replacing ceramic tile flooring is an excellent way to improve both the value and aesthetic appeal of your kitchen space. By following these steps and taking extra care during each phase of installation, you can ensure that you get high-quality results that will last for years to come!